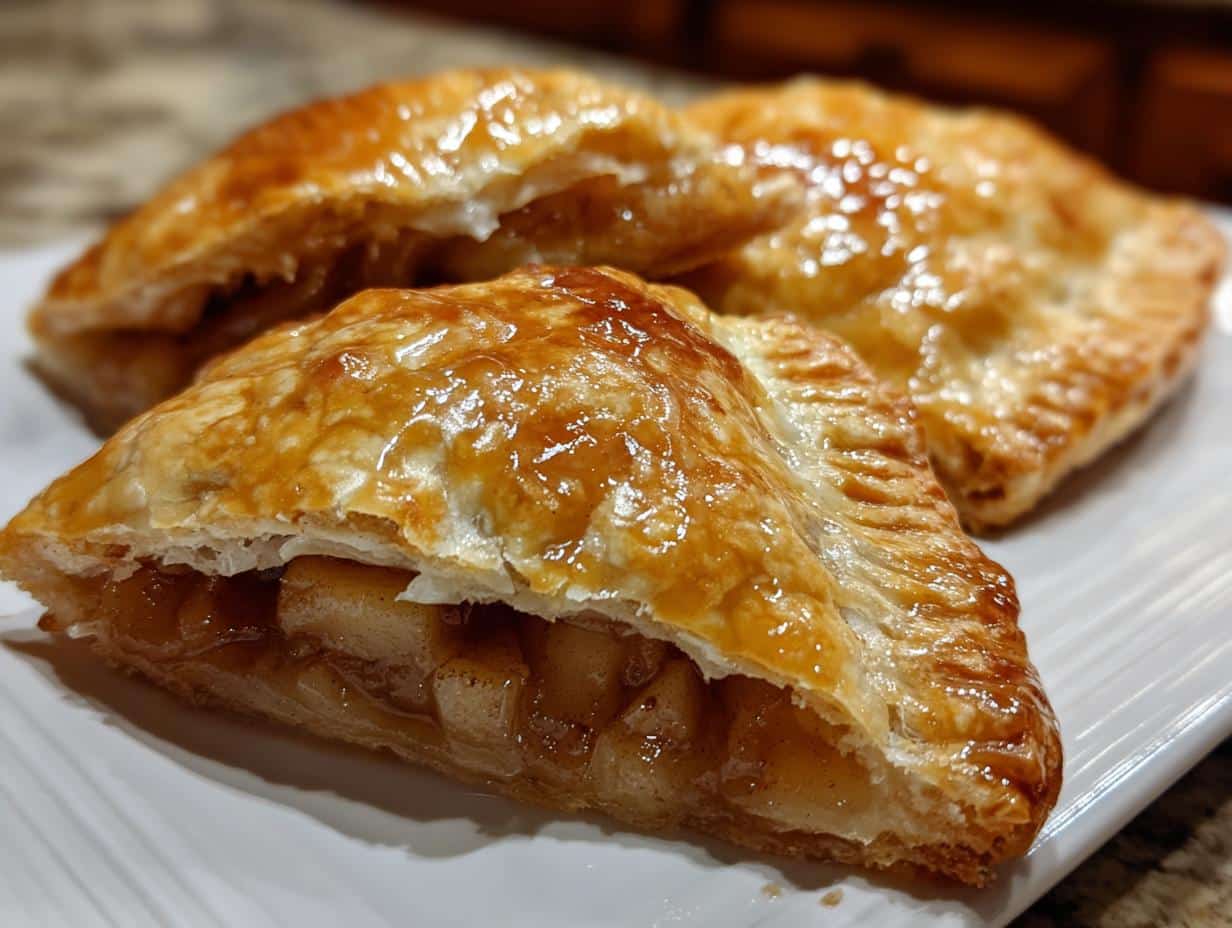
Few things bring back childhood memories like the smell of warm apple hand pies baking in the oven. I can still picture my grandmother pulling them fresh from the oven, the golden crust glistening with that perfect egg wash sheen. These little pockets of joy combine everything I love – tender, flaky crust hugging sweet cinnamon-kissed apples that burst with flavor in every bite. What makes them truly special? No plates needed! Just grab one (careful, they’re hot) and let that first bite take you back to simpler times. Trust me, once you try homemade, you’ll never look at store-bought the same way again.
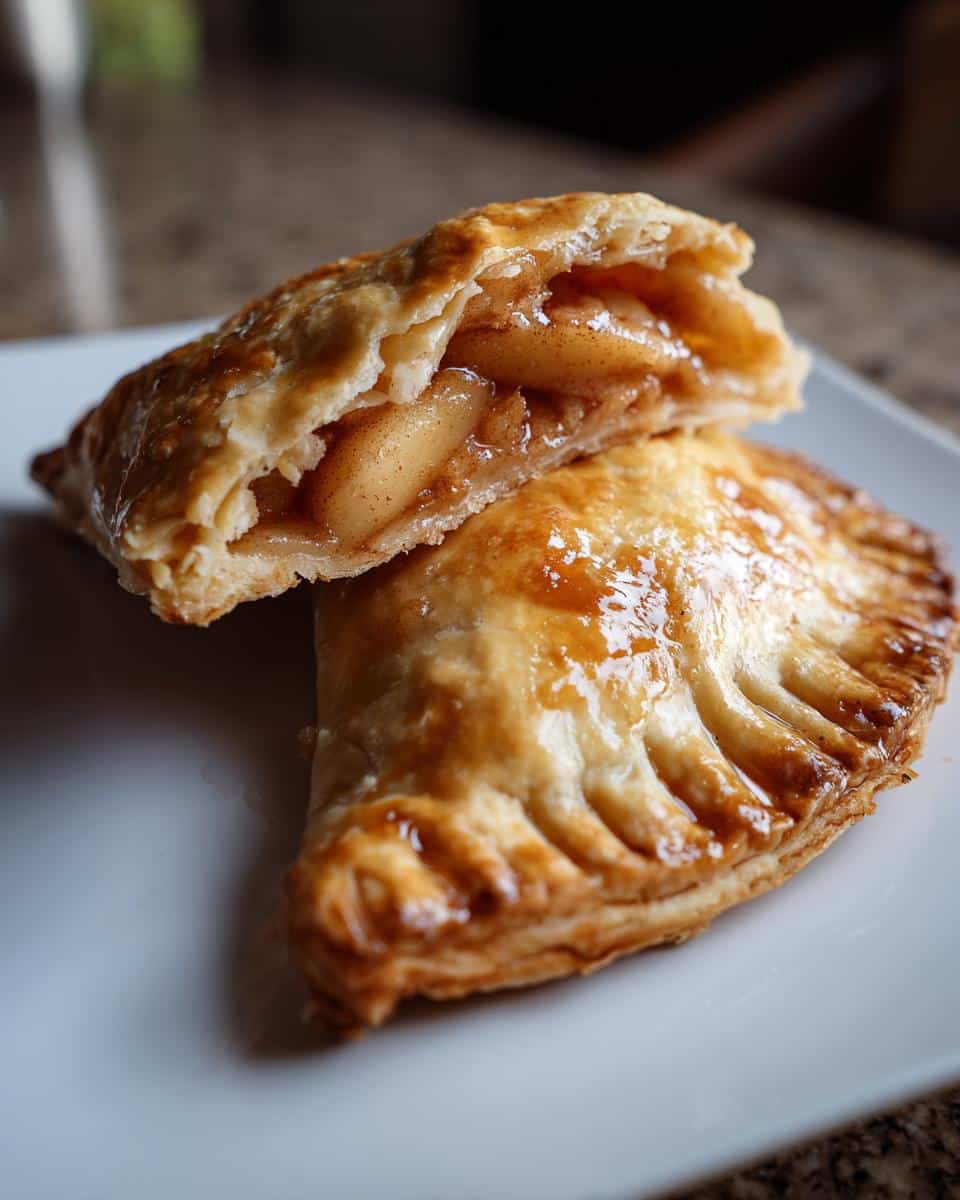
Why You’ll Love These Apple Hand Pies
These little pies are my go-to for so many reasons:
- No-fuss baking: The dough comes together in minutes, and there’s no fancy crimping required – just fold and seal!
- Portable perfection: Take them anywhere – picnics, road trips, or just curled up on the couch with your favorite book.
- That nostalgic flavor: Warm cinnamon apples wrapped in buttery crust? It’s like getting a hug from Grandma’s kitchen.
- Perfect texture: Crispy golden outside gives way to tender apples that somehow stay just the right amount of juicy.
Seriously, once that first flaky crumb hits your tongue, you’ll be hooked.
Ingredients for Apple Hand Pies
Here’s everything you’ll need to make these irresistible hand pies – I promise you probably have most of this in your kitchen already!
- 2 cups all-purpose flour – spooned and leveled, not packed
- 1/2 teaspoon salt – just enough to enhance all the flavors
- 2/3 cup cold unsalted butter – cubed small (I pop it in the freezer for 5 minutes first)
- 4-6 tablespoons ice water – seriously, ice cold is key for flaky crust
- 2 medium apples – peeled and diced small (about 2 cups)
- 1/4 cup granulated sugar – plus extra for sprinkling if you’re feeling fancy
- 1 teaspoon cinnamon – because apple pie without cinnamon is just sad
- 1 tablespoon lemon juice – keeps the apples bright and prevents browning
- 1 egg – beaten with a splash of water for that gorgeous golden sheen
Ingredient Notes & Substitutions
Granny Smith apples are my go-to – their tartness balances the sweet filling perfectly. Out of apples? Pears work beautifully too! For dairy-free, use vegan butter (but keep it cold). And if you’re out of lemon juice, a tiny splash of vinegar does the trick. The dough stays flakier with butter, but shortening can sub in a pinch.
How to Make Apple Hand Pies
Now comes the fun part – let’s turn these simple ingredients into golden pockets of joy! I’ve broken it down into easy steps so you can nail these apple hand pies on your first try.
Preparing the Dough
First, grab your biggest mixing bowl and whisk together the flour and salt. Now here’s the secret – toss in those cold butter cubes and start working them into the flour with your fingers or a pastry cutter. You want it to look like coarse crumbs with some pea-sized butter pieces still visible – those little butter pockets are what create that amazing flakiness!
Drizzle in the ice water one tablespoon at a time, mixing gently with a fork just until the dough starts to clump together. It should feel a bit like playdough – not too sticky, not too dry. Pro tip: If you pinch some and it holds its shape, you’re golden! Wrap it in plastic and let it chill in the fridge for at least 30 minutes. Trust me, this rest time makes rolling so much easier.
Making the Apple Filling
While the dough chills, let’s make the star of the show – that sweet, cinnamon-y apple filling! Toss your diced apples with sugar, cinnamon, and lemon juice (this keeps them from turning brown and adds a nice bright note). I like to let this mixture sit for about 10 minutes – the sugar draws out some of the apple juices, making the filling extra flavorful.
If your apples seem extra juicy after sitting, you can drain off a tiny bit of liquid – but don’t go overboard! We want some of that juice to keep the filling moist. Give it a quick taste and add more cinnamon if you’re feeling it (I usually do).
Assembling and Baking
Preheat your oven to 375°F (190°C) and line a baking sheet with parchment. Roll out your chilled dough to about 1/8-inch thickness – no need to be perfect here, rustic is charming! Use a 4-inch round cutter (or a small bowl) to cut out circles, re-rolling scraps as needed.
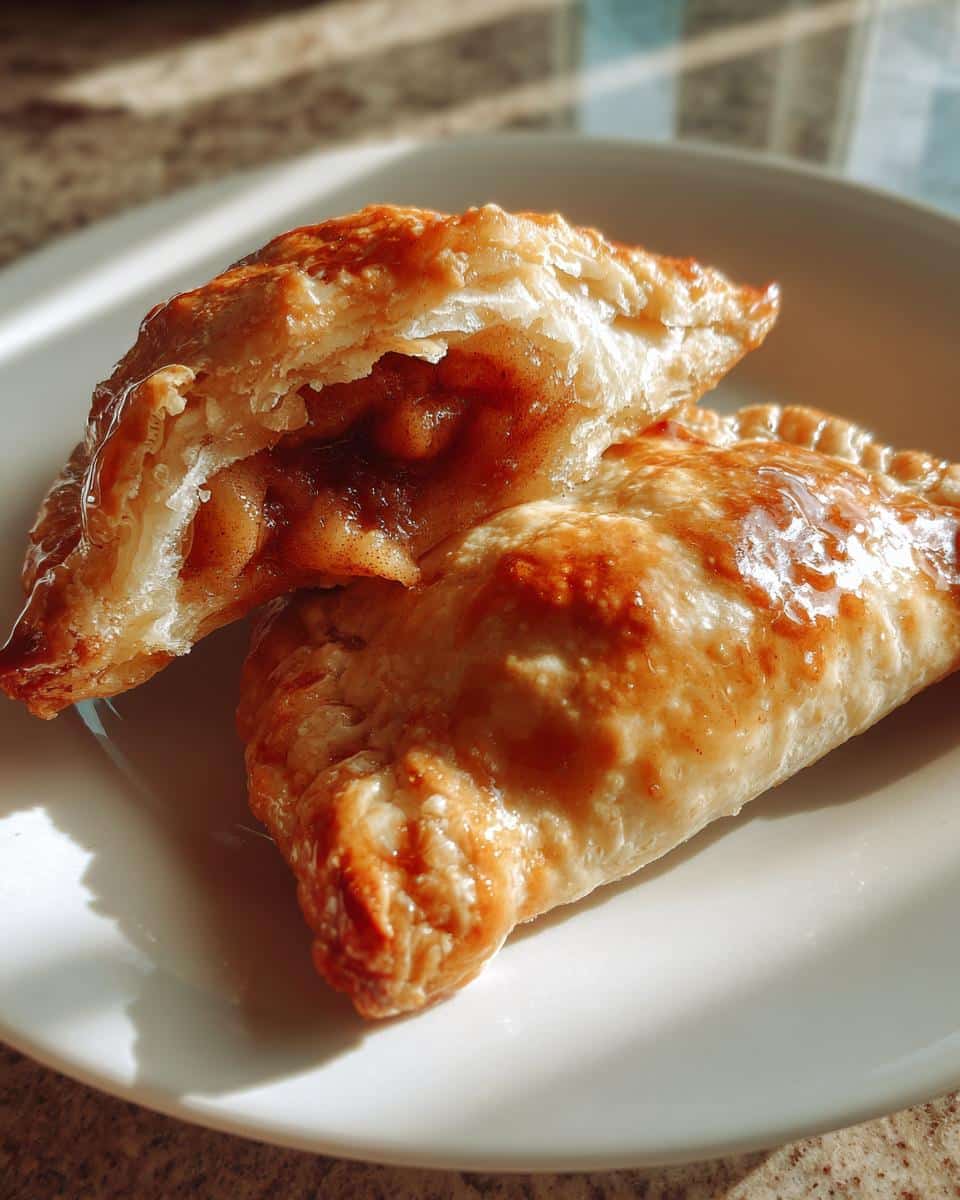
Spoon about 2 tablespoons of filling onto one half of each circle, leaving a small border. Brush the edges with water (this helps them seal), then fold over and crimp with a fork. Don’t skip poking a couple steam vents in the top – unless you want mini apple volcanoes! Brush with egg wash and sprinkle with sugar if you’re feeling fancy.
Bake for 20-25 minutes until they’re beautifully golden brown. The smell filling your kitchen will be absolutely heavenly! Let them cool just enough so you don’t burn your tongue (about 10 minutes) – though I won’t judge if you can’t wait that long.
Tips for Perfect Apple Hand Pies
After making these apple hand pies more times than I can count, here are my foolproof tips to guarantee bakery-worthy results every time:
- Keep everything cold, cold, cold: I actually chill my mixing bowl and utensils before starting! Warm butter = tough crust. If the dough gets sticky while rolling, pop it back in the fridge for 10 minutes.
- Resist the overfill urge: That tablespoon of filling might look small, but apples expand as they bake. Leave a good 1/2-inch border – trust me, less messy explosions!
- Roll evenly but don’t stress: My first batches had lopsided edges – they still tasted amazing! Aim for 1/8-inch thickness, but uneven spots add homemade charm.
- Egg wash magic: That golden sheen isn’t just pretty – it helps seal the edges. Missed spots might leak filling (speaking from experience!).
One bonus trick? If your kitchen runs hot, work in small batches and keep unused dough in the fridge. And remember – even “ugly” hand pies still taste incredible with a scoop of vanilla ice cream!
Serving and Storing Apple Hand Pies
Oh, that first warm bite of apple hand pie straight from the oven – pure heaven! I always serve mine with a big scoop of vanilla ice cream melting over the top (the cold cream against warm pie is magic). For extra decadence, drizzle with caramel sauce or sprinkle with cinnamon sugar while they’re still warm. They’re delicious at room temperature too – perfect for packing in lunchboxes or picnics.
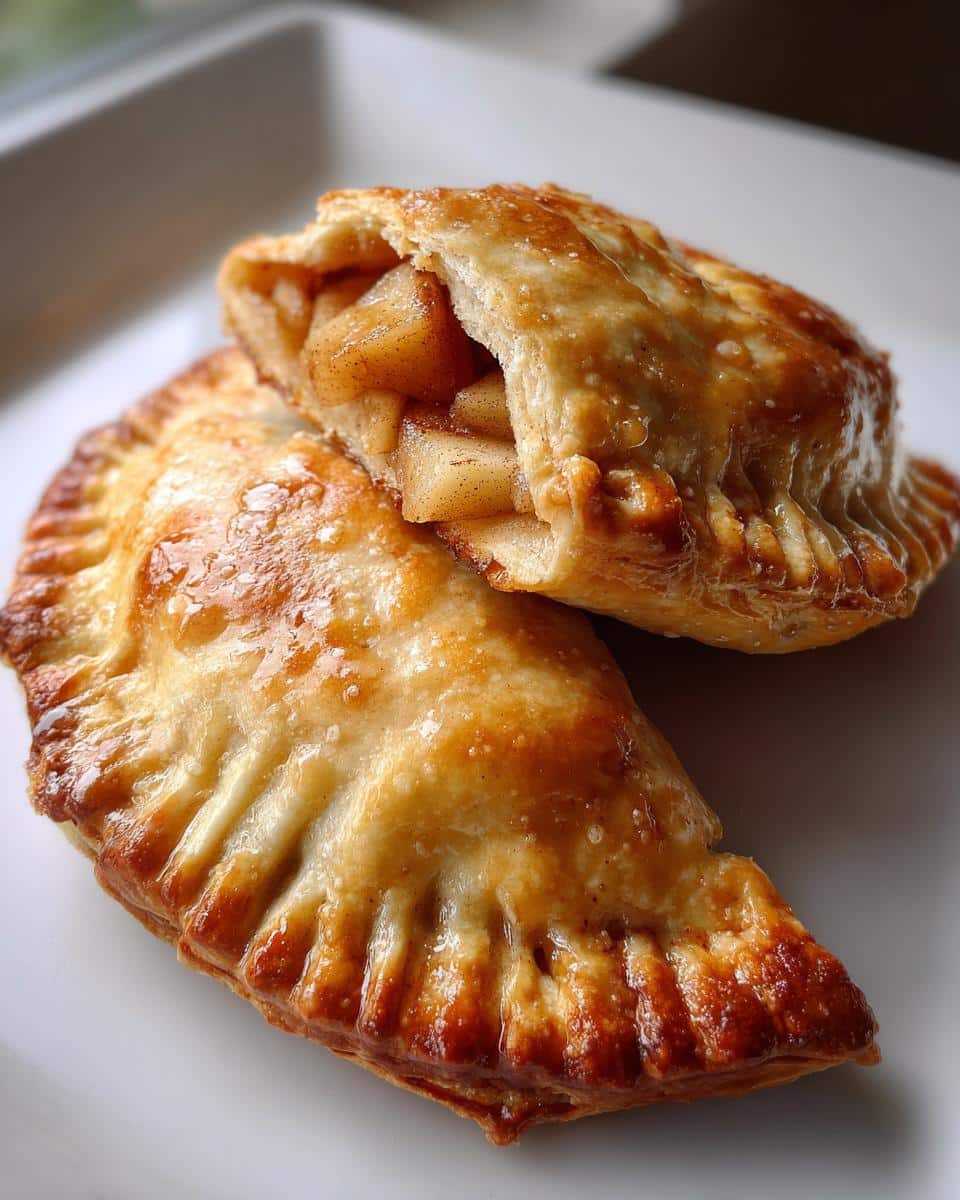
Storage is a breeze! Just let them cool completely, then tuck them into an airtight container at room temperature for up to 2 days. If you want to keep them longer (though they rarely last that long in my house!), pop them in the fridge for up to 5 days. To reheat, 5 minutes in a 350°F oven brings back that fresh-from-the-oven crispness.
For long-term storage, these freeze beautifully! Wrap each cooled pie tightly in plastic wrap, then place in a freezer bag. They’ll keep for about 3 months – just reheat frozen pies at 325°F for 15-20 minutes when the craving hits. Pro tip: Freeze some unbaked pies too! Assemble them, freeze on a tray until solid, then transfer to bags. Bake straight from frozen, adding 5-10 extra minutes to the baking time.
Apple Hand Pies Nutritional Information
Here’s the nutritional breakdown for these delicious apple hand pies – but remember, these values are estimates! Actual numbers can vary based on your exact ingredients and any substitutions you make. I always say it’s better to focus on enjoying these treats in moderation than stressing over every calorie.
Per serving (1 hand pie):
- Calories: 220
- Fat: 10g (6g saturated, 3g unsaturated)
- Carbohydrates: 30g
- Fiber: 2g
- Sugar: 12g
- Protein: 3g
- Sodium: 90mg
- Cholesterol: 40mg
Now, if you’re watching your sugar intake, you could reduce the sugar in the filling by half – the apples bring natural sweetness! And that vanilla ice cream topping I love so much? That’ll add about 100-150 calories more per scoop, depending on the brand. Everything in balance, right?
FAQs About Apple Hand Pies
Over the years I’ve gotten so many great questions about these hand pies – here are the ones that pop up most often with my tried-and-true answers!
Can I use store-bought pie dough?
Absolutely! While homemade tastes better, refrigerated pie dough works in a pinch. Just roll it slightly thinner since it’s usually thicker than our homemade version.
How do I prevent soggy bottoms?
Two tricks: make sure your filling isn’t too wet, and bake on parchment paper. A hot oven helps crisp that bottom crust beautifully!
Can I make these ahead?
You bet! Assemble unbaked pies and freeze them for up to 3 months. Bake straight from frozen, adding 5-10 extra minutes.
What if I don’t have apple pie spice?
No worries! Just use cinnamon – or mix your own with 1/2 tsp cinnamon, 1/4 tsp nutmeg, and a pinch of allspice or cloves.
Why did my pies burst open?
Usually means overfilling or not sealing edges well. Next time, use less filling and really press those edges with a fork!
Share Your Apple Hand Pies
Nothing makes me happier than seeing your versions of these apple hand pies! Did you add a dash of nutmeg? Maybe some caramel drizzle? Or perhaps yours came out extra golden and perfect? Share your baking triumphs (and even the funny “learning experiences” – we’ve all been there) in the comments below. Snap a photo of those flaky masterpieces and tag me – I genuinely want to see how yours turned out!
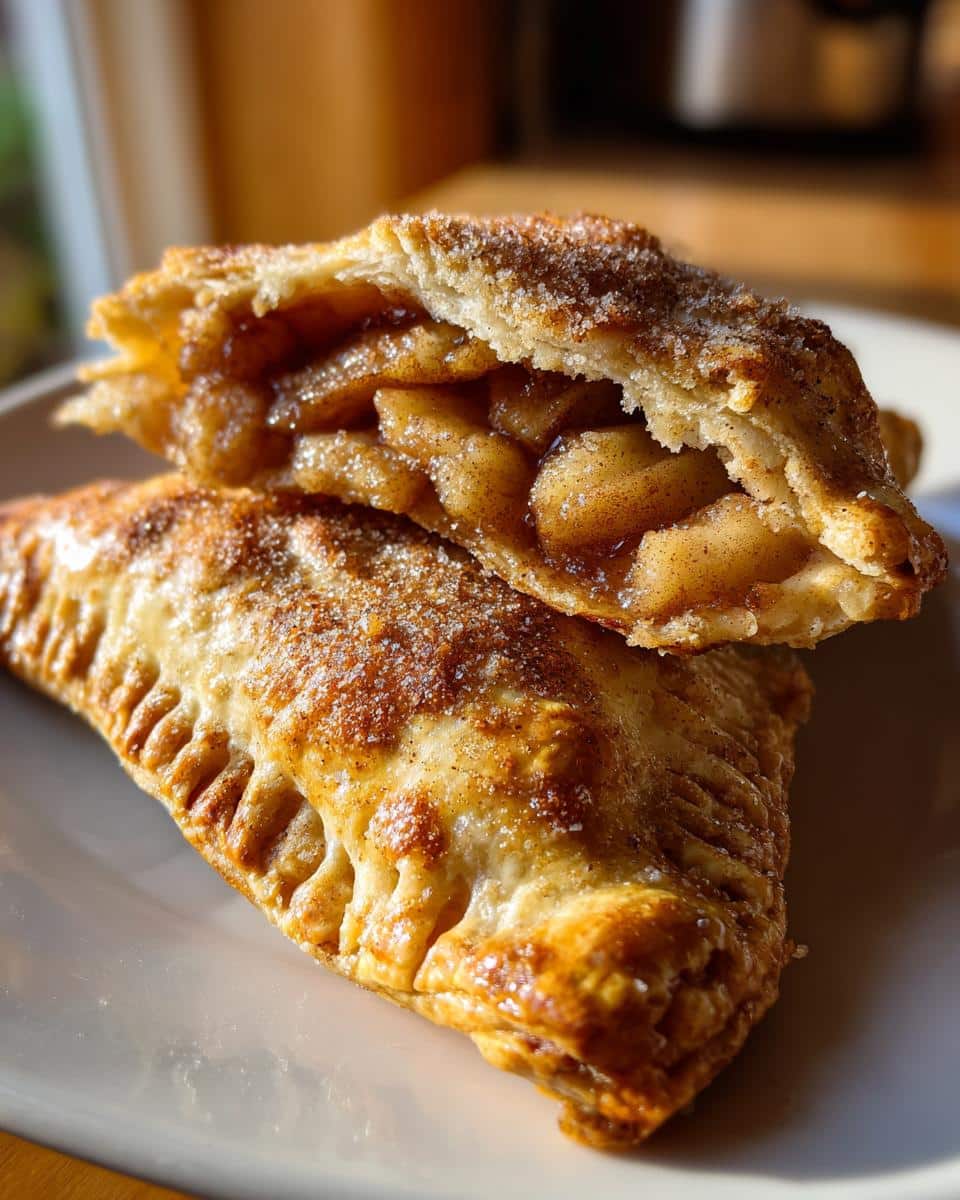
And if this recipe brought back memories of your own childhood or became a new family favorite, I’d love to hear that story too. That’s the magic of food – it connects us across kitchens and generations. Now grab a warm hand pie, take that first glorious bite, and don’t forget to share the joy!
For more delicious recipes and baking inspiration, follow us on Pinterest!
Print
Irresistible Apple Hand Pies: Perfect 7-Step Recipe You’ll Crave
- Total Time: 55 minutes
- Yield: 8 hand pies
- Diet: Vegetarian
Description
Delicious handheld apple pies with a flaky crust and sweet filling.
Ingredients
- 2 cups all-purpose flour
- 1/2 teaspoon salt
- 2/3 cup cold unsalted butter, cubed
- 4-6 tablespoons ice water
- 2 medium apples, peeled and diced
- 1/4 cup granulated sugar
- 1 teaspoon cinnamon
- 1 tablespoon lemon juice
- 1 egg (for egg wash)
Instructions
- Mix flour and salt in a bowl. Cut in butter until crumbly.
- Add water gradually, mixing until dough forms.
- Chill dough for 30 minutes.
- Preheat oven to 375°F (190°C).
- Combine apples, sugar, cinnamon, and lemon juice in a bowl.
- Roll out dough and cut into circles.
- Spoon filling onto half of each circle, fold, and seal edges.
- Brush with egg wash and bake for 20-25 minutes.
Notes
- Use Granny Smith apples for a tart flavor.
- Dough should be cold for easier handling.
- Poke small holes on top to vent steam.
- Prep Time: 30 minutes
- Cook Time: 25 minutes
- Category: Dessert
- Method: Baking
- Cuisine: American
