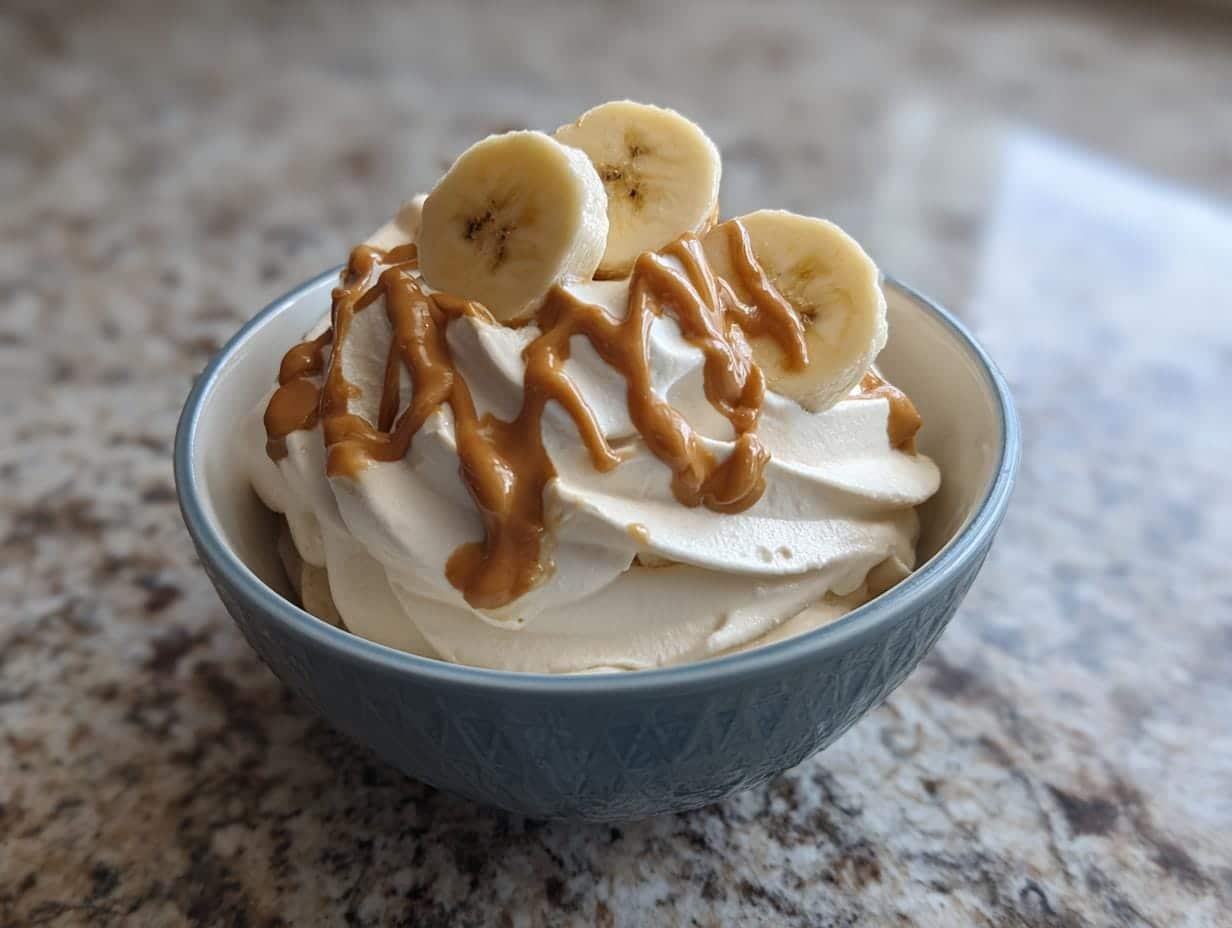
Let me tell you about my favorite kitchen magic trick—turning frozen bananas into luscious banana nice cream! I stumbled upon this trick years ago when my toddler refused to eat breakfast bananas but begged for ice cream. Desperate mom moment? Absolutely. Life-changing discovery? You bet! Now it’s our go-to treat that satisfies sweet cravings without any guilt.
This couldn’t-be-easier dessert transforms just one ingredient (yes, really—just bananas!) into something creamy and dreamy. The natural sugars in ripe bananas caramelize when frozen, creating incredible sweetness that needs zero added sugar. My food processor works overtime during summer, whipping up batch after batch of what my kids call “mommy’s magic ice cream.”
The best part? Banana nice cream isn’t just for kids. I’ve served it to skeptical adults who couldn’t believe something so simple could taste so indulgent. It’s become my secret weapon for healthy dessert emergencies—whether I need a quick post-workout cool-down or a last-minute dinner party finale that happens to be vegan. Trust me, once you try it, you’ll never look at frozen bananas the same way again!
Table of Contents
Ingredients for Banana Nice Cream
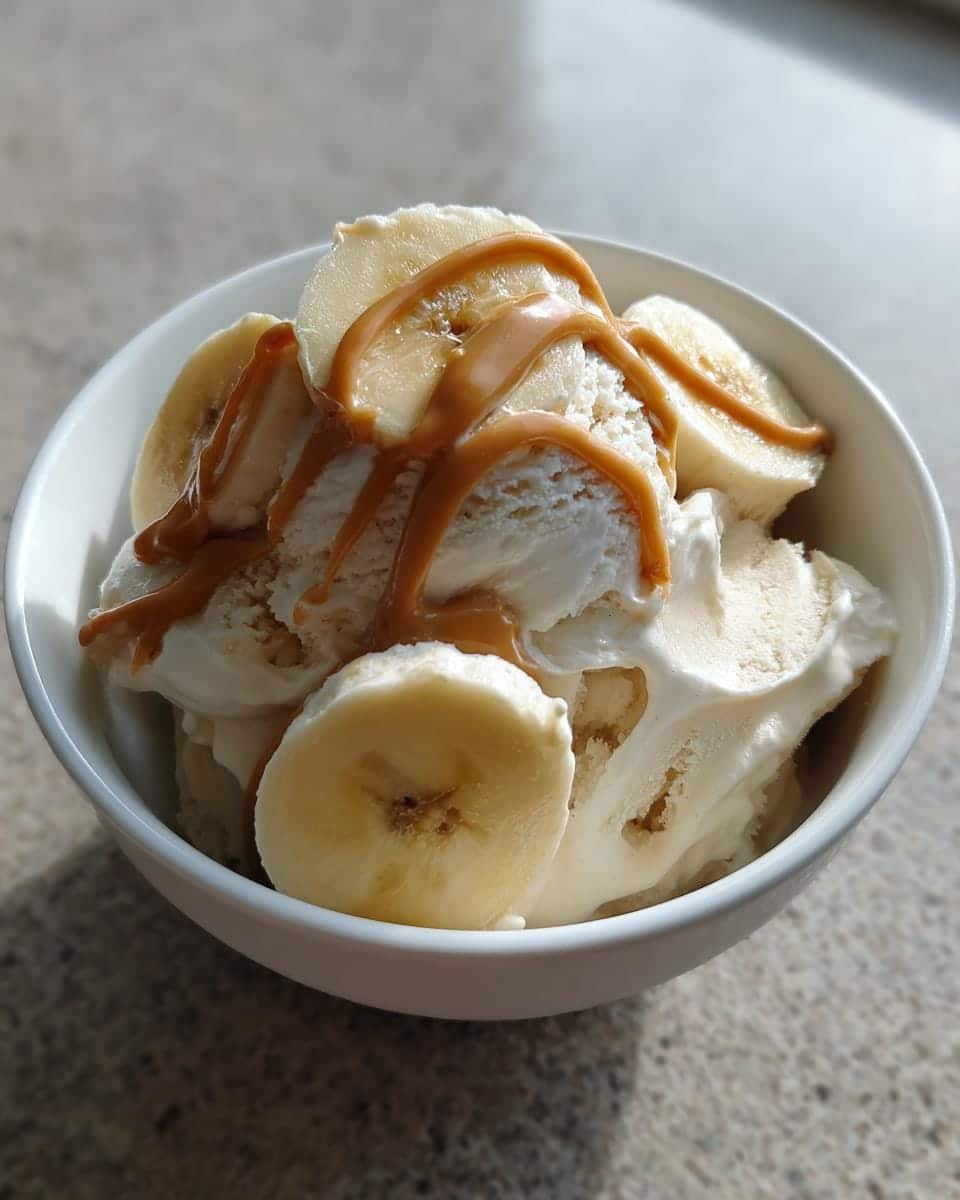
You won’t believe how few ingredients you need for this magical dessert! Here’s what I always have ready in my kitchen:
- 4 ripe bananas (those brown speckles mean perfect sweetness!)
- 1 tablespoon peanut butter (my favorite add-in for creamy richness)
- 1 teaspoon vanilla extract (for that bakery-quality flavor)
- A splash of plant-based milk (just in case the blender needs help)
That’s it! The bananas do all the heavy lifting here. I always keep a bag of sliced ripe bananas in my freezer – they’re my emergency dessert insurance!
How to Make Banana Nice Cream
Okay, let’s get blending! First, you’ll need those bananas frozen solid—I slice mine into coins and freeze them overnight in a single layer on parchment paper. Trust me, this prevents one giant banana iceberg in your freezer bag! When you’re ready to make magic happen:
- Toss those frozen banana slices straight into your food processor or high-powered blender (I swear by my vintage Cuisinart for this job).
- Pulse at first to break up the chunks—this prevents motor burnout. Then let it rip!
- Scrape down the sides every 30 seconds. At first it’ll look crumbly, but keep faith—suddenly it transforms into this glorious creamy swirl.
- Now’s when I usually add my secret weapons: a spoonful of peanut butter for richness and vanilla extract for that bakery aroma.
- If your machine starts struggling, drizzle in just a teaspoon or two of almond milk—but go slow! Too much liquid makes it soupy.
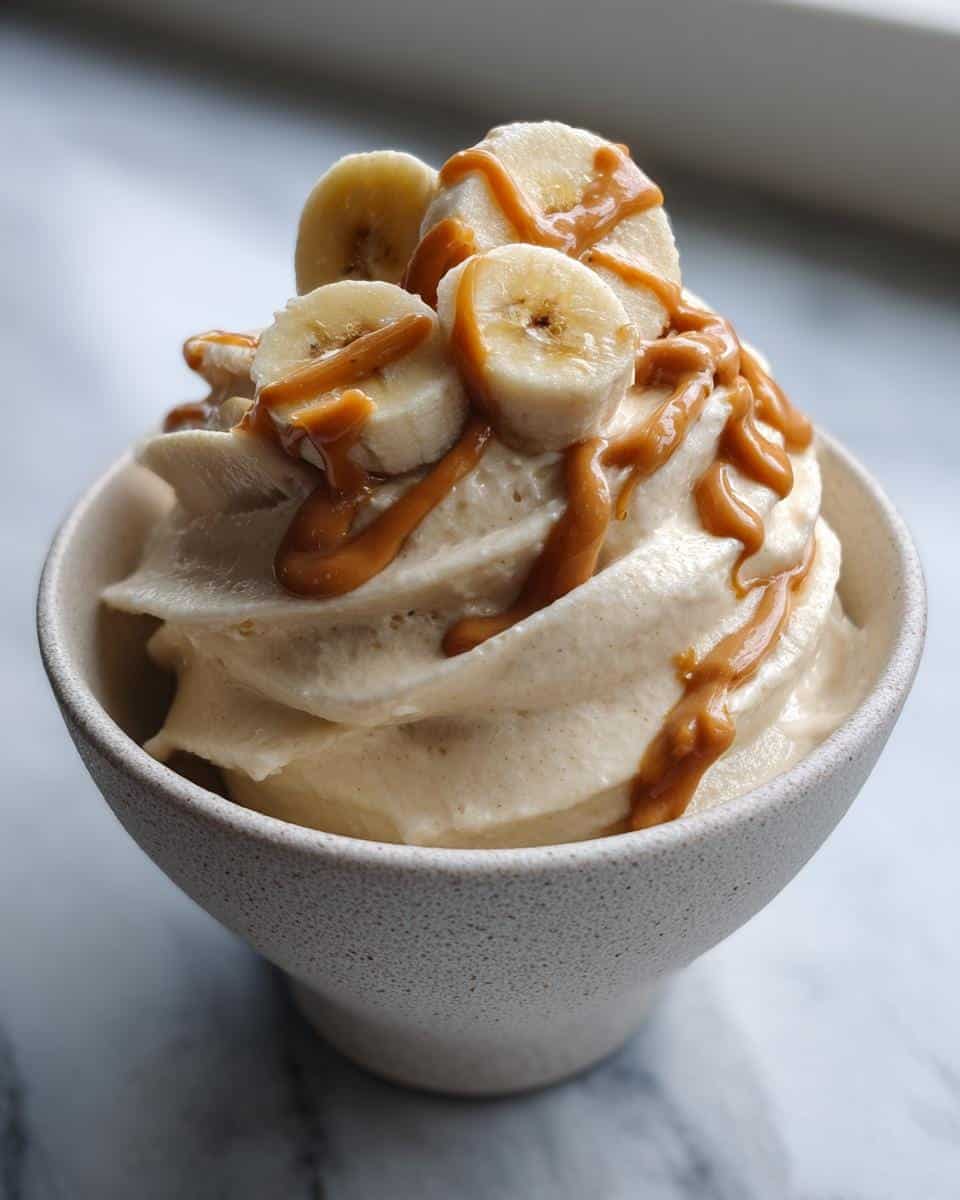
Total blending time? About 2-3 minutes of bursts. The reward? Silky soft-serve texture you can eat immediately (my kids’ favorite method) or freeze for 30 minutes if you prefer scoopable cones.
Blending Tips for Perfect Texture
Here’s my hard-earned wisdom: PATIENCE wins the nice cream game. Don’t freak out when it looks like snow at first—that’s normal! Keep pulsing. The magic happens when the bananas’ natural oils emulsify. If your blender’s smoking, stop and let the motor rest. Pro tip: Letting frozen bananas sit on the counter for 5 minutes takes the edge off for weaker blenders. Too thick? Tiny splashes of milk. Too runny? Toss in a handful more frozen slices!
Optional Add-Ins and Variations
Oh, the possibilities! My family debates add-ins constantly. My husband swears by cocoa powder stirred in after blending. My daughter loves rainbow sprinkles (because obviously). Try cinnamon for churro vibes, frozen berries for swirls, or coconut flakes for tropical feels. Crushed cookies? Yes please! For protein power, I’ll blend in Greek yogurt sometimes. Just remember—start simple, then get creative with your next batch!
Why You’ll Love Banana Nice Cream
Seriously, this stuff is life-changing—here’s why it never leaves my freezer rotation:
- Crazy quick: From freezer to bowl in under 5 minutes when that sweet tooth strikes
- No sugar needed: Those ripe bananas are nature’s perfect sweetener (take that, candy aisle!)
- Guilt-free indulgence: All the creaminess of ice cream with none of the dairy or crazy calories
- Totally customizable: Dress it up or keep it simple—it’s your canvas!
- Kid-approved magic: My toughest critics (aka my children) cheer when they hear the blender
It’s the dessert that makes you feel like you’re cheating… when you’re actually winning at healthy eating!
Storage and Serving Suggestions
Here’s the scoop (pun intended!) on keeping your banana nice cream perfect. For immediate indulgence, eat it straight from the blender—it’ll have dreamy soft-serve texture. Leftovers? Scoop into an airtight container with parchment paper between layers. They’ll keep for about 2 weeks in the freezer, though good luck making it last that long! Pro tip: Let it sit at room temp for 5 minutes before scooping if it gets too hard. I love serving mine in waffle cones for the kids or topping with toasted nuts for fancy dinner parties. For breakfast (yes, breakfast!), try it with granola for the ultimate guilt-free bowl!
Related Recipes You’ll Love
If you’re into healthy treats like this, check out these other recipes:
- Try this protein-rich twist with Protein Ice Cream.
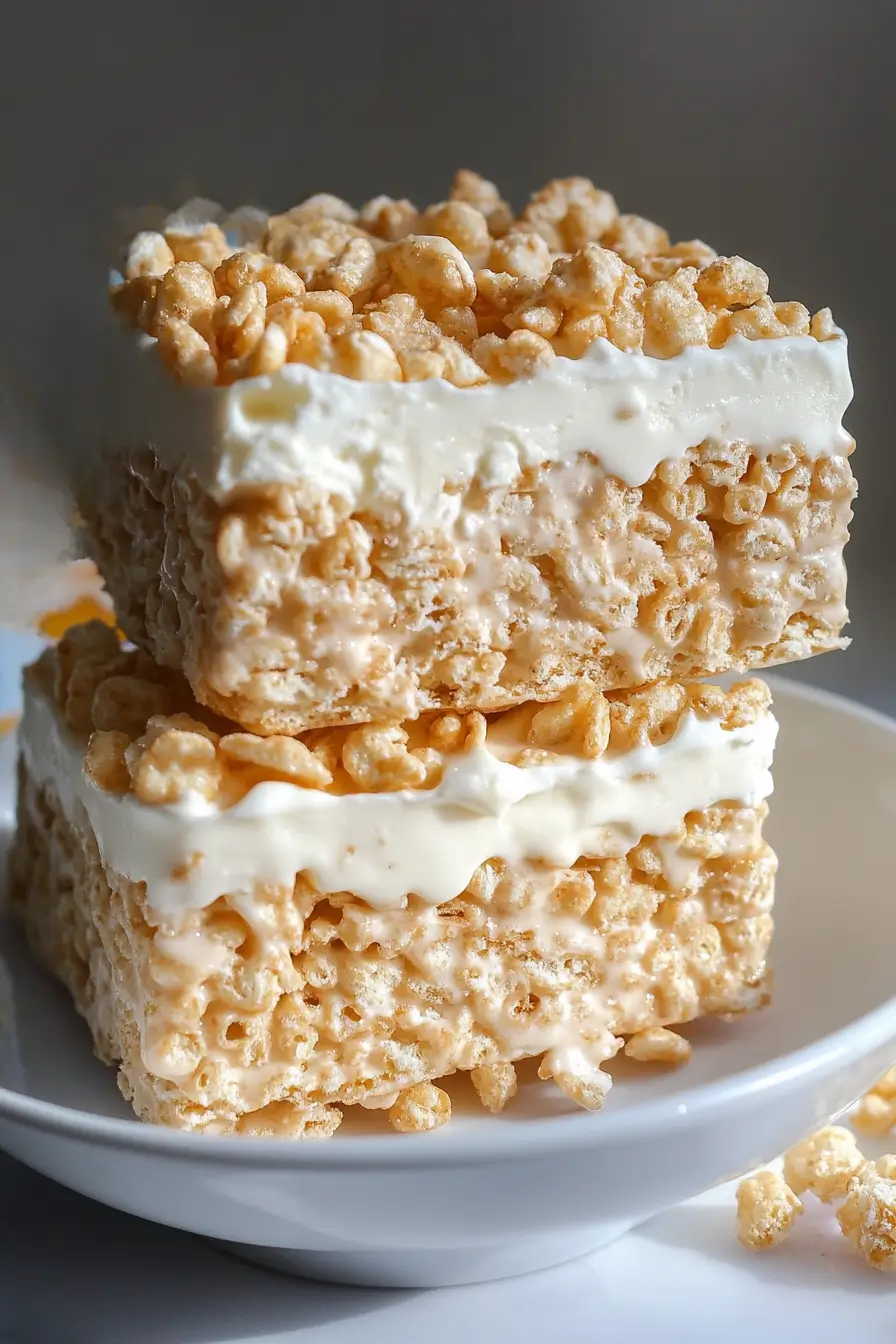
- Need a crunchy layer? Pair your Nice Cream with Rice Krispie Ice Cream.
- For a more indulgent dessert, check out this Peanut Butter Eclair Cake.
- Want something banana-themed? Don’t miss our Cottage Cheese Banana Bread or creamy Cottage Cheese Banana Pudding.
- Looking for another no-bake treat? Try this No-Bake Ice Cream Sandwich Cake.
- For a light and fruity snack, these Blueberry Swirl Yogurt Bites hit the spot.
- Interested in healthy breakfasts too? Check out our Healthy Oat Crepes!
Banana Nice Cream Nutritional Information
Here’s the sweet deal—each serving of this banana nice cream packs just 105 calories! You’re getting 27g of carbs (14g natural sugars), 3g fiber, and only 1g fat. It’s completely cholesterol-free and loaded with potassium. Of course, exact numbers may vary slightly based on your banana size and any add-ins you choose.
Frequently Asked Questions
Can I use unripe bananas for nice cream?
Oh honey, don’t do it! Those green-tipped bananas won’t have enough natural sweetness. Wait until they’re covered in brown speckles—that’s when they’re perfect. I keep a “banana graveyard” on my counter just for nice cream batches!
How long does banana nice cream last in the freezer?
Technically 2 weeks, but let’s be real—mine never survives past 3 days! Store it in an airtight container with parchment between layers. If it freezes solid, just let it sit out for 5 minutes or give it a quick blend before serving.
Can I make this without a food processor?
Yes, but it’s a workout! A high-powered blender works too—just add liquid slowly. My friend swears by her immersion blender with the chopper attachment in a pinch. Warning: Regular blenders might protest!
Why is my nice cream turning out icy?
Ah, the classic rookie mistake! Either your bananas weren’t ripe enough, or you added too much liquid. Next time, skip the milk unless absolutely necessary, and make sure those bananas are spotty-ripe before freezing.
Go Make Some Magic!
Now that you know my favorite kitchen secret, it’s your turn to wow everyone with this ridiculously easy treat. I’d love to hear how yours turns out—tag me if you share photos of your creamy creations! Happy blending, friends!
For more delicious recipes and inspiration, check out our Pinterest page!
Print
3-Ingredient Banana Nice Cream – A Guilt-Free Magic Trick
- Total Time: 4 hours 10 mins
- Yield: 2 servings
- Diet: Vegan
Description
A simple, healthy dessert made with frozen bananas. It’s creamy, naturally sweet, and requires no added sugar.
Ingredients
- 4 ripe bananas, sliced and frozen
- 1 tbsp peanut butter (optional)
- 1 tsp vanilla extract (optional)
- A splash of plant-based milk (if needed)
Instructions
- Slice the bananas and freeze them for at least 4 hours.
- Add frozen banana slices to a blender or food processor.
- Blend until smooth and creamy, scraping the sides as needed.
- Add peanut butter or vanilla extract if desired, and blend again.
- If the mixture is too thick, add a splash of plant-based milk.
- Serve immediately or freeze for a firmer texture.
Notes
- Use ripe bananas for the best sweetness.
- Blend immediately for a soft-serve texture or freeze longer for a firmer consistency.
- Customize with toppings like nuts, chocolate chips, or berries.
- Prep Time: 10 mins
- Cook Time: 0 mins
- Category: Dessert
- Method: Blending
- Cuisine: International
