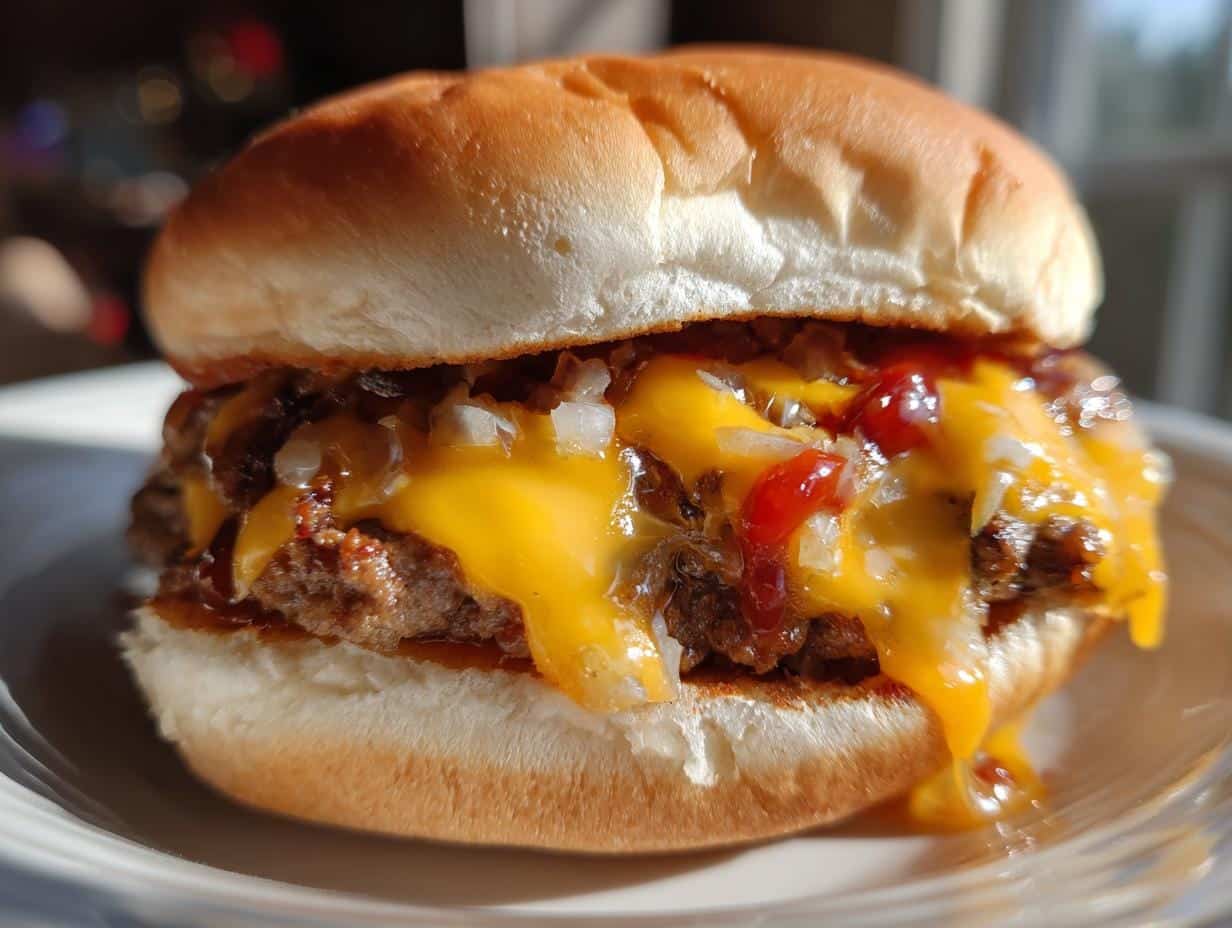
Okay, confession time—I might get a little too excited about Halloween dinners. But when I figured out how to turn classic cheeseburgers into these grinning Cheeseburger Skulls, I knew I’d struck spooky gold. These aren’t just burgers—they’re edible jack-o’-lanterns that’ll have your kids (and let’s be real, the adults too) cackling with delight. The best part? They’re just as tasty as they are creepy, with juicy beef, melty cheddar, and all your favorite toppings. Forget boring party food—this Halloween dinner steals the show every time.
Why You’ll Love This Cheeseburger Skulls Halloween Dinner
Listen, I don’t just make these because they look cool (though, wow, do they ever!). Here’s why this recipe’s a total keeper:
- Instant kid magnet: My nieces went nuts for these last year—way more excited than when I served “normal” burgers. That skull shape turns dinner into a game!
- Party superstar: Bring these to any Halloween gathering and watch them disappear faster than a ghost in the night. They’re always the first thing gone.
- Easier than carving pumpkins: Seriously, shaping the patties takes two minutes tops. No fancy skills needed—just squish the meat into a skull cookie cutter (or go freehand if you’re feeling wild).
- Totally yours to customize: Swap cheddar for pepper jack if you like heat, or skip the onions for picky eaters. Want extra creepy? Add olive “eyes” or ketchup “blood” drips!
Trust me—once you see those cheesy skulls grinning up from the plate, you’ll be hooked.
Ingredients for Cheeseburger Skulls Halloween Dinner
Here’s everything you’ll need to bring these spooky burgers to life—and yes, I’ve learned the hard way that skimping on ingredients makes for sad, lopsided skulls. Stick with me on these:
- 1 lb ground beef (80/20 blend): That 20% fat is crucial—it keeps the patties juicy and helps them hold their skull shape without crumbling. Leaner blends just don’t work as well.
- 1/2 tsp salt + 1/4 tsp black pepper: Simple seasoning lets the beef flavor shine, but feel free to add a pinch of garlic powder if you’re feeling fancy.
- 4 slices cheddar cheese: Sharp cheddar melts beautifully and gives that classic cheeseburger look. Pro tip: Buy block cheese and slice it thick—pre-sliced packs often melt too thin.
- 4 hamburger buns: Go for sesame seed buns—the little seeds add extra texture that looks like… well, let’s say “skull imperfections” for Halloween effect!
- 1 tbsp each ketchup, mustard, mayonnaise: The holy trinity of burger sauces. Mix ’em together for a quick “special sauce” if you’re short on time.
- 1/4 cup finely diced onions: I mean finely—big chunks will make your skull patties fall apart when shaping. White onions work best here.
- 1/4 cup diced pickles (not sliced!): Those little cubes nestle into the burger better than slices. Use bread-and-butter pickles if you like a touch of sweetness.
See? Nothing weird or hard-to-find—just good burger basics with a Halloween twist. Now let’s get creepy with it!
Equipment You’ll Need
Don’t worry—you don’t need a full-on mad scientist lab to make these Cheeseburger Skulls. Here’s the short and sweet list of tools that’ll help you nail it:
- Skull-shaped cookie cutter (about 4-inch): This is your magic wand for perfect patties. I found mine at a Halloween pop-up shop, but any medium-sized skull cutter works—just avoid tiny ones or your burgers will cook too fast.
- Grill or heavy skillet: My cast-iron pan gives those patties a gorgeous crust, but a regular grill works wonders too. If using a pan, go for stainless steel or cast iron—nonstick can get too slippery for flipping skulls intact.
- Thin metal spatula: Those flimsy plastic ones? Forget ’em. You need something sturdy to slide under delicate skull patties without mangling them. A fish spatula is perfect if you’ve got one.
No skull cutter? No panic! Here’s my cheat: Shape a round patty first, then pinch two “eye sockets” at the top with your thumbs and carve a little mouth with a butter knife. Imperfections just make them look more authentically creepy—like they’ve been dug up from a graveyard!
How to Make Cheeseburger Skulls Halloween Dinner
Alright, let’s turn these ingredients into the spookiest, tastiest burgers you’ve ever seen! Follow these steps, and you’ll have grinning cheeseburger skulls ready to haunt your dinner table in no time.
Shaping the Skull Patties
First things first—don’t overwork that meat! Here’s how I shape perfect skulls every time:
- Divide the beef: Split your 1 lb of ground beef into 4 equal portions (about 4 oz each). Roll each into a loose ball—no compacting!
- Press into the cutter: Place a ball in the center of your skull cookie cutter on a cutting board. Gently press and spread the meat to fill the shape evenly. Pro tip: Wet your fingers slightly to prevent sticking.
- Release carefully: Lift the cutter straight up—don’t wiggle it! If the patty sticks, run a butter knife around the edges first. Repeat with remaining portions.
- Chill for 10 minutes: Pop those shaped skulls in the fridge. This helps them hold their shape when cooking. No time? Freezer for 5 minutes works in a pinch!
No cutter? No problem! Shape round patties, then press thumbprints for eyes and carve a jagged mouth with a knife. “Ugly” just means extra creepy—embrace it!

Cooking the Cheeseburger Skulls
Now for the magic—turning those raw skulls into juicy masterpieces:
- Heat your pan or grill: Medium-high heat is perfect—you want a nice sizzle when the patties hit the surface. Test with a drop of water—it should dance, not explode.
- Cook for 4-5 minutes per side: Place skulls in the pan and resist the urge to press them down! Let them develop a crust—that’s flavor locking in. Flip when edges look cooked about halfway up.
- Add cheese at the last minute: When you’ve got about 60 seconds left, drape cheese slices over each skull. Cover the pan briefly to help melt—just until the cheese starts to droop like ectoplasm!
- Check doneness: Skulls should feel firm but slightly springy when pressed. Want them medium? Aim for 160°F internal temp. No thermometer? Clear juices mean they’re done.
Pro tip: If cheese melts over the “face,” use a toothpick to redefine the eyes and mouth while it’s still warm.

Assembling Your Halloween Dinner
Time to make these burgers look as good as they taste! Here’s my foolproof assembly line:
- Toast those buns: 30 seconds cut-side down in the same pan adds crunch and prevents sogginess from all our creepy condiments.
- Spread the “blood”: Mix ketchup and mayo for a pinkish “flesh” base on the bottom bun. Add mustard streaks for extra gross-out factor.
- Place the skull: Nestle that cheesy skull patty right in the center—melty side up so toppings stick.
- Add “guts”: Scatter diced onions and pickles randomly—the messier, the more Halloween-appropriate! Let some hang out the “mouth” for a zombie effect.
- Crown it: Top with the bun and press gently. For drama, serve with extra ketchup for “blood” drizzles at the table!
There you have it—cheeseburgers so spooky, they’re scary good! Now watch them disappear faster than a ghost in the night.

Tips for Perfect Cheeseburger Skulls
After making these way too many times (purely for research, of course), here are my can’t-live-without tricks:
- Chill those patties: 10 minutes in the fridge before cooking stops them from shrinking into blob monsters. Cold meat holds its spooky shape!
- Toast like your life depends on it: A quick grill-toast on the buns keeps them from turning into soggy mush under all that cheesy goodness.
- Sharp cheddar is your friend: Mild cheese just melts into nothingness—go for extra-sharp so those skull “features” stay visible.
- Undercook slightly: Pull burgers at 155°F—they’ll keep cooking as they rest, avoiding dry, tough “zombie meat” texture.
Follow these, and your cheeseburger skulls will be the talk of the graveyard—I mean, dinner table!
Serving Suggestions for Cheeseburger Skulls Halloween Dinner
Listen, these cheeseburger skulls are showstoppers on their own, but why stop there? Here’s how I turn the whole plate into a Halloween masterpiece that’ll have your guests screaming—in the best way possible!
Spooky Sides That Steal the Scene
You gotta pair these burgers with sides that match their creepy vibe. My go-tos:
- “Witch Finger” fries: Just grab some extra-long steak fries, bake ’em crispy, and dab a little almond “fingernail” on one end with ketchup “blood” at the base. So simple, so disturbing!
- Bloody ketchup dip: Mix ketchup with a touch of hot sauce and serve in a mini cauldron (or heck, a ramekin works). Label it “Zombie Blood” for extra fun.
- “Bone” yard salad: Celery sticks and blanched asparagus arranged like crossed bones on a bed of greens. Drizzle with ranch “grave dirt.”
Presentation That Pops (Like a Zombie Eye)
Here’s my secret—the serving dish makes all the difference:
- Black slate boards: I found mine at a home goods store—they make the orange cheese and red condiments look extra vivid. Like a little edible graveyard scene!
- Dry ice “fog”: For parties, place a small bowl of hot water with dry ice nearby (adults only handling!). The drifting fog makes even simple paper plates look haunted.
- Edible “spiderwebs”: Drizzle melted white chocolate in web patterns over parchment, let harden, and drape across the platter. Kids go nuts when they realize they can eat the decorations!
Pro tip: Label everything with silly horror names—”Fried Bat Wings” for chicken nuggets, “Eyeball Punch” for lychee drinks with boba. Half the fun is watching people giggle as they ask for seconds of “maggot rice” (that’s just rice with black sesame seeds, by the way).
Storage and Reheating Instructions
Okay, confession time—these cheeseburger skulls taste best fresh (that melty cheese! that crisp bun!), but if you’ve got leftovers, here’s how to bring them back to undead life without turning them into hockey pucks:
Saving Your Spooky Leftovers
First rule? Disassemble before storing! Here’s my fail-proof method:
- Skull patties alone: Let them cool completely, then wrap each one in parchment paper before tucking them in an airtight container. They’ll keep in the fridge for 2 days—any longer and they start losing their juicy charm.
- Condiments and veggies: Store these separately in small containers. Trust me, nobody wants a soggy pickle mush situation.
- Buns: Keep them in their original bag or an airtight container at room temp. Refrigerating turns them into rubber—learned that the hard way!
Reheating Like a Pro
When the midnight munchies hit (or it’s time for round two), here’s how to resurrect those burgers:
- Oven method (best for texture): Heat patties at 350°F for 5-7 minutes on a wire rack—this keeps them crispy. Add cheese in the last minute. Toast buns separately for 2 minutes while you’re at it.
- Microwave (for emergencies only!): 30 seconds on half power with a damp paper towel over the patty prevents chewiness. No shame—we’ve all been there at 2 AM!
- Never reheat assembled burgers: Unless you enjoy steamed buns with the consistency of wet cardboard. I thought so.
Pro tip: Leftover patties make killer next-day “zombie hash”—just chop them up with potatoes and onions for a spooky breakfast skillet!
Cheeseburger Skulls Halloween Dinner FAQs
I’ve gotten so many questions about these spooky burgers since I started making them—here are the answers to everything you might be wondering!
Can I use turkey or chicken instead of beef?
You can, but hear me out—leaner meats like turkey tend to dry out faster and don’t hold the skull shape as well. If you must swap, go for 93% lean ground turkey and add 1 tbsp olive oil per pound to keep it moist. Chicken works better as patties if you mix in an egg and some breadcrumbs as binders—though then they start tasting more like meatloaf than burgers!
How do I make these gluten-free?
Easy peasy! Just grab your favorite GF buns (I like the ones with seeds for extra texture). For the patties themselves, they’re naturally gluten-free—just check your condiments (some mustards have sneaky wheat). Want to be extra safe? Make a quick mayo-ketchup blend instead of using pre-made sauces.
My skulls keep falling apart—help!
Oh no! Three quick fixes: 1) Chill your shaped patties for 10+ minutes before cooking (cold meat holds better), 2) Don’t flip too early—wait until you see cooked edges creeping halfway up the sides, and 3) Use that 80/20 beef blend—the fat is like edible glue! If all else fails, cook them as rounds first, then carve the skull features after flipping.
Can I make these ahead for a party?
Absolutely! Here’s my game plan: Shape and chill the raw patties up to 24 hours ahead (wrap them tight in plastic). Keep condiments prepped in small containers. Day-of, cook the patties and let guests assemble their own “creepy creations”—the hot cheese makes everything meld together perfectly.
What’s the best cheese for maximum meltiness?
Hands down, sharp cheddar gives you that perfect “dripping skull” look! American cheese melts smoother but lacks character. For next-level gooeyness, try half cheddar, half Monterey Jack. Pro tip: Thick-cut your own cheese—pre-sliced stuff often vanishes into the patty like a ghost!
Still got questions? Slide into my DMs—I could talk cheeseburger skulls all night! You can also find more fun recipes on Pinterest.
Nutritional Information
Okay, let’s be real—these Cheeseburger Skulls aren’t health food (it’s Halloween, live a little!), but here’s the nutritional lowdown per serving. Remember, these numbers can vary based on your specific ingredients and brands. My estimates for one fully-loaded skull burger:
- Calories: 450 (mostly from that glorious cheese and beef hug)
- Fat: 25g (10g saturated—worth every delicious bite)
- Protein: 25g (those skulls are packed with muscle-building power)
- Carbs: 30g (blame the bun, but hey—it’s a celebration!)
- Sugar: 5g (mostly from the ketchup and pickles)
- Sodium: 800mg (go easy on the salt if you’re watching this)
Tag me @SpookyEats if you make these—I wanna see your cheeseburger skull masterpieces! 👻🍔
Print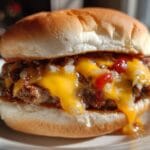
“Spooky 4-Ingredient Cheeseburger Skulls Dinner Delight”
- Total Time: 25 mins
- Yield: 4 servings
- Diet: Low Lactose
Description
A fun and spooky Halloween dinner idea featuring cheeseburgers shaped like skulls.
Ingredients
- 1 lb ground beef
- 1/2 tsp salt
- 1/4 tsp black pepper
- 4 slices cheddar cheese
- 4 hamburger buns
- 1 tbsp ketchup
- 1 tbsp mustard
- 1 tbsp mayonnaise
- 1/4 cup diced onions
- 1/4 cup diced pickles
Instructions
- Preheat your grill or stovetop pan to medium-high heat.
- Mix ground beef with salt and pepper.
- Shape the beef into skull-shaped patties.
- Cook the patties for 4-5 minutes per side.
- Add cheese slices during the last minute of cooking.
- Toast the buns lightly.
- Assemble the burgers with ketchup, mustard, mayonnaise, onions, and pickles.
Notes
- Use a cookie cutter for precise skull shapes.
- Adjust cooking time based on patty thickness.
- Serve with Halloween-themed sides.
- Prep Time: 15 mins
- Cook Time: 10 mins
- Category: Main Dish
- Method: Grilling
- Cuisine: American
