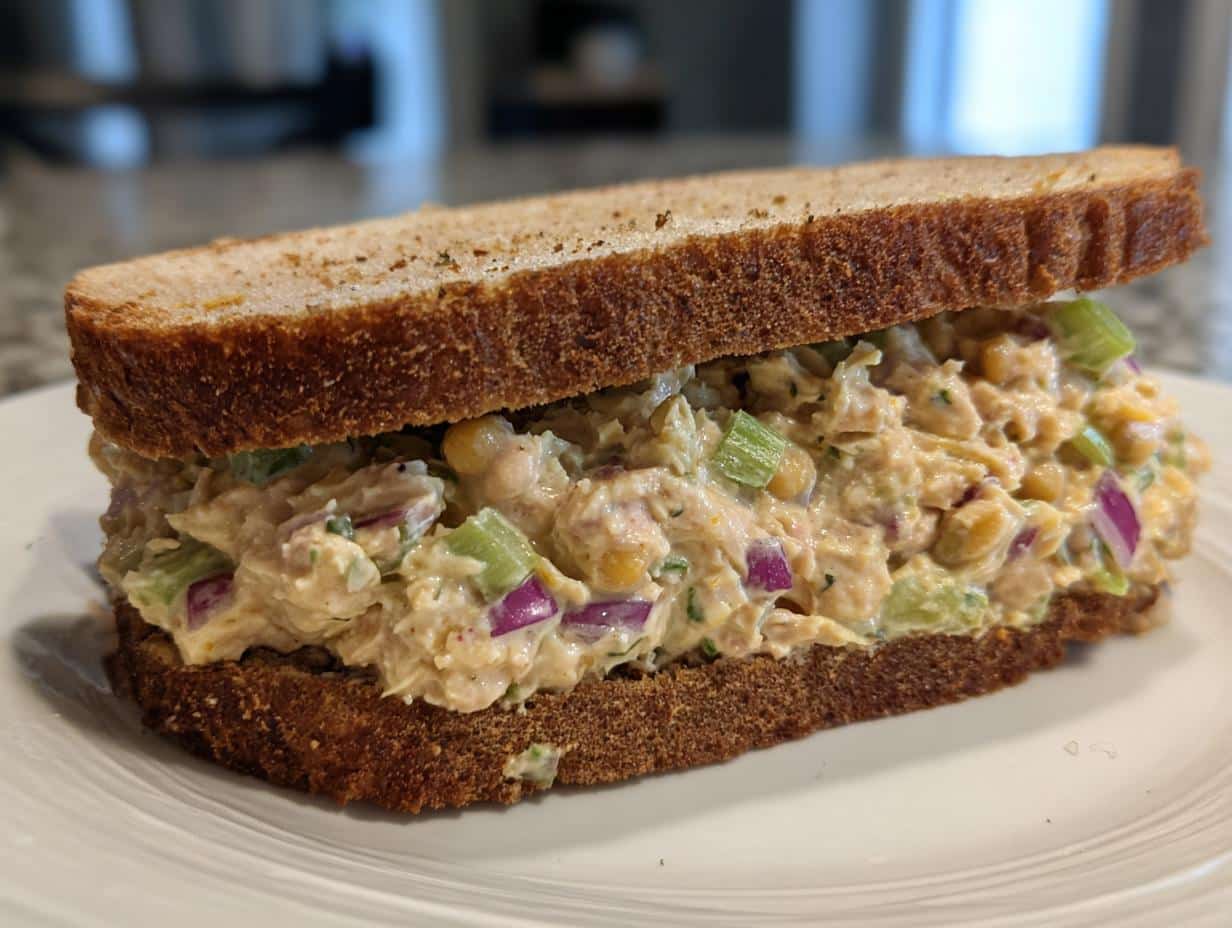
You know those days when lunch needs to be quick, filling, and—let’s be honest—something you don’t have to fuss over? That’s exactly why Chickpea Tuna Salad Sandwiches became my go-to. I first whipped this up one chaotic Wednesday when my fridge was nearly empty except for a can of chickpeas and tuna staring back at me. Ten minutes later? A protein-packed, creamy, crunchy miracle in sandwich form. Now, it’s my lunchbox hero—no cooking, no stress, just deliciousness. Bonus: my kids actually eat it without negotiating. (Small victories, right?)
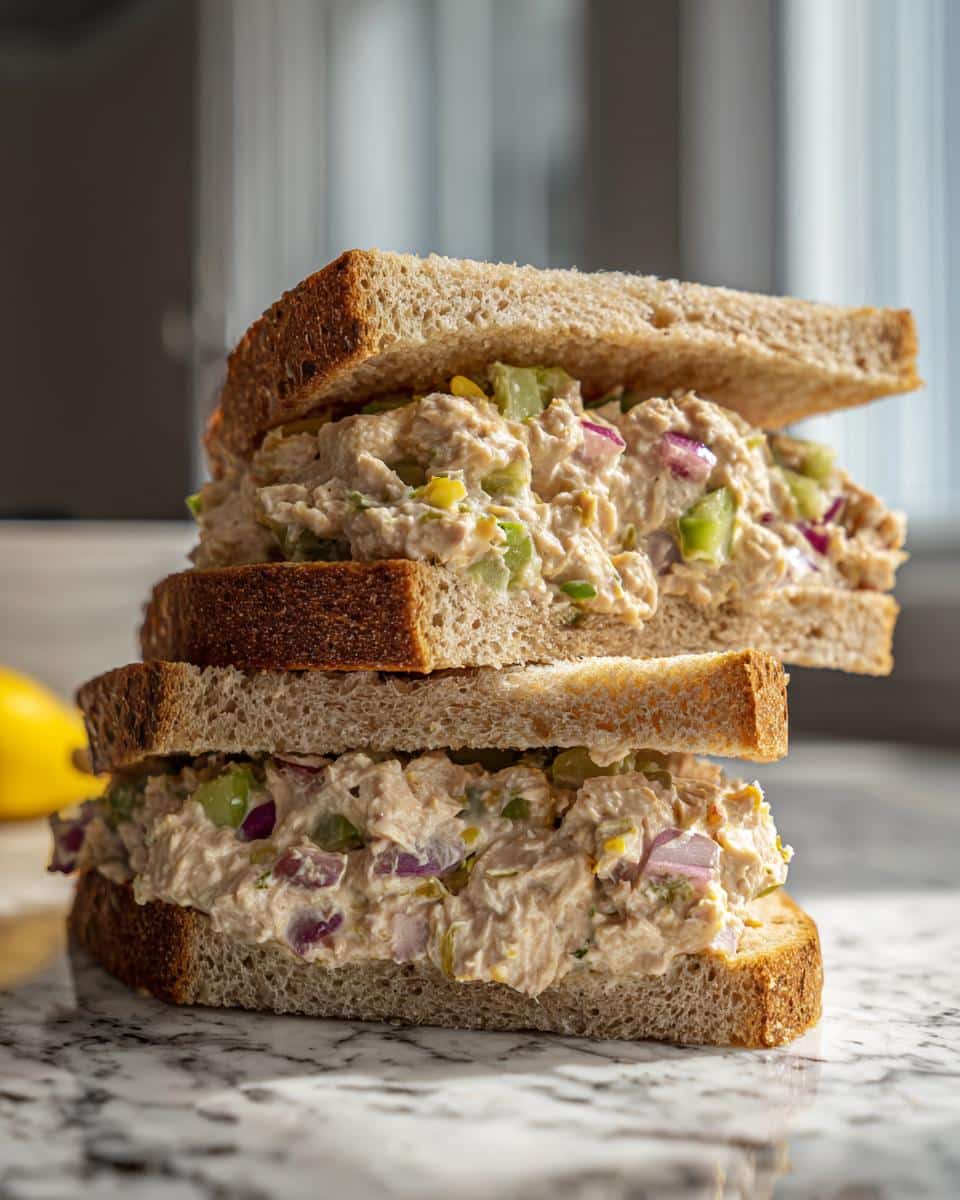
Why You’ll Love Chickpea Tuna Salad Sandwiches
Trust me, this isn’t just another sandwich recipe—it’s a lifesaver. Here’s why you’ll fall for it too:
- Protein-packed: Chickpeas and tuna team up to keep you full and energized all afternoon.
- No-cook magic: Skip the stove—just mash, mix, and you’re done in 10 minutes flat.
- Totally customizable: Add your favorite herbs, swap mayo for Greek yogurt, or toss in extra veggies. It’s your canvas!
- Budget-friendly: Canned staples mean it’s easy on your wallet but big on flavor.
It’s the kind of recipe you’ll keep coming back to—simple, satisfying, and downright delicious.
Ingredients for Chickpea Tuna Salad Sandwiches
Here’s everything you’ll need to whip up this easy lunch—trust me, it’s all pantry staples you probably have right now:
- 1 can (15 oz) chickpeas, drained and rinsed (don’t skip rinsing—it makes all the difference!)
- 1 can (5 oz) tuna, drained well (I like chunk light, but use whatever you’ve got)
- 1/4 cup mayonnaise, packed (or Greek yogurt if you’re feeling extra healthy)
- 1 tablespoon Dijon mustard (the secret tangy kick!)
- 1/4 cup celery, finely chopped (measure after chopping—those little crunch bits matter)
- 2 tablespoons red onion, finely chopped (soak in cold water for 5 minutes if you want milder flavor)
- 1 tablespoon lemon juice, fresh squeezed if possible (bottled works in a pinch)
- Salt and pepper to taste (start light—you can always add more)
See? Nothing fancy, just good, honest ingredients ready to become something amazing.
How to Make Chickpea Tuna Salad Sandwiches
Okay, here’s the fun part—let’s turn those simple ingredients into sandwich magic! Follow these steps and you’ll be munching in no time:
- Mash those chickpeas first! Dump them into a big bowl and go at them with a fork or potato masher. You want them mostly broken down but still a little chunky—think rustic, not baby food.
- Add your tuna (flaked with a fork if it’s in big chunks) and all the wet ingredients—mayo, mustard, and lemon juice. Mix until everything looks happily combined.
- Toss in the crunch squad—celery and red onion. Fold them in gently so they keep their texture.
- Season last! Taste before adding salt and pepper—sometimes the tuna and mustard bring enough saltiness already. Adjust until it makes your taste buds sing.
- Slather it on bread (or lettuce wraps if you’re feeling fancy) and dig in! Though honestly? It gets even better after chilling for 30 minutes.
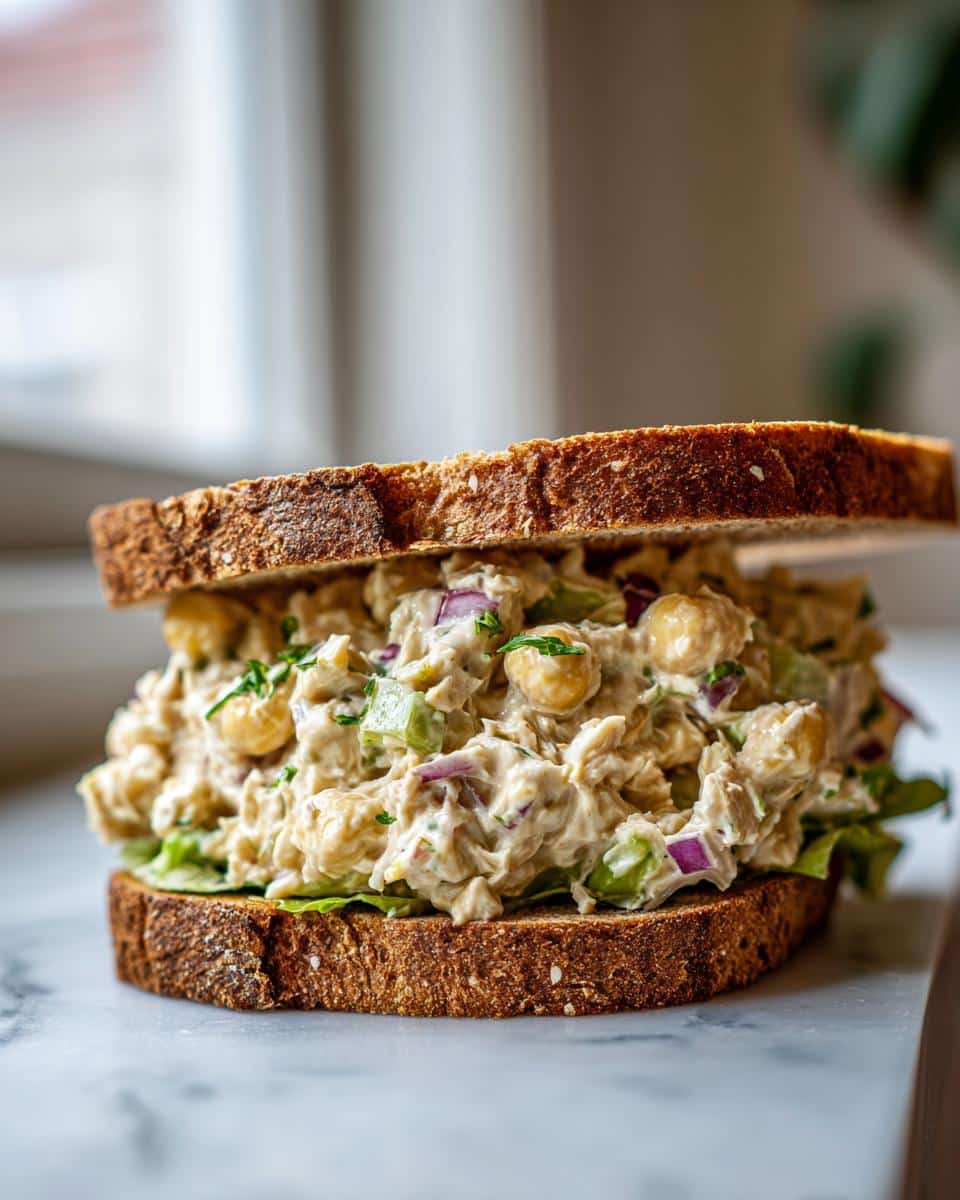
Tips for Perfect Chickpea Tuna Salad Sandwiches
Want pro-level results? Here are my hard-earned tricks:
- Don’t over-mash—leave some chickpea texture for bite.
- Too dry? Add a splash of pickle juice (trust me). Too wet? More chickpeas!
- Chill before serving—the flavors marry beautifully.
- Spread to the edges—nobody wants a dry corner!
Ingredient Substitutions & Variations
Honestly, the best part about this recipe is how you can totally make it your own! Don’t be shy—swap things out based on what’s in your fridge or what you’re craving. Here are my favorite tweaks:
- Mayo swap: Use Greek yogurt for a tangier, protein-boosted version. It’s my go-to for a lighter feel.
- Herb it up: A handful of fresh dill or parsley? Yes, please. It adds such a fresh pop.
- Spice lover? A pinch of smoked paprika or a dash of hot sauce wakes everything right up.
- Vegan option: Skip the tuna and add extra chickpeas or even some chopped walnuts for crunch.
See? So many ways to play with it and keep it exciting!
Serving Suggestions for Chickpea Tuna Salad Sandwiches
Oh, the possibilities! This filling is so versatile—it’ll make anything taste amazing. My absolute favorite? Toasted whole-grain bread with crisp lettuce leaves. But when I’m feeling extra, I’ll scoop it into butter lettuce wraps for a low-carb crunch. Pack it with carrot sticks or apple slices for the perfect portable lunch. (Pro tip: Keep the bread separate until you’re ready to eat to avoid sogginess!)
Storage & Reheating Instructions
Here’s the good news—this chickpea tuna salad actually gets tastier after chilling for a bit! Just pop it in an airtight container in the fridge, and it’ll stay fresh for up to 2 days. The texture might get a tad softer, but the flavors only get better. (No reheating needed—just grab it cold and spread!)
Chickpea Tuna Salad Sandwiches Nutrition Facts
Now, let’s talk about why this sandwich makes you feel as good as it tastes! (Nutrition will vary based on brands and exact ingredients, of course.) For one hearty serving—about 1/4 of the recipe—you’re looking at roughly:
- 250 calories (give or take, depending on your bread choice)
- 15g protein—thanks to that powerhouse tuna-chickpea duo!
- 5g fiber from the chickpeas (happy gut, happy life)
- 12g fat (mostly the good kind from mayo and tuna)
Not too shabby for a sandwich that tastes this indulgent, right? It’s proof that quick lunches can be both delicious AND nourishing.
Frequently Asked Questions
Got questions? I’ve got answers! Here are the things people ask me most about these Chickpea Tuna Salad Sandwiches:
Can I use canned salmon instead of tuna?
Absolutely! Salmon works beautifully—just drain it well and flake it with a fork. The flavor’s richer, so you might want an extra squeeze of lemon to balance it. My sister swears by this swap!
Is this recipe freezer-friendly?
Honestly? Not really. The texture gets weird after thawing—the chickpeas turn mushy and the mayo separates. Stick to fridge storage for best results.
How can I reduce the sodium?
Easy! Rinse your chickpeas and tuna extra well, use low-sodium tuna if available, and skip added salt. The mustard and lemon already pack plenty of flavor!
Can I make this vegan?
Totally! Skip the tuna and mayo—use mashed avocado or vegan mayo instead. Throw in some sunflower seeds for extra protein. Tastes just as satisfying!
Share Your Chickpea Tuna Salad Sandwiches
Made this recipe? Snap a pic and tag me—I’d love to see your twist! Whether you added extra herbs or served it in a wrap, share your lunchbox wins with me.
Print
10-Minute Chickpea Tuna Salad Sandwiches – Easy Bliss
- Total Time: 10 minutes
- Yield: 4 sandwiches
- Diet: Low Calorie
Description
A healthy and protein-packed sandwich filling made with chickpeas and tuna.
Ingredients
- 1 can (15 oz) chickpeas, drained and rinsed
- 1 can (5 oz) tuna, drained
- 1/4 cup mayonnaise
- 1 tablespoon Dijon mustard
- 1/4 cup finely chopped celery
- 2 tablespoons finely chopped red onion
- 1 tablespoon lemon juice
- Salt and pepper to taste
Instructions
- Mash the chickpeas in a bowl using a fork or potato masher.
- Add the tuna, mayonnaise, Dijon mustard, celery, red onion, and lemon juice to the bowl.
- Mix all the ingredients until well combined.
- Season with salt and pepper to taste.
- Spread the mixture onto bread slices to make sandwiches.
Notes
- You can use Greek yogurt instead of mayonnaise for a healthier option.
- Add fresh herbs like parsley or dill for extra flavor.
- This mixture can be stored in the refrigerator for up to 2 days.
- Prep Time: 10 minutes
- Cook Time: 0 minutes
- Category: Lunch
- Method: No-Cook
- Cuisine: American
