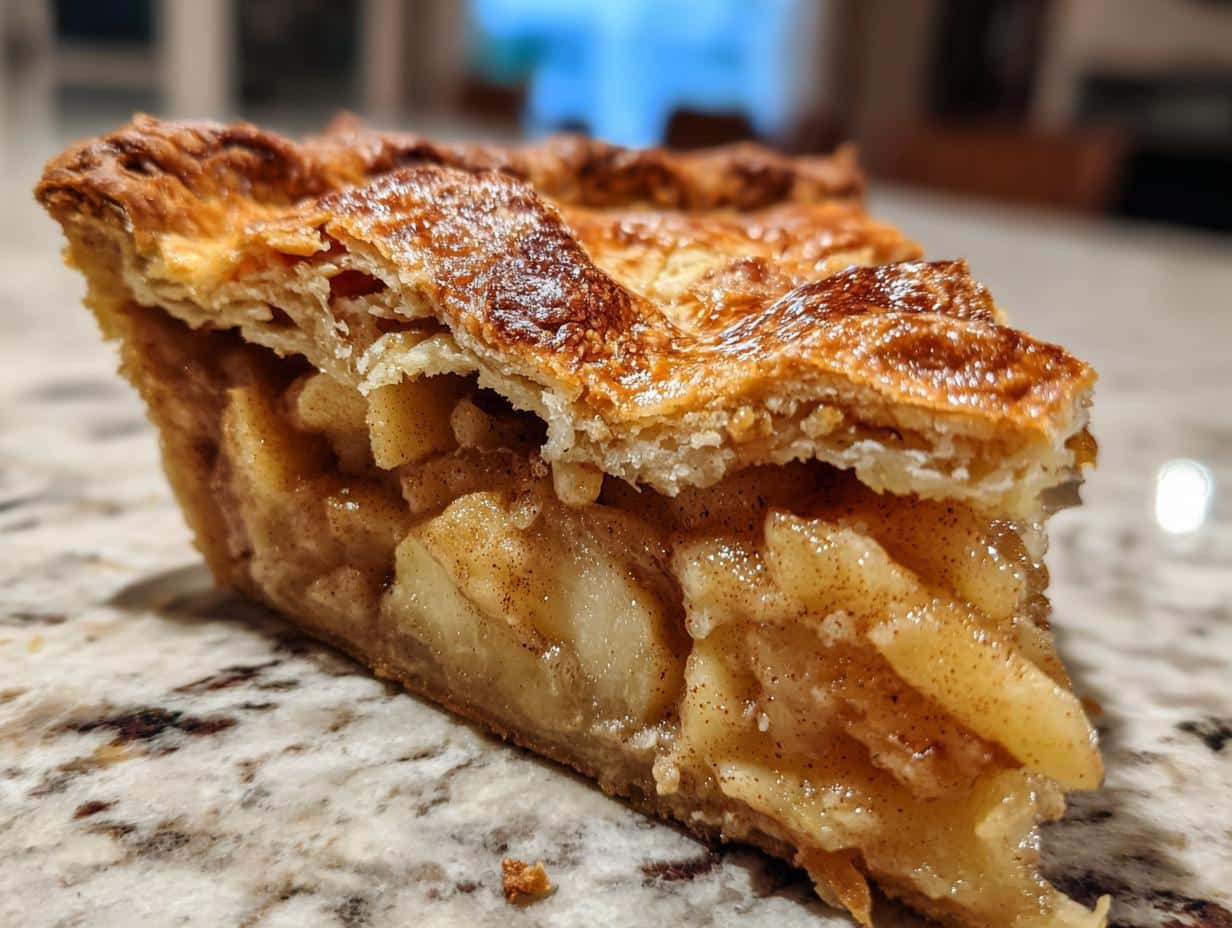
Nothing says home like the smell of a Classic Double-Crust Apple Pie with Cinnamon and Nutmeg baking in the oven. That sweet, buttery aroma filling the kitchen takes me right back to my grandma’s house every fall, where making pie was practically a family sport. She’d hand me the peeler, and we’d turn mountains of tart apples into perfect slices while she told me the secret to her flaky crust—always, always use butter so cold it makes your fingers ache.
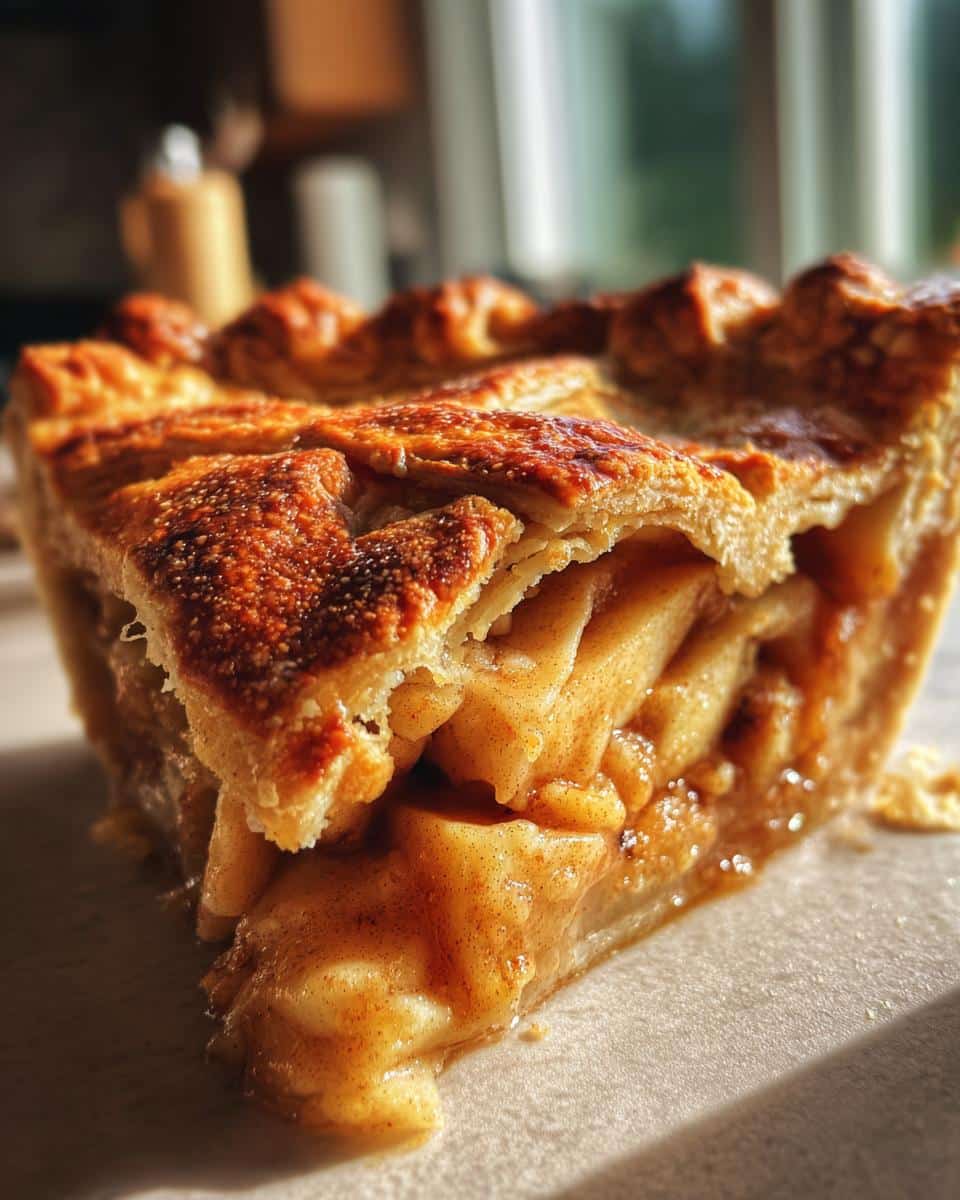
This pie is pure comfort: tender, spiced apples tucked between two layers of golden, shatter-crisp pastry. The cinnamon and nutmeg? Just enough to warm you up without overpowering the fruit. It’s the kind of dessert that makes everyone lean in for a second slice especially if you serve it still slightly warm with a scoop of vanilla ice cream melting over the top. Trust me, once you try this version, it’ll become your go-to for holidays, potlucks, or just because it’s Tuesday.
Table of Contents
Why You’ll Love This Classic Double-Crust Apple Pie
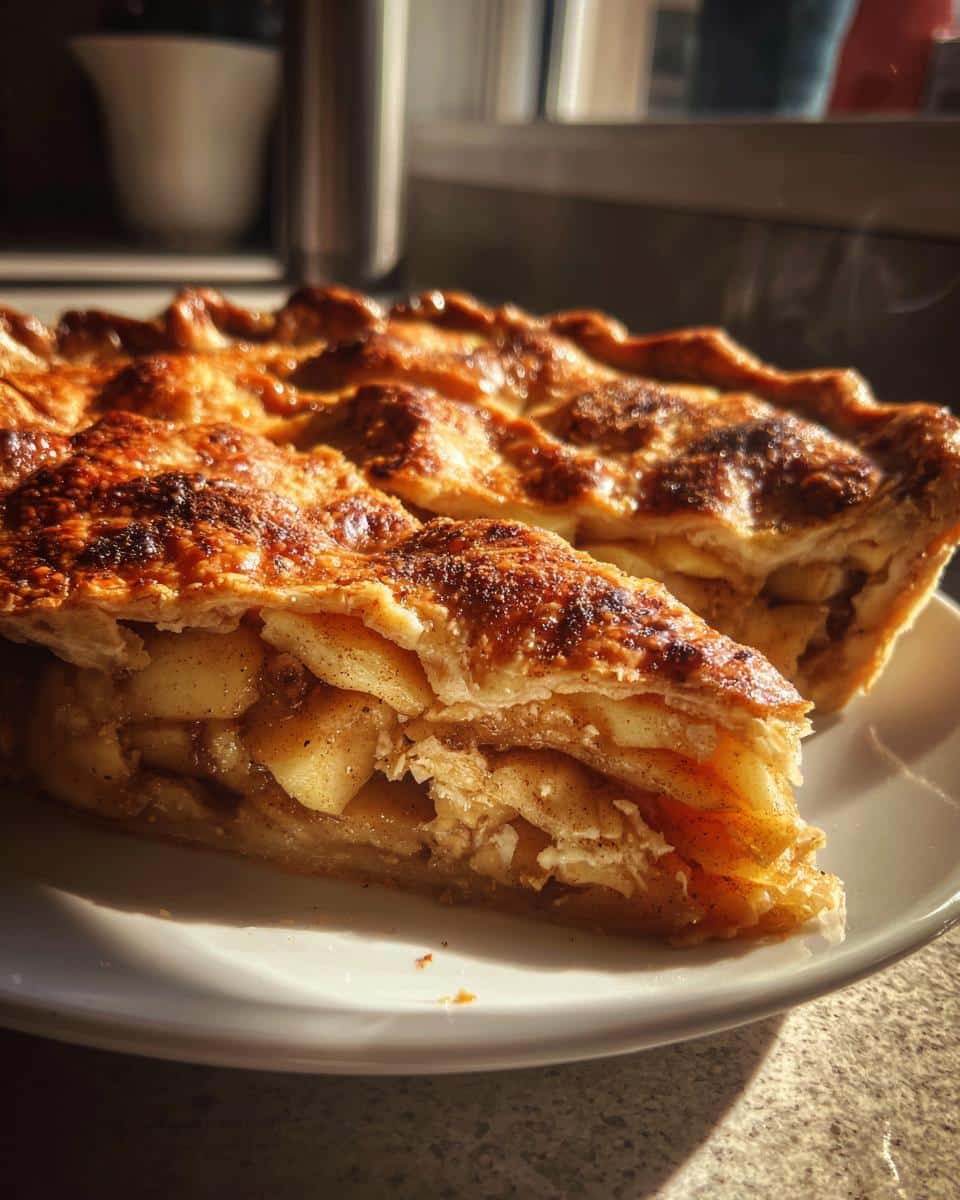
This isn’t just any apple pie—it’s the one you’ll crave all year round. Here’s why:
- That crust! Flaky, buttery layers that shatter when you cut into them, thanks to ice-cold butter and just the right amount of handling. It’s like biting into a cloud… if clouds were golden and delicious.
- Perfectly spiced filling with cinnamon and nutmeg that hug the apples without overwhelming them. No bland fruit or spice overload here—just warm, cozy flavor in every bite.
- Works for any occasion, from Thanksgiving feasts to “I need pie therapy” Tuesday nights. Serve it warm with ice cream, cold with coffee for breakfast (we won’t judge), or straight from the pan with a fork when no one’s looking.
- The nostalgia factor. That first whiff of baking apples and butter will transport you right back to your favorite childhood kitchen. It’s basically a hug in pie form.
Ingredients for Classic Double-Crust Apple Pie
Gather these simple ingredients—they’re the building blocks of pie magic. I’ve separated them into crust and filling so you can shop and prep without missing a beat.
- For the crust:
- 2 1/2 cups all-purpose flour (spooned and leveled, please—no packing!)
- 1 teaspoon salt (I use fine sea salt for even distribution)
- 1 cup unsalted butter, chilled and diced (that’s 2 sticks, straight from the fridge)
- 6-8 tablespoons ice water (yes, actual ice cubes floating in it)
- For the filling:
- 6 cups thinly sliced apples (about 5-6 medium—I’ll tell you my favorites below)
- 3/4 cup granulated sugar (adjust up to 1 cup if your apples are very tart)
- 1 tablespoon fresh lemon juice (bottled works in a pinch, but fresh is brighter)
- 1 1/2 teaspoons ground cinnamon
- 1/4 teaspoon ground nutmeg (freshly grated if you’re feeling fancy)
- 1 tablespoon unsalted butter, cut into tiny cubes (for dotting the filling)
Ingredient Notes & Substitutions
Don’t stress if you need to swap a thing or two—here’s how to keep the spirit of the pie alive:
- Apples: Granny Smith are my go-to for their tartness and structure, but Honeycrisp or Braeburn add extra sweetness. Avoid Red Delicious—they turn to mush.
- Butter: That “chilled” note isn’t just a suggestion! Cold butter creates steam pockets as it bakes, which equals flaky layers. If your kitchen’s warm, pop the diced butter in the freezer for 10 minutes before using.
- Lemon juice: Keeps apples from browning and balances sweetness. No lemons? A dash of apple cider vinegar works too.
- Spices: Out of nutmeg? A pinch of allspice or cardamom can step in. Just don’t skip the cinnamon—it’s the soul of this pie.
How to Make Classic Double-Crust Apple Pie
Now for the fun part—let’s turn those ingredients into pure comfort food! Follow these steps, and you’ll have a pie that could win blue ribbons (or at least earn you bragging rights at the next family gathering).
Preparing the Perfect Pie Crust
I swear by this crust—it’s flaky, tender, and sturdy enough to hold all those juicy apples without getting soggy. Here’s how to nail it:
- Mix dry ingredients: Whisk flour and salt in a large bowl. I like to use my biggest mixing bowl so there’s plenty of room to work.
- Cut in the butter: Add those chilled butter cubes and work them in with a pastry cutter or your fingertips. Stop when the mixture looks like coarse crumbs with some pea-sized butter pieces still visible—those little butter pockets are what create flakiness!
- Add ice water: Sprinkle in water 1 tablespoon at a time, mixing gently with a fork after each addition. The dough should just come together when pinched—don’t overdo it! Too much water makes tough crust.
- Chill: Divide dough in half, flatten into disks, wrap in plastic, and refrigerate for at least 1 hour (up to 2 days). This relaxes the gluten and keeps the butter cold for maximum flakiness.
Assembling and Baking the Pie
Now for the moment we’ve been waiting for—building that glorious pie!
- Preheat and prep: Heat oven to 425°F (220°C). Roll out one dough disk on a floured surface to a 12-inch circle and carefully transfer to a 9-inch pie dish. Don’t stretch it—just let it settle in naturally.
- Toss apples: In a big bowl, combine apple slices with sugar, lemon juice, cinnamon, and nutmeg. Let sit for 10 minutes—this draws out some juice so the filling isn’t watery.
- Fill ‘er up: Pile apples into the crust, mounding slightly in the center. Dot with those tiny butter cubes—they’ll melt into pure deliciousness.
- Top it off: Roll out second dough disk, place over apples, and crimp edges together. Cut 4-5 slits in the top for steam to escape (get creative with patterns if you’re feeling fancy!).
- Bake: Place pie on a baking sheet (catches drips!) and bake 45-50 minutes. If edges brown too fast, tent with foil. You’ll know it’s done when the crust is golden and juices bubble thickly through the vents.
- Cool: Resisting the urge to slice immediately is tough, but let it cool at least 2 hours. This sets the filling so you get clean slices instead of apple soup!
Tips for the Best Classic Double-Crust Apple Pie
After years of making this pie (and learning from a few disasters), I’ve picked up some tricks that guarantee perfection every time. Here are my can’t-live-without pie hacks:
- Keep everything cold, cold, cold! I even chill my mixing bowl and flour sometimes. Warm butter makes tough crust—if your kitchen’s hot, work fast or pop the dough back in the fridge if it gets sticky.
- Slice apples evenly (but don’t stress). About 1/4-inch thick is ideal—too thin and they’ll disappear, too thick and they won’t soften properly. My grandma taught me to eyeball it by making them “the thickness of a pencil.”
- Drain those apples. After tossing with sugar, let them sit 10 minutes, then pour off excess juice. You’ll avoid that dreaded “soggy bottom” crust. Save the syrup for pancakes if you hate waste!
- Bake on the bottom rack. This crisps up the bottom crust beautifully. If the top browns too fast, just drape foil loosely over it—no fancy crimping needed.
- Wait for it… wait for it… I know it’s hard, but let the pie cool completely before slicing. Those 2 hours let the filling thicken so you get picture-perfect wedges instead of apple soup. (Pro tip: Warm individual slices later if you can’t resist!)
Serving and Storing Classic Double-Crust Apple Pie
Now comes the best part—eating your masterpiece! Here’s how to serve it like a pro and keep leftovers tasting fresh (though let’s be honest, leftovers are rare with this pie).
Serve it warm with a scoop of vanilla ice cream melting into the flaky crust—that hot-cold combo is pure magic. For breakfast (no judgment here), try it with a dollop of Greek yogurt and drizzle of honey. Feeling fancy? A sprinkle of toasted pecans or a caramel sauce swirl takes it over the top.
Storing your pie is simple:
- Room temperature: Cover loosely with a clean towel or foil and enjoy within 2 days. That crust stays surprisingly crisp!
- Refrigerator: For longer storage, wrap tightly and refrigerate up to 5 days. The filling firms up nicely when chilled—perfect for those who prefer their pie cold.
- Freezing: You can freeze the whole baked pie or individual slices for up to 3 months. Just thaw overnight in the fridge and reheat gently.
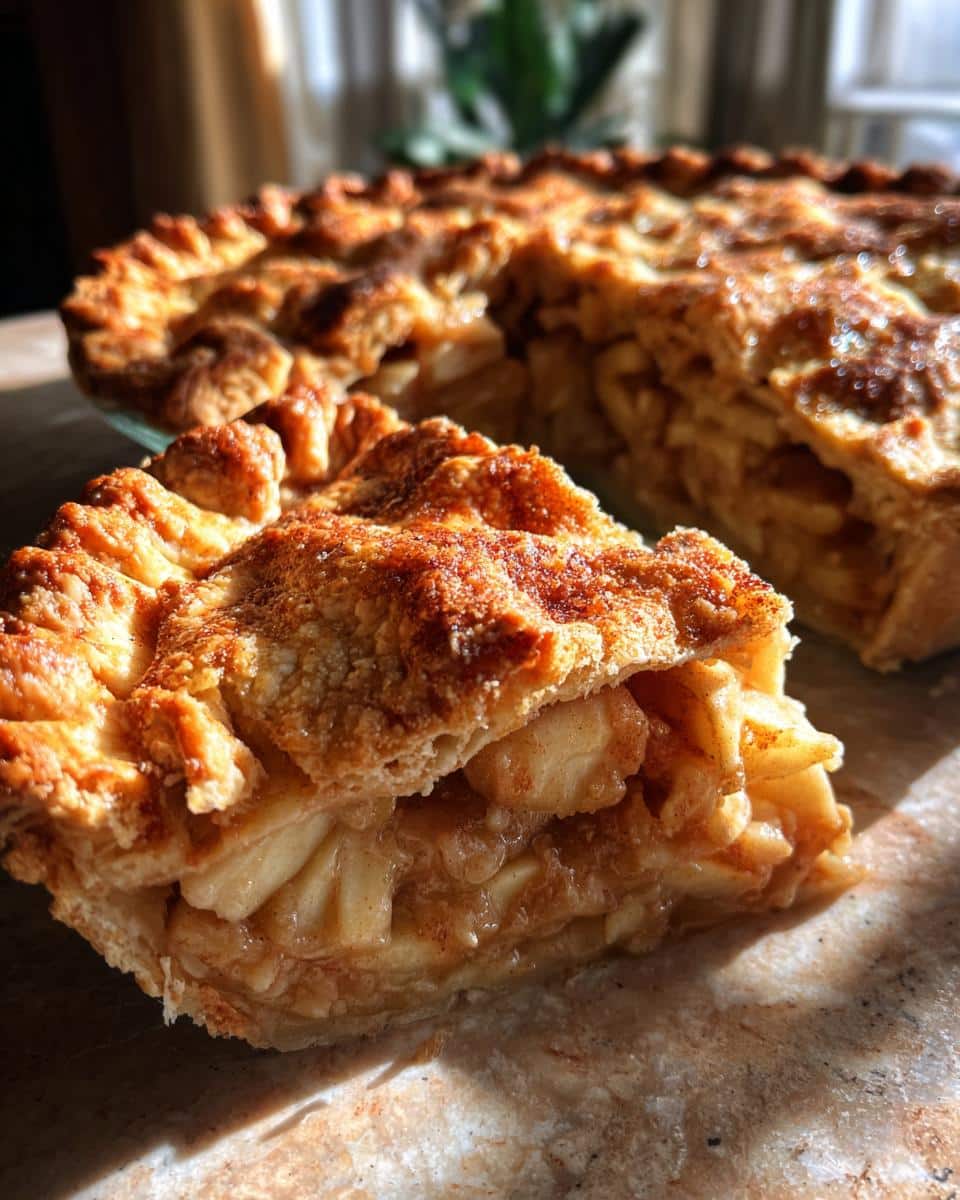
Reheating tip: Pop slices in a 350°F oven for 10 minutes to bring back that just-baked warmth. Microwave works in a pinch, but the crust won’t stay as crisp. And if you’re reheating a whole pie? Cover the edges with foil to prevent over-browning while the center warms through.
Pro tip from my grandma: Always save one slice for yourself before serving—bakers deserve the best piece!
Classic Double-Crust Apple Pie FAQs
Got questions? I’ve got answers! Here are the most common pie puzzlers I hear from friends and family (and yes, I’ve asked them all myself at some point too).
Can I use store-bought pie crust instead of making my own?
You can, but homemade really is worth it for that perfect flaky texture. Pre-made crusts work in a pinch—just expect them to be a bit denser. If you go that route, use a deep-dish frozen crust to hold all those apples!
How thin should I slice the apples?
Aim for 1/4-inch slices—about the thickness of a pencil. Too thick and they won’t soften properly; too thin and they’ll turn to mush. I like to leave the skins on for extra texture (and less work!), but peel them if you prefer.
My filling is watery—what went wrong?
A few things: First, make sure to drain the apples after tossing with sugar. Second, don’t skip the cornstarch (it’s our secret thickener). And always let the pie cool completely—those juices need time to set up properly.
Can I make the pie ahead of time?
Absolutely! The unbaked pie freezes beautifully—just assemble it, then freeze until solid before wrapping tightly. Bake straight from frozen, adding 15-20 extra minutes. Baked pie keeps at room temp for 2 days or refrigerated for 5.
Why use both cinnamon and nutmeg?
Cinnamon gives that classic warmth we all love, while nutmeg adds a subtle, almost floral depth. Together? Magic. If you’re out of nutmeg, a pinch of allspice or cardamom works, but don’t skip it entirely—that spice blend makes this pie special!
Nutritional Information
Just a quick note before you dig in—nutritional info can vary depending on the exact ingredients and brands you use. This pie is meant to be enjoyed as an occasional treat (though I won’t tell if you sneak a slice for breakfast). The filling packs fiber from all those apples, and let’s be honest—sometimes happiness is the best nutrition of all!
For those tracking, a typical slice of Classic Double-Crust Apple Pie with Cinnamon and Nutmeg might have around 300-350 calories, but your mileage may vary based on slice size, sugar adjustments, or whether you go heavy on that vanilla ice cream topping (no regrets here). The most important numbers? 100% delicious, 0% guilt—especially when shared with people you love.
Share Your Classic Double-Crust Apple Pie
Nothing makes me happier than seeing your pies come to life! Did you add a creative twist to the recipe? Maybe you found the perfect apple variety or nailed that crimping technique on your first try? I want to hear all about it—the triumphs, the happy accidents, even the “oops” moments (we’ve all had them!).
Leave a star rating below to let others know how much you loved this Classic Double-Crust Apple Pie with Cinnamon and Nutmeg, or snap a photo of your golden masterpiece mid-slice (extra points if there’s ice cream involved). Tag me on Instagram @[YourHandle] so I can cheer you on and maybe even feature your creation! Baking is always better when we share the joy. Check out more recipes on Pinterest!
And if you have questions while making this pie? Drop them in the comments—I read every one and love helping troubleshoot. Now go forth and bake memories (and maybe save me a slice)!
Print
Classic Double-Crust Apple Pie: 7 Secrets for Perfect Flaky Crust
- Total Time: 2 hours 20 minutes
- Yield: 8 servings
- Diet: Vegetarian
Description
A timeless double-crust apple pie with warm cinnamon and nutmeg flavors.
Ingredients
- 2 1/2 cups all-purpose flour
- 1 tsp salt
- 1 cup unsalted butter, chilled and diced
- 6–8 tbsp ice water
- 6 cups thinly sliced apples (Granny Smith or Honeycrisp)
- 3/4 cup granulated sugar
- 1 tbsp lemon juice
- 1 1/2 tsp ground cinnamon
- 1/4 tsp ground nutmeg
- 1 tbsp unsalted butter (for topping)
Instructions
- Mix flour and salt in a bowl. Cut in chilled butter until crumbly.
- Add ice water 1 tbsp at a time until dough forms. Divide into two balls, flatten into disks, and chill for 1 hour.
- Preheat oven to 425°F (220°C). Roll out one dough disk into a 12-inch circle and place in a 9-inch pie dish.
- In a bowl, toss apples with sugar, lemon juice, cinnamon, and nutmeg. Pour into the crust.
- Dot with butter. Roll out the second dough disk, place over apples, and crimp edges.
- Cut slits in the top crust for venting. Bake for 45-50 minutes until golden.
- Cool for 2 hours before serving.
Notes
- Use cold butter for flaky crust.
- Prevent soggy crust by tossing apples with sugar and letting them sit for 15 minutes before baking.
- Cover edges with foil if browning too quickly.
- Prep Time: 1 hour 30 minutes
- Cook Time: 50 minutes
- Category: Dessert
- Method: Baking
- Cuisine: American
