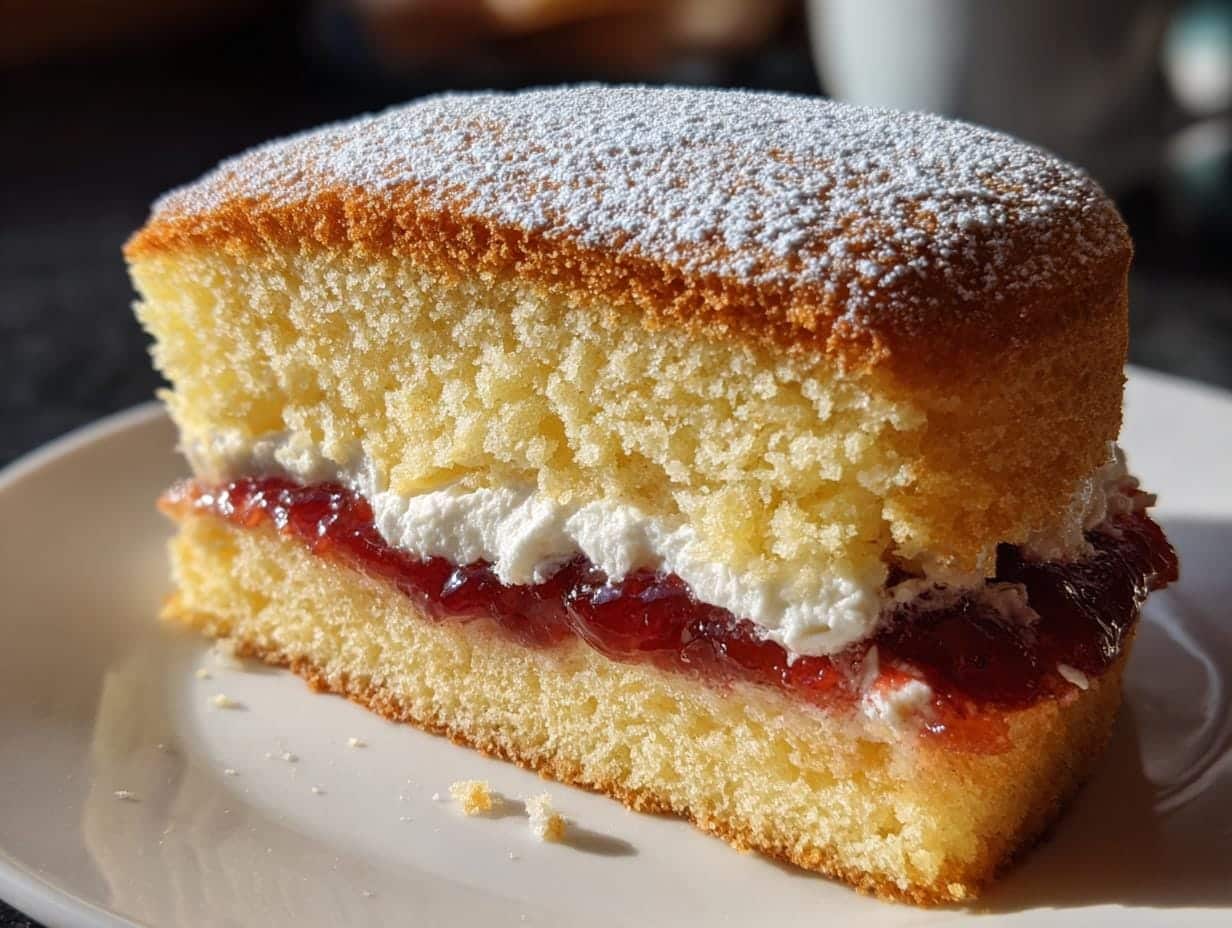
There’s something magical about a Classic Victoria Sponge Cake that takes me right back to my first baking disaster-turned-triumph. I was twelve, armed with my grandmother’s handwritten recipe and way too much enthusiasm. The kitchen looked like a flour bomb had gone off, but that first bite of golden, jam-filled sponge? Absolute perfection.
After twenty years of baking these beauties (and cleaning up countless flour explosions), I’ve learned this simple truth: the best Victoria Sponge balances elegance with comfort. It’s the cake you serve to impress at afternoon tea, yet simple enough to whip up when friends pop by unexpectedly. Queen Victoria herself reportedly loved this very recipe, and honestly, who could blame her?
What makes my heart sing is how this cake celebrates basic ingredients – butter, eggs, flour, and a splash of vanilla – transformed into something extraordinary. When done right, each forkful practically dissolves on your tongue, with just the right amount of jammy sweetness and cloud-like cream. It’s British baking at its finest, and today I’m sharing all my hard-earned secrets to help you nail it on your first try.
Table of Contents
Why You’ll Love This Classic Victoria Sponge Cake
Oh, where do I even begin? This cake has stolen more hearts than I can count, and here’s why it’ll steal yours too:
- Timeless perfection: This is the real deal—the same recipe British bakers have cherished for generations. No fuss, no fancy tricks, just pure, buttery bliss.
- Cloud-like texture: That first forkful? It’s like biting into a sweet, jammy cloud. The secret’s in the perfect rise (thank you, self-raising flour!).
- Tea time hero: Nothing pairs better with a proper cuppa. The slight sweetness, the creamy filling—it’s afternoon tea in cake form.
- Pantry-friendly: Odds are, you’ve got everything you need already. Butter, eggs, sugar, flour—simple magic at work.
- Universal crowd-pleaser: From kids to grandparents, picky eaters to food snobs, I’ve yet to meet someone who can resist a slice (or three).
Trust me, once you’ve mastered this, you’ll be making it on repeat. It’s that kind of cake.
Ingredients for Classic Victoria Sponge Cake
Here’s your shopping list for sponge cake magic! I’m obsessive about these ingredients—trust me, they make all the difference between “good” and “oh-my-goodness” cake:
- For the sponge layers:
- 200g softened unsalted butter (leave it out for 2 hours—no cheating with the microwave!)
- 200g caster sugar (that superfine stuff—granulated just won’t give you that melt-in-your-mouth texture)
- 4 large eggs, room temperature (cold eggs are the enemy of fluffy batter)
- 200g self-raising flour (sifted—yes, it matters)
- 1 tsp good vanilla extract (skip the imitation stuff, please)
- For the filling:
- 100g strawberry jam (go for quality—you’ll taste the difference)
- 150ml heavy/double cream, whipped to soft peaks (none of that aerosol nonsense)
- Icing sugar, for dusting (the finishing touch!)
You’ll also need two 20cm round cake tins—non-stick if possible, but we’ll line them anyway because I don’t trust any tin completely!
Essential Equipment for Classic Victoria Sponge Cake
Now, let’s talk tools! You don’t need a fancy kitchen to make magic happen, but these six essentials will set you up for Victoria Sponge success:
- Electric mixer: A hand mixer works perfectly fine (that’s what I used for years before upgrading). You’ll want those beaters to get your butter and sugar properly pale and fluffy—it makes all the difference.
- Two 20cm round cake tins: Non-stick is lovely, but we’re lining them anyway. Just make sure they’re the same size—I learned that lesson the hard way with lopsided layers!
- Parchment paper: For lining those tins. Pro tip: trace the bottom of your tin on the paper and cut just inside the line for a perfect fit.
- Wire rack: Non-negotiable for cooling. Those cakes need airflow or they’ll steam themselves soggy—total sponge tragedy.
- Offset spatula: My secret weapon for spreading jam and cream without tearing the delicate sponge. A butter knife works in a pinch, but this $5 tool is life-changing.
- Fine-mesh sieve: For that gorgeous snow-like dusting of icing sugar. Shaking it straight from the box never gives you that bakery-perfect finish.
See? Nothing too wild. Just good, simple tools that’ll have you baking like a pro in no time.
How to Make Classic Victoria Sponge Cake
Alright, let’s get to the good part—making that dreamy, cloud-like sponge! I’ll walk you through each step like we’re baking together in my kitchen. Just follow along, and you’ll have a showstopper in no time.
Preparing the Cake Batter
First things first: cream that butter and sugar like your cake’s life depends on it—because it kinda does! Beat them together with your electric mixer for a good 3-4 minutes until pale, fluffy, and almost whipped. This isn’t just mixing; it’s creating tiny air pockets that’ll give your sponge that gorgeous rise.
Now, add the eggs one at a time, beating well after each. If the mixture looks a bit curdled, don’t panic! Just toss in a spoonful of your flour to bring it back together. Next up: sift in the flour and add the vanilla. Here’s where you switch to a gentle hand—fold with a spatula using big, sweeping motions just until combined. Overmixing is the enemy of a light sponge, so walk away while there’s still a streak or two of flour visible.
Baking and Cooling
Divide the batter evenly between your lined tins—I like to weigh them to be precise. Smooth the tops gently, then pop them into your preheated oven (180°C/160°C fan—no skipping the preheat!). Set your timer for 20 minutes, but don’t wander off. Your cakes are done when they’re golden, pulling away from the edges, and spring back when lightly pressed.
Here’s my golden rule: let them cool in the tins for exactly 5 minutes—any less, and they might stick; any more, and they’ll steam. Then, transfer to a wire rack to cool completely. Patience is key here—warm cakes plus cream equals a slippery, sad mess!
Assembling the Classic Victoria Sponge Cake
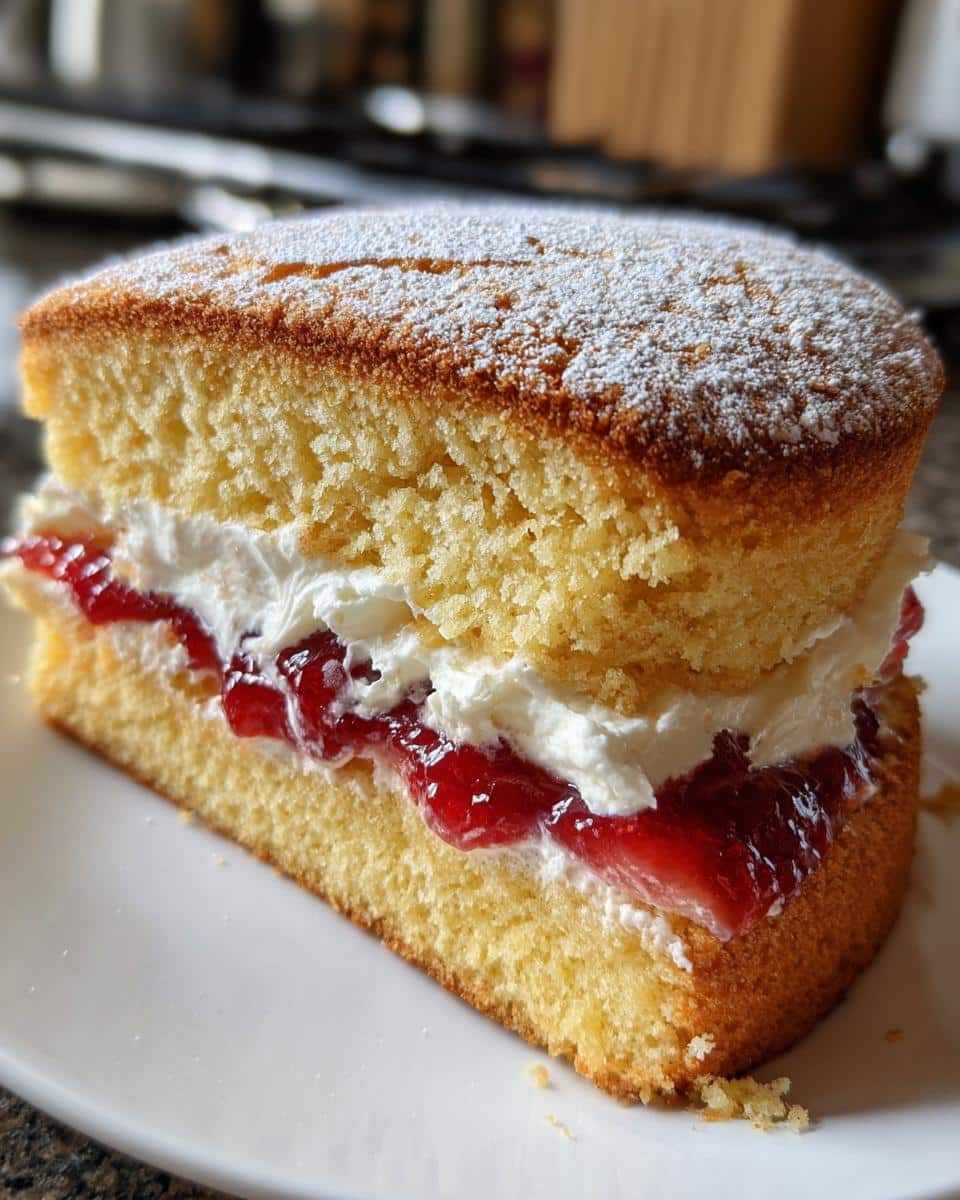
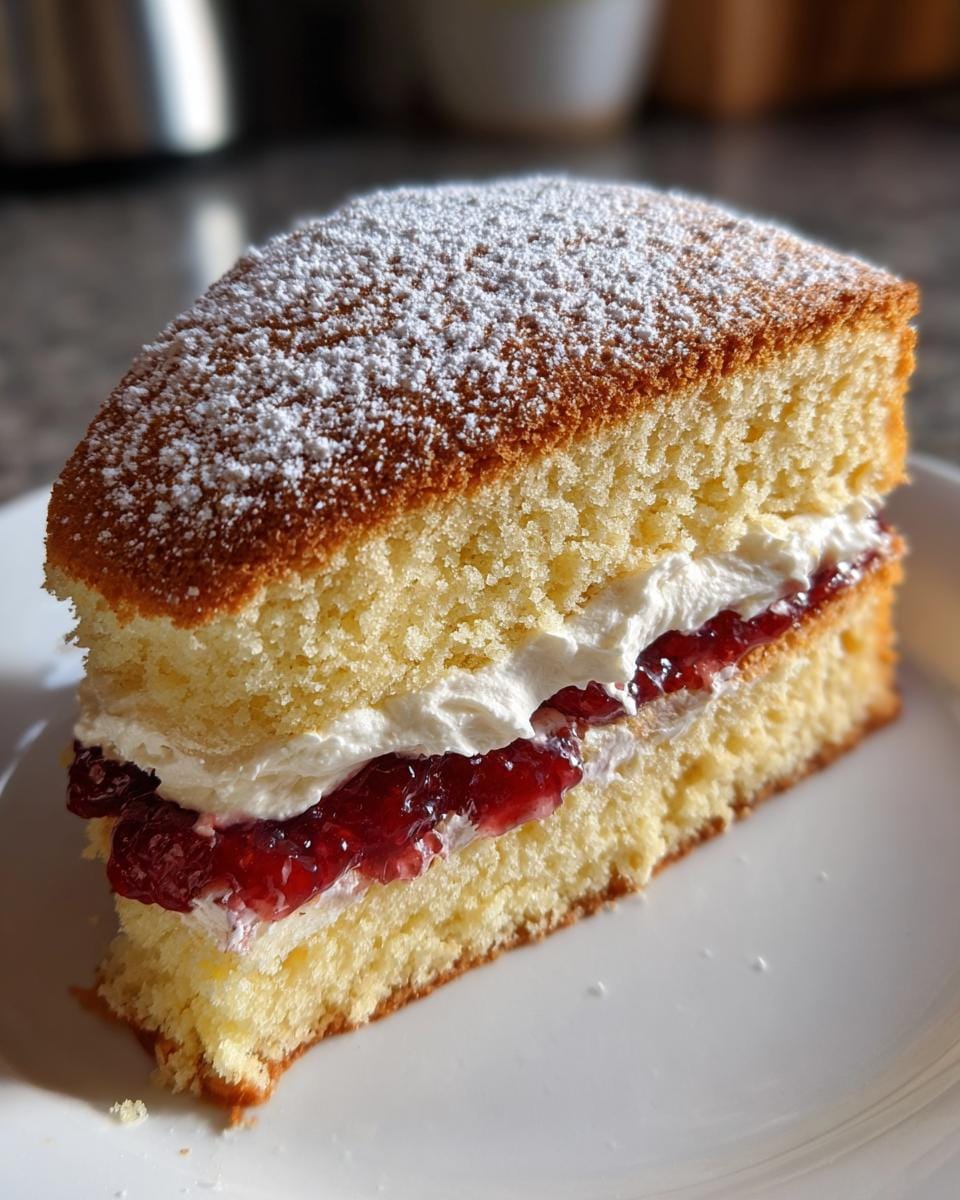
Time for the fun part! Place one cake layer on your serving plate, flat side up. Spread the jam almost to the edges—I use about 3 generous tablespoons. Now, the cream: it should be whipped to soft peaks so it holds its shape but doesn’t squish out when you bite. Pile it on top of the jam, then gently place the second layer on top, flat side down for that picture-perfect dome.
Want to gild the lily? Add a handful of fresh berries between the jam and cream. A final dusting of icing sugar through a sieve gives that signature snowy finish. Slice with a sharp knife (wipe it clean between cuts), and prepare for applause. There you have it—a Classic Victoria Sponge Cake that’d make Queen Vic herself proud!
Expert Tips for Perfect Classic Victoria Sponge Cake
After years of trial and (plenty of) error, these are my golden rules for Victoria Sponge success – the little things that take your cake from “nice” to “where have you been all my life?” good:
- Weigh everything: My kitchen scale is my best baking buddy. Cups vary, but grams don’t lie. That 200g flour measurement? Non-negotiable.
- Know your oven: That 180°C/160°C fan note isn’t just decoration. A £5 oven thermometer saved more cakes than I can count – turns out my dial was 15° off!
- Level with care: If you get a slight dome (it happens), use a serrated knife to gently slice it flat before stacking. Your cake will thank you by not sliding apart.
- Chill your cream: Bowl, beaters, even the cream itself – everything cold makes whipping quicker and more stable. Room temp cream equals sad, soupy filling.
Troubleshooting: Cake sunk? Probably underbaked or overmixed. Dry texture? Check your oven temp and don’t skip the sifting. Jam oozing everywhere? You let the cakes get too warm – patience is key!
Serving and Storing Classic Victoria Sponge Cake
Nothing beats that first slice of Victoria Sponge served barely an hour after baking—still slightly warm, with the jam just oozing into the cream. Perfection! Though if you can wait (a big if), letting it sit for 2-3 hours lets the flavors really settle. Pair it with a proper cup of Earl Grey—the bergamot plays beautifully with the sweet jam.
Need to store it? An airtight container at room temperature is your best bet—refrigeration turns the sponge to cardboard. It’ll keep beautifully for 2 days, though let’s be real… it never lasts that long in my house. Pro tip: If you must refrigerate (say, for a summer picnic), let it come to room temp again before serving to revive that magical texture.
More Sweet Inspirations
If you love sponge cakes, don’t miss these other creative confections:
- Indulge in the rich layers of the Strawberry Tiramisu
- Cool off with a fruity Blueberry Swirl Yogurt Bites
- Impress guests with Air Fryer Chocolate Lava Cakes
Classic Victoria Sponge Cake Variations
While I’m a purist at heart (that jam-and-cream combo is perfection!), sometimes it’s fun to play with this timeless recipe. Here are my favorite twists that still honor the sponge’s British roots:
- Lemon curd delight: Swap half the jam for tangy lemon curd—it cuts through the richness beautifully. Bonus points for adding lemon zest to the batter!
- Berry bonanza: Layer fresh raspberries or sliced strawberries with the cream. Just pat them dry first so they don’t make the sponge soggy.
- Chocolate tease: Drizzle the top with dark chocolate ganache instead of icing sugar. Keep it light though—this is still a Victoria Sponge, not a chocolate cake!
Remember: the sponge is the star. These are just supporting acts!
Nutrition Information for Classic Victoria Sponge Cake
Let’s be real—this isn’t health food, but everything in moderation, right? Here’s the scoop per generous slice (based on 8 servings):
- Calories: 350
- Fat: 20g (12g saturated)
- Carbs: 38g
- Sugar: 25g
- Protein: 5g
Remember, these are estimates—your exact numbers might vary slightly depending on ingredient brands and portion sizes. But honestly? Some things are worth every delicious calorie!
Your Classic Victoria Sponge Cake Questions Answered
Over the years, I’ve fielded every Victoria Sponge question imaginable—here are the ones that come up most often with my tried-and-true answers:
Can I use all-purpose flour?
Absolutely! For every 200g all-purpose flour, add 2 tsp baking powder and ½ tsp salt. But honestly? Self-raising flour gives the most reliable rise—it’s worth keeping some in your pantry just for this cake.
Why did my cake sink in the middle?
Two likely culprits: overmixing the batter (which knocks out precious air) or opening the oven door too early. That blast of cold air causes panic—I mean, collapsing! Wait until at least 20 minutes before peeking.
What’s the best jam alternative?
While strawberry is classic, raspberry or blackcurrant jams make fabulous substitutes with their tartness. One reader even swears by apricot—though that might get me excommunicated from British Baking Society!
Can I freeze Victoria Sponge?
Yes—but only the unfilled layers! Wrap cooled cakes tightly in cling film, then foil. They’ll keep for a month. Thaw at room temperature before assembling with fresh cream and jam.

Classic Victoria Sponge Cake: 4 Secrets to Perfect British Bliss
- Total Time: 45 minutes
- Yield: 8 servings
- Diet: Vegetarian
Description
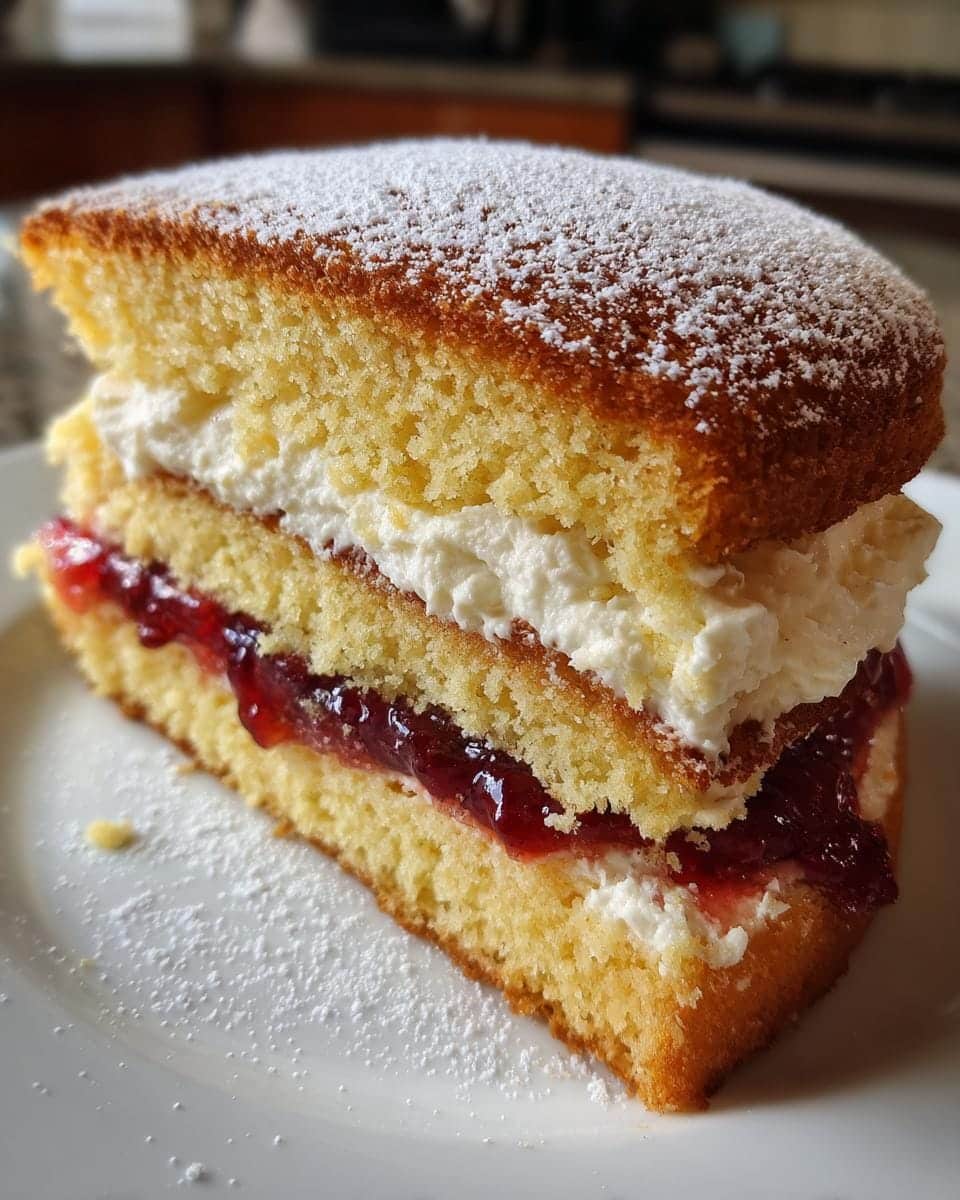
A light and fluffy sponge cake filled with jam and cream, perfect for afternoon tea.
Ingredients
- 200g softened butter
- 200g caster sugar
- 4 eggs
- 200g self-raising flour
- 1 tsp vanilla extract
- 100g strawberry jam
- 150ml whipped cream
- Icing sugar for dusting
Instructions
- Preheat oven to 180°C (160°C fan). Grease and line two 20cm round cake tins.
- Beat butter and sugar until pale and fluffy.
- Add eggs one at a time, mixing well after each.
- Fold in flour and vanilla extract gently.
- Divide mixture between tins and smooth tops.
- Bake for 20-25 minutes until golden and springy.
- Cool in tins for 5 minutes, then transfer to wire racks.
- Once cooled, spread jam on one cake, top with cream, then place second cake on top.
- Dust with icing sugar before serving.
Notes
- Use room temperature ingredients for best results.
- Don’t overmix the batter to keep it light.
- Store in an airtight container for up to 2 days.
- Prep Time: 20 minutes
- Cook Time: 25 minutes
- Category: Dessert
- Method: Baking
- Cuisine: British
