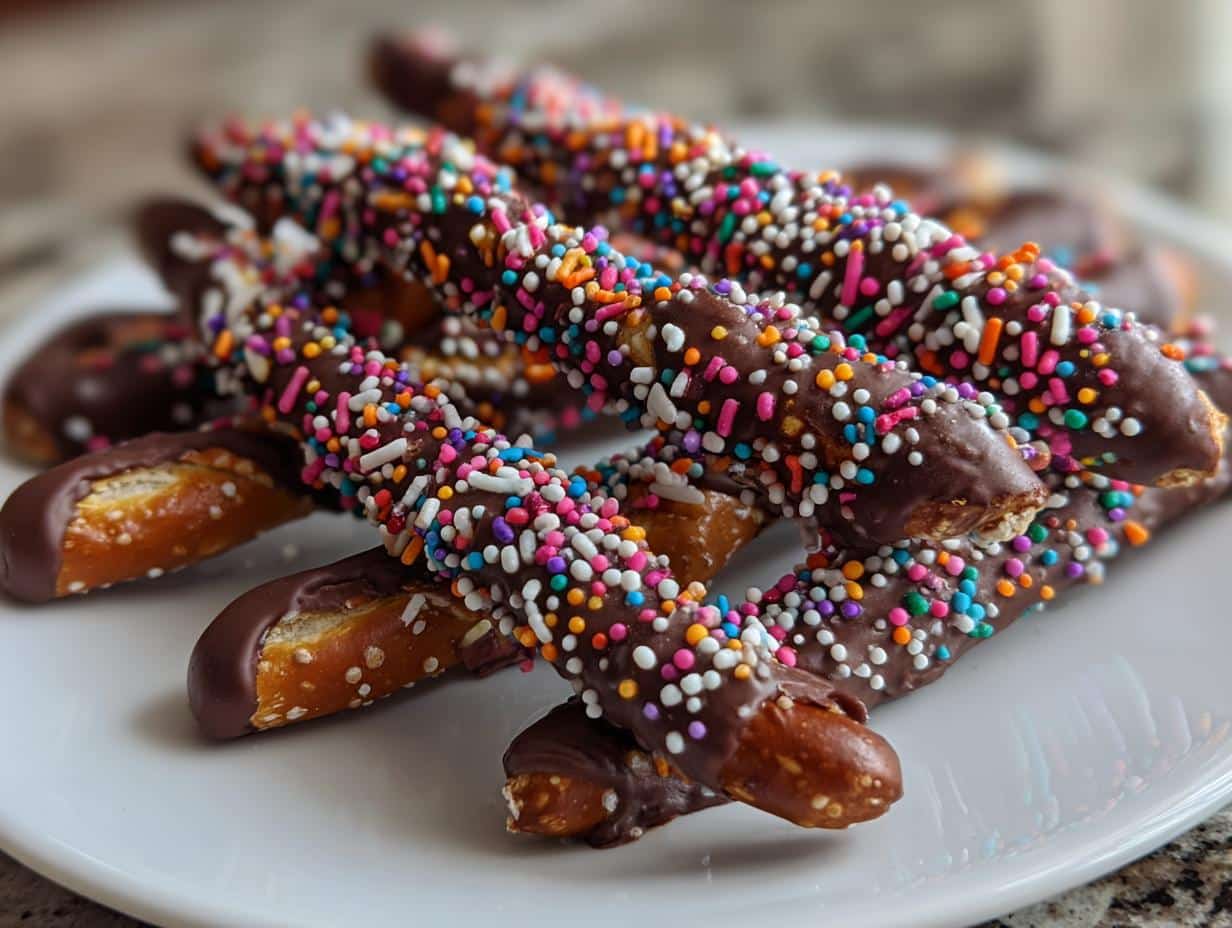
Oh my gosh, have you ever made decorated pretzel rods before? They’re the most fun you can have with a snack! These sweet-and-salty treats are my go-to for parties, teacher gifts, and holiday goodie bags. I’ll never forget the first time I whipped up a batch for my niece’s birthday party – the kids went absolutely wild for them, and the parents kept sneaking extras when they thought no one was looking!
What I love most about decorated pretzel rods is how they’re equal parts delicious and adorable. You can customize them for any occasion – baby showers, weddings, Christmas, you name it. Just a quick dip in melted chocolate and a roll in your favorite toppings transforms ordinary pretzels into something truly special. The best part? They take barely any time to make but look (and taste) like you spent hours in the kitchen. Trust me, once you try these, you’ll be looking for excuses to make them all the time!
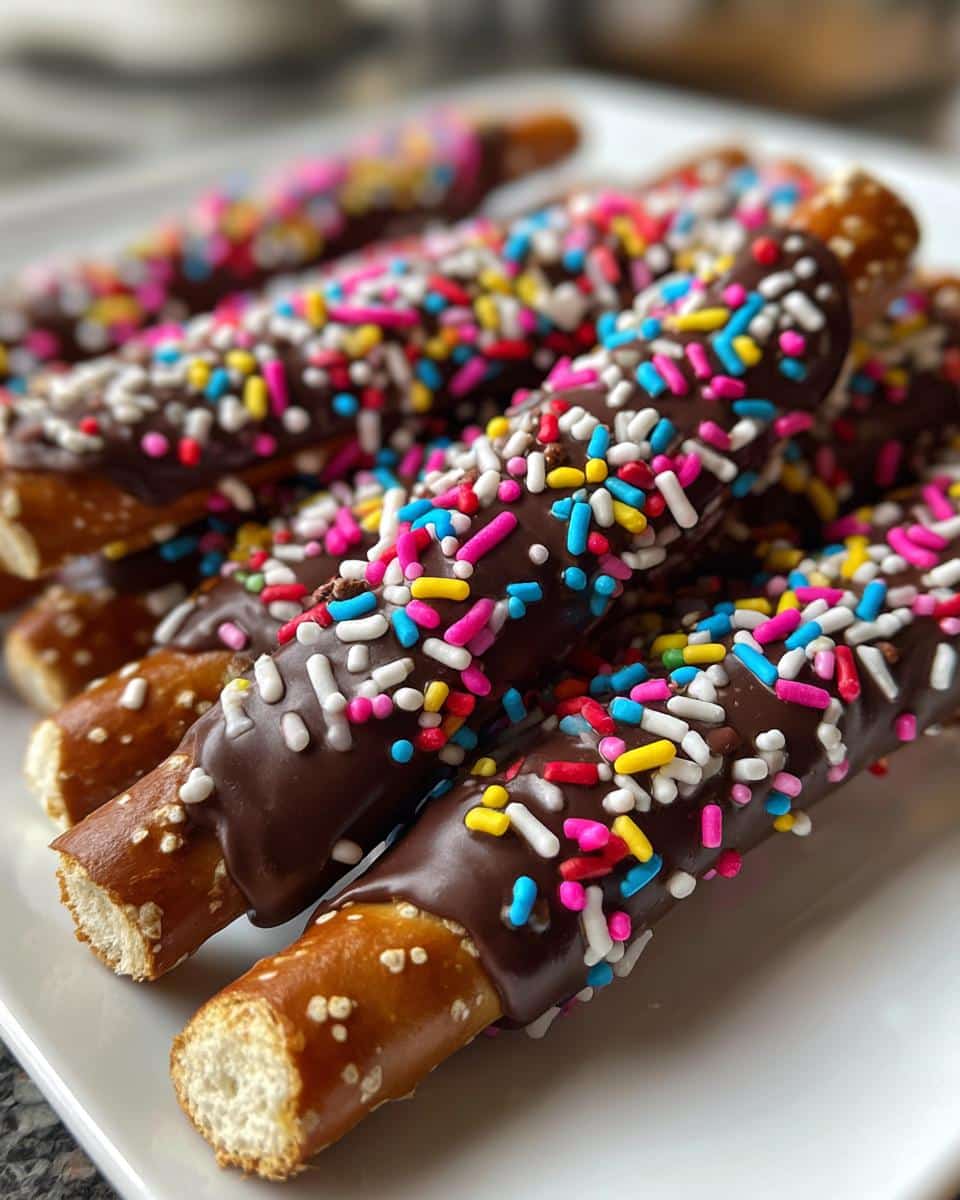
Why You’ll Love These Decorated Pretzel Rods
Here’s the truth – these decorated pretzel rods will become your new secret weapon for every occasion. Let me tell you why:
- Super quick: From start to finish, you’re looking at less than an hour – most of which is just waiting for the chocolate to set!
- Impossible to mess up: Even if your chocolate isn’t perfectly smooth or your sprinkles go everywhere (ask me how I know), they’ll still taste amazing.
- Endlessly customizable: Match them to any party theme or holiday with different colors and toppings.
- Always a hit: I’ve never brought these to a party without someone asking for the recipe. They disappear fast!
Seriously, decorated pretzel rods are the happy intersection of easy, impressive, and downright addictive. Once you start making them, you’ll wonder how you ever lived without this recipe in your life.
Ingredients for Decorated Pretzel Rods
Okay, let’s get real about what you’ll need to make these magical decorated pretzel rods. I’ve learned through trial and error (mostly error) that having everything prepped and measured makes the whole process so much smoother. Here’s your shopping list:
- 10 pretzel rods – go for the thick, sturdy ones so they won’t snap when you’re dipping
- 1 cup chocolate chips (semi-sweet is my favorite, but dark or white work great too – just make sure they’re good quality!)
- 1 tbsp coconut oil – this little trick makes the chocolate melt smoother and helps it set with that perfect snap
- Your choice of toppings – think rainbow sprinkles for birthdays, crushed candy canes for Christmas, or even crushed nuts for a fancy touch (I always keep a mix on hand for last-minute cravings)
Pro tip from someone who’s learned the hard way: measure out all your toppings into small bowls before you start dipping. That way when your hands are covered in chocolate (because they will be), you’re not fumbling with sprinkles containers. Trust me on this one!
How to Make Decorated Pretzel Rods
Alright, let’s get to the fun part – making these gorgeous decorated pretzel rods! I promise it’s easier than it looks, and after your first batch, you’ll be dipping like a pro. Just follow these simple steps and you’ll have picture-perfect treats in no time.
Melting the Chocolate
First things first – let’s melt that chocolate! I’ve burned more chocolate than I care to admit (RIP, that batch of Valentine’s pretzels), so here’s how to do it right:
- Combine your chocolate chips and coconut oil in a microwave-safe bowl. The coconut oil is my secret weapon – it makes the chocolate smoother and gives it that perfect glossy finish.
- Microwave in 30-second bursts, stirring well between each one. Stop when there are just a few unmelted chips left – the residual heat will finish the job as you stir.
- If you’re fancy and want to use a double boiler, go for it! Just make sure no water gets in the bowl (water + chocolate = disaster).
Whatever you do, don’t walk away! Chocolate goes from perfectly melted to scorched faster than you can say “decorated pretzel rods.” Ask me how I know…
Dipping and Decorating Pretzel Rods
Now for the best part – turning plain pretzels into edible works of art!
- Hold a pretzel rod at one end and dip it about halfway into the melted chocolate. Give it a little twirl to coat evenly.
- Lift it up and let the excess drip off for about 10 seconds (count it out – this prevents puddles at the base).
- While the chocolate is still wet, roll it in your toppings or sprinkle them on with your fingers. I like to do this over a plate to catch the extras.
- Place each decorated pretzel rod on parchment paper to set. Don’t crowd them – give them some personal space!
Now comes the hardest part – waiting! Let them set completely, about 30 minutes at room temperature. If you’re impatient like me, you can pop them in the fridge for 15 minutes, but bring them back to room temp before serving for the best texture.
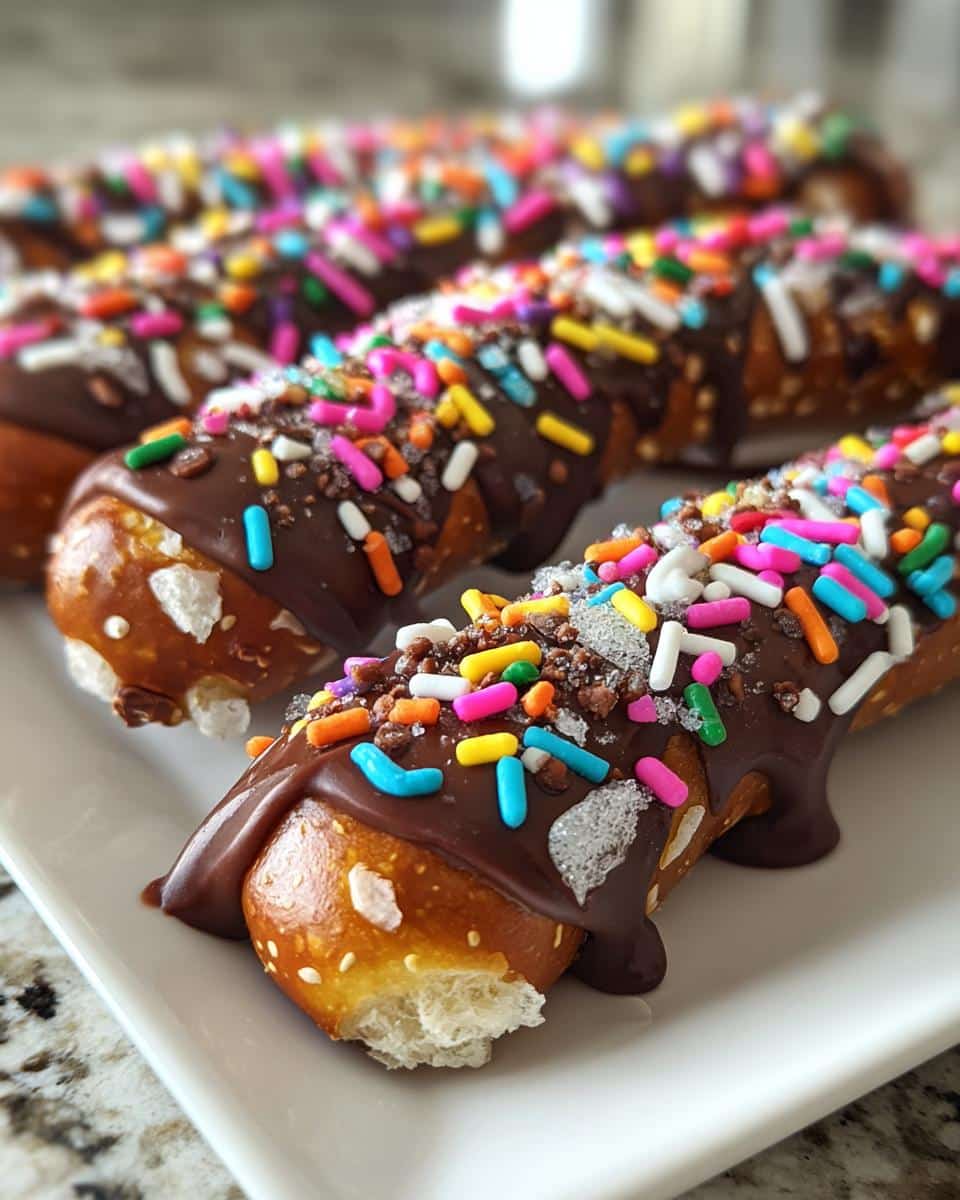
Tips for Perfect Decorated Pretzel Rods
After making approximately a zillion decorated pretzel rods (okay, maybe just hundreds), I’ve picked up some game-changing tricks that’ll take yours from “nice” to “WHERE did you buy these?!” Here are my absolute must-know tips:
- The tap technique: After dipping, gently tap the rod against the side of the bowl to knock off excess chocolate. This prevents those awkward clumps at the bottom – we want elegance, not drips!
- Parchment is your BFF: Seriously, skip the wax paper. Parchment lets the chocolate set smoothly without sticking, and cleanup is a breeze. I buy it in giant rolls just for this purpose.
- Temperature matters: If your kitchen is warm, chill your pretzels for 5 minutes before dipping. Cold pretzels help the chocolate set faster so your toppings stick better.
- The sprinkle strategy: Hold the rod over a plate when adding toppings. The extras fall right back onto the plate for easy reuse – no more crying over spilled sprinkles!
Bonus tip from my last bake sale disaster: always make extras. Between “taste testers” and sneaky snackers, at least two will disappear before they’re even fully set!
Decorated Pretzel Rods Variations
Oh, the possibilities are endless with decorated pretzel rods! Once you’ve mastered the basic recipe, it’s time to play around. My absolute favorite is peppermint crunch – just crush candy canes and roll the chocolate-dipped rods in them for a festive winter treat. For a grown-up twist, try a salted caramel drizzle (melt caramels with a pinch of sea salt and drizzle over the set chocolate). Feeling fancy? Crushed pistachios and a white chocolate dip make an elegant combo. And for kids’ parties, nothing beats rolling them in crushed cookies or mini M&Ms – the brighter the better!
Storing and Serving Decorated Pretzel Rods
Now that you’ve made these gorgeous decorated pretzel rods, let’s talk about keeping them fresh and showing them off properly! Here’s everything I’ve learned after many batches (and many sneaky taste tests).
For storage, always use an airtight container at room temperature. I made the mistake of leaving a batch uncovered once, and by morning they’d turned into sad, stale sticks. Layer them between sheets of parchment paper so they don’t stick together – nobody wants their beautiful decorations peeling off!
When it’s time to serve, get creative with presentation! My go-to is standing them upright in a glass – a tall drinking glass or mason jar works perfectly. It makes them look like a fancy bouquet of edible flowers. For parties, I’ll sometimes arrange them in a circle with the decorated ends facing outward on a cake stand – instant centerpiece that disappears fast!
Hot tip: If your kitchen runs warm (or it’s summertime), you can store these in the fridge for up to two weeks. Just let them come to room temperature before serving – cold chocolate isn’t nearly as flavorful. And if you’re gifting them? Tie them with pretty ribbon in small bundles – they make the most adorable (and delicious) presents!
Decorated Pretzel Rods FAQs
I get so many questions about these decorated pretzel rods – here are the answers to the ones that pop up most often in my kitchen and inbox!
Can I use almond bark instead of chocolate chips?
Absolutely! Almond bark melts beautifully and gives you that smooth, professional-looking finish. I actually use it when I’m making big batches for gifts – just skip the coconut oil since bark already has the right consistency when melted.
Why did my chocolate turn thick and clumpy?
Oh honey, you’ve probably gotten some moisture in there – even a single drop of water can make chocolate seize up. If this happens, stir in a tiny bit more coconut oil (start with 1/4 tsp) to smooth it back out. And next time, make sure all your tools are completely dry!
How far in advance can I make these?
They’re best within 3-4 days, but I’ve kept them fresh for up to a week in an airtight container. The toppings might lose a little crunch after day 5, but let’s be honest – they never last that long in my house anyway!
Nutritional Information
Okay, let’s be real – we’re not eating decorated pretzel rods for their health benefits! But since people ask, here’s the scoop on what you’re getting nutrition-wise. Just remember these numbers can change depending on your toppings – swapping sprinkles for crushed nuts, for example, will tweak the numbers.
Based on one decorated pretzel rod with semi-sweet chocolate and rainbow sprinkles:
- Calories: About 120
- Sugar: 8g (those sprinkles add up!)
- Sodium: 150mg (thank the pretzel itself for that)
- Fat: 6g (3g saturated from the chocolate)
- Carbs: 15g (with 1g fiber)
- Protein: 2g (surprise protein from the pretzel!)
Now here’s my philosophy – these are treats meant to be enjoyed in moderation. I usually have one or two when I’m craving something sweet and salty. The portion control is built right in since each rod is its own perfect little serving. And honestly? Sometimes joy is the most important nutritional content of all!
Ready to Make Some Magic?
Alright, my fellow pretzel-obsessed friend – it’s your turn to create these irresistible decorated pretzel rods! I can’t wait to see what amazing combinations you come up with. Will you go classic with rainbow sprinkles? Get fancy with crushed pistachios? Or maybe try my personal favorite – crushed Oreos with a drizzle of white chocolate?
When you whip up your batch (and I know you will because this recipe is just too good not to try), snap a photo and tag me on social media! There’s nothing I love more than seeing your creative twists on this recipe. Use #PretzelRodMagic so I can find your posts and maybe even feature your masterpiece!
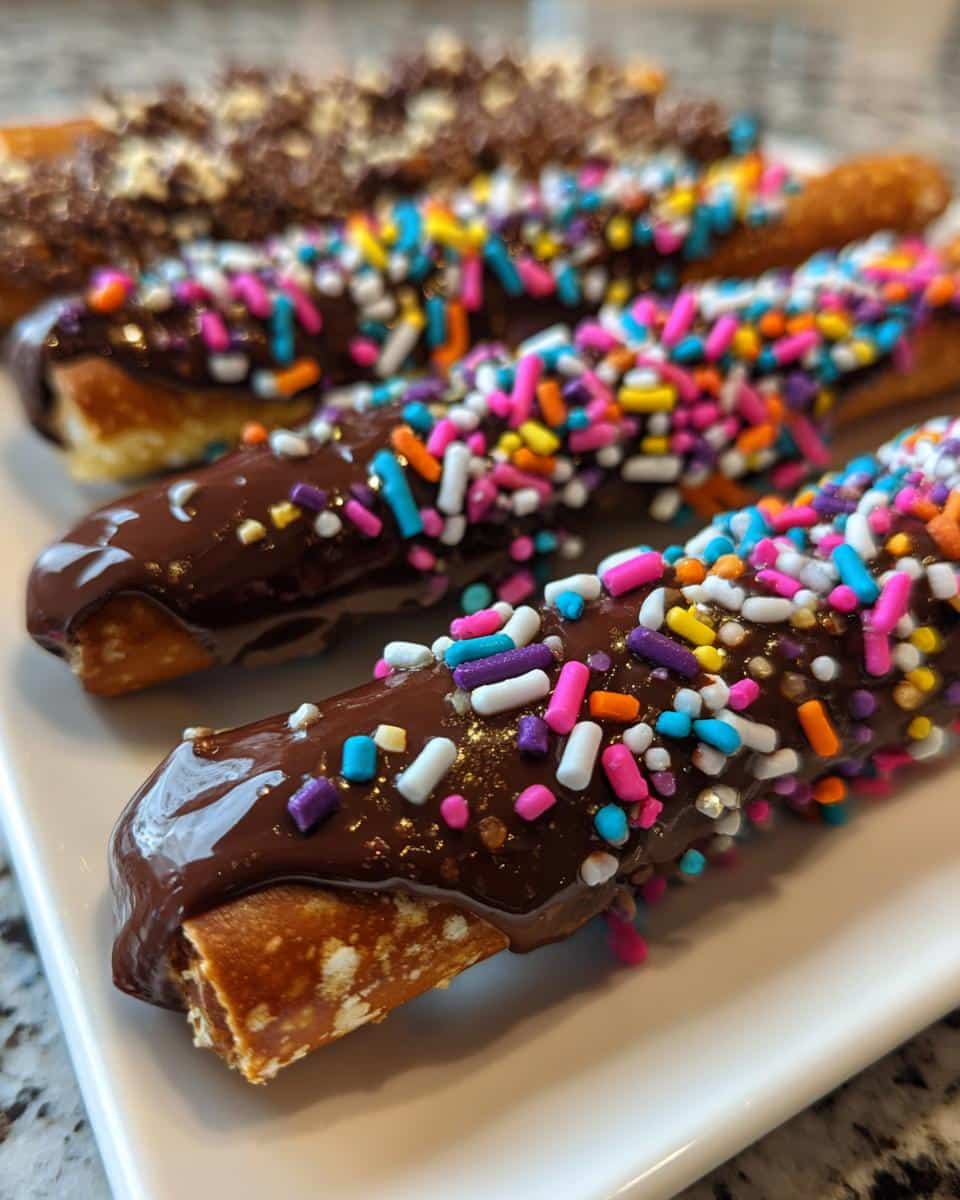
Pro tip from someone who’s been there: make a double batch. Trust me, you’ll want extras for sneaky snacking, last-minute gifts, and those “oops I ate three before they were even set” moments. Happy dipping!
Print
Irresistible 10-Ingredient Decorated Pretzel Rods You’ll Crave
- Total Time: 45 mins
- Yield: 10 pretzel rods
- Diet: Vegetarian
Description
Easy-to-make decorated pretzel rods perfect for parties or gifts.
Ingredients
- 10 pretzel rods
- 1 cup chocolate chips (milk, dark, or white)
- 1 tbsp coconut oil
- Assorted toppings (sprinkles, crushed nuts, mini candies)
Instructions
- Melt chocolate chips with coconut oil in a microwave-safe bowl in 30-second intervals, stirring until smooth.
- Dip each pretzel rod halfway into the melted chocolate, letting excess drip off.
- Roll the chocolate-coated end in your choice of toppings.
- Place on parchment paper to set for 30 minutes.
Notes
- Store in an airtight container for up to a week.
- Use a double boiler if you prefer stovetop melting.
- Prep Time: 10 mins
- Cook Time: 5 mins
- Category: Dessert
- Method: No-Bake
- Cuisine: American
