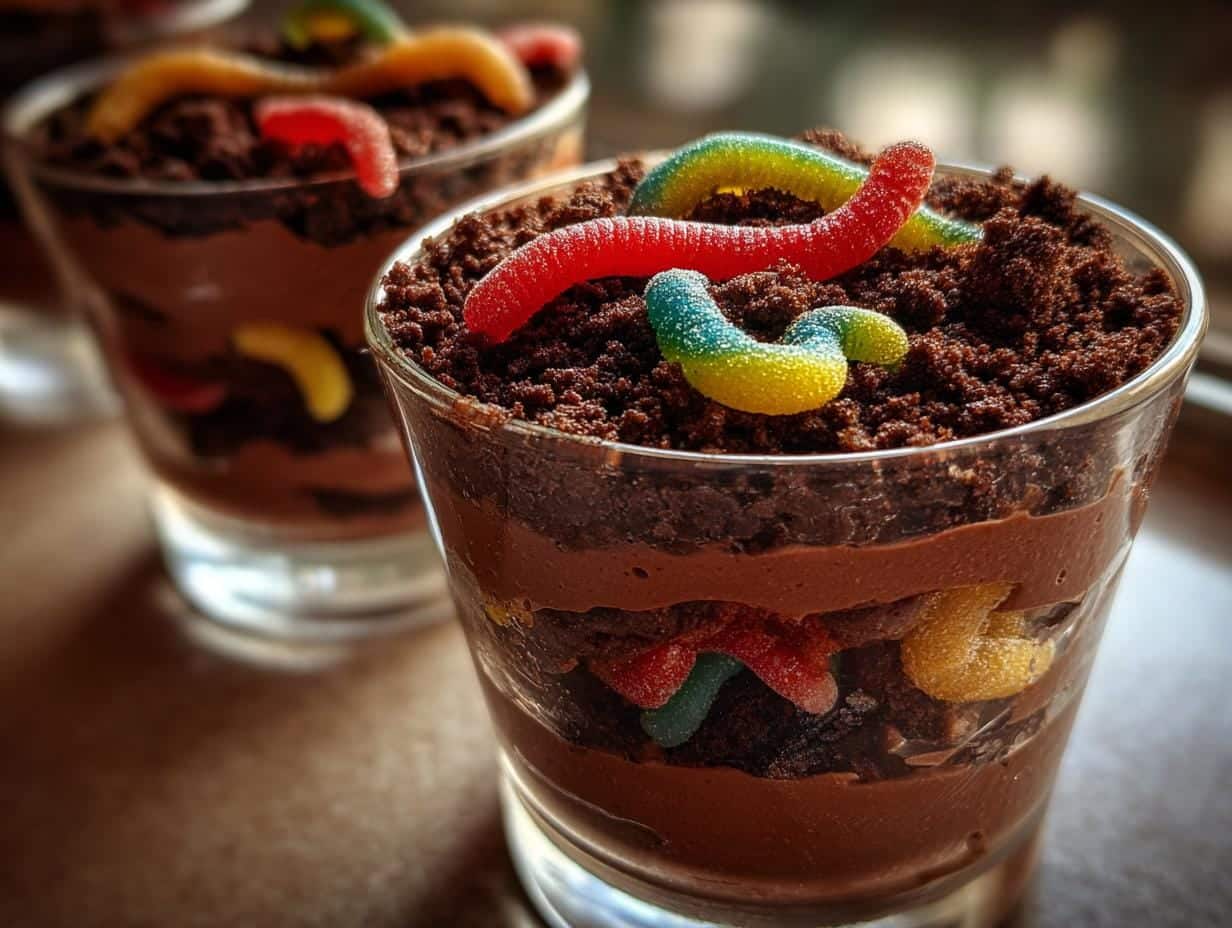
Listen, I know dirt isn’t usually something you’d want to eat—but trust me, these dirt pudding cups with gummy worms are the exception! I’ve been making this silly, delicious dessert for years, and it never fails to make kids (and let’s be honest, grown-ups too) squeal with delight. The best part? You don’t even need to turn on the oven. Just layer creamy chocolate pudding with crushed cookies, top it off with wiggly gummy worms peeking out, and voilà—you’ve got a dessert that looks like you dug it straight from the garden (in the best possible way).
I first made this for my nephew’s birthday party, and let me tell you, those kids went wild for it. There’s something magical about digging through “dirt” to find candy treasures. Plus, it comes together in about 15 minutes of active prep—perfect for when you need a last-minute treat that’ll have everyone talking. Whether it’s for a birthday, summer BBQ, or just a fun weeknight surprise, these dirt pudding cups with gummy worms always steal the show.
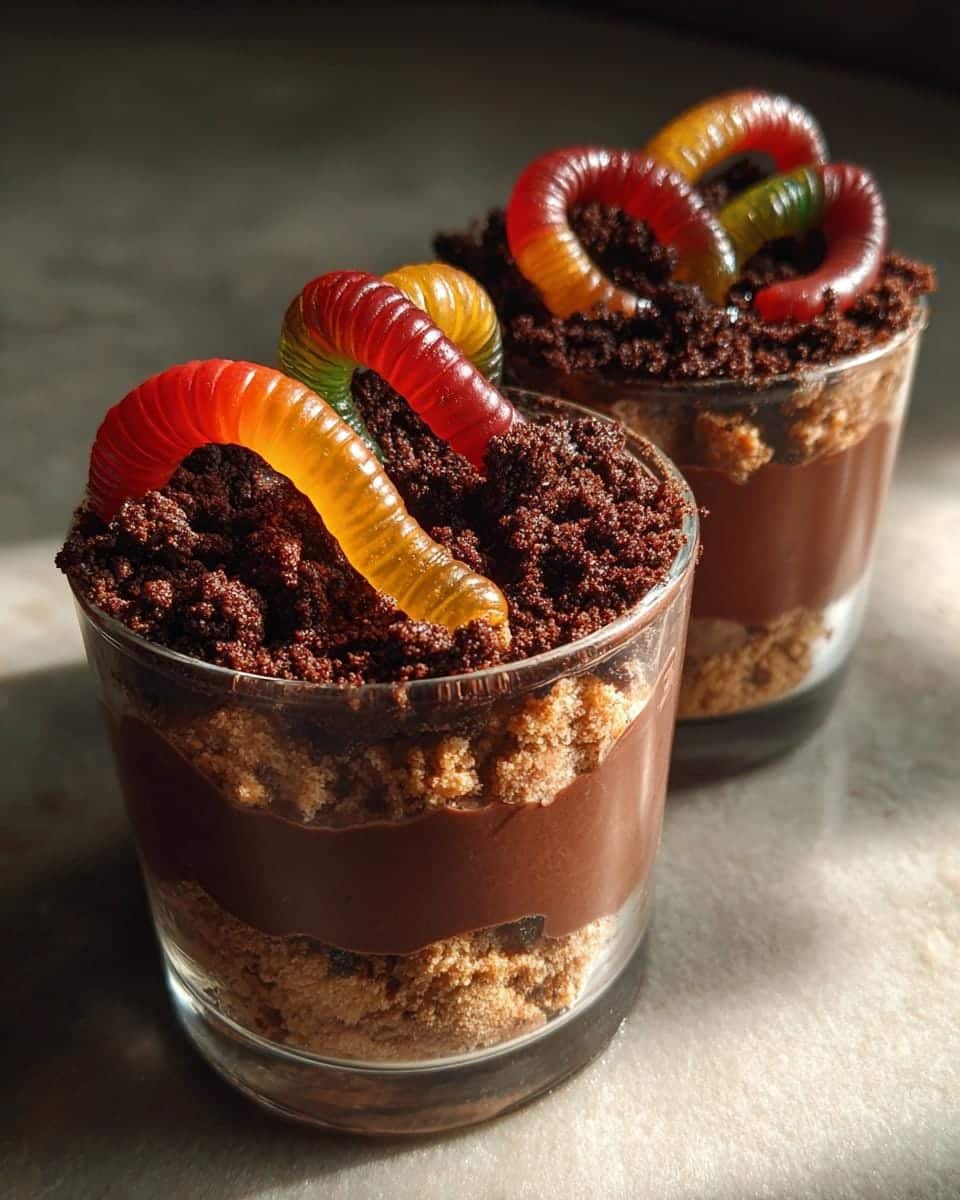
Why You’ll Love These Dirt Pudding Cups with Gummy Worms
Oh, where do I even start? These dirt pudding cups have been my secret weapon for every kids’ event—and the adults always sneak seconds when no one’s looking. Here’s why they’re absolutely irresistible:
- No-bake magic: Seriously, no oven required. Just mix, layer, and chill—perfect for hot summer days when you can’t bear to turn on the oven.
- Kid-approved fun: The gummy worms peeking out of the “dirt” make it interactive and exciting—my niece calls it her “treasure hunt dessert.”
- Crazy customizable: Swap in different cookie crumbs (Oreos? Yes please!), add sprinkles, or use sour gummy worms for extra zing.
- Make-ahead lifesaver: They actually taste better after chilling, so you can prep them the night before and be the coolest host ever.
Honestly, the hardest part is keeping little fingers out of them before serving time!
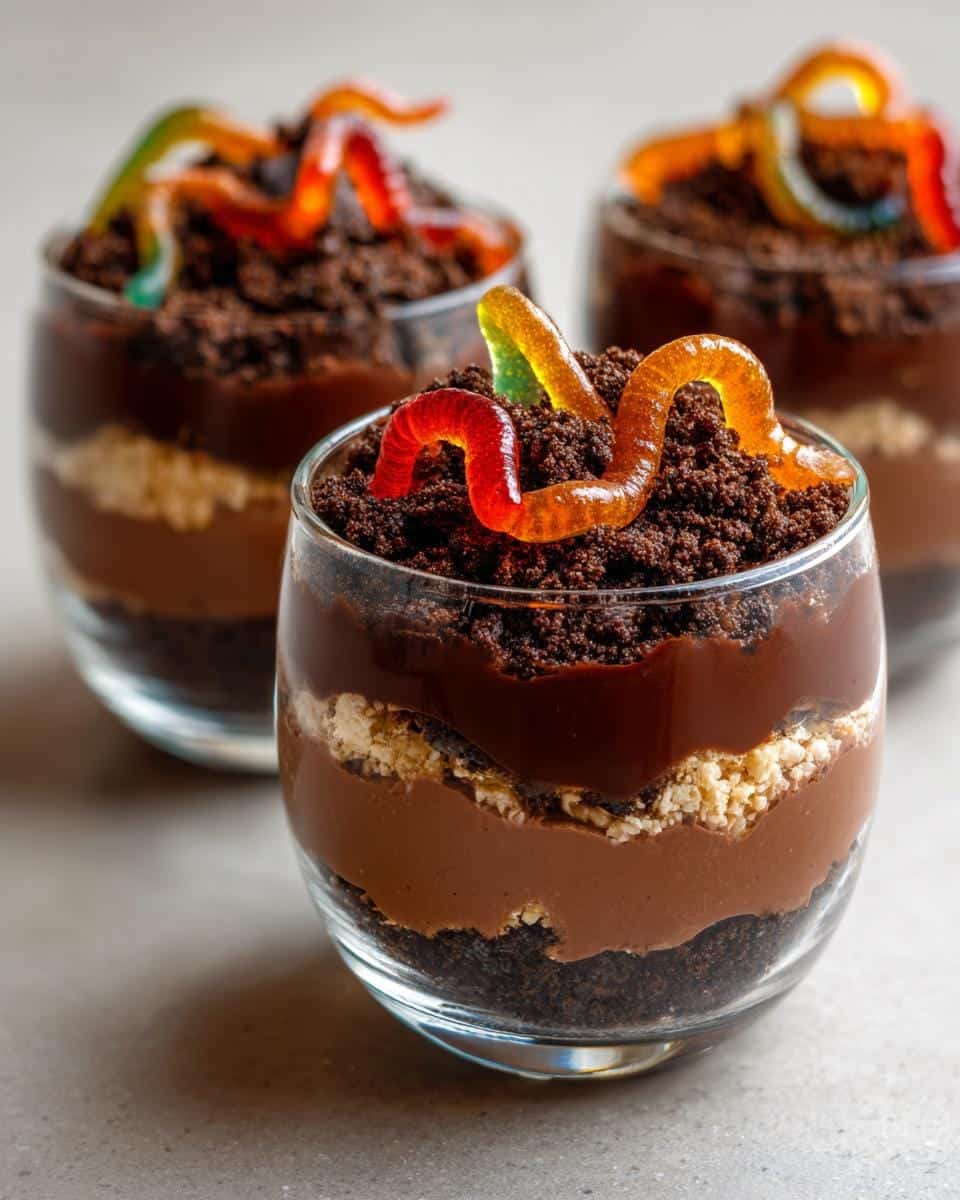
Ingredients for Dirt Pudding Cups with Gummy Worms
Okay, confession time—I’ve made this so often I could probably do it in my sleep! But here’s the exact lineup you’ll need to create these adorable dirt cups (measurements matter, trust me):
- 2 cups cold milk (whole milk makes it extra creamy, but any kind works)
- 1 package (3.9 oz) instant chocolate pudding mix (the kind that sets in minutes!)
- 1 package (8 oz) cream cheese, softened (leave it out for 30 minutes—no cheating with the microwave!)
- 1/2 cup powdered sugar (sift it if you’re fancy, but a good whisk works too)
- 1 tub (8 oz) whipped topping, thawed (that’s Cool Whip to us old-schoolers)
- 15 chocolate sandwich cookies, finely crushed (I whack them in a bag with a rolling pin—stress relief bonus!)
- 1 pack gummy worms (get the colorful ones—half for decorating, half for “taste testing”)
See? Nothing weird or complicated—just pantry staples that magically transform into edible dirt. Pro tip: Buy extra gummy worms unless you want to explain where half the bag disappeared to before dessert!
How to Make Dirt Pudding Cups with Gummy Worms
Alright, let’s get our hands dirty—figuratively speaking! I’ve made these so many times I could do it blindfolded, but here’s the foolproof method that never lets me down. Don’t worry, it’s easier than it looks, and the results are always worth it.
Step 1: Prepare the Pudding Base
First things first—grab your biggest mixing bowl and whisk together the cold milk and chocolate pudding mix like your life depends on it. Seriously, go at it for a full 2 minutes (set a timer if you need to!). This isn’t the time for lazy stirring—you want that pudding smooth and slightly thickened. Then, walk away for 5 minutes. I know, waiting is hard, but this lets the magic happen as the pudding sets up perfectly.
Step 2: Mix the Cream Cheese Layer
While that’s resting, take your softened cream cheese (it should dent easily when you poke it) and beat it with the powdered sugar until it’s completely smooth. No lumps allowed here! I use my electric mixer on medium, but a strong arm and a wooden spoon work too. Once it’s silky, gently fold in the whipped topping, then the pudding mixture until everything is beautifully combined. Taste? Okay, maybe just one spoonful for quality control…
Step 3: Layer and Decorate
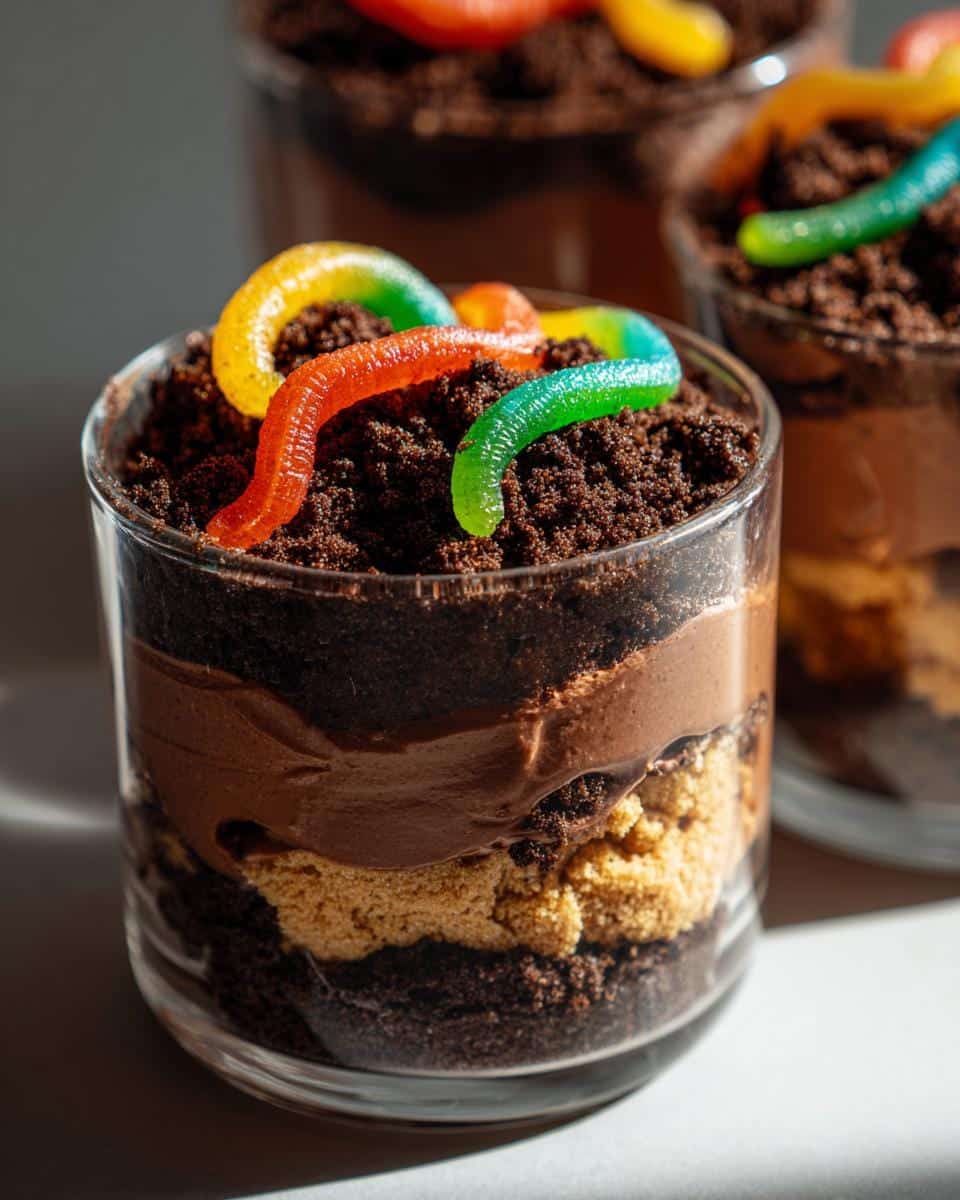
Now for the fun part! Spoon a layer of crushed cookies into each cup—about 2 tablespoons worth makes a good “dirt” foundation. Then dollop on the pudding mixture (I use an ice cream scoop for neat layers). Repeat once more, finishing with a generous sprinkle of cookie crumbs on top. The grand finale? Artfully arrange those gummy worms so they look like they’re crawling out of the dirt. Be creative—some peeking out, some buried halfway—it’s all part of the charm!
Pop them in the fridge for at least an hour (if you can resist that long) to let all the flavors meld. The hardest part is waiting as those tempting worms call your name!
Tips for Perfect Dirt Pudding Cups with Gummy Worms
Over the years, I’ve learned all the little tricks to make these dirt cups absolutely foolproof—here’s my best advice from countless batches (and many happy kids)!
- Chill time is key: Let them set for at least an hour—the texture gets dreamier as it sits. Overnight? Even better.
- Gluten-free magic: Simply swap in gluten-free chocolate sandwich cookies (and check your gummy worms too).
- Sweetness control: Cut the powdered sugar to 1/4 cup for a less sweet version—perfect for grown-up tastes.
- Cookie texture: Pulse cookies in a food processor for fine “dirt,” or leave some chunks for crunch.
- Worm hack: Rinse gummy worms and pat dry so they stick to the pudding better—no sliding off!
Trust me, these tiny tweaks make all the difference between good dirt cups and legendary ones!
Variations for Dirt Pudding Cups with Gummy Worms
One of my favorite things about this recipe? It’s like a blank canvas for creativity! Here are some ways I’ve mixed it up over the years:
- Oreo upgrade: Swap regular cookies for Golden Oreos—the vanilla “dirt” looks amazing against chocolate pudding!
- Vegan version: Use coconut whipped cream and vegan gummy worms (check labels—some contain gelatin).
- Nutty twist: Mix crushed pecans or almonds into the cookie crumbs for extra crunch.
- Berry surprise: Layer fresh raspberries between the pudding for a fruity contrast.
Really, the only limit is your imagination—though I draw the line at actual dirt!
Serving and Storing Dirt Pudding Cups with Gummy Worms
Here’s the beautiful thing about these dirt cups – they practically serve themselves! Just pull them straight from the fridge (the colder, the better) and watch those little faces light up when they spot the gummy worms. I like to serve them in clear cups so you can see all those delicious layers.
Storage is a breeze too – just cover them tightly with plastic wrap or pop on some lids if your cups have them. They’ll stay fresh in the fridge for up to 2 days, though in my house they never last that long! Pro tip: Wait to add the final cookie crumb topping until just before serving if you want that perfect “freshly dug” look.
Nutritional Information for Dirt Pudding Cups with Gummy Worms
Just so you know what you’re digging into (see what I did there?), here’s the scoop on one serving: about 320 calories with 28g of sugar—but hey, it’s dessert! Remember, these values are estimates and will change if you tweak the ingredients. Now go enjoy your delicious “dirt” guilt-free!
FAQs About Dirt Pudding Cups with Gummy Worms
Q1. Can I use homemade pudding instead of instant?
Absolutely! Just make sure it’s chilled and thick before layering—homemade pudding tends to be softer, so you might need extra cookie crumbs for texture.
Q2. How far in advance can I make these?
They’re actually better the next day! Assemble up to 48 hours ahead, but wait to add the final cookie topping and worms until serving so they stay crunchy.
Q3. What if I don’t have whipped topping?
No worries—just whip up some heavy cream with a bit of powdered sugar until stiff peaks form. Same creamy goodness!
Q4. Are there allergy-friendly options?
Yep! Use gluten-free cookies and check gummy worms for gelatin (some brands use pectin). Dairy-free? Try coconut milk pudding and vegan cream cheese.
Q5. Why does my pudding layer separate?
This happens if the cream cheese isn’t fully softened—take that extra time to get it room temperature smooth before mixing!
For more fun dessert ideas, check out our Pinterest!
Print
15-Minute Dirt Pudding Cups with Gummy Worms Kids Crave
- Total Time: 1 hour 15 minutes
- Yield: 6 servings
- Diet: Vegetarian
Description
A fun and easy dessert that looks like dirt with gummy worms peeking out. Perfect for kids’ parties or a playful treat.
Ingredients
- 2 cups cold milk
- 1 package (3.9 oz) instant chocolate pudding mix
- 1 package (8 oz) cream cheese, softened
- 1/2 cup powdered sugar
- 1 tub (8 oz) whipped topping, thawed
- 15 chocolate sandwich cookies, crushed
- 1 pack gummy worms
Instructions
- Whisk milk and pudding mix in a bowl for 2 minutes. Let stand for 5 minutes.
- Beat cream cheese and powdered sugar in a separate bowl until smooth.
- Fold in whipped topping and pudding mixture until well combined.
- Layer crushed cookies and pudding mixture in cups.
- Top with more crushed cookies and gummy worms.
- Chill for at least 1 hour before serving.
Notes
- Use gluten-free cookies for a gluten-free version.
- Adjust sweetness by reducing powdered sugar.
- Can be made ahead and stored in the fridge for up to 2 days.
- Prep Time: 15 minutes
- Cook Time: 0 minutes
- Category: Dessert
- Method: No-Bake
- Cuisine: American
