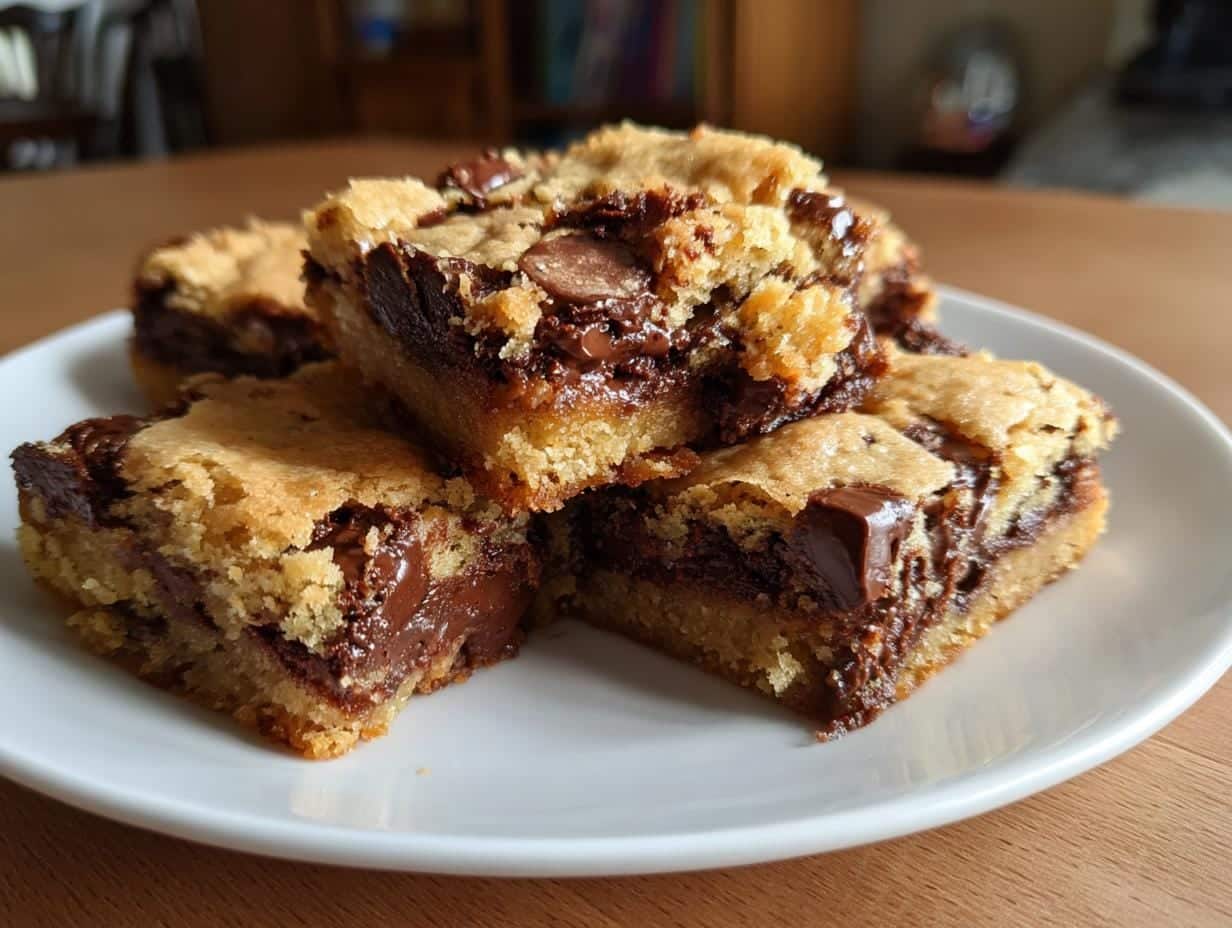
If there’s one dessert that can turn any ordinary day into something special, it’s a batch of warm, gooey chocolate chip cookie bars. I’ve been making this recipe for years—first as a kid helping my mom in the kitchen, and now for my own family when we need a little pick-me-up. These bars are everything you love about classic chocolate chip cookies, but easier! No scooping, no waiting between batches—just one pan of soft, chewy goodness loaded with melty chocolate chips.
What makes these chocolate chip cookie bars so perfect? They come together in minutes with simple ingredients you probably have on hand. The melted butter creates that irresistible chewiness, while the combo of brown and white sugar gives them just the right balance of caramel sweetness. And let’s be honest—who can resist pulling apart a warm bar, watching those chocolate strands stretch? I’ve brought these to potlucks, bake sales, and late-night study sessions (back in my college days), and they disappear every single time. Trust me, once you try this recipe, it’ll become your go-to for any occasion—or no occasion at all!
Table of Contents
Why You’ll Love These Chocolate Chip Cookie Bars
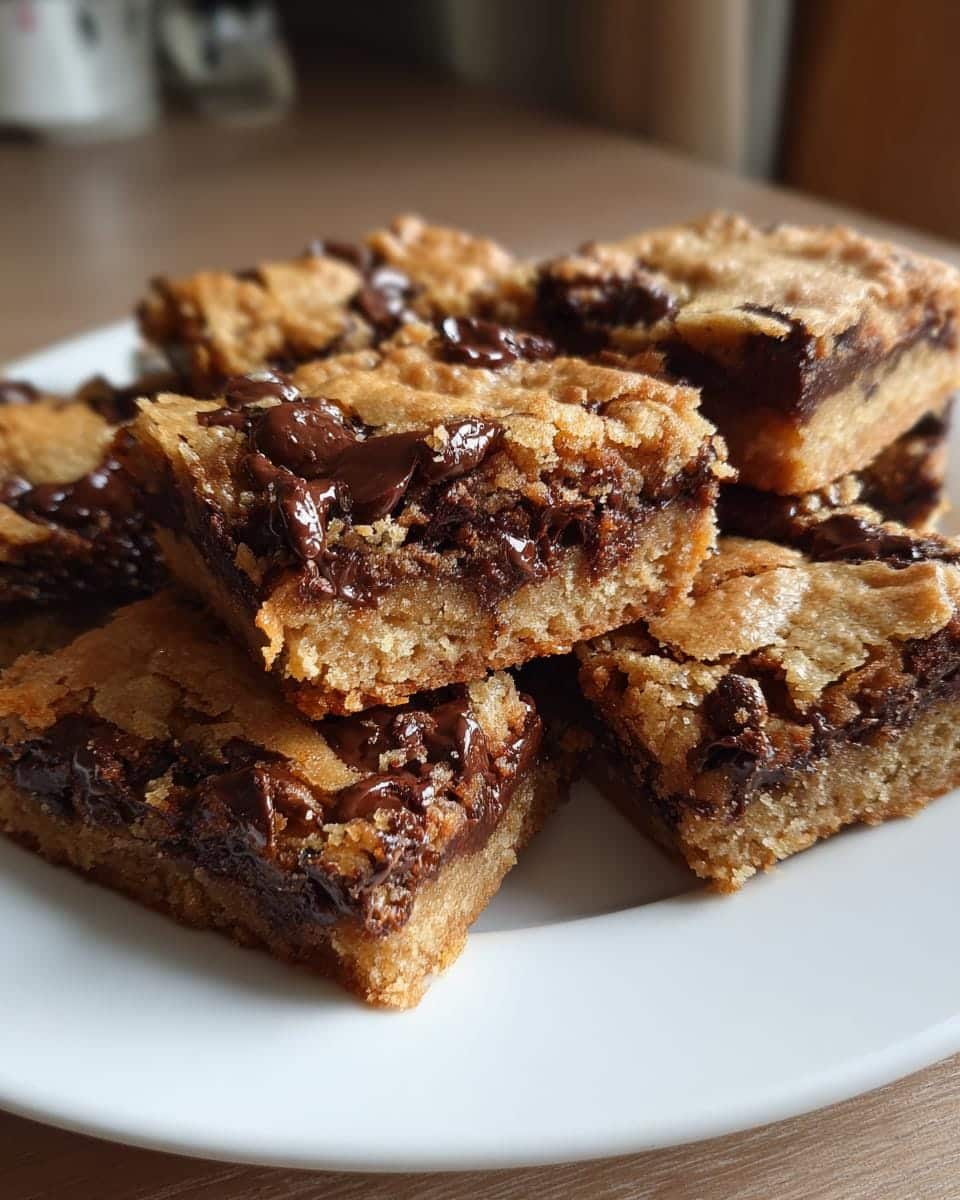
Listen, I know we all have those days when we need something sweet right now, and these chocolate chip cookie bars are here to save the day. Here’s why they’re my absolute favorite:
- One-bowl wonder: No fancy equipment needed—just melt, mix, and bake. Less cleanup means more time enjoying them!
- Perfect texture: The melted butter makes them chewy at the edges with a slightly soft center—exactly how a cookie bar should be.
- Crowd-pleaser: Kids, neighbors, picky eaters—I’ve never met anyone who can resist these warm from the oven.
- Emergency dessert: Forgot a birthday? Need a last-minute treat? The dough comes together faster than you can preheat the oven.
- Better than cookies: No waiting between batches! One pan = 24 perfect bars ready all at once.
And if you’re a fan of easy, nostalgic treats, you might also want to try our Homemade Crunch Bars or the incredibly simple Peanut Butter No-Bake Bars for a no-oven-required alternative.
Ingredients for Chocolate Chip Cookie Bars
Here’s everything you’ll need to make these irresistible bars. I promise, nothing fussy here—just good, simple ingredients that come together like magic:
- 1 cup (2 sticks) unsalted butter, melted – This is the secret to that perfect chewiness!
- 1 cup light brown sugar, packed – Pack it in tight for maximum caramel flavor
- 1/2 cup granulated sugar – The white sugar helps create those slightly crisp edges
- 2 large eggs – Room temperature blends better, but I’ve used cold in a pinch
- 2 teaspoons vanilla extract – The good stuff makes all the difference
- 2 1/4 cups all-purpose flour – Spoon and level it—don’t scoop from the bag!
- 1 teaspoon baking soda – Check that it’s fresh so your bars rise properly
- 1/2 teaspoon salt – Balances the sweetness beautifully
- 2 cups semisweet chocolate chips – More is always better, right?
Ingredient Notes & Substitutions
Let me share a few tricks I’ve learned after making these bars approximately a million times:
Melted butter vs softened: Unlike traditional cookies where you cream butter and sugar, we melt it here. This skips the creaming step and gives you that dense, chewy texture we all love in bars. If you only have salted butter, just reduce the added salt to 1/4 teaspoon.
Brown sugar swap: Dark brown sugar works great if you want a deeper molasses flavor—just know your bars will be slightly darker in color.
Chocolate chip options: I’m partial to semisweet, but milk chocolate makes them extra sweet, dark chocolate adds sophistication, or go wild with a mix! Once I used chopped chocolate bars instead of chips and oh my—those melty pockets were heavenly.
Flour caution: If you must use whole wheat flour, replace only half the all-purpose or your bars will be too dense. And gluten-free friends—a 1:1 gluten-free flour blend works surprisingly well here!
Equipment You’ll Need
Good news—you don’t need any fancy gadgets for these chocolate chip cookie bars! Here’s the short and sweet list:
- 9×13-inch baking pan – My trusty metal one gives perfect golden edges, but glass works too
- Large mixing bowl – For all that buttery, chocolaty goodness
- Whisk & spatula – A fork works in a pinch for mixing
- Measuring cups/spoons – Eyeballing the flour is a dangerous game, my friends
That’s it! Well, besides an oven and maybe some parchment paper if you’re feeling fancy (but a quick grease with butter does the trick).
How to Make Chocolate Chip Cookie Bars
Alright, let’s get baking! These chocolate chip cookie bars couldn’t be simpler—I’ll walk you through each step so you get perfect results every time. Just follow along and try not to eat all the chocolate chips before they make it into the batter!
- Preheat & prep: Start by heating your oven to 350°F (175°C). Grease your 9×13-inch pan with butter or line it with parchment paper—this prevents sticking and makes cleanup a breeze.
- Mix the wet ingredients: In your large bowl, whisk together the melted butter, brown sugar, and granulated sugar until smooth. It’ll look like thick caramel sauce—resist the urge to dip your finger in! Beat in the eggs one at a time, then stir in the vanilla. The mixture should be glossy and slightly fluffy.
- Add dry ingredients: In another bowl, whisk together the flour, baking soda, and salt. Gradually add this to the wet ingredients, mixing just until combined. Overmixing leads to tough bars, so stop when you no longer see flour streaks.
- Fold in the chocolate: Here comes the best part—gently stir in those glorious chocolate chips. The dough will be thick and sticky, with chips in every bite. Pro tip: save a handful of chips to sprinkle on top before baking for extra visual appeal!
- Spread & bake: Transfer the dough to your prepared pan, using a spatula to spread it evenly into all corners. Pop it in the oven and bake for 25-30 minutes. You’ll know they’re done when the edges are golden brown but the center still looks slightly soft.
- Cool & cut: This is the hardest part—let the pan cool completely on a wire rack before cutting into bars. I know, I know… but trust me, this prevents crumbling and gives you clean, perfect squares!
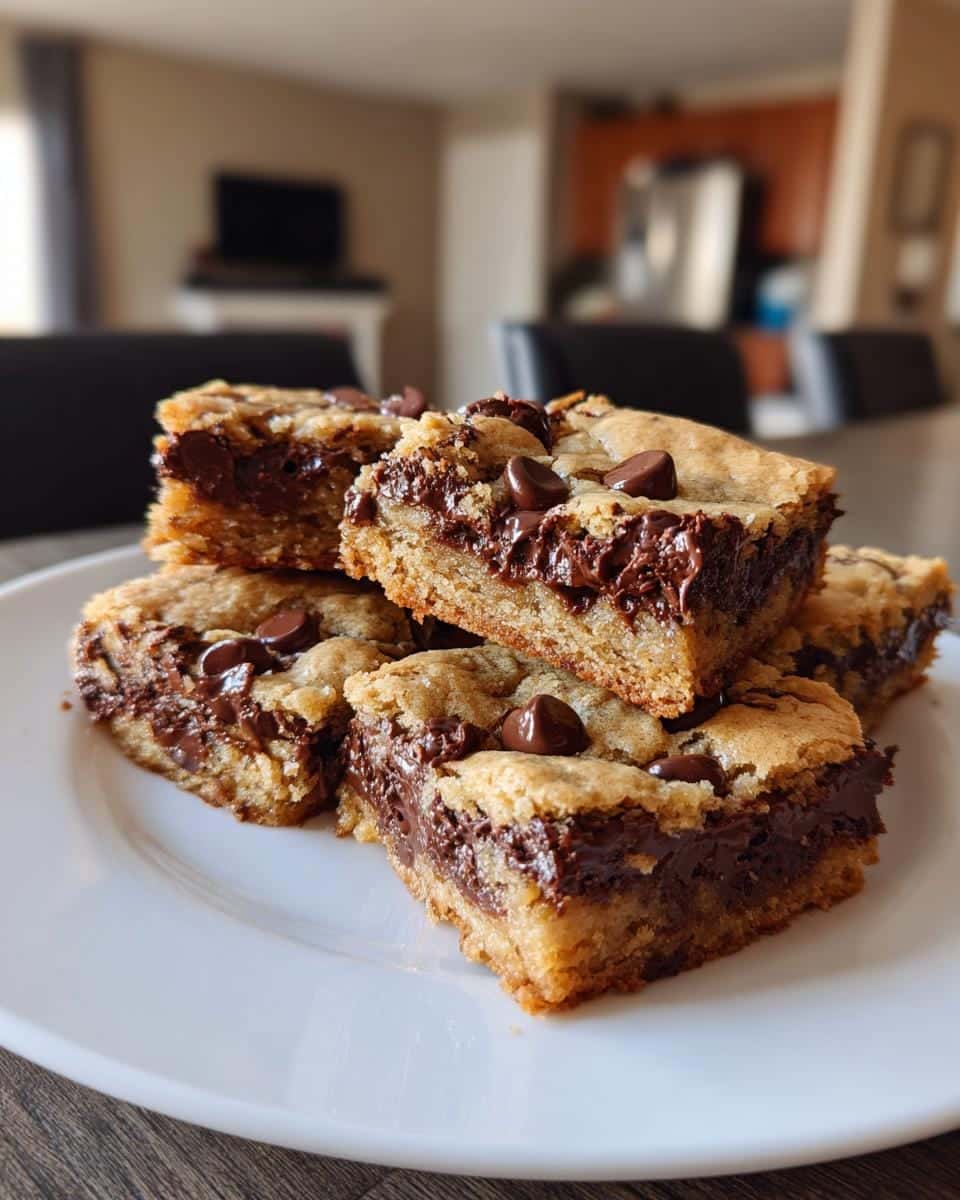
Pro Tips for Perfect Bars
After making these more times than I can count, here are my foolproof secrets for bakery-worthy results:
- Underbake slightly: For ultra-gooey centers, take them out when the edges are set but the middle still jiggles a tiny bit—they’ll firm up as they cool.
- Toothpick test: If you’re unsure, insert a toothpick near the center. A few moist crumbs are perfect—wet batter means more baking time.
- Cooling patience: I mean it—wait at least 30 minutes before cutting! The bars continue cooking from residual heat and set up properly.
- Sharp knife: Use a chef’s knife dipped in hot water (and wiped dry) for the cleanest cuts through all that chocolate.
- Even spreading: Wet your fingers or spatula to easily press the thick dough into the pan without sticking.
Remember, ovens vary—start checking at 20 minutes if yours runs hot. And if you do overbake them slightly? No worries! Just serve them warm with a scoop of ice cream to hide any dryness.
Variations for Chocolate Chip Cookie Bars
One of the best things about these bars? How easily you can mix them up! Here are some of my favorite ways to play with the recipe:
- Nutty delight: Stir in 1 cup chopped walnuts or pecans for extra crunch—my dad’s favorite version!
- Double chocolate: Swap half the chocolate chips for white chocolate or peanut butter chips. (The swirls look gorgeous when you cut them.)
- Salty-sweet: Sprinkle flaky sea salt on top before baking—trust me, it’s a game changer.
- M&M magic: Use colorful candies instead of chocolate chips for festive holiday bars kids adore.
- Cookie dough twist: Press mini chocolate chips into the top after baking for that classic cookie look.
Really, anything goes—I’ve even thrown in leftover Halloween candy once (those Butterfinger bits were incredible). Get creative!
Serving & Storing Chocolate Chip Cookie Bars
Now for the best part—enjoying your chocolate chip cookie bars! Here’s how I like to serve and keep them fresh:
Serving ideas: Warm bars with a scoop of vanilla ice cream is heavenly—the melty chocolate and cold cream? Wow! For breakfast (no judgment here), I’ll microwave one for 10 seconds and pair it with coffee. They’re also perfect packed in lunchboxes or served at parties cut into smaller squares.
Storage tips: Let the bars cool completely, then store in an airtight container at room temperature. They’ll stay soft and delicious for up to 5 days—if they last that long! Between layers, I like to slip sheets of parchment paper to prevent sticking.
Freezing magic: These freeze beautifully! Wrap individual bars tightly in plastic wrap, then pop them in a freezer bag. They’ll keep for 3 months. When the craving hits, thaw at room temperature or microwave for 15 seconds to revive that fresh-from-the-oven warmth.
Pro tip: The bars actually taste even better the next day as the flavors meld. But let’s be real—I’ve never managed to save any past day two!
More Chocolatey Desserts to Try
If you’re in the mood for more chocolate goodness, you won’t want to miss:
Looking for something zesty to balance the sweetness? Try our Lemon Crumb Bars for a refreshing citrusy finish.
Frequently Asked Questions
Q1: Can I freeze these chocolate chip cookie bars?
Absolutely! These bars freeze like a dream—my freezer always has a stash ready for emergencies. Just let them cool completely, wrap individually in plastic wrap, and store in a freezer bag for up to 3 months. To serve, thaw at room temperature or zap in the microwave for 15 seconds if you need that warm, gooey texture fast.
Q2: Why did my bars turn out cakey instead of chewy?
Oh no, we’ve all been there! The usual culprits are overmixing the batter (which develops too much gluten) or using too much flour. Remember to spoon-and-level your flour—packing it down adds extra you don’t need. Also, melted butter should be just liquid, not browned or bubbly. Next time, try underbaking slightly for that perfect chew.
Q3: Can I make these chocolate chip cookie bars without eggs?
Yes, in a pinch! For egg-free bars, substitute each egg with 1/4 cup unsweetened applesauce or 1 tablespoon ground flaxseed mixed with 3 tablespoons water (let it sit 5 minutes first). The texture will be slightly denser but still delicious—my vegan friends swear by this trick.
Q4: How do I prevent the chocolate chips from sinking to the bottom?
Great question! Toss your chocolate chips with about 1 tablespoon of flour before folding them in—this little hack helps suspend them throughout the batter. Also, make sure your dough isn’t too thin; the thickness of these bars naturally keeps chips distributed evenly.
Q5: Can I halve the recipe for a smaller batch?
Definitely! Use an 8×8-inch pan instead and bake for 20-25 minutes. Though fair warning—every time I make a “small batch,” I end up wishing I’d made the full recipe because they disappear so fast! The original yield is 24 bars, but in my house, that means about 24 minutes before they’re gone.
Nutritional Information
Okay, let’s talk numbers—because sometimes you just gotta know what you’re indulging in, right? Here’s the breakdown per bar (based on cutting into 24 generous squares):
- Calories: 210 – Worth every single one!
- Total Fat: 10g (6g saturated)
- Cholesterol: 30mg
- Sodium: 120mg
- Total Carbohydrates: 28g
- Dietary Fiber: 1g
- Sugars: 18g
- Protein: 2g
Remember: Nutrition varies based on ingredients/brands; values are estimates. If you use different chocolate chips or add nuts, those numbers will change. I figure life’s too short to stress over cookie math—just enjoy every gooey bite!
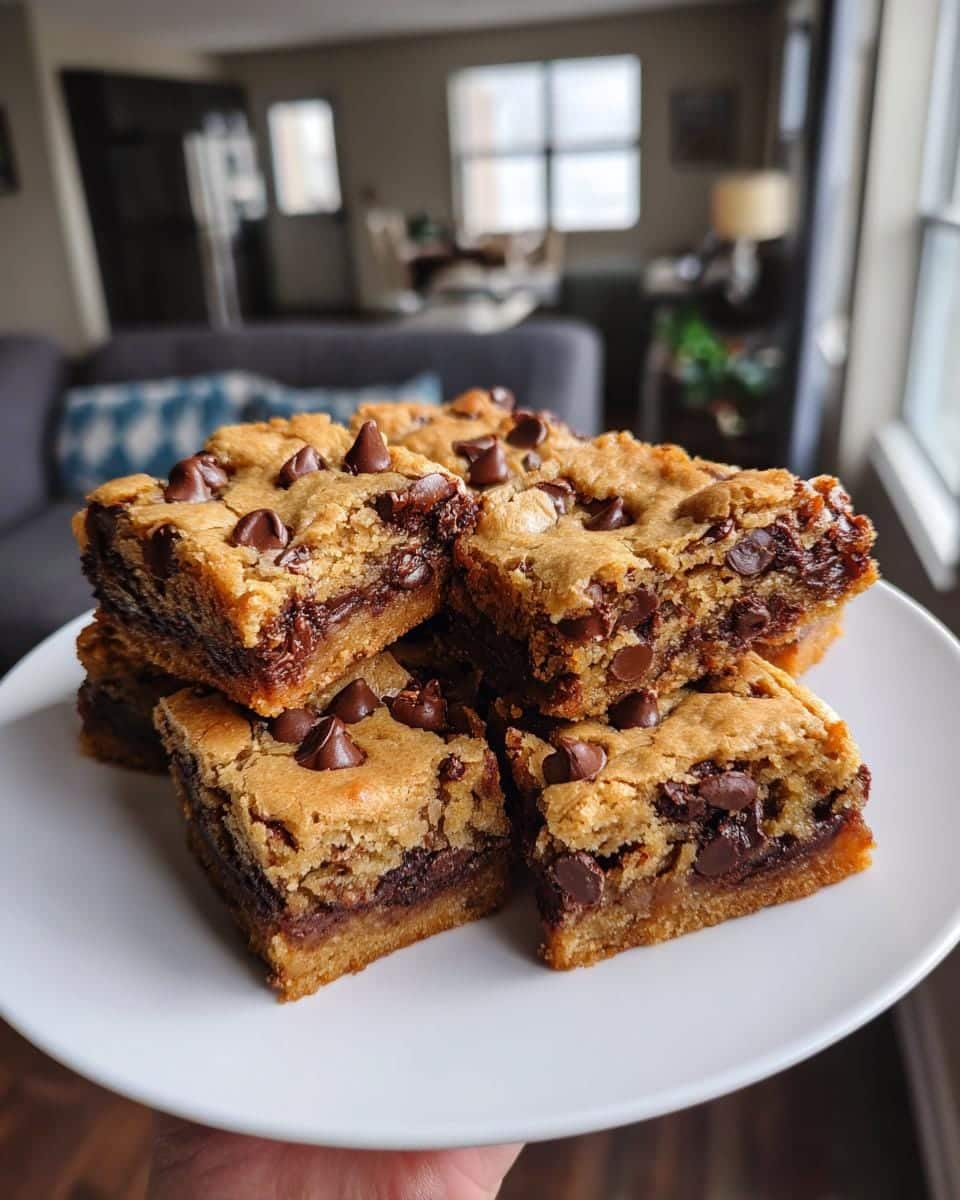
Final Thoughts
After years of baking these chocolate chip cookie bars—through birthday parties, lazy Sundays, and “I just need chocolate” moments—I can honestly say this recipe never fails to bring smiles. Whether you’re a beginner baker or a seasoned pro, these bars are foolproof and irresistible. Give them a try, then come back and tell me how yours turned out! I’d love to hear your stories—did you add any fun mix-ins? Did they disappear as quickly as they do in my house? Happy baking, friends!
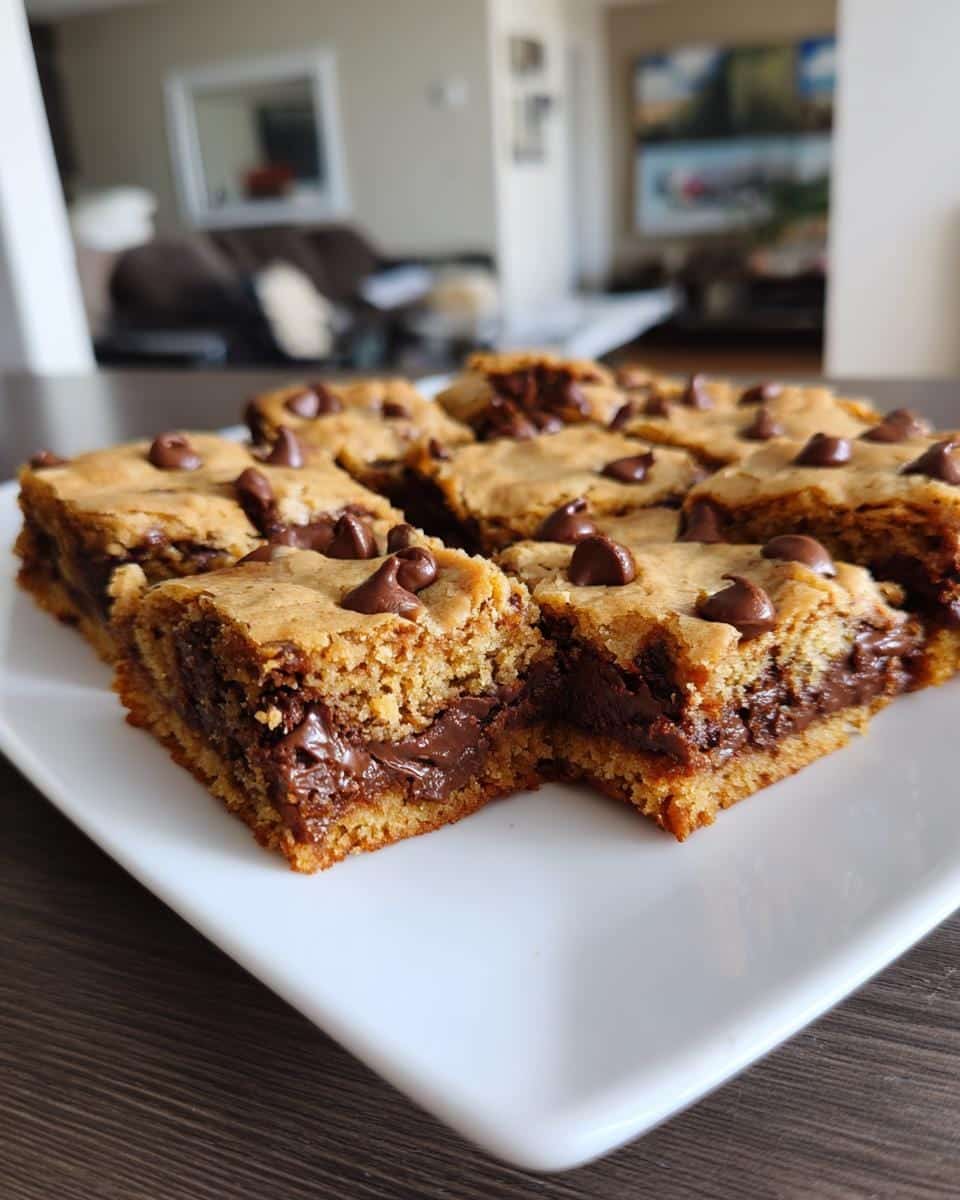
For more delicious recipes and inspiration, check out our Pinterest page!
Print
23 Amazing Chocolate Chip Cookie Bars You’ll Crave Daily
- Total Time: 35 minutes
- Yield: 24 bars
- Diet: Vegetarian
Description
Easy-to-make chocolate chip cookie bars that are soft, chewy, and loaded with chocolate chips. Perfect for any occasion.
Ingredients
- 1 cup (2 sticks) unsalted butter, melted
- 1 cup light brown sugar, packed
- 1/2 cup granulated sugar
- 2 large eggs
- 2 teaspoons vanilla extract
- 2 1/4 cups all-purpose flour
- 1 teaspoon baking soda
- 1/2 teaspoon salt
- 2 cups semisweet chocolate chips
Instructions
- Preheat your oven to 350°F (175°C). Grease a 9×13-inch baking pan.
- In a large bowl, mix melted butter, brown sugar, and granulated sugar until smooth.
- Beat in eggs one at a time, then stir in vanilla.
- In another bowl, whisk flour, baking soda, and salt. Gradually add to the wet ingredients.
- Fold in chocolate chips.
- Spread the dough evenly into the prepared pan.
- Bake for 25-30 minutes or until edges are golden brown.
- Let cool before cutting into bars.
Notes
- For gooey bars, slightly underbake.
- Store in an airtight container for up to 5 days.
- You can add nuts for extra crunch.
- Prep Time: 10 minutes
- Cook Time: 25 minutes
- Category: Dessert
- Method: Baking
- Cuisine: American
