There’s nothing quite like the smell of Grandma’s Thanksgiving stuffing filling the house – that heavenly mix of toasted bread, sage, and butter that instantly transports me back to childhood. Her recipe was never written down until I begged her for it years ago, scribbled on the back of an old grocery list that’s now splattered with broth and dotted with flour. This stuffing isn’t just a side dish; it’s the taste of family gatherings, of cousins sneaking extra helpings when the adults weren’t looking, of Grandma humming while she stirred the vegetable mixture. The secret? That perfect balance of crispy top and soft center, with just enough sage to make your taste buds sing without overwhelming the sweet onions and celery. Every Thanksgiving, when I pull out that stained recipe card with her handwriting, it feels like she’s right there in the kitchen with me.
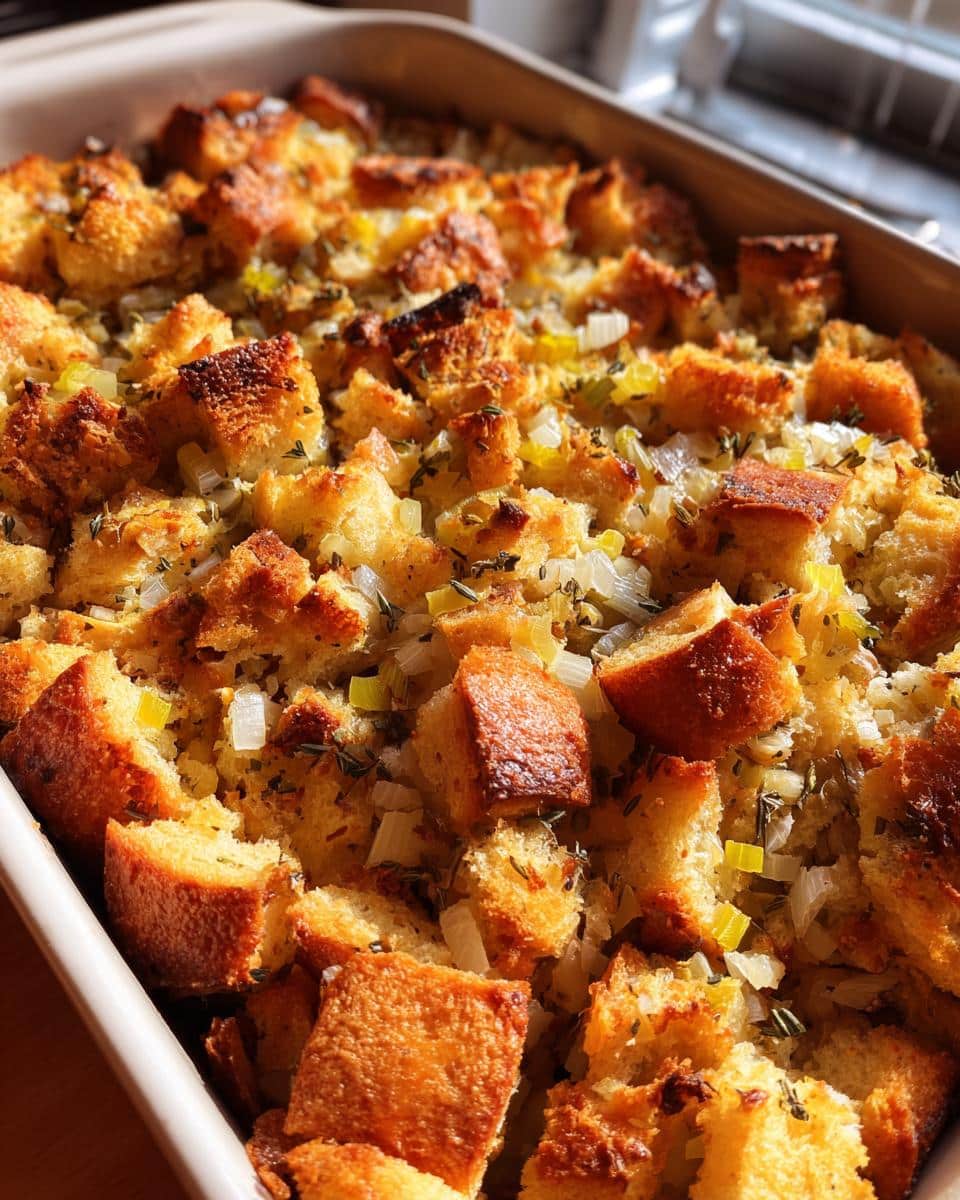
Ingredients for Grandma’s Thanksgiving Stuffing Recipe
Gathering these simple ingredients is half the joy – just like Grandma used to do, pulling everything from her well-stocked pantry. Here’s what you’ll need to make her legendary stuffing:
- 1 loaf of day-old bread (about 8 cups cubed – Grandma always used sourdough, but any sturdy bread works)
- 1/2 cup unsalted butter (real butter, please – no substitutes for this!)
- 1 large onion, diced (Grandma would say “the sweeter the better”)
- 2 celery stalks, diced (with leaves if you’ve got ’em – extra flavor!)
- 2 cloves garlic, minced (or more if you’re feeling bold)
- 1 tsp dried sage (rub it between your fingers to wake up the flavor)
- 1 tsp dried thyme
- 1/2 tsp salt (plus more to taste)
- 1/4 tsp black pepper (freshly ground if you can)
- 1 1/2 cups chicken or vegetable broth (homemade if you’re fancy)
- 2 eggs, beaten (room temperature blends better)
See? Nothing complicated – just good, honest ingredients that work magic together. Now let’s get cooking!
How to Make Grandma’s Thanksgiving Stuffing Recipe
Now for the fun part – turning those simple ingredients into golden, aromatic perfection! Grandma’s method is foolproof if you follow these steps exactly. Trust me, I’ve made every mistake possible over the years so you don’t have to.
Preparing the Bread Base
First, let’s talk bread. That loaf you left out overnight? Perfect! Stale bread absorbs the broth better without turning mushy. Cut it into 1/2-inch cubes (no need to be precise – rustic is good). Spread them on a baking sheet and toast at 350°F for about 10 minutes until lightly golden. You’ll know they’re ready when your kitchen smells like a bakery.
Cooking the Vegetable Mixture
While the bread toasts, melt that butter in a big skillet over medium heat. Add the onions and celery – listen for that satisfying sizzle! Cook them until they’re soft and the onions turn translucent, about 5-7 minutes. Stir in the garlic last (it burns easily!) along with the sage, thyme, salt, and pepper. The scent will hit you first – that’s when you know it’s working!
Combining and Baking the Stuffing
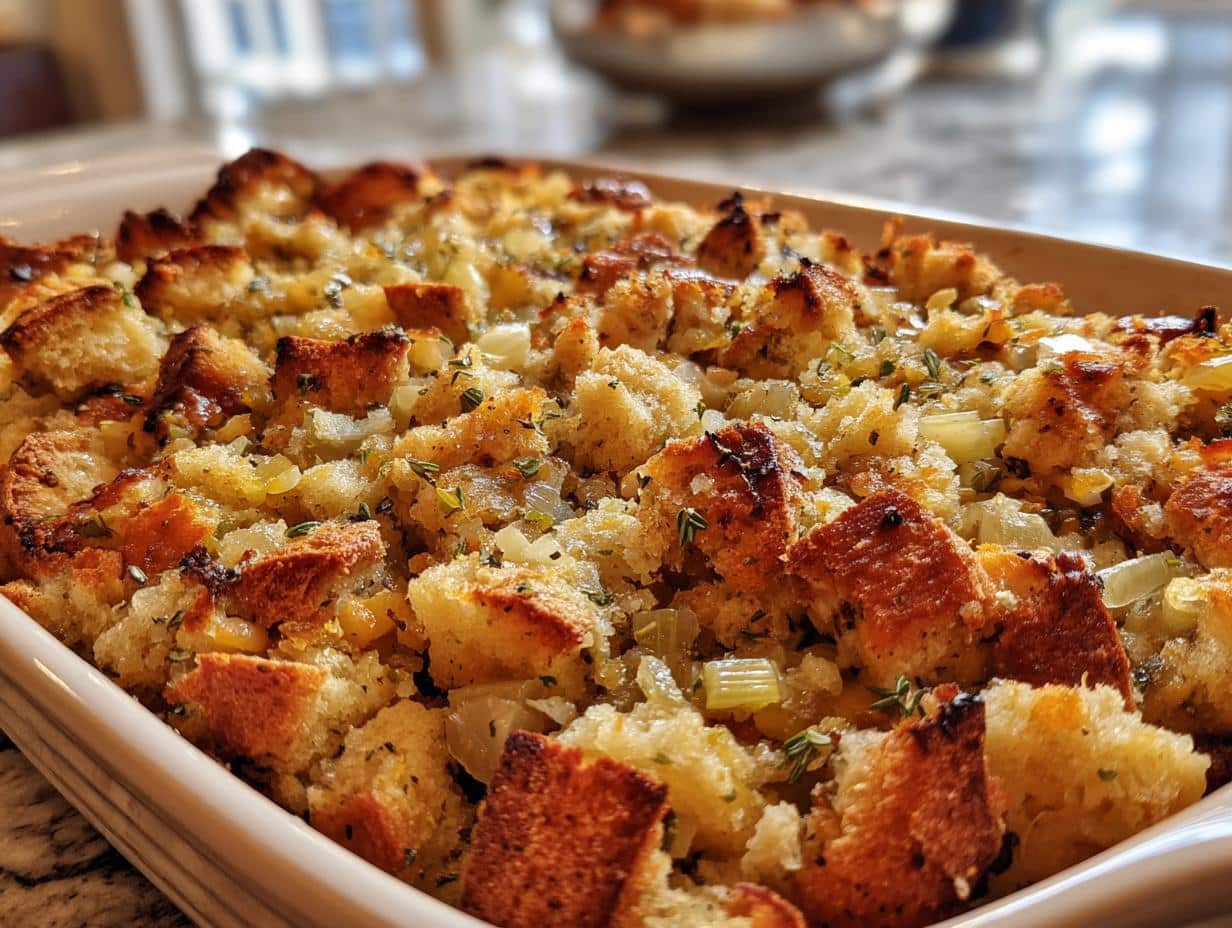
Now the magic happens! Dump your toasted bread cubes into a big bowl and pour the vegetable mixture over top. Toss gently to coat every piece with buttery goodness. Here’s Grandma’s trick: add the broth a little at a time, stirring after each pour. You want the bread moist but not swimming. Last, mix in the beaten eggs – they’ll help bind everything together. Transfer to a greased 9×13 dish and bake at 350°F for 30-35 minutes until the top is crisp and golden brown. When you see those crispy edges and smell the herbs, it’s ready to make your Thanksgiving table complete!
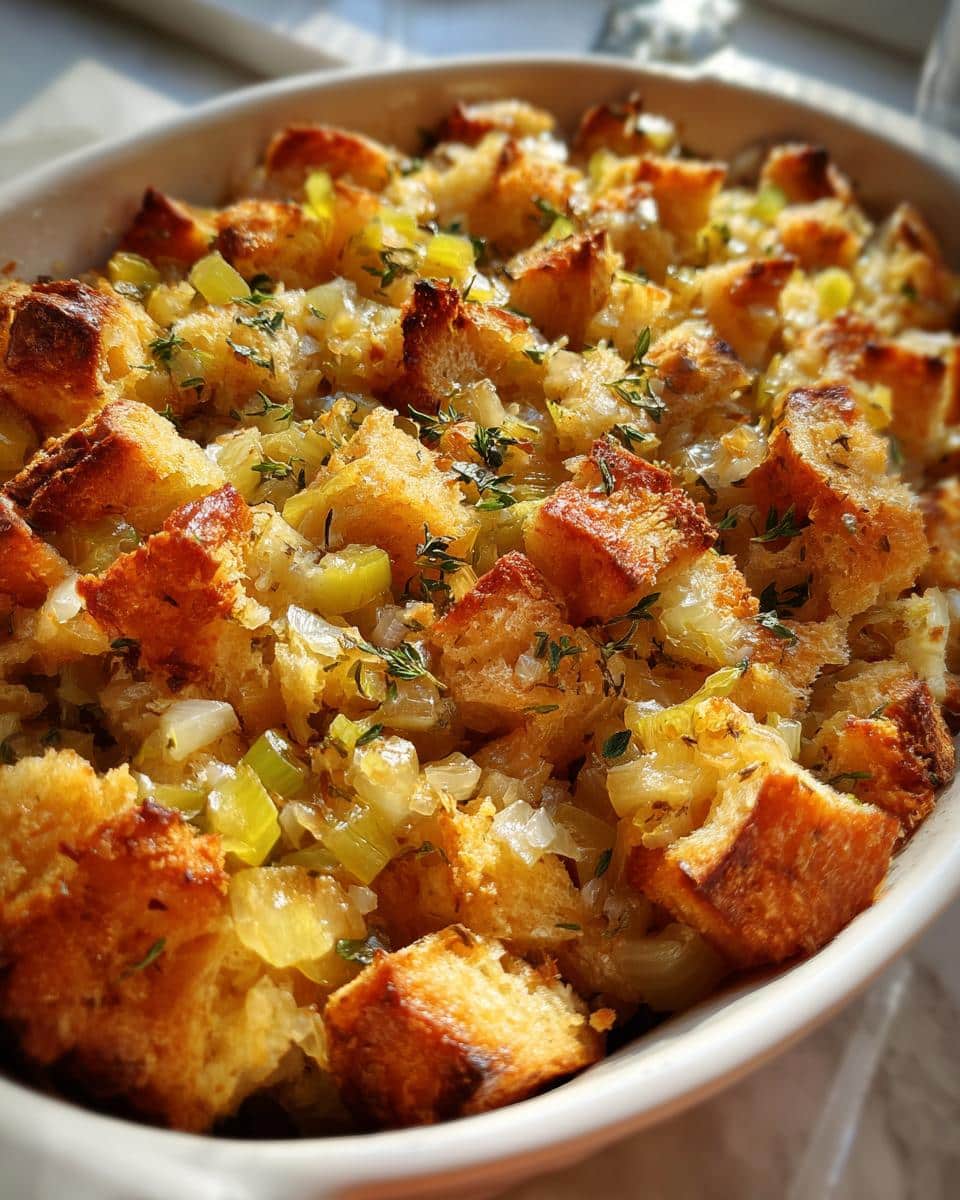
Why You’ll Love Grandma’s Thanksgiving Stuffing Recipe
This isn’t just any stuffing – it’s the one everyone begs for seconds of! Here’s why it steals the show every Thanksgiving:
- That nostalgic flavor – One bite and you’re transported back to Grandma’s kitchen with all its warmth and laughter
- Perfect texture – Crispy golden top gives way to a moist, tender center that holds together beautifully
- Simple ingredients – No fancy techniques or hard-to-find items, just honest, comforting flavors
- Crowd-pleasing appeal – Even picky eaters go back for more (I’ve seen it happen!)
- Easy to make ahead – Tastes even better the next day as the flavors meld together
Honestly? The hardest part is not eating it straight from the baking dish!
Tips for Perfect Grandma’s Thanksgiving Stuffing Recipe
After decades of making this stuffing (and a few early disasters), here are my can’t-live-without tips for getting it just right:
- Taste as you go – Before baking, pinch off a bit to check seasoning. Grandma always said “You can add, but you can’t take away!”
- Watch the top – If it’s browning too fast, tent loosely with foil. You want golden, not burnt!
- Broth matters – Homemade makes it shine, but if using store-bought, go low-sodium so you control the salt.
- Bread texture test – Squeeze a handful – it should hold shape but not drip. Add more broth if too dry.
- Rest before serving – Let it sit 10 minutes after baking so everything sets beautifully.
These little tricks make all the difference between good stuffing and “Grandma-good” stuffing!
Ingredient Substitutions and Variations
Don’t stress if you’re missing something – Grandma’s stuffing is wonderfully adaptable! For gluten-free folks, swap in your favorite gluten-free bread (toast it extra for better texture). Vegan? Use plant-based butter and veggie broth, then skip the eggs (it’ll be slightly less firm but still delicious). Feeling fancy? Toss in a handful of dried cranberries or chopped apples for sweetness, or mix in fresh parsley and rosemary for extra herbiness. One year we added sautéed mushrooms, and oh my – what a happy accident that turned out to be!
Serving Suggestions for Grandma’s Thanksgiving Stuffing Recipe
Oh, the possibilities! Of course it’s perfect piled next to golden roast turkey with a river of gravy running through it (that’s how my cousin Billy always demanded it). But don’t stop there – it’s heavenly with cranberry sauce, or even tucked into leftover turkey sandwiches the next day. If you’re reheating, just pop individual servings in the microwave for 30 seconds or warm the whole dish covered with foil at 325°F for about 15 minutes. Pro tip: sprinkle a little extra broth on top before reheating to keep it moist. And don’t you dare throw away the crispy edge pieces – those are cook’s treats!
Storing and Reheating Leftovers
Let’s be real – leftovers are half the joy of Thanksgiving! Store any extra stuffing in an airtight container in the fridge for 3-4 days. To reheat, I prefer the oven (325°F for 15-20 minutes covered with foil) because it keeps that perfect crispy texture. But when you’re desperate, 30 seconds in the microwave with a splash of broth works too! Grandma would wrap individual portions in foil for quick reheating – genius for those late-night stuffing cravings.
Nutritional Information for Grandma’s Thanksgiving Stuffing Recipe
Here’s the scoop on what’s in each delicious serving (about 1/8 of the recipe): roughly 220 calories, 12g fat (6g saturated), 22g carbs with 2g fiber and 2g sugar, plus 5g protein. Now, I’ll be honest – Grandma never counted calories (she’d wink and say “That’s what elastic waistbands are for!”). These numbers can change based on your bread choice or how generous you are with that glorious butter. The important thing? Every bite tastes like love.
Frequently Asked Questions
Can I make Grandma’s stuffing ahead of time?
Absolutely! In fact, it tastes even better when the flavors have time to mingle. Prepare it up to the baking step, cover tightly, and refrigerate overnight. Just add 5-10 extra minutes to the baking time since it’ll be cold from the fridge. Grandma always said Thanksgiving morning was too hectic to start from scratch!
Can I freeze leftover stuffing?
You bet! Freeze it in airtight containers for up to 2 months. Thaw overnight in the fridge, then reheat in the oven at 325°F until warmed through. The texture might be slightly softer, but the flavor will still be wonderful. I’ve been known to stash single servings for emergency comfort food cravings!
What if my stuffing turns out too dry?
No panic! Sprinkle a little warm broth over the top and gently toss. Cover with foil and let it sit for 5 minutes – the bread will soak up the moisture. Next time, remember Grandma’s rule: add broth gradually until the bread holds together when squeezed but isn’t soggy.
Can I bake this inside the turkey?
While you certainly can, Grandma always baked hers separately. She worried about food safety and loved that crispy top too much! If you do stuff the bird, only put in what you’ll eat immediately – don’t refrigerate leftovers that were inside the turkey.
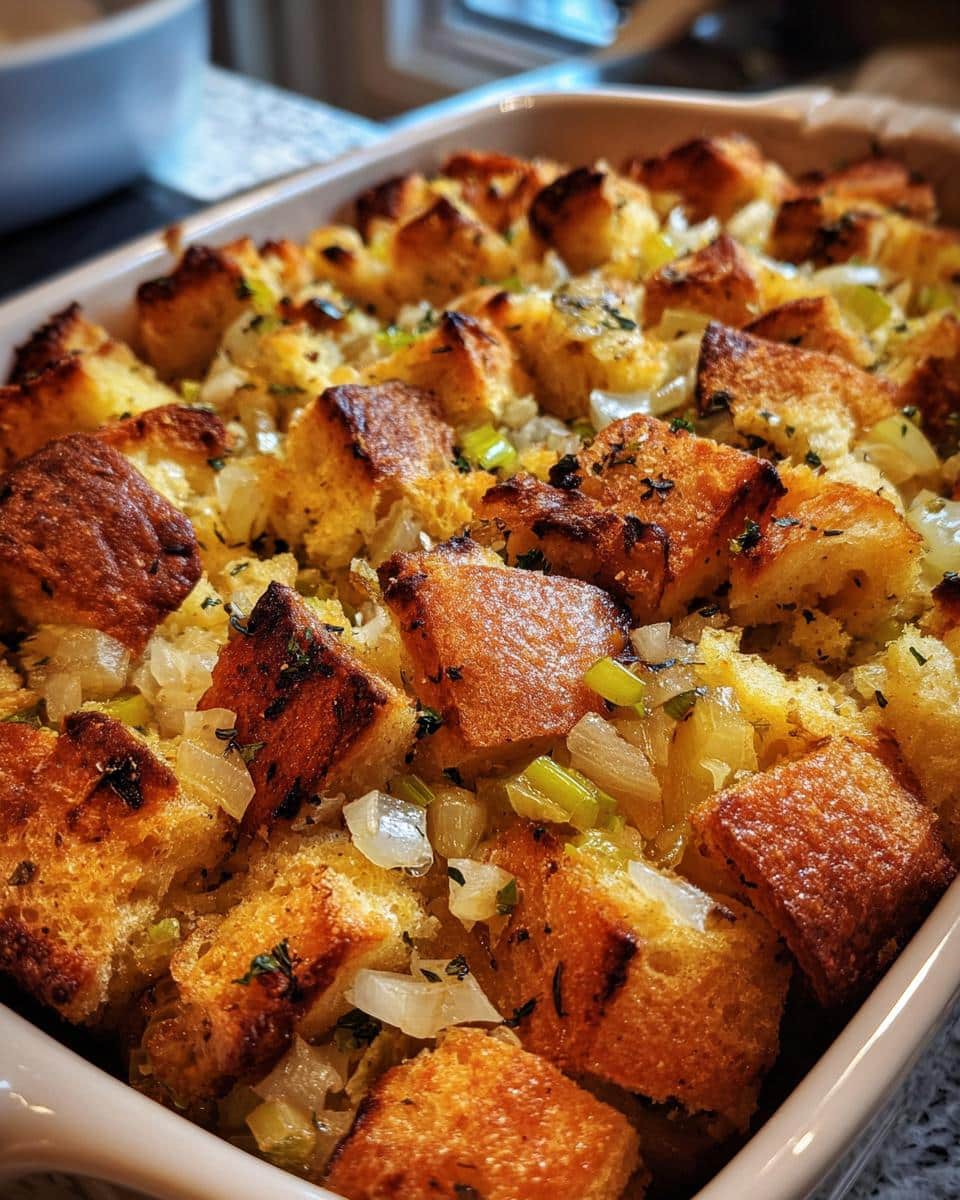

Grandma’s Thanksgiving Stuffing Recipe Will Make You Nostalgic
- Total Time: 60 mins
- Yield: 8 servings
- Diet: Vegetarian
Description
A classic Thanksgiving stuffing recipe passed down through generations, perfect for your holiday table.
Ingredients
- 1 loaf of day-old bread (cubed)
- 1/2 cup unsalted butter
- 1 large onion (diced)
- 2 celery stalks (diced)
- 2 cloves garlic (minced)
- 1 tsp dried sage
- 1 tsp dried thyme
- 1/2 tsp salt
- 1/4 tsp black pepper
- 1 1/2 cups chicken or vegetable broth
- 2 eggs (beaten)
Instructions
- Preheat oven to 350°F (175°C).
- Spread bread cubes on a baking sheet and toast for 10 minutes.
- Melt butter in a skillet over medium heat.
- Sauté onion, celery, and garlic until softened.
- Mix in sage, thyme, salt, and pepper.
- Combine toasted bread cubes with the vegetable mixture.
- Add broth gradually, then stir in beaten eggs.
- Transfer mixture to a greased baking dish.
- Bake for 30-35 minutes until golden brown.
Notes
- Use stale bread for best texture.
- Adjust seasoning to taste.
- Cover with foil if the top browns too quickly.
- Prep Time: 15 mins
- Cook Time: 45 mins
- Category: Side Dish
- Method: Baking
- Cuisine: American
