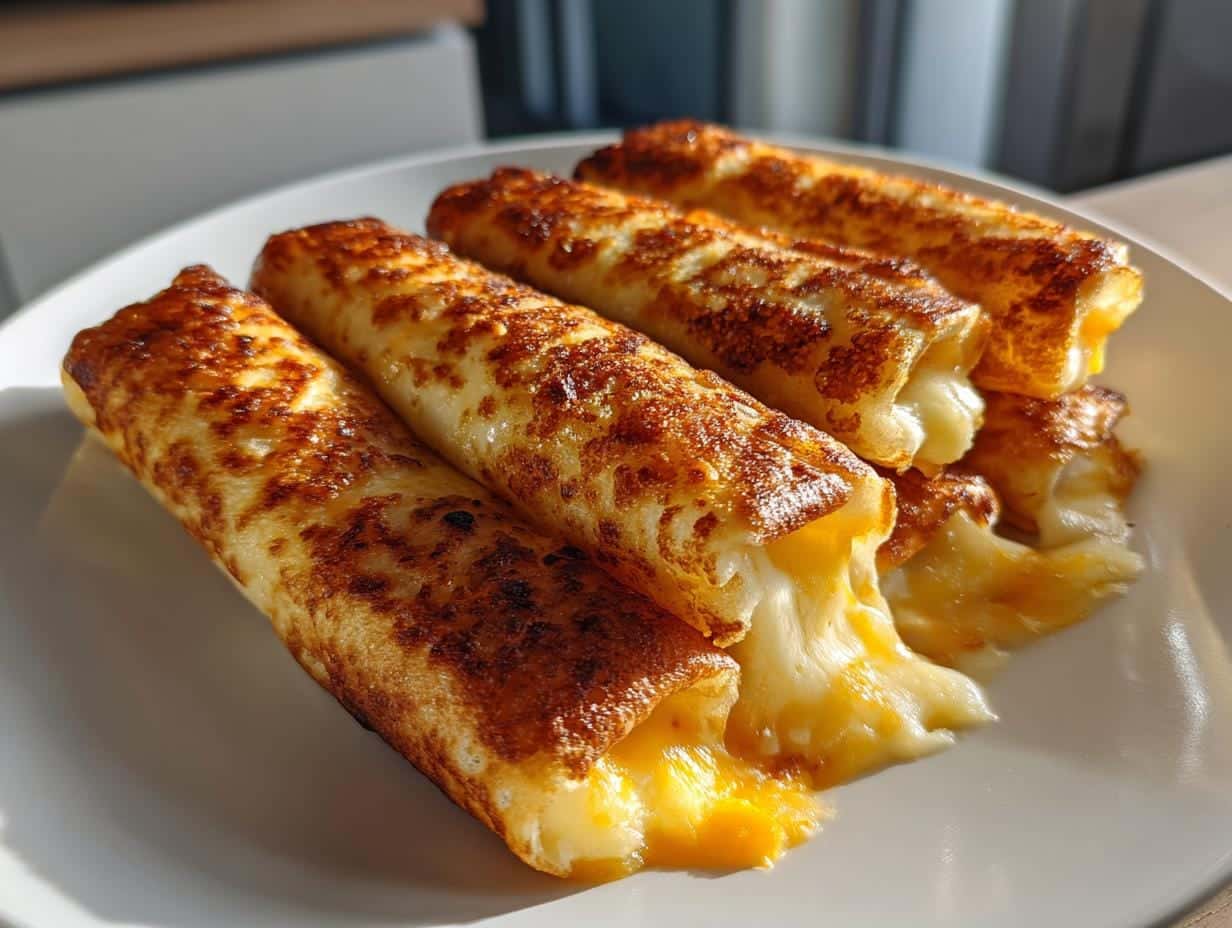
Oh my gosh, you have GOT to try these grilled cheese roll ups! They’re my go-to when the kids come barreling through the door after school, starving as if they haven’t eaten in days. I stumbled on this twist by accident one rushed afternoon when I only had a few sad-looking bread slices left. Flattened them out, rolled ’em up with cheese, and boom – crispy, melty magic in under 15 minutes! Now it’s our favorite way to make grilled cheese – fun to eat and perfect for dipping in tomato soup. Even my picky eater can’t resist pulling apart these golden spirals of cheesy goodness.
Table of Contents
Why You’ll Love These Grilled Cheese Roll Ups
Listen, these aren’t your average grilled cheese sandwiches – these little roll-ups are magical for so many reasons:
- Crazy quick – From fridge to plate in 11 minutes flat (I’ve timed it during the 3pm hangry meltdowns)
- No-fail easy – Just roll, butter, and sizzle – my 8-year-old can make them solo
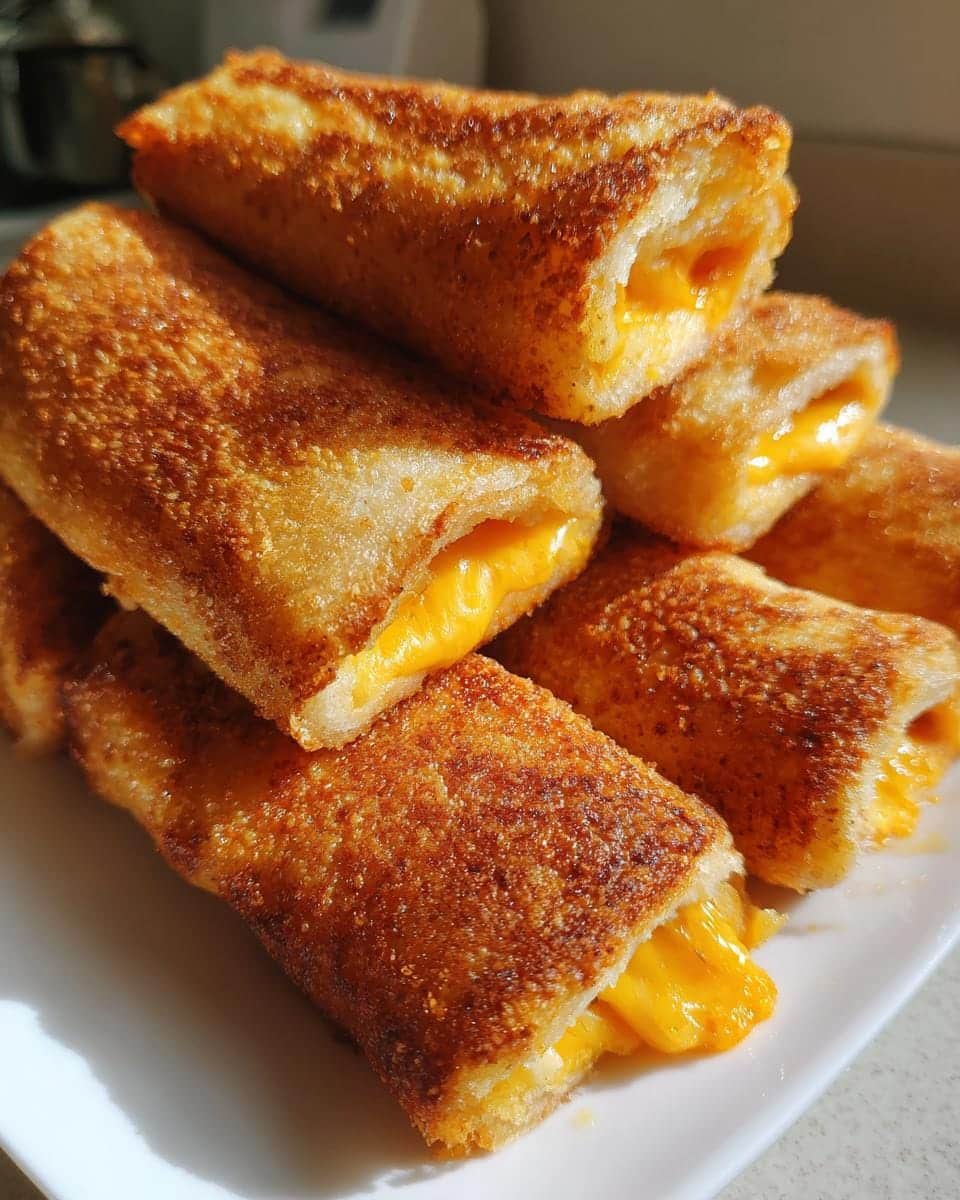
- Next-level crispy – That golden, buttery crust wraps around every bite (forget soggy middles!)
- Totally customizable – Swap cheeses, add ham, or sneak in spinach – it all works
- Kid magnet – Something about that spiral shape makes even vegetable-haters gobble them up
Trust me, once you try this method, you’ll never go back to regular grilled cheese again!
Ingredients for Grilled Cheese Roll Ups
You only need three simple things to make these crispy wonders – and I bet you’ve got them in your kitchen right now:
- 4 slices bread (white, wheat, or sourdough – whatever’s in your breadbox)
- 4 slices cheddar cheese (or swap for pepper jack when you’re feeling fancy)
- 2 tbsp butter, softened (not melted! It needs to spread like peanut butter)
See? I told you it was simple! Now let me show you how we turn these basics into something extraordinary.
How to Make Grilled Cheese Roll Ups
Okay, let’s get rolling! (Pun totally intended.) These steps are so simple you could do them half-asleep – which is great because I’ve definitely made these bleary-eyed on busy mornings.
Step 1: Flatten the Bread
Grab a rolling pin (or a clean wine bottle – no judgment here!) and press firmly but gently on each bread slice until it’s about 1/4 inch thick. Don’t go wild or you’ll tear it – we’re going for flat but still sturdy enough to hold the cheese.
Step 2: Add Cheese and Roll
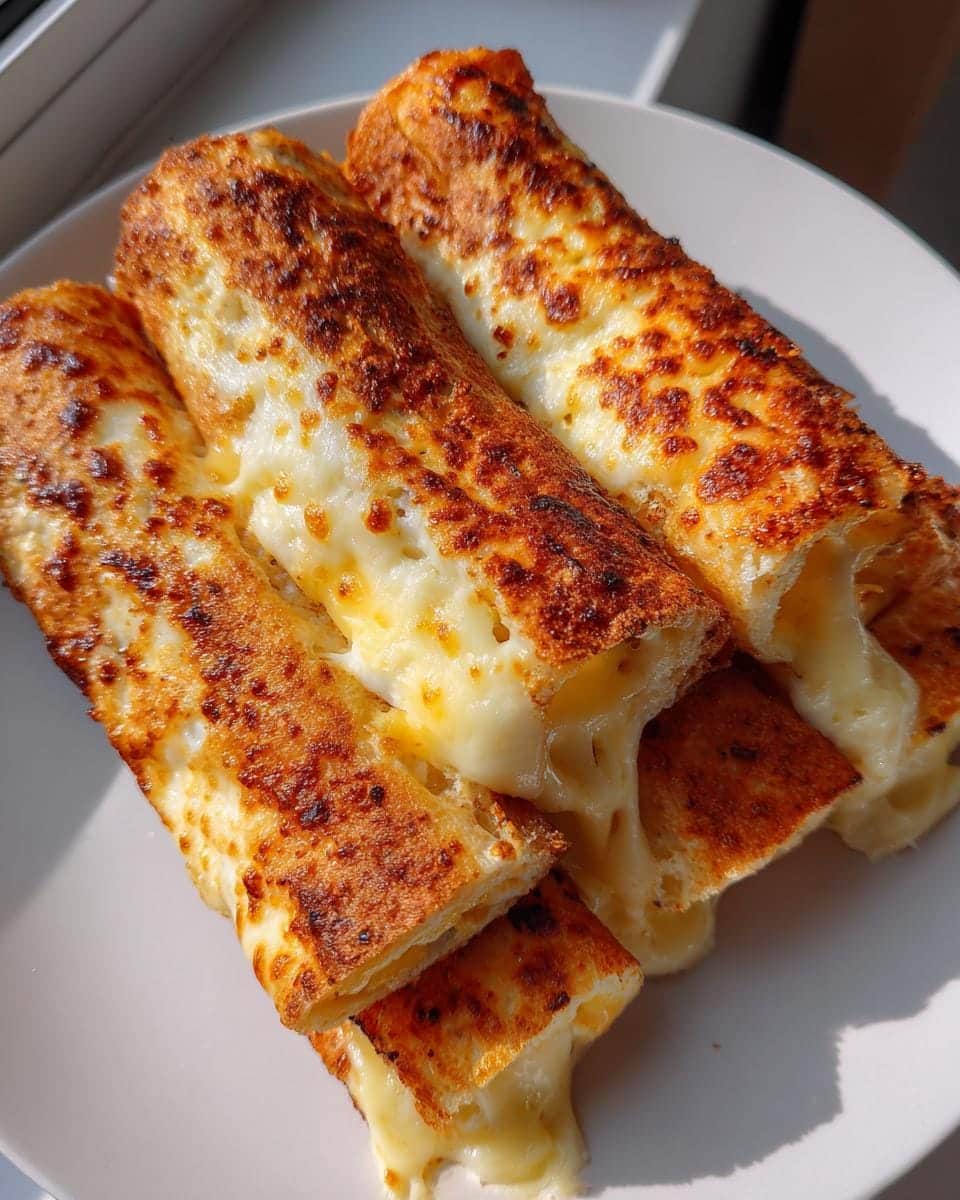
Lay a cheese slice on each flattened bread piece, leaving a tiny border. Now roll it up like a tiny burrito, squeezing gently as you go. Pro tip: If your rolls won’t stay closed, poke a toothpick through the seam – just remember to take it out before serving! (Learned that one the hard way.)
Step 3: Cook to Perfection
Heat a skillet over medium heat – no hotter unless you want blackened rolls with cold cheese centers (been there). Spread softened butter all over the outside of each roll-up – this is what gives that gorgeous golden crust. Cook for 2-3 minutes per side, pressing lightly with your spatula, until they’re crispy and the cheese starts oozing out the ends. That’s when you know they’re ready!
Tips for the Best Grilled Cheese Roll Ups
After making about a zillion of these (not exaggerating), I’ve learned some tricks to take your roll-ups from good to “oh-my-gosh-give-me-another”:
- Room temp cheese melts better – Take it out 30 minutes early so it oozes perfectly
- Press while cooking – Gently smoosh with your spatula for maximum crispiness
- Add a protein punch – Tuck in thin deli ham or turkey before rolling
- Watch the heat – Medium is perfect for golden brown, not burnt
The best part? Even the “mistakes” still taste amazing – ask my kids who happily eat all my test batches!
Variations to Try
Don’t get me wrong – I adore the classic version, but sometimes I go wild with these roll-ups! Here are my favorite twists:
- Italian-style: Spread pesto before adding cheese and sprinkle with garlic powder
- Breakfast edition: Use flour tortillas with scrambled eggs and melty American cheese
- Everything bagel: Roll in everything seasoning after buttering for extra crunch
The possibilities are endless – what will you try first?
Serving Suggestions
These roll-ups practically beg to be dunked in a steaming bowl of tomato soup (my kids call it “cheesy bread soup” now). For grown-ups, I love pairing them with a crisp apple salad – the sweet crunch balances the rich, melty cheese perfectly. Picnic tip: They stay crispy at room temp, making them ideal for lunchboxes!
Pair these with tomato soup or a refreshing salad for a complete meal. For more crispy and cheesy snack ideas, you might also enjoy these Crispy Zucchini Chips or try making your own Homemade Cheez-Its.
Kid-Friendly Variations
Turn snack time into fun with shapes or dippers! Serve alongside Cornbread Waffle Bites with Honey Butter Syrup for a whimsical touch that delights little ones.
More Cheesy Goodness
Craving more melty cheese? Consider baking a Cottage Cheese and Veggie Bake for a wholesome twist or finish off with something sweet like Apple Fritter Waffle Donuts.
Storing and Reheating
Here’s the deal – these roll-ups are best fresh, but if you’ve got leftovers (rare in my house!), stash them in an airtight container in the fridge for up to 2 days. When reheating, skip the microwave – that’ll make them soggy. Instead, crisp them back up in a toaster oven or regular oven at 350°F for about 5 minutes. They won’t be quite as magical as fresh-off-the-skillet, but still pretty darn good for a quick snack!
Grilled Cheese Roll Ups FAQs
Can I make these ahead of time?
You bet! Assemble the roll-ups (without cooking) and store them in the fridge for up to 4 hours before sizzling. Just wait to butter them until right before they hit the pan – this keeps the bread from getting soggy.
What cheese works best for roll-ups?
I swear by cheddar for its perfect meltability, but honestly most cheeses work! My kids love gooey mozzarella, while pepper jack adds a nice kick. Avoid super hard cheeses like parmesan – they don’t melt as smoothly in the center.
How do I prevent cheese from leaking out?
Roll tight and don’t overstuff! If cheese still escapes (it happens to me too), just scrape the crispy bits off the pan – they’re the cook’s bonus snack.
Can I use gluten-free bread?
Absolutely! Just choose a sturdy GF bread – some brands can be crumbly when rolled. I’ve had great success with sourdough-style GF loaves.
Nutritional Information
Just a quick note – these numbers are estimates and will change depending on your specific ingredients. For one perfectly crispy roll-up, you’re looking at:
- 180 calories
- 10g fat (6g saturated)
- 7g protein
- 15g carbs
Now go make these and tell me your favorite way to enjoy them in the comments!
Print
Irresistible Grilled Cheese Roll Ups in Just 11 Minutes
- Total Time: 11 mins
- Yield: 4 roll-ups
- Diet: Vegetarian
Description
A quick and easy twist on the classic grilled cheese, these roll-ups are fun to make and perfect for a snack or light meal.
Ingredients
- 4 slices bread
- 4 slices cheddar cheese
- 2 tbsp butter, softened
Instructions
- Flatten each bread slice with a rolling pin.
- Place a slice of cheese on each bread slice.
- Roll up tightly and secure with toothpicks if needed.
- Heat a skillet over medium heat.
- Spread butter on the outside of each roll-up.
- Cook for 2-3 minutes on each side until golden brown and cheese melts.
- Remove toothpicks before serving.
Notes
- Use any cheese you prefer.
- Add ham or turkey for extra flavor.
- Serve with tomato soup for dipping.
- Prep Time: 5 mins
- Cook Time: 6 mins
- Category: Snack
- Method: Stovetop
- Cuisine: American
