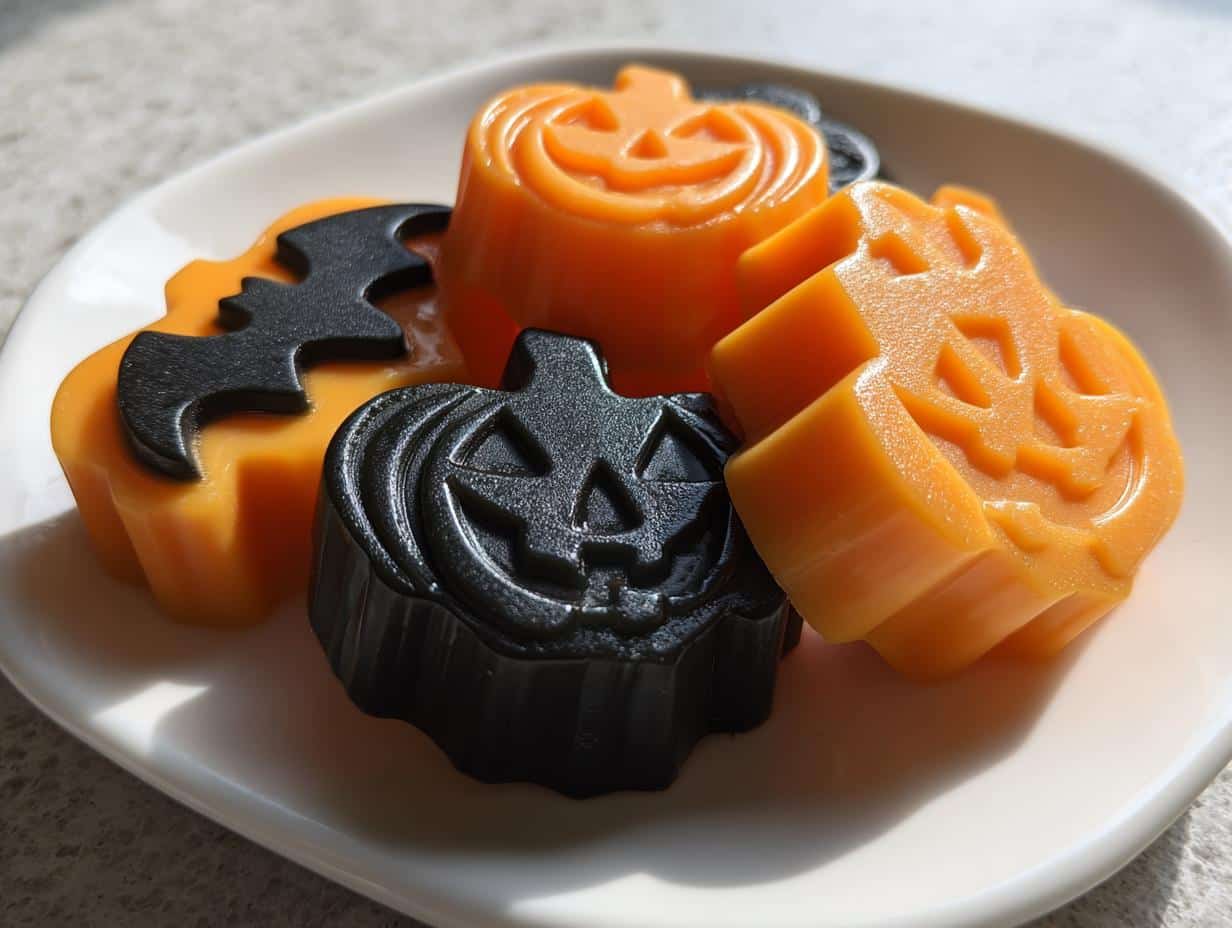
Every October, my kitchen transforms into a mad scientist’s lab—bubbling pots of candy, neon food coloring splatters everywhere, and the smell of melted sugar in the air. That’s when the Halloween Diaries come out! These spooky homemade candies are my favorite tradition—way more fun than store-bought treats and easier than you’d think. Last year, my niece squealed when she bit into a neon-orange bat and found black goo (vanilla syrup, shh!) inside. Whether you’re hosting a party or just want to surprise the neighborhood kids, this recipe turns basic sugar into edible magic. Just wait until you see their faces when you unveil glow-in-the-dark ghost lollipops or cracked “zombie teeth” candies!
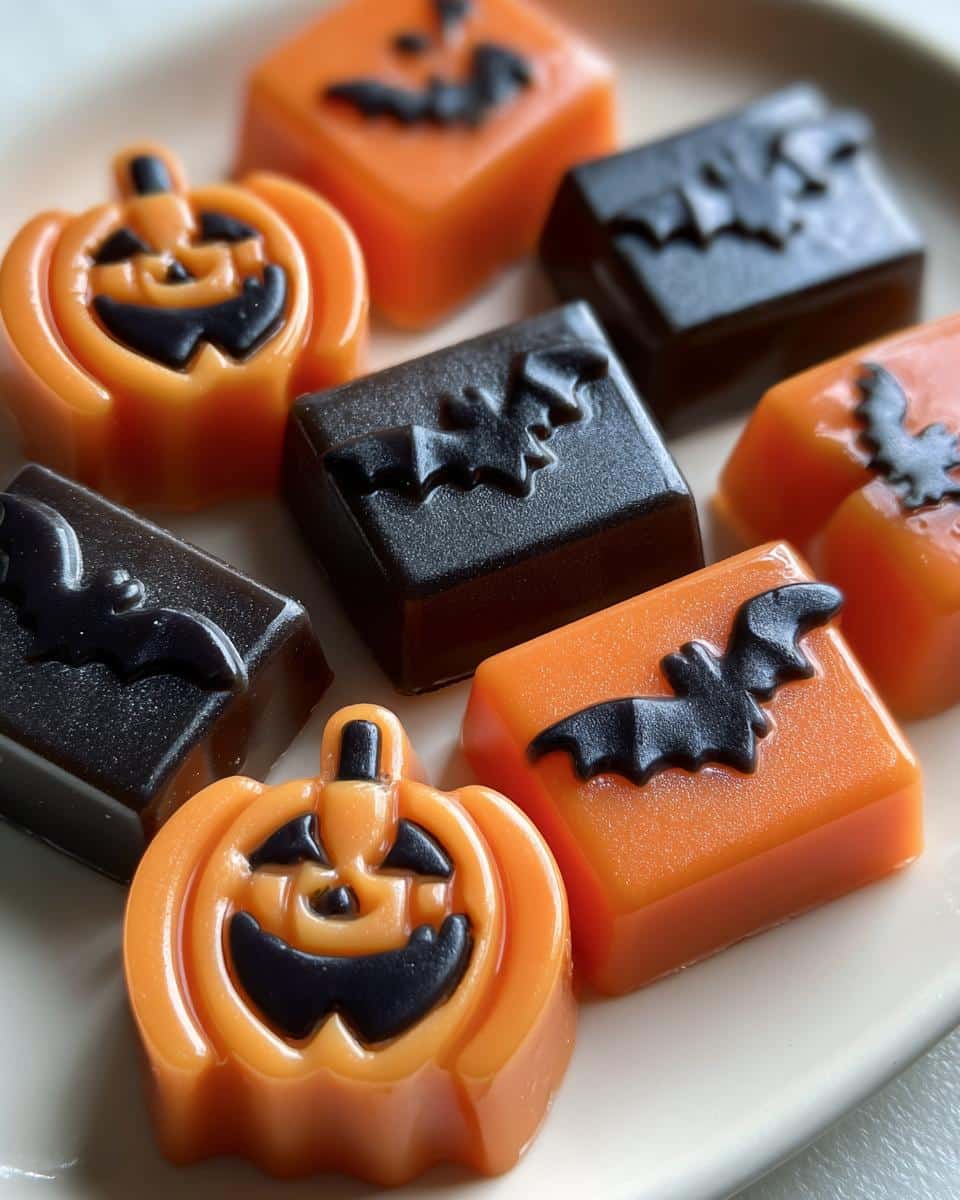
Why You’ll Love These Halloween Diaries
Trust me, these candies will become your go-to Halloween trick (or treat!):
- Crazy fast – Ready in under an hour from start to creepy finish
- Kid-approved magic – My 6-year-old nephew now demands we make “monster candy” together every October
- Colorful creativity – Mix and match food coloring for glow-in-the-dark ghosts, bloody vampire fangs, or toxic green slime shades
- Party perfect – They look amazing displayed in witches’ cauldrons or tucked into goodie bags
Seriously, watching hardened sugar transform into edible spooky art never gets old!
Ingredients for Halloween Diaries
Okay, here’s the honest truth—you probably have half this stuff in your pantry right now! The magic is in how simple these spooky treats are:
- 2 cups granulated sugar (regular white sugar works best—no fancy substitutes!)
- 1 cup water (just tap is fine, no need for filtered)
- 1/2 cup light corn syrup (this keeps the candy from crystallizing—trust me, it’s worth it)
- 1 tsp vanilla extract (or get wild with peppermint for a “witch’s brew” vibe)
- Gel food coloring (orange and black are classics, but neon green? Purple? Go nuts!)
- Halloween candy molds (bats, pumpkins, or eyeballs—I’ve even used ice cube trays in a pinch!)
Pro tip: Skip liquid food coloring—gel gives those vibrant, haunted-house-worthy shades without watering down your mix.
Equipment You’ll Need
Don’t stress—you likely have most of this in your kitchen already! Here’s the bare-bones list to make your Halloween Diaries come to life:
- Medium saucepan (nothing fancy, just something sturdy)
- Candy thermometer (non-negotiable—this is your sugar guardian angel)
- Heatproof spatula (silicone works best—no melting disasters!)
- Halloween molds (plastic or silicone, but silicone pops candies out like magic)
- Small bowls (for dividing colored batches—mismatched Tupperware totally counts!)
That’s it! No specialty equipment needed, just basic tools with a spooky twist.
How to Make Halloween Diaries
Alright, let’s get spooky! Making these Halloween Diaries candies is like conducting a sweet little science experiment—just follow these steps and you’ll have edible magic in no time.
Step 1: Prepare the Sugar Mixture
First, grab your saucepan and combine the sugar, water, and corn syrup. Stir it just until the sugar dissolves—no need to go crazy here. Then comes the waiting game! Let it boil without stirring (seriously, resist the urge!) until your candy thermometer hits 300°F. This is the “hard crack” stage where the magic happens. Warning: That syrup is HOTTER than a witch’s cauldron, so keep little hands away!
Step 2: Add Color and Flavor
Now the fun part! Take the pan off the heat and stir in the vanilla. Work fast—this stuff starts hardening quicker than a vampire at sunrise! Pour equal amounts into separate bowls and stir in your food coloring. I like making one batch orange and one black for that classic Halloween vibe, but hey—go wild with neon green “alien blood” if you’re feeling adventurous!
Step 3: Mold and Cool
Quickly pour your colored syrups into the molds. If you’re doing layered colors (like black centers in orange bats), work in stages with just a minute between pours. Let them cool completely—about 20 minutes—before popping them out. Pro tip: If any candies stick, pop the mold in the freezer for 5 minutes and they’ll release like magic!
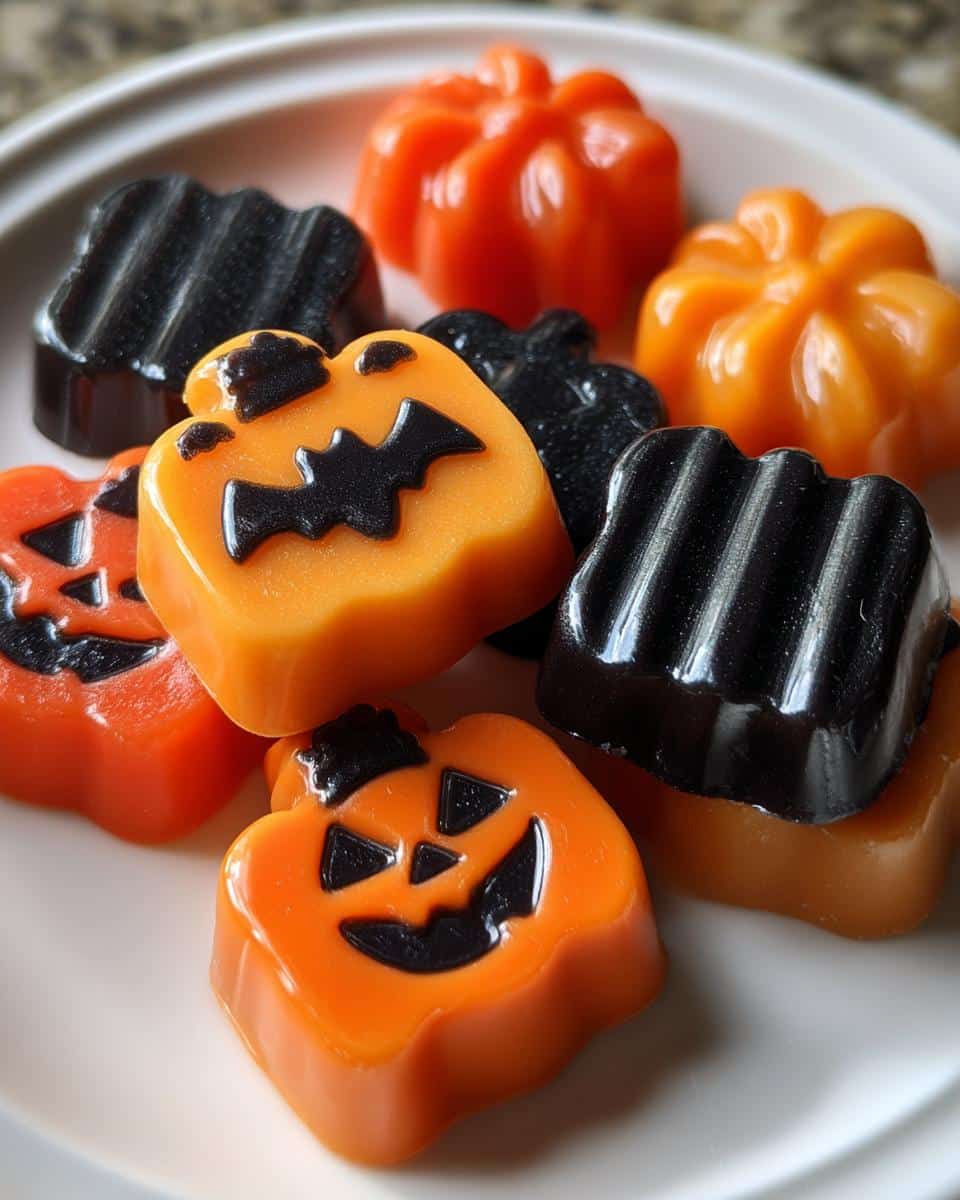
Tips for Perfect Halloween Diaries
After making dozens of batches (and yes, plenty of hilarious failures!), here are my hard-earned secrets:
- Silicone molds are lifesavers – Those plastic ones? Been there, cried over stuck candy bats. Silicone pops them out effortlessly!
- Work fast but don’t panic – If syrup starts hardening, briefly reheat on low while stirring
- Airtight is right – Store in sealed containers with parchment between layers to prevent sticky monster mash
- Dust with powdered sugar – Gives ghosts an eerie glow and prevents candies from sticking together
Remember – even “failed” candies still taste deliciously spooky!
Variations for Halloween Diaries
Oh, the spooky possibilities! Once you’ve mastered the basics, try these fun twists:
- Glow-in-the-dark ghosts – Mix edible glitter into white candy syrup before pouring
- Bloodshot eyeballs – Add red food coloring streaks to white candies with a toothpick
- Witch’s brew – Swap vanilla for mint extract and use green coloring
- Zombie teeth – Layer white and red syrups for gruesome “gums”
The only limit? Your Halloween imagination—mwahaha!
Serving and Storing Halloween Diaries
These candies deserve a dramatic Halloween reveal! I love piling them in a fake cauldron or arranging them on a “graveyard” platter with cookie tombstones. For storing, use an airtight container—they’ll stay fresh for about 2 weeks (if they last that long!). Layer between parchment paper to prevent sticky monster mergers. Pro tip: Hide them from yourself…or you’ll snack-test them into oblivion by October 31st!
Halloween Diaries Nutritional Information
Okay, let’s be real—these are candies, not health food! But for those curious, here’s the scoop per piece (based on 24 candies per batch):
- Calories: 80
- Sugar: 20g
- Fat/Carbs/Protein: 0g each
These are estimates—actual values may vary slightly based on your candy sizes and coloring amounts. Everything in moderation, even monster treats!
FAQs About Halloween Diaries
Got questions? I’ve got answers from my years of sugar-fueled Halloween experiments!
Can I use honey instead of corn syrup?
Technically yes, but your candies will be softer and stickier—corn syrup gives that perfect crack. If you must substitute, try golden syrup for similar results.
How long do these candies last?
About 2 weeks in an airtight container (though they rarely survive the weekend in my house!). Humidity’s the enemy—keep them dry!
What if I don’t have Halloween molds?
No panic! Pour onto parchment in spooky shapes or use ice cube trays. My first “ghosts” were just blobs with edible marker faces—still delicious!
Why did my candy turn cloudy?
Usually means the sugar crystallized. Next time, don’t stir after boiling starts, and wipe down the pan sides with a wet brush to prevent sugar crystals.
Show me your creepy creations in the comments—I want to see your most monstrous Halloween Diaries candies! Find more spooky inspiration on our Pinterest.
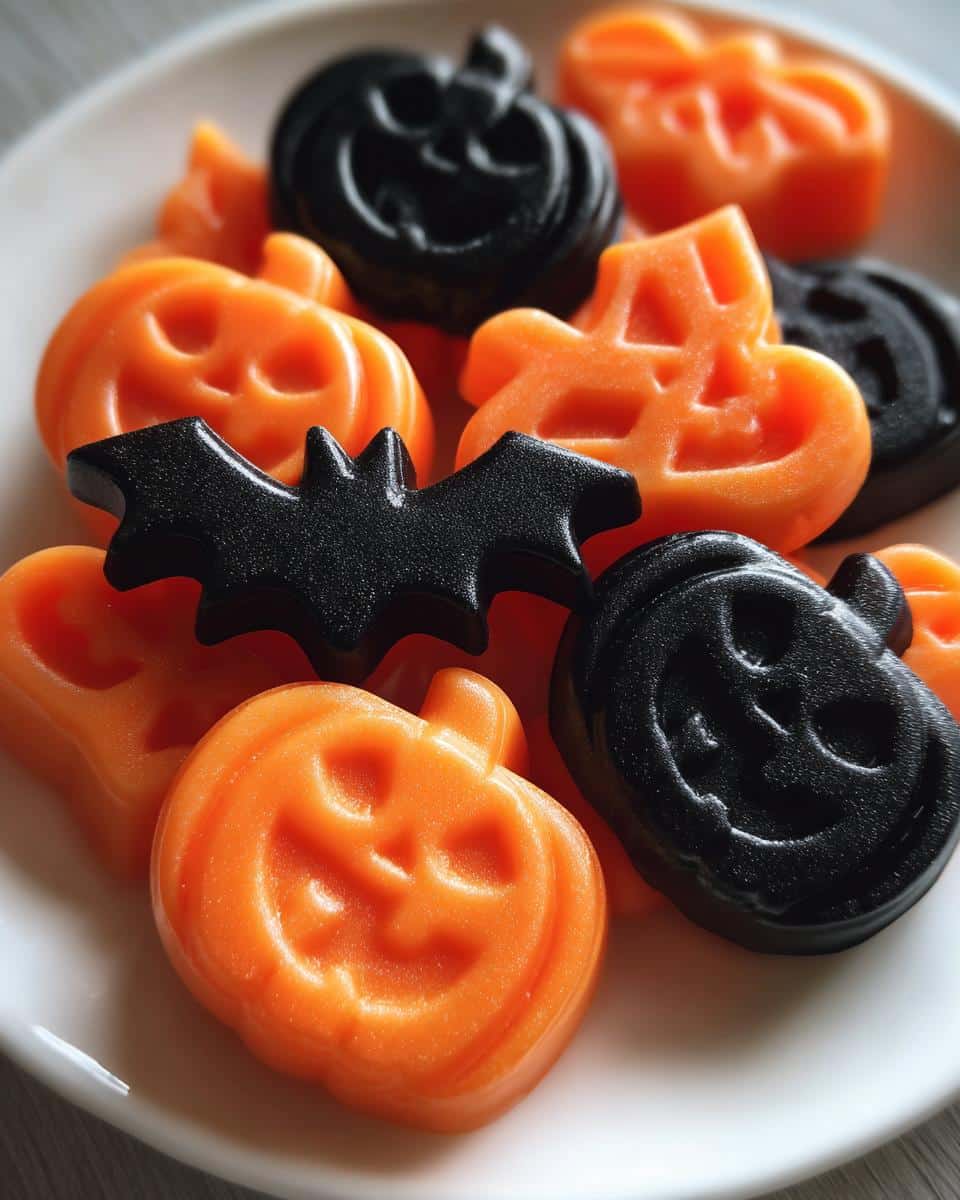
Spooky Halloween Diaries Candy in Just 1 Hour
- Total Time: 35 minutes
- Yield: 24 pieces
- Diet: Vegetarian
Description
A spooky and fun treat perfect for Halloween celebrations.
Ingredients
- 2 cups sugar
- 1 cup water
- 1/2 cup corn syrup
- 1 tsp vanilla extract
- Food coloring (orange and black)
- Candy molds (Halloween-themed)
Instructions
- Combine sugar, water, and corn syrup in a saucepan.
- Heat over medium heat until sugar dissolves.
- Bring to a boil and cook until the mixture reaches 300°F.
- Remove from heat and stir in vanilla extract.
- Divide the mixture into bowls and add food coloring.
- Pour into candy molds and let cool completely.
- Remove from molds and enjoy your Halloween treats.
Notes
- Use a candy thermometer for accuracy.
- Work quickly as the mixture hardens fast.
- Store in an airtight container.
- Prep Time: 15 minutes
- Cook Time: 20 minutes
- Category: Dessert
- Method: Stovetop
- Cuisine: American
