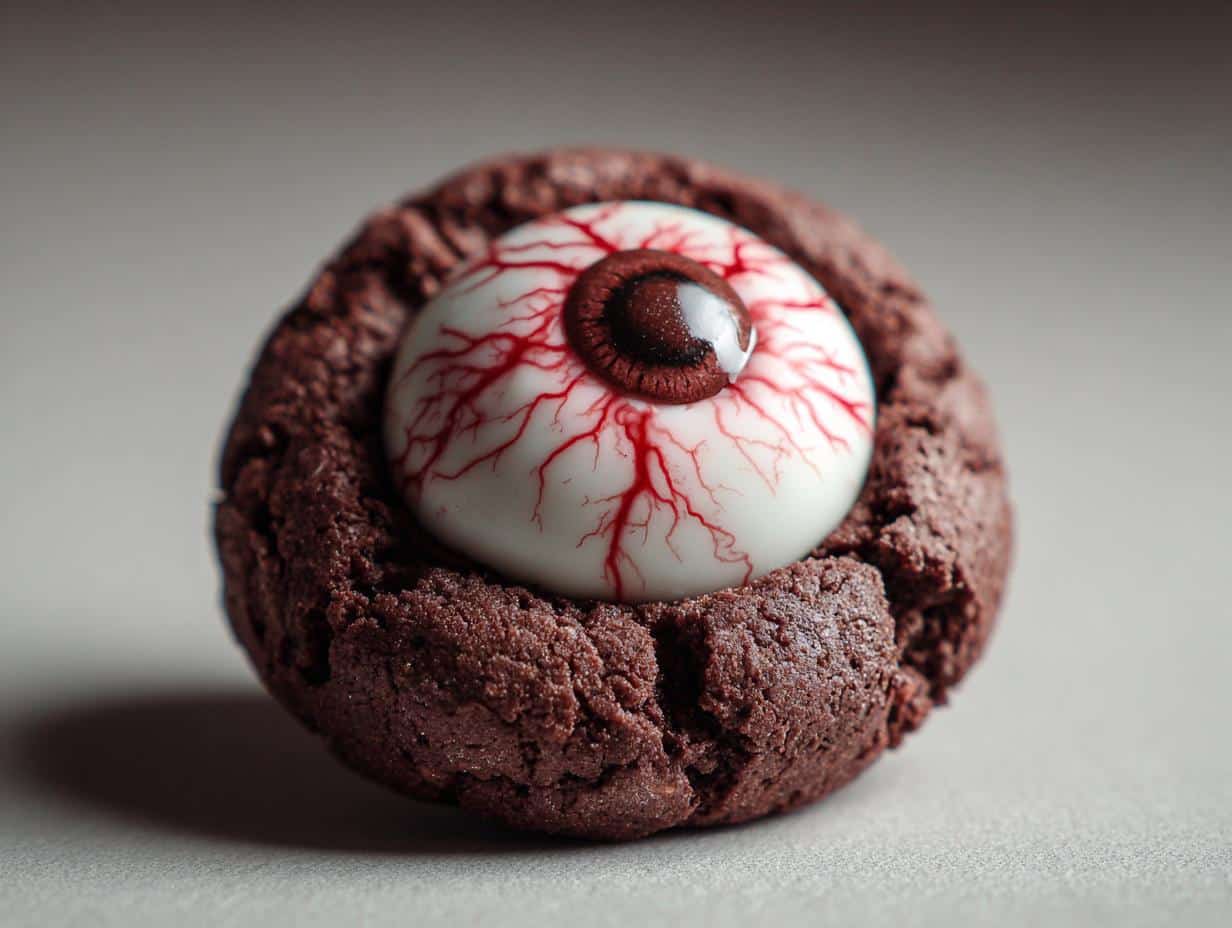
You know what I love about Halloween? It’s the one time of year when you can turn ordinary treats into something delightfully creepy and these no-bake eyeball cookies are my go-to for spooky fun! Honestly, they’re so easy even if you’re not a baker, and the kids go wild for them. I’ve been making these for years ever since my little one demanded “monster cookies” for her class party and they’ve become a Halloween must-have in our house.
The best part? No oven required. Just a saucepan, a little stirring, and some creative decorating. The peanut butter and oats give them that chewy, satisfying bite, while the candy melts and red gel turn them into little edible eyeballs staring back at you (in the least terrifying way possible, promise). Perfect for last-minute party treats or a fun kitchen project with the kids. Trust me, once you see how simple these are, you’ll want to make them every October!
Table of Contents
Why You’ll Love These Halloween Eyeball No-Bake Cookies
These cookies are the ultimate Halloween treat—super fun to make and even more fun to eat! Here’s why they’re a hit every time:
- Fast and foolproof: No baking means no waiting—just mix, shape, and let them set. Perfect for when you need something quick (or forgot about that school party until the last minute).
- Kid-approved: Little hands love pressing in the candy melts and drawing “veins” with the red gel. It’s like an edible craft project!
- Totally customizable: Swap the peanut butter for sunflower seed butter if needed, or use different colored candy melts for alien eyes. Get creative!
- Spooky but cute: They look impressively gruesome but taste like a classic no-bake cookie—sweet, chewy, and totally addictive.
Seriously, these disappear faster than a ghost in the night at every party.
Ingredients for Halloween Eyeball No-Bake Cookies
Here’s what you’ll need to make these delightfully creepy treats—and trust me, you probably have most of this in your pantry already! The best part is how simple the base is, with just a few extras to turn them into spooky eyeballs.
- 1 cup granulated sugar (I’ve used coconut sugar too—works great!)
- 1/4 cup unsweetened cocoa powder (the darker, the more “monstrous” they look)
- 1/2 cup milk (whole milk makes them extra creamy, but any kind works)
- 1/4 cup butter, softened (salted or unsalted—your call)
- 1/2 cup creamy peanut butter (the stickier, the better for holding those oats together!)
- 1 teaspoon vanilla extract (the secret flavor booster)
- 3 cups quick oats (not instant—you want that perfect chewy texture)
For the eyeball decorations:
- 12-15 white candy melts (one per cookie—these become the “whites” of the eyes)
- 12-15 mini chocolate chips (the pupils—regular size chips would look cartoonishly big!)
- Red decorating gel (for those creepy bloodshot veins—a little goes a long way)
See? Nothing fancy—just pantry staples plus a few fun extras to make them Halloween-ready. Now let’s turn these into edible eyeballs!
How to Make Halloween Eyeball No-Bake Cookies
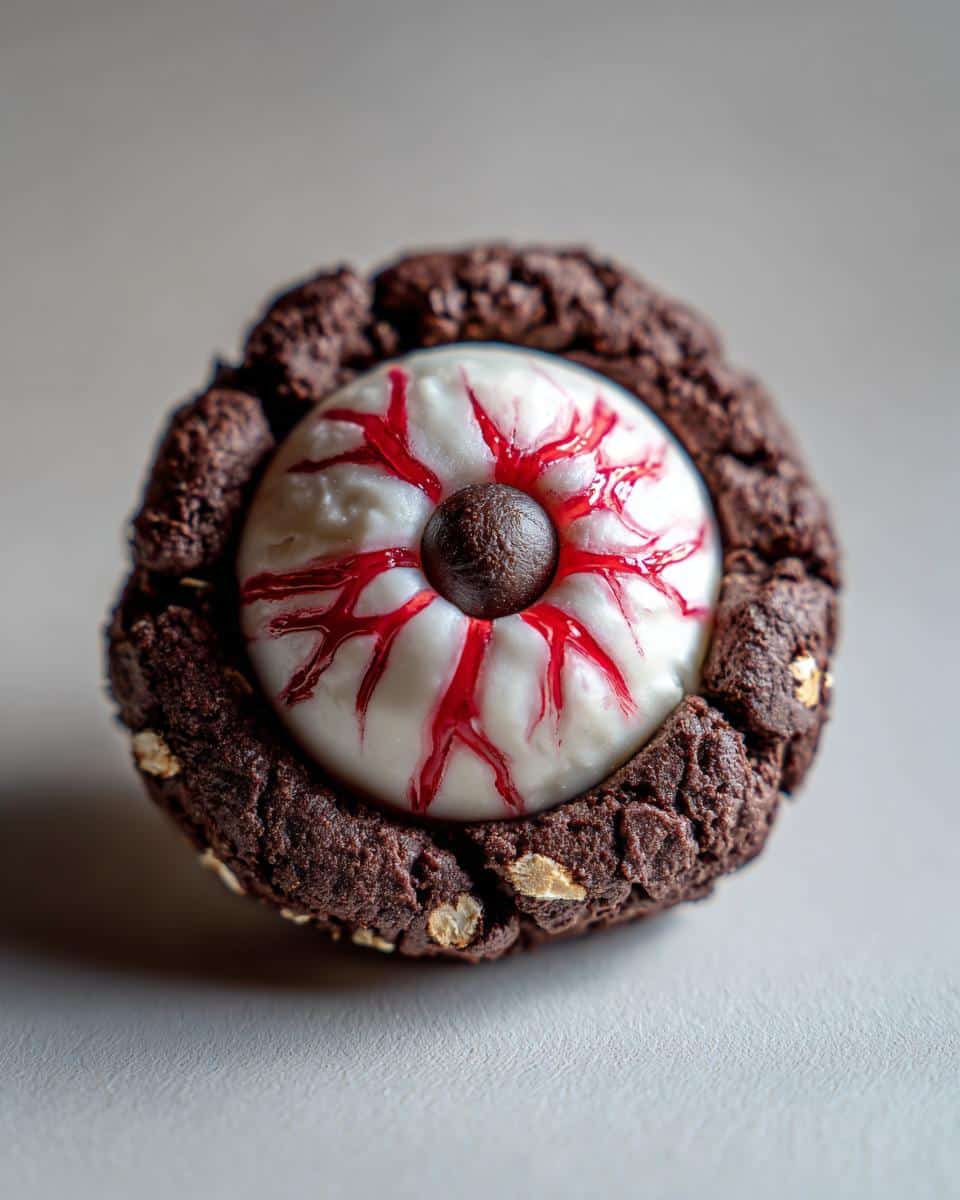
Okay, here’s where the magic happens—and I promise, it’s so easy you’ll laugh. The key is moving fast once that mixture boils, so read through these steps first. Oh, and don’t skip the parchment paper—trust me, peeling sticky no-bake cookies off a bare pan is NOT the Halloween scare you want!
Preparing the Cookie Mixture
First, line your baking sheet with parchment paper. (Seriously, do this now—you’ll thank me later when your eyeballs pop right off!) Grab a medium saucepan and toss in the sugar, cocoa powder, milk, and butter. Medium heat is your friend here—too high and you’ll scorch the bottom.
Now, stir constantly with a wooden spoon as it comes to a boil. I mean CONSTANTLY—no checking your phone or helping with homework during this part! Once it bubbles all over (about 1-2 minutes), immediately yank it off the heat. That exact boiling time is what gives these the perfect chew—underdo it and they’re too soft, overdo it and they turn into hockey pucks.
Quickly stir in the peanut butter and vanilla until smooth (the smell right now? Heavenly). Then dump in all the oats at once and mix like crazy until every flake is coated in that chocolatey goodness. The mixture should hold together when you press it—if it seems too wet, add another handful of oats.
Shaping and Decorating the Eyeballs
This is the fun part! Scoop tablespoon-sized blobs onto your prepared sheet—I use a cookie scoop for even sizes, but two spoons work fine. Now press each one gently to flatten slightly (they won’t spread, so shape them how you want).
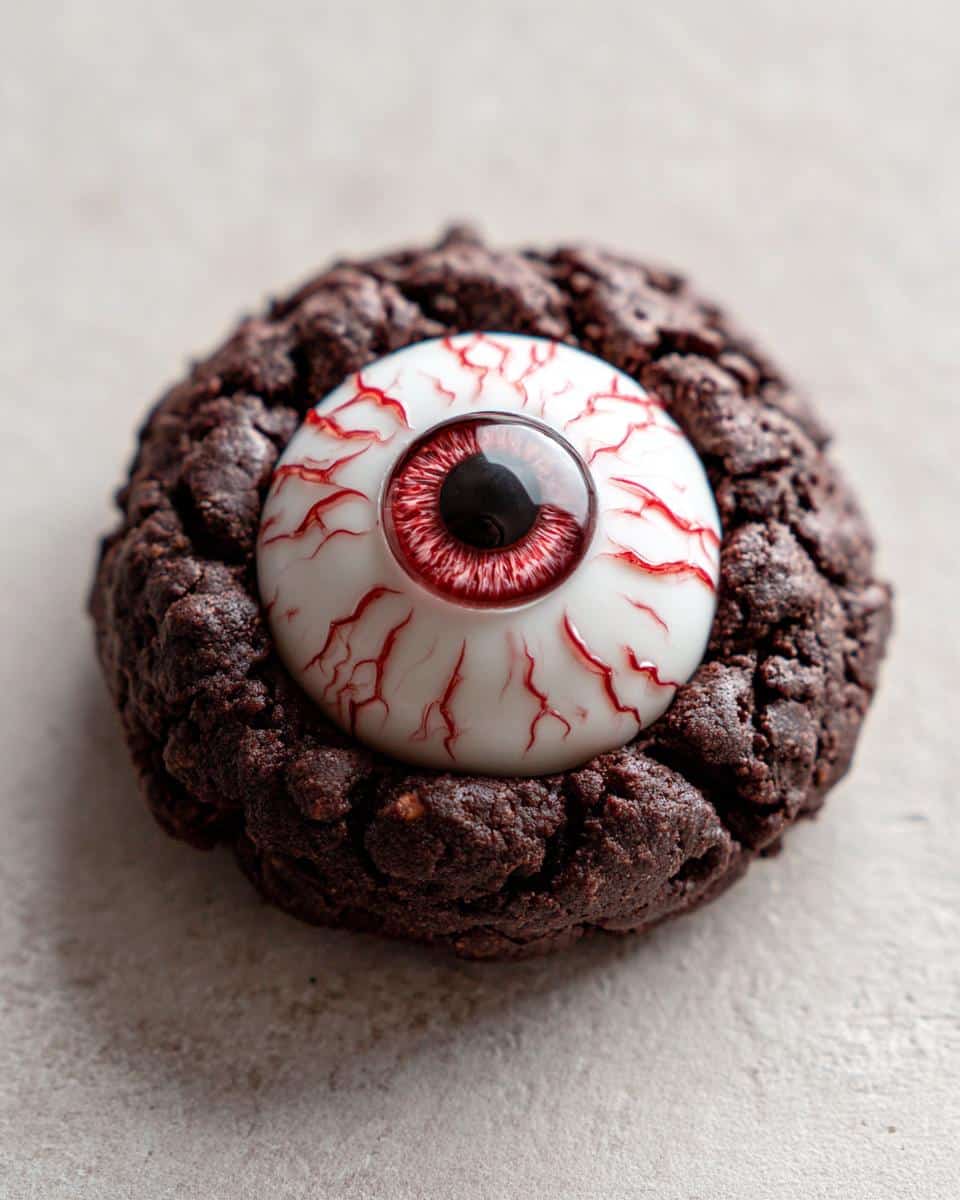
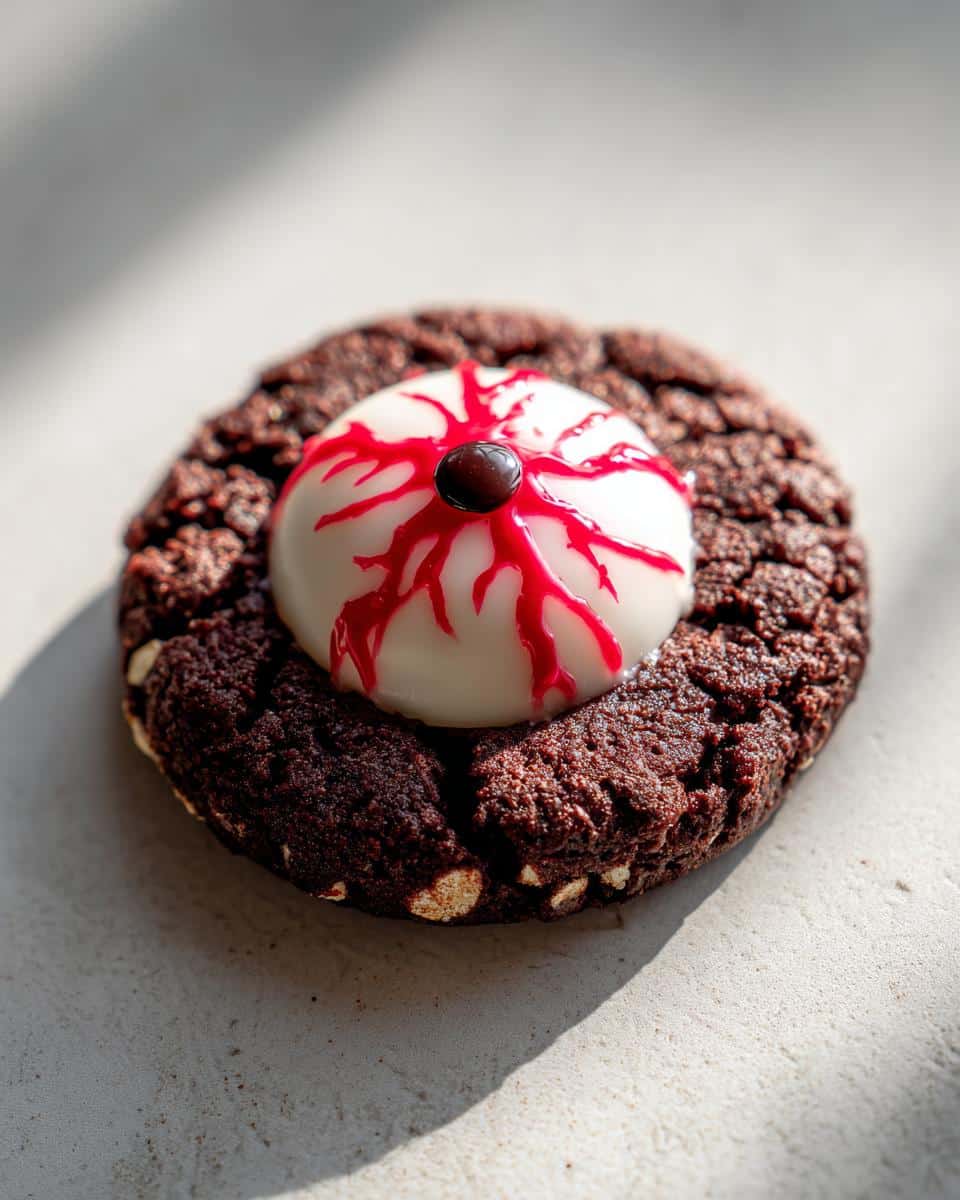
Here’s the eyeball magic: press one white candy melt into the center of each cookie while they’re still warm. The heat makes them melt just enough to stick. Immediately add a mini chocolate chip to the center of each candy melt—press it in pointy-side down so it looks like a pupil staring right at you!
Finally, take your red gel and draw wiggly “veins” radiating out from the edges of the candy melts. Don’t overthink it—the messier, the creepier! Let them cool at room temp for about 30 minutes (or pop them in the fridge if you’re impatient like me). They’ll firm up into perfect, slightly chewy Halloween treats that’ll have everyone doing double takes!
Tips for Perfect Halloween Eyeball No-Bake Cookies
After making these every October (and sometimes year-round because why not?), I’ve picked up a few tricks to make sure your eyeball cookies turn out perfectly creepy—and delicious—every single time:
- Watch the clock when boiling: That 1-2 minute timer is CRUCIAL. Set it! Under-boiled cookies won’t set properly (melted eyeballs—ew), while over-boiled ones get too hard (rock-hard eyeballs—ouch).
- Quick oats are key: Old-fashioned rolled oats stay too crunchy, and instant oats turn mushy. Quick oats give that perfect chewy texture we all love in no-bakes.
- Work fast with decorations: Those candy melts need to go on while the cookies are still warm to “melt” slightly. If they cool too much, your eyeballs might pop right off—spooky, but not in a good way!
- Get creative with the veins: Don’t have red gel? Thin strawberry jam with a toothpick works in a pinch for those creepy blood vessels. Or skip the veins entirely and use green gel for alien eyes!
- Chill for sharper details: If you want super-defined veins, pop the finished cookies in the fridge for 10 minutes after decorating—the gel will set beautifully.
See? Even edible eyeballs have rules. But honestly, these are so forgiving—messy veins and lopsided pupils just make them more Halloween-appropriate!
Ingredient Substitutions
One of the best things about these cookies? You can tweak them to fit almost any allergy or preference! Here are my tried-and-true swaps—just pick what works for your crew:
- Nut-free? Swap the peanut butter for sunflower seed butter (I like the “no-stir” kind). The flavor’s slightly earthier, but still delicious—and no one will guess it’s allergy-friendly!
- Dairy issues? Use coconut oil instead of butter and almond milk (or any non-dairy milk) in place of regular milk. Just know the cookies might be a tad softer.
- Cutting sugar? You can reduce the sugar to 3/4 cup—they’ll be less sweet but still hold together. For keto, try powdered erythritol (but the texture changes, so do a test batch first).
- No candy melts? White chocolate chips work in a pinch (microwave them for 5 seconds to soften before pressing in). Or get wild with purple or green melts for monster eyes!
My rule? Whatever keeps them edible and spooky is fair game. Halloween treats should be fun, not stressful!
Storing Halloween Eyeball No-Bake Cookies
Okay, confession time—these cookies never last more than a day at my house because they disappear so fast! But if you somehow end up with leftovers (or have the willpower to save some for later), here’s how to keep them fresh and creepy-perfect:
First rule: airtight is everything. Toss them in a container with a tight-fitting lid, and they’ll stay delicious for up to 5 days at room temperature. No fridge needed! Just make sure to layer them with parchment paper between stacks so the red gel “veins” don’t smudge and the eyeballs don’t stick together. (Pro tip: If you skip the paper, you might end up with cookies fused like some kind of mutant cyclops eye—cool for Halloween, but messy to eat!)
Want to prep ahead? You can actually freeze these little monsters too! Freeze them undecorated on a tray first (just the cookie base), then transfer to a freezer bag once solid. When you’re ready, thaw at room temp for 30 minutes, then add your candy melts and red gel. The decorations won’t freeze well, but the cookies themselves? Perfect after thawing—still chewy, still delicious, still ready to stare creepily at your guests.
Nutritional Information
Now, I’m no nutritionist I’m just a Halloween cookie enthusiast! but here’s a rough idea of what you’re getting in each eyeball cookie. Keep in mind these numbers can change depending on your exact ingredients (like whether you use natural peanut butter or regular).
Per cookie (based on 15 cookies per batch):
- Calories: About 180
- Sugar: 12g (those candy melts add extra sweetness!)
- Fat: 8g
- Saturated Fat: 3g
- Carbohydrates: 24g
- Fiber: 2g (thank you, oats!)
- Protein: 4g
Honestly? For a Halloween treat, these aren’t too scary nutrition-wise—especially compared to some store-bought monstrosities. The oats and peanut butter give them some staying power, so one or two usually satisfies that sweet tooth without sending kids (or adults!) into a full sugar crash. But let’s be real—when you’re making edible eyeballs, nutrition takes a backseat to creepy fun!
Remember: These are estimates only. Your exact numbers will vary based on brands, how big you make your cookies, and whether you go wild with the red gel (though that adds negligible calories—it’s mostly for the “eww” factor!).
Frequently Asked Questions
Over the years, I’ve gotten all sorts of questions about these eyeball cookies—here are the ones that pop up most often. (And hey, if yours isn’t answered here, just holler in the comments!)
Can I freeze these cookies?
Absolutely! Freeze just the cookie bases (no decorations) for up to 2 months. Thaw at room temp before adding candy melts and red gel—the decorations don’t freeze well but the cookies stay perfectly chewy.
How do I make them nut-free?
Easy swap—use sunflower seed butter instead of peanut butter! It gives the same sticky texture and tastes amazing. Just check labels to ensure your candy melts and other ingredients are also nut-free if allergies are a concern.
Can I use old-fashioned rolled oats?
You can, but the texture changes—rolled oats stay crunchier. If that’s all you have, pulse them briefly in a blender first to break them down a bit. Quick oats are still my top pick for that classic no-bake chewiness though.
Why did my cookies turn out too soft?
Usually means the sugar mixture didn’t boil long enough. Next time, make sure it reaches a full rolling boil (bubbles across the whole surface) and time that 1-2 minute countdown precisely. Too little boil = gooey eyeballs!
Can I make these ahead for a party?
Totally! They keep great for 5 days in an airtight container. I actually think they taste better after a day—the flavors meld. Just wait to add the red gel veins until a few hours before serving so they stay bright and creepy.
Share Your Creations
Okay, here’s my favorite part seeing YOUR creepy cookie masterpieces! There’s something so fun about spotting these little eyeballs popping up on social media every Halloween. I swear, no two batches ever look exactly alike that’s the magic of homemade!
Happy haunting I mean, baking! Can’t wait to see your edible eyeballs staring back at me from my feed.
For more inspiration follow me on Pinterest
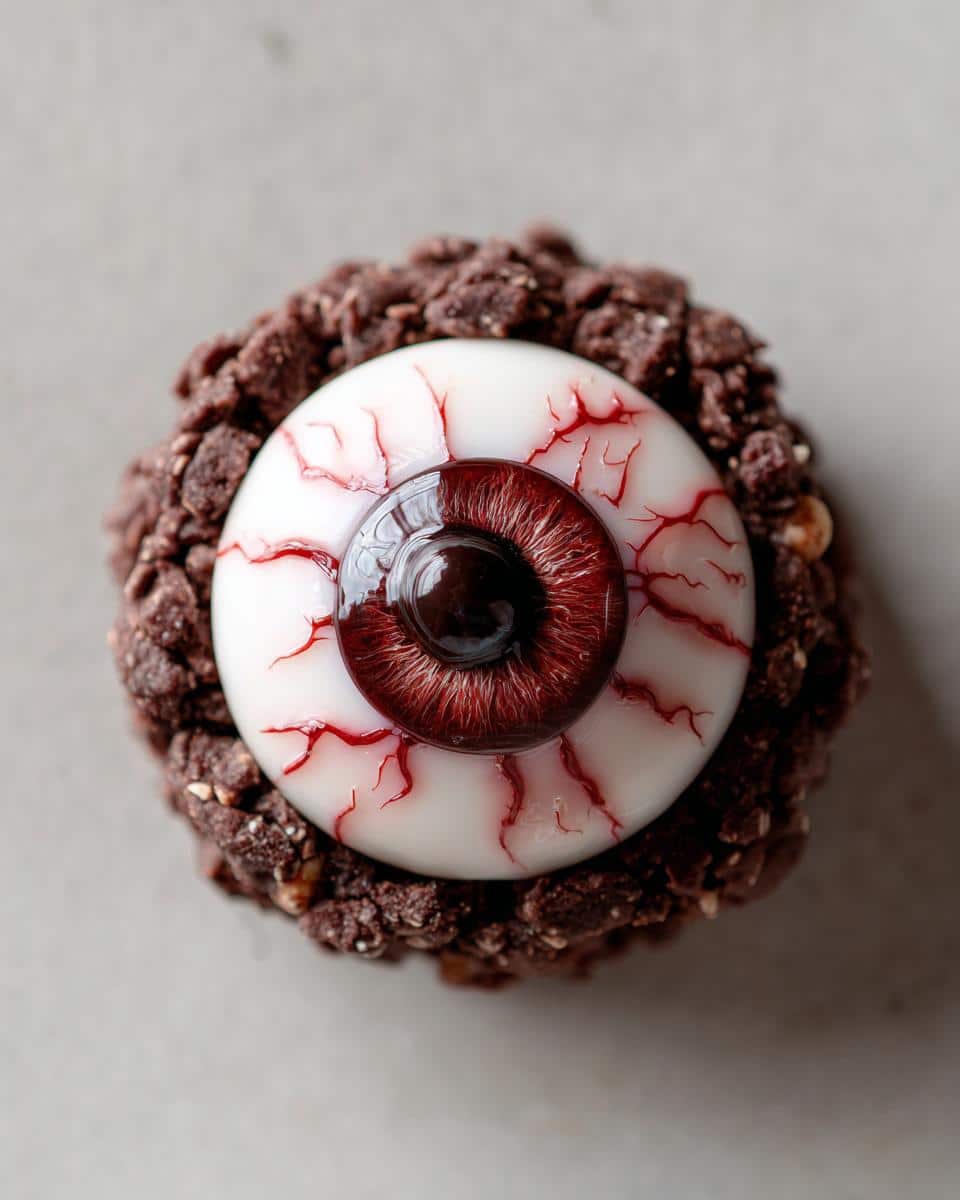

Spooky Halloween Eyeball Cookies (No-Bake in 20 Minutes)(56 characters)
- Total Time: 20 mins
- Yield: 12-15 cookies
- Diet: Vegetarian
Description
Easy-to-make no-bake cookies shaped like eyeballs for a fun Halloween treat.
Ingredients
- 1 cup sugar
- 1/4 cup cocoa powder
- 1/2 cup milk
- 1/4 cup butter
- 1/2 cup peanut butter
- 1 tsp vanilla extract
- 3 cups quick oats
- 12–15 white candy melts
- 12–15 mini chocolate chips
- Red decorating gel
Instructions
- Line a baking sheet with parchment paper.
- In a saucepan, mix sugar, cocoa, milk, and butter.
- Bring to a boil over medium heat, stirring constantly.
- Remove from heat and stir in peanut butter and vanilla.
- Add oats and mix well.
- Drop tablespoon-sized portions onto the baking sheet.
- Press a candy melt into the center of each cookie.
- Add a mini chocolate chip to the center of each candy melt.
- Use red gel to draw veins around the edges.
- Let cool until firm.
Notes
- Store in an airtight container for up to 5 days.
- For nut-free version, use sunflower seed butter.
- Adjust sugar to taste.
- Prep Time: 15 mins
- Cook Time: 5 mins
- Category: Dessert
- Method: No-Bake
- Cuisine: American
