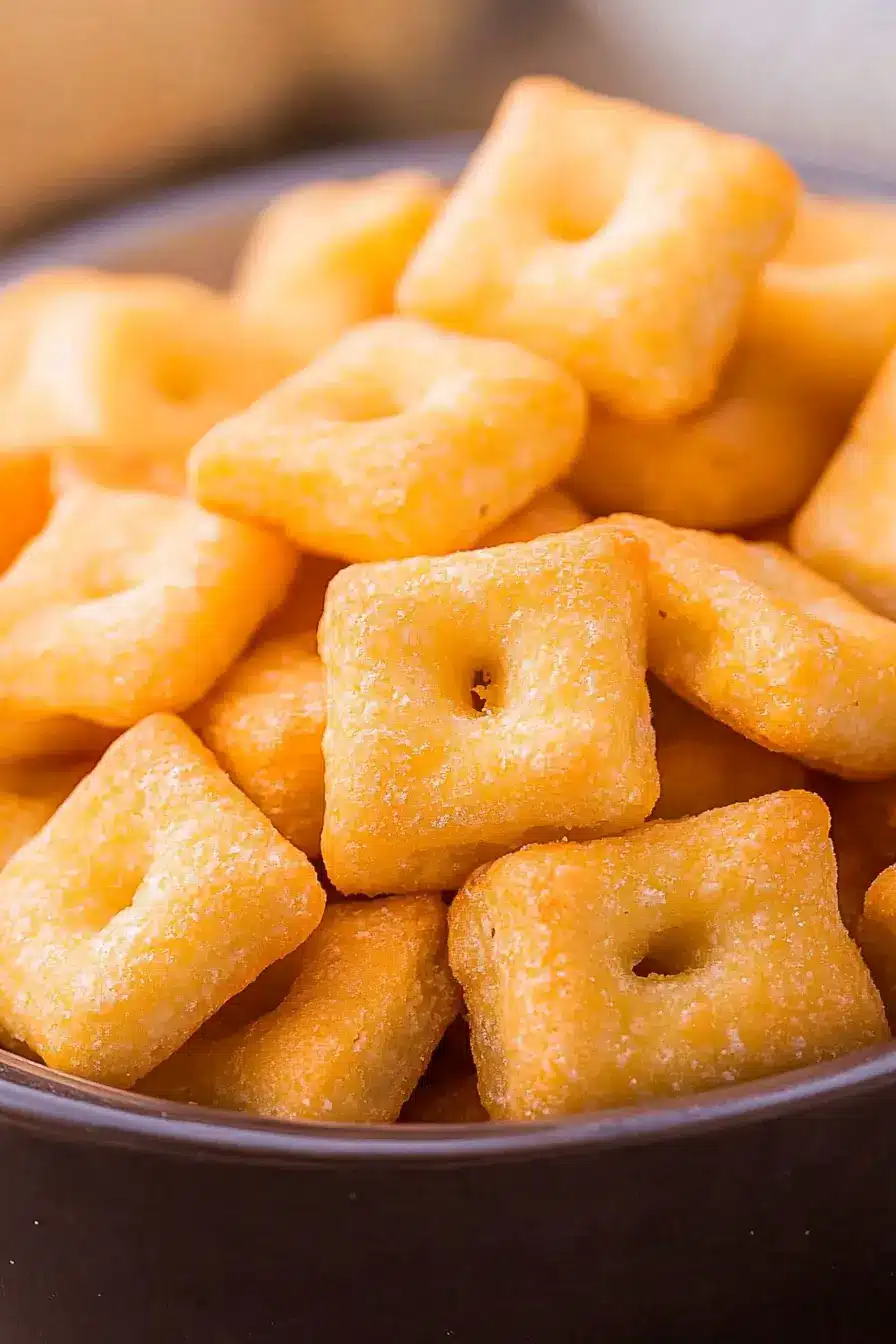
Who doesn’t love the satisfying crunch of a Cheez-It? But what if I told you that you could make an even better version right in your own kitchen? This article dives into everything you need to know to master Homemade Cheez-Its from creating the perfect dough to flavor variations and crispy tips. I’ll also answer your burning questions like how to store them or make them ahead, and if your picky eaters will devour them (spoiler: they will). Plus, you’ll get a peek into the snack that stole the show in my kitchen more times than I can count.
Table of Contents
How a Cheesy Craving Turned Into a Kitchen Experiment
Hi, I’m Carry and welcome to my kitchen corner of the internet, where cravings meet creativity and every recipe comes with a story. I didn’t grow up eating Cheez-Its we were more of a cornbread and brisket family. But once I tried them, I was hooked. That crispy, salty, sharp cheddar flavor hit differently. One night, I found myself out of snacks but stocked with cheese, butter, and a fierce craving. So I experimented.
The result? Homemade Cheez-Its that were so cheesy and crunchy, my family swore off the store-bought box. I scribbled down the recipe on a napkin, just like the old days, and it quickly became a staple. Whether I’m packing them for a road trip or serving them with soup, these little crackers are always a hit.
This recipe has the same buttery, flaky finish you’ll find in my zucchini cheddar biscuits, and the snackable charm of these crispy zucchini chips that I posted last month. They’re proof that comfort food can be easy, homemade, and better than anything in a box.
What Makes Homemade Cheez-Its So Special?
There’s magic in how just a few simple ingredients come together. The sharp cheddar gives them boldness, the butter keeps them tender, and just a hint of garlic powder gives them depth. And unlike the boxed kind, you can control everything flavor, salt, crispness.
The best part? These crackers use pantry staples and take under an hour. They also make an excellent project for kids and a nostalgic snack for grown-ups. You can even make them fancy with a bit of rosemary or smoked paprika for a more gourmet bite.
Building Blocks: Ingredients That Make These Crackers Pop
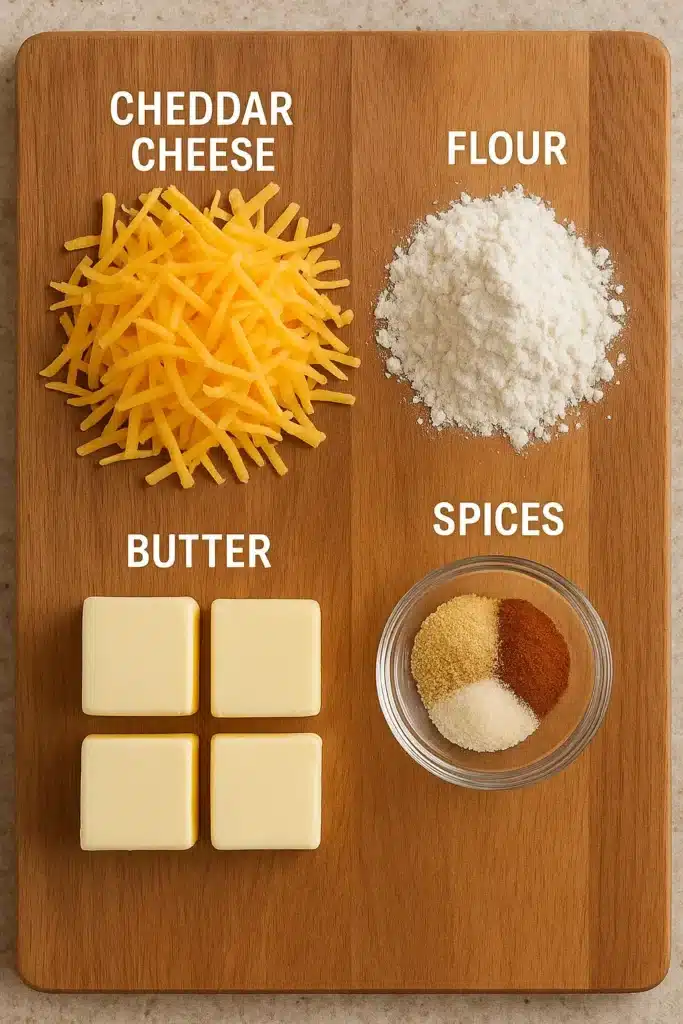
Making Homemade Cheez-Its starts with just six core ingredients. Each plays a role in flavor, texture, and that signature crunch. Here’s what you’ll need:
Ingredients:
- 8 ounces sharp cheddar cheese, freshly shredded for best melt and flavor
- 4 tablespoons salted butter, softened to room temperature
- ½ teaspoon seasoning salt
- ½ teaspoon garlic powder
- 1 cup all-purpose flour, spooned and leveled
- 2–3 tablespoons ice water, as needed for dough cohesion
Want to experiment? You can mix in 1 tablespoon of grated parmesan or ¼ teaspoon of smoked paprika for variation. These crackers are like the savory cousin of my cottage cheese muffins easy, bold, and perfect for sharing.
Step-by-Step Instructions for Homemade Cheez-Its
Follow these directions to achieve that perfectly golden, crispy crunch every time:
Step 1: Pulse the base.
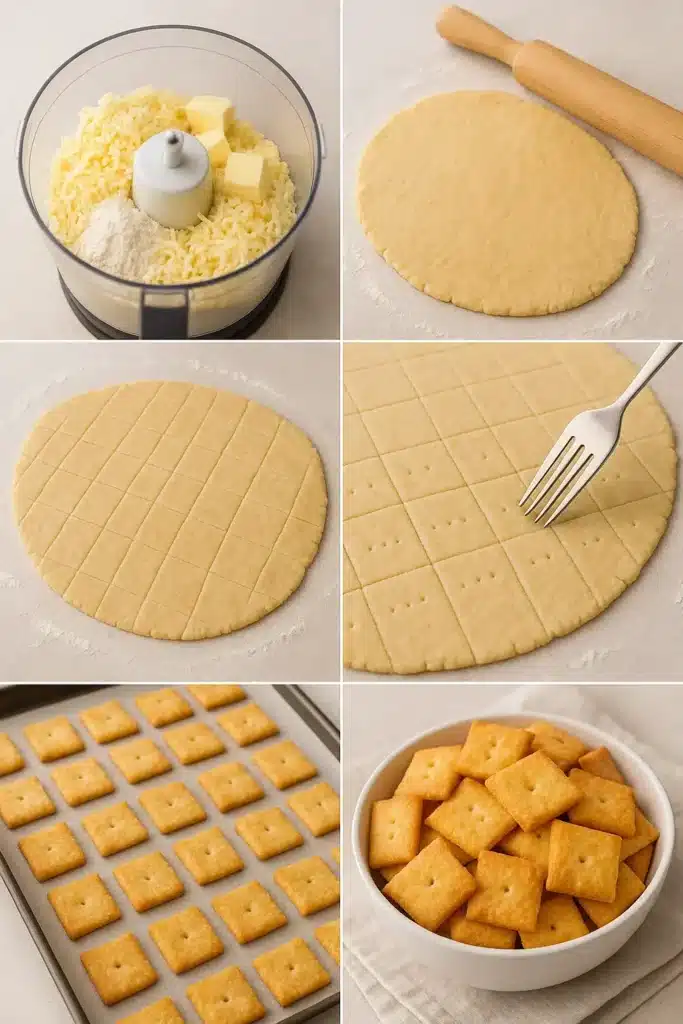
In a food processor, add the shredded cheddar, butter, seasoning salt, and garlic powder. Pulse until the mixture looks like coarse crumbs.
Step 2: Add flour.
Pour in the flour and pulse again. The mix will resemble dry sand.
Step 3: Add water slowly.
With the processor running, add ice water one tablespoon at a time just until the dough begins to come together. Stop once it forms a ball.
Step 4: Chill the dough.
Wrap the dough in plastic wrap and refrigerate for at least 30 minutes. This step helps the butter firm up for a flakier cracker.
Step 5: Roll and cut.
Preheat your oven to 375°F (190°C). Roll out the dough on a floured surface to about 1/8-inch thickness. Cut into 1-inch squares and poke each with a toothpick for that classic Cheez-It look.
Step 6: Bake.
Place squares on a parchment-lined baking sheet. Bake for 12–15 minutes or until golden brown and crisp.
This method gives you buttery, flaky crackers that rival anything store-bought. Just like when making cottage cheese chips, spacing them right and not over-baking is key to maximum crunch.
How to Bake Homemade Cheez-Its Until Golden and Crunchy
Getting Homemade Cheez-Its just right is all about the bake. The dough might be simple, but the texture depends on how you roll, cut, and oven-finish each cracker. Roll your dough to 1/8-inch thick any thicker and they’ll puff, any thinner and they may burn. Use a pastry wheel or knife to create neat 1-inch squares, and don’t skip the center poke. It’s not just aesthetic it helps release steam and keeps the crackers flat.
Bake at 375°F (190°C) on the center rack, keeping a close eye after the 10-minute mark. The cheese in the dough browns fast, and that’s where the flavor deepens. For ultra-crispy crackers, let them cool on the sheet for a few minutes after removing from the oven—this lets them dry out further, locking in that crunch.
I like mine golden with a few toasty edges—similar to how I roast sweet potatoes in this cheesy chicken broccoli orzo. You want that browned edge for flavor, not burn.
Storage & Serving: Keep ‘Em Crisp + Smart Ways to Serve
These crackers are best within 3–5 days, though I’ve never had a batch last that long at my house. Store them in an airtight container at room temperature. If they start to lose crispness (hello, humidity), toss them back in a 300°F oven for 3–5 minutes to bring them back to life.
Avoid refrigerating they’ll go soft. Instead, let them live on the counter like any good homemade snack. Now, let’s talk about how to serve them. I love to plate Homemade Cheez-Its alongside sliced apples and grapes for a kid-friendly snack board. For brunch, I’ll pair them with mini ham sliders or an herby scrambled egg bake salty, cheesy, and protein-packed. They’re also fantastic next to creamy dips like the viral cottage cheese pizza bowls or a quick guacamole. And when I’m feeling fancy, I top each cracker with a dollop of fig jam and a sliver of prosciutto yes, it’s that kind of snack.
Can You Add Other Flavors to Homemade Cheez-Its?
Absolutely. This is where things get exciting. While the original recipe is already packed with sharp cheddar goodness, adding different seasonings or cheese combos lets you personalize every batch. Try mixing in white cheddar, smoked gouda, or grated parmesan for a deeper cheese flavor. You can also get bold with add-ins like cracked black pepper, Italian herbs, or cayenne if you’re craving heat.
One of my favorites? A taco-spiced version with chili powder, cumin, and a touch of lime zest perfect for snacking during movie night. For something festive, fold in finely chopped rosemary and dust the top with sea salt before baking. It’s like turning a humble cracker into an elegant bite. Just like I do in my peach cobbler recipe play with bold, simple flavors and make them your own.
Print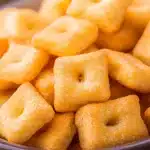
Homemade Cheez-Its: Crispy, Cheesy, and Unbelievably Addictive
- Total Time: 25 mins
- Yield: About 100 crackers
- Diet: Vegetarian
Description
Crispy, cheesy, and easy to make, these Homemade Cheez-Its are the perfect savory snack for kids and adults alike.
Ingredients
8 ounces shredded sharp cheddar cheese
4 tablespoons salted butter, softened
½ teaspoon seasoning salt
½ teaspoon garlic powder
1 cup all-purpose flour, spooned and leveled
2–3 tablespoons ice water
Instructions
1. Add cheese, butter, garlic powder, and seasoning salt to food processor and pulse until crumbly.
2. Add flour and pulse until the mix resembles coarse crumbs.
3. Slowly add ice water, 1 tablespoon at a time, until dough forms a ball.
4. Wrap dough and refrigerate for 30 minutes.
5. Preheat oven to 375°F and roll out dough to 1/8 inch.
6. Cut into 1-inch squares, poke center with toothpick, and transfer to baking sheet.
7. Bake for 12–15 minutes until golden and crisp.
8. Cool completely before storing or serving.
Notes
For extra sharp flavor, use aged cheddar.
You can freeze the dough and bake later.
Store in airtight container for up to 5 days.
- Prep Time: 10 mins
- Cook Time: 15 mins
- Category: Snacks
- Method: Baking
- Cuisine: American
Conclusion: Why You’ll Never Go Back to the Box
There’s something incredibly satisfying about pulling a tray of golden, crispy Homemade Cheez-Its from your oven. They’re rich, bold, and endlessly customizablevwithout the preservatives or mystery ingredients. Whether you’re baking a classic batch, spicing them up, or pairing them with brunch favorites, this recipe is the ultimate answer to snack cravings. Best of all, it’s family-friendly, freezer-ready, and so much fun to make. So skip the store and head to your kitchen. Your next favorite snack is already in your hands.
FAQ: Homemade Cheez-Its, Answered
Yes, as long as they’re cooled completely and stored in an airtight container. For extra crunch revival, rebake at 300°F for a few minutes. Keep them away from humidity and heat sources.
Definitely. Wrap it tightly in plastic and refrigerate for up to 48 hours. You can also freeze it for longer storage. Thaw in the fridge overnight before rolling and baking.
A huge yes. They’re cheesy, bite-sized, and easy to pack into lunchboxes. You can also cut them into fun shapes with cookie cutters—just like the ones I used for my zucchini cheddar biscuits.
Yes, and it’s encouraged. Try sharp white cheddar for a tangier twist, Monterey Jack for creaminess, or pepper jack for a kick.
