Remember those little store-bought Lunchables we all loved as kids? The thrill of opening that plastic tray to assemble your own mini meal? Well, I’ve got news for you—you can make an even better version at home in about five minutes flat. These Homemade Lunchables are what happens when nostalgia meets adult practicality. No mystery meats, no questionable ingredients, just real food you can feel good about packing.
What I love most is how endlessly adaptable they are. Got a picky eater? Swap the ingredients. Need a gluten-free option? Easy. Want to jazz it up for yourself with fancy cheeses? Go wild! They’re perfect for rushed mornings, road trips, or when you just need a lunch that feels fun without any fuss.
Table of Contents
Why You’ll Love These Homemade Lunchables
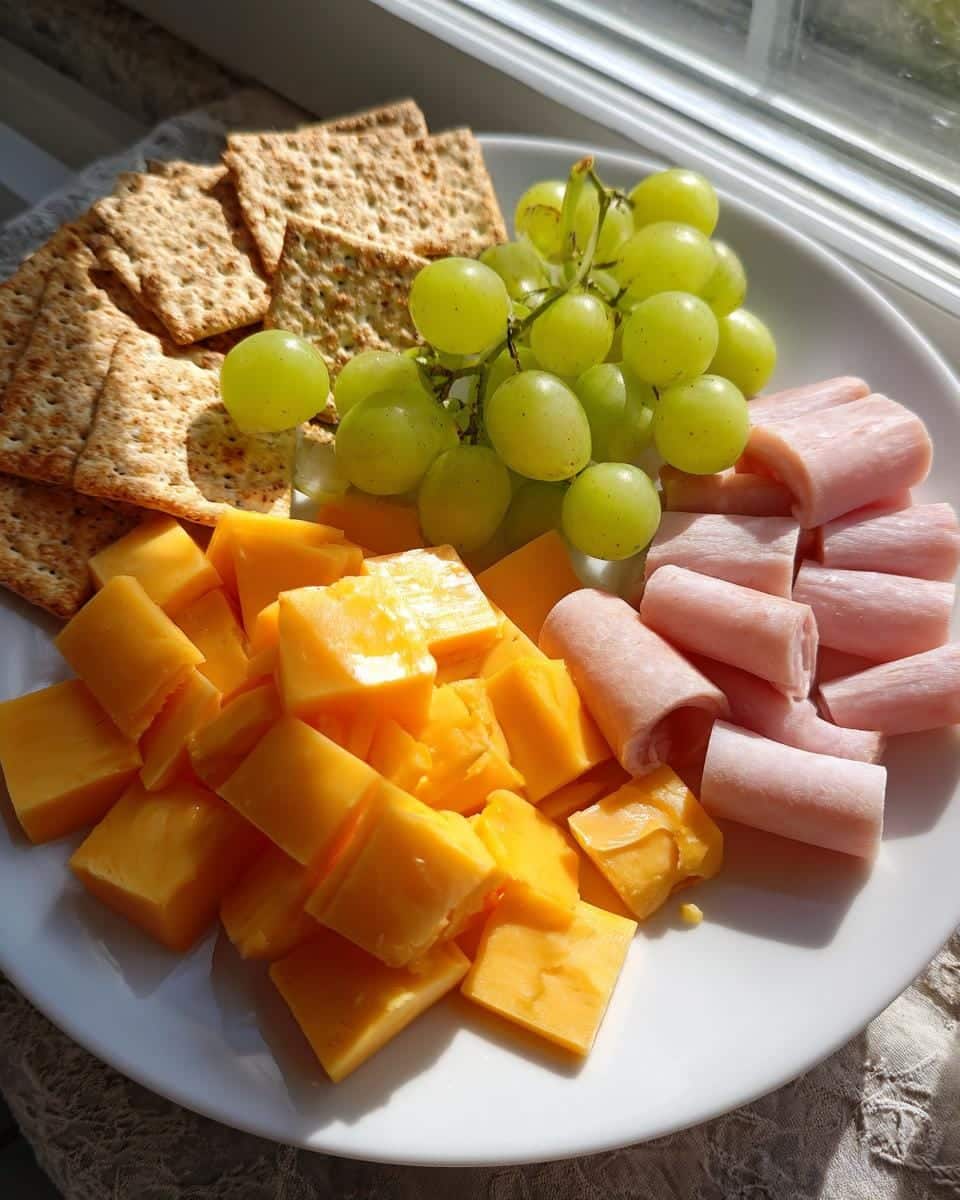
Trust me, once you try making your own, you’ll never go back to the store-bought version. Here’s why:
- Lightning fast: I can throw these together in 5 minutes flat – perfect when you’re running late but still want something decent to eat.
- Totally customizable: My kids love changing up the cheeses and fruits based on what’s in season (or what’s left in the fridge).
- Way healthier: No preservatives or mystery ingredients – just real food you can actually pronounce.
- Budget-friendly: Costs about half as much as the pre-packaged ones, especially if you buy ingredients in bulk.
- Nostalgic fun: That little kid joy of building your own lunch? Still totally works on grown-ups too.
The Simple, Flexible Ingredients You’ll Need
Here’s the beautiful part – you likely have most of this already in your fridge! I love recipes where I don’t need to make a special grocery run. Here’s what goes into my basic version, with plenty of room for improvisation:
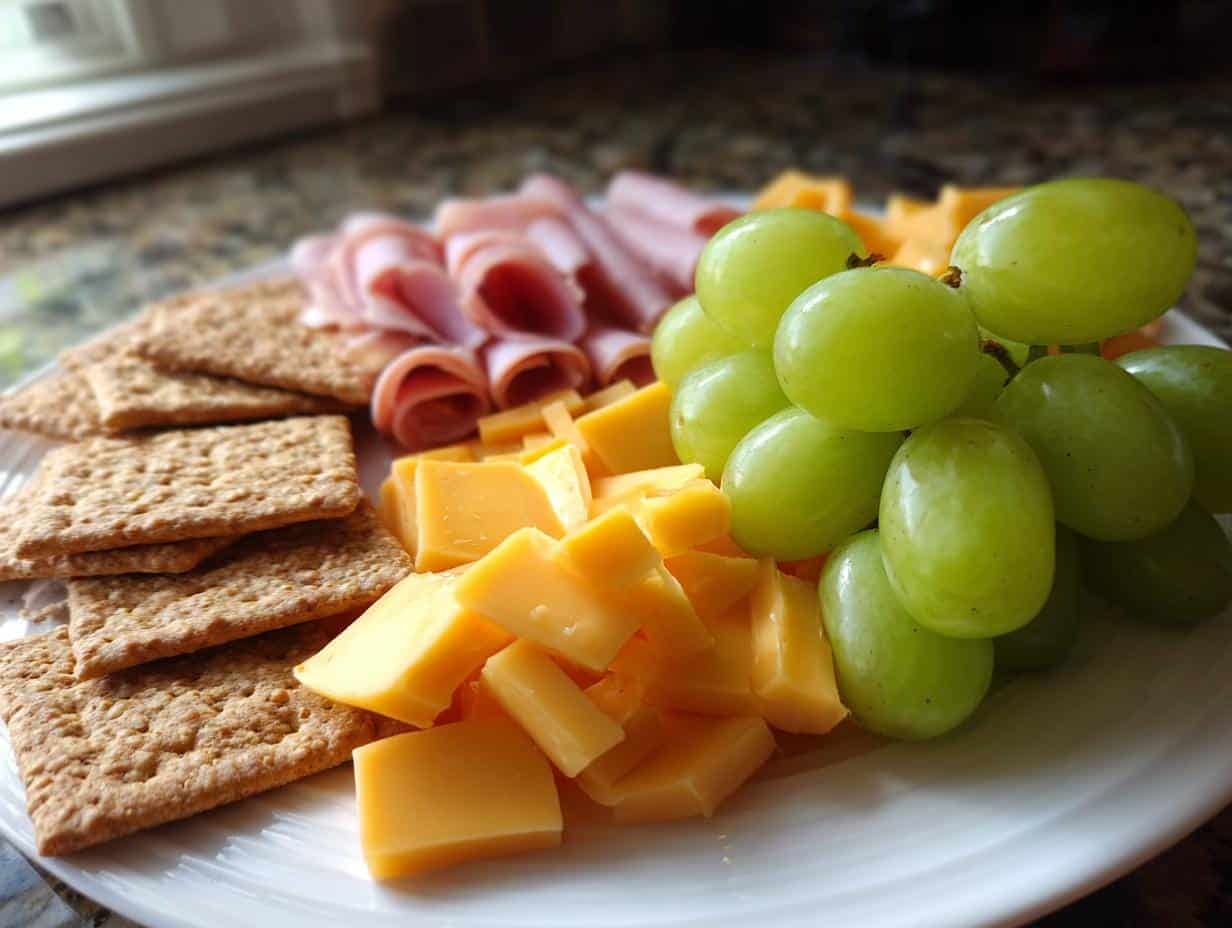
- 4 whole wheat crackers – The sturdy foundation! I prefer whole grain for extra fiber, but use whatever you’ve got (even those fancy rosemary ones for “grown-up” versions).
- 2 oz sharp cheddar cheese, sliced into small squares – About the size of the crackers. Pro tip: Let the block sit at room temp for 5 minutes first – it slices cleaner!
- 2 oz deli ham or turkey, folded or cut into cracker-sized pieces – I fold mine like little origami for more texture.
- 1/4 cup grapes or apple slices – For apples, a quick spritz of lemon juice keeps them pretty. Frozen grapes are an awesome hot-day treat!
- 1 tbsp mustard or mayo (optional) – Packed separately in a tiny container for dipping. My kids love honey mustard for sweetness.
See? Nothing complicated. The magic happens in how you mix-and-match these basics to keep things interesting week after week.
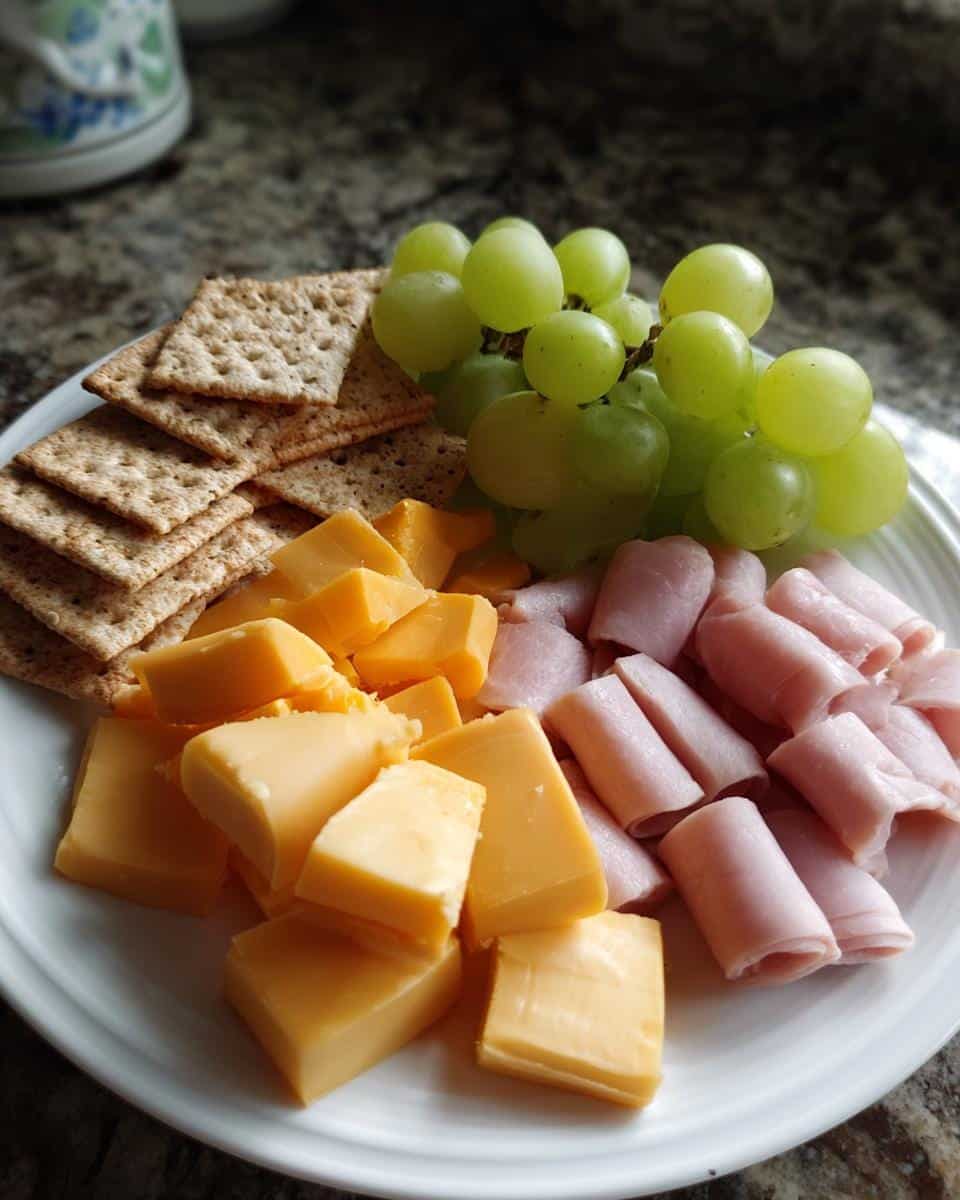
How to Make Homemade Lunchables
Now for the fun part! Making these is so easy, my 8-year-old can practically do it herself (though I still supervise the knife work). Here’s how we create lunchbox magic in just a few simple steps:
Step 1: Prep the Cheese and Meat
First, grab your cheese block and slice it into little squares – about the same size as your crackers. I aim for 1/4-inch thick slices because they’re sturdy enough to hold toppings but still easy to bite. The meat gets the same treatment – either folded into cute little ruffles (my daughter’s favorite) or cut into neat squares. Pro tip: Stack a slice of meat between two cheese squares for ready-made “sandwiches” that won’t sog up your crackers!
Step 2: Add Fresh Fruit
While the kids are assembling the savory bits, I prep the fruit. Grapes get a quick rinse and pat dry – wet fruit makes everything soggy. For apples, I slice them thin and give them a spritz of lemon juice. My secret? Toss them with a pinch of cinnamon for extra flavor that hides any browning. Frozen grapes are a game-changer in summer – by lunchtime they’re like little popsicles!
Step 3: Assemble Your Homemade Lunchables
Now the best part – building your creation! I use divided containers or bento boxes to keep everything separate. Layer crackers on one side, cheese and meat in another compartment, fruit in the last. If you’re adding condiments, pack them in tiny containers or dip them right in the corner. The key is making it look fun – sometimes I’ll use mini cookie cutters to shape the cheese into stars or hearts for special days. Pack it up, throw in an ice pack if needed, and lunch is served!
Tips for the Best Homemade Lunchables
After making hundreds of these over the years, I’ve picked up some tricks to take your Lunchables from good to amazing:
- Cookie cutter magic: Turn cheese slices into fun shapes with mini cutters – my kids go wild for dinosaur-shaped cheddar!
- Cold pack hack: Tuck a frozen juice box next to the container to keep everything chilled without extra bulk.
- Texture matters: Mix crunchy crackers with softer ingredients – the contrast makes each bite more satisfying.
- Assembly line: Prep ingredients for multiple days at once – store them in baggies for grab-and-go mornings.
The secret? Have fun with it! Even simple touches like colorful toothpicks for stacking make lunch feel special.
Homemade Lunchables Variations
One of my favorite things about these is how easily you can mix it up! Here are the combos we rotate through in our house to keep lunch exciting:
- Mediterranean twist: Swap the meat for hummus and add cucumber slices, kalamata olives, and feta cheese crumbles.
- Breakfast version: Use whole grain waffle squares as the “crackers” with cream cheese and fresh berries.
- Plant-powered: Try dairy-free cheese with roasted chickpeas and avocado slices for protein.
- Sweet tooth special: Graham crackers with almond butter, banana coins, and dark chocolate chips (my personal favorite!).
- Protein packed: Replace crackers with hard-boiled egg halves and add turkey roll-ups with mustard.
Honestly, once you get the basic formula down, the possibilities are endless. I love letting my kids create their own combos too – they come up with the wildest (and sometimes tastiest!) combinations.
Serving and Storing Homemade Lunchables
These homemade Lunchables taste best eaten within 24 hours – the crackers stay crisp and the fruit stays fresh. I swear by divided bento boxes or small reusable containers with tight lids (the ones that “click” shut are lifesavers!). If you’re packing mayo or dairy, tuck in a small ice pack or that frozen juice box trick I mentioned earlier. For make-ahead versions, assemble everything except the crackers separately and combine at lunchtime – this keeps everything from getting soggy. Pro tip: The cheese and meat components will keep beautifully for 3 days in the fridge if stored properly!
Looking for easy lunchbox wrap ideas? Try adding mini wraps made with turkey and ranch—super kid-friendly!
Fun Add-ons for Kids
Make it exciting by adding:
- Mini cookies or DIY savory snacks like Cheez-Its
- Small portion of popcorn or trail mix
- Cut fruits or light sides for school lunches
Homemade Lunchables Nutritional Information
Now, I’m no nutritionist, but here’s the basic breakdown for my standard version (keep in mind these are estimates – your mileage may vary based on exact ingredients!):
- Calories: Around 320 per serving
- Protein: A solid 18g to keep you full
- Carbs: 35g (with 4g fiber from those whole grain crackers)
- Fat: 12g (but only 5g saturated)
The best part? You control exactly what goes in – no mystery numbers or unpronounceable additives like the store-bought versions!
FAQs About Homemade Lunchables
Over the years, I’ve gotten so many questions about these little lunchbox wonders! Here are the ones that pop up most often:
Can I make Homemade Lunchables ahead of time?
Absolutely! I prep the components (cheese, meat, washed fruit) 2-3 days in advance and store them separately in the fridge. Just assemble your boxes the night before or morning of – this keeps the crackers crisp. The ham and cheese combo actually tastes better after marinating together overnight!
Are these freezer-friendly?
Some components freeze beautifully! I often freeze individual portions of sliced meat and cheese (separately). Grapes freeze well too – they turn into little popsicles. But crackers and fresh veggies don’t fare well after freezing, so add those fresh.
How do I prevent sogginess?
The secret is in the packing! Keep moist ingredients (like fruit) in separate compartments from dry ones. If using apples, that lemon juice trick works wonders. And never pack mayo or mustard directly on crackers – use tiny dip containers instead.
What’s the best container for Homemade Lunchables?
I’m obsessed with divided bento boxes with tight-fitting lids. The ones with silicone separators are perfect for keeping flavors from mingling. For kids, look for ones with fun compartments – half the fun is in the presentation!
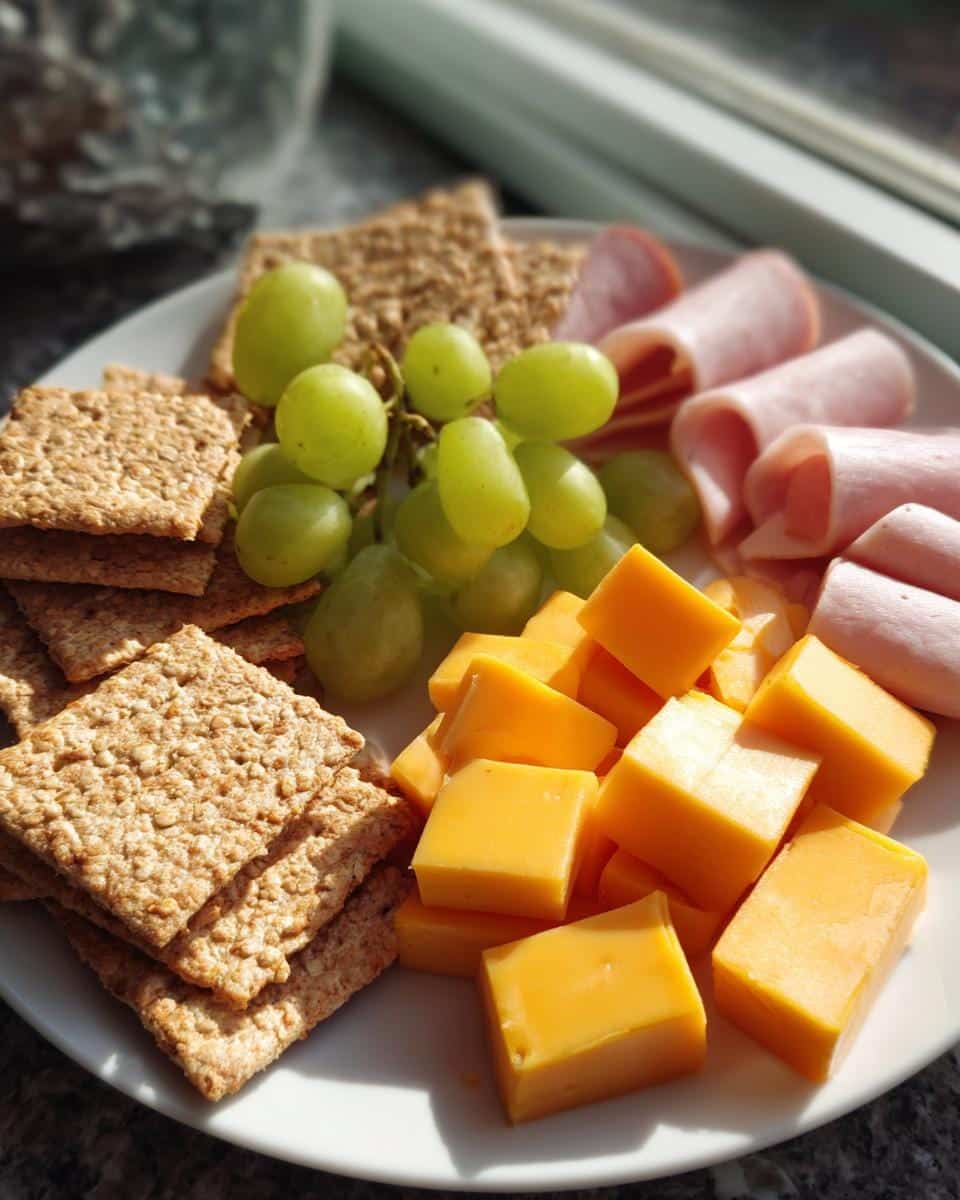

5-Minute Homemade Lunchables: Nostalgic & Healthy Bliss
- Total Time: 5 minutes
- Yield: 1 serving
- Diet: Low Lactose
Description
A simple and fun homemade version of Lunchables, perfect for kids and adults alike.
Ingredients
- 4 whole wheat crackers
- 2 oz cheddar cheese, sliced
- 2 oz ham or turkey slices
- 1/4 cup grapes or apple slices
- 1 tbsp mustard or mayo (optional)
Instructions
- Slice the cheese into small squares.
- Cut the ham or turkey into bite-sized pieces.
- Wash and dry the grapes or slice the apples.
- Arrange crackers, cheese, meat, and fruit in a container.
- Add mustard or mayo if desired.
Notes
- Use gluten-free crackers if needed.
- Substitute with vegan cheese and meat alternatives for a plant-based option.
- Pack in an airtight container for freshness.
- Prep Time: 5 minutes
- Cook Time: 0 minutes
- Category: Lunch
- Method: No Cook
- Cuisine: American
