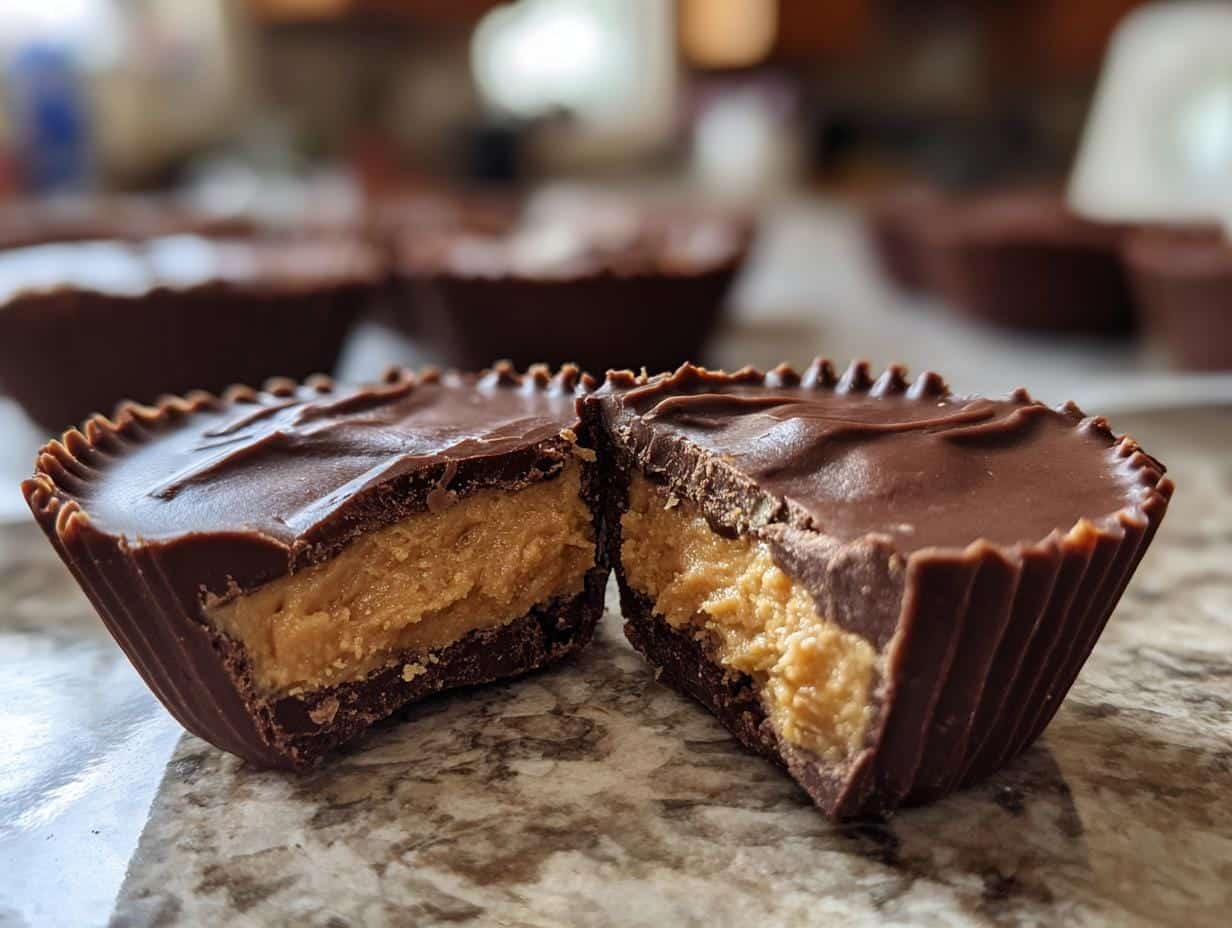
There’s something magical about biting into a Reese’s Peanut Butter Cup – that perfect balance of creamy peanut butter and rich chocolate gets me every time. But let me tell you a secret: the homemade version? Even better! When I first tried making these myself, I couldn’t believe how simple it was with just a handful of pantry staples.
What I love most is you can control the sweetness and texture exactly how you like it. Want more peanut butter punch? Add an extra spoonful. Prefer darker chocolate? Easy swap. My kitchen always smells like a candy factory when I’m whipping up a batch, and honestly, that’s half the fun.
The best part? No fancy equipment needed. Just mix, melt, layer, and chill. In about an hour, you’ll have homemade Reese’s Peanut Butter Cups that’ll make you question why you ever bought the store version. Trust me, once you try these, there’s no going back!
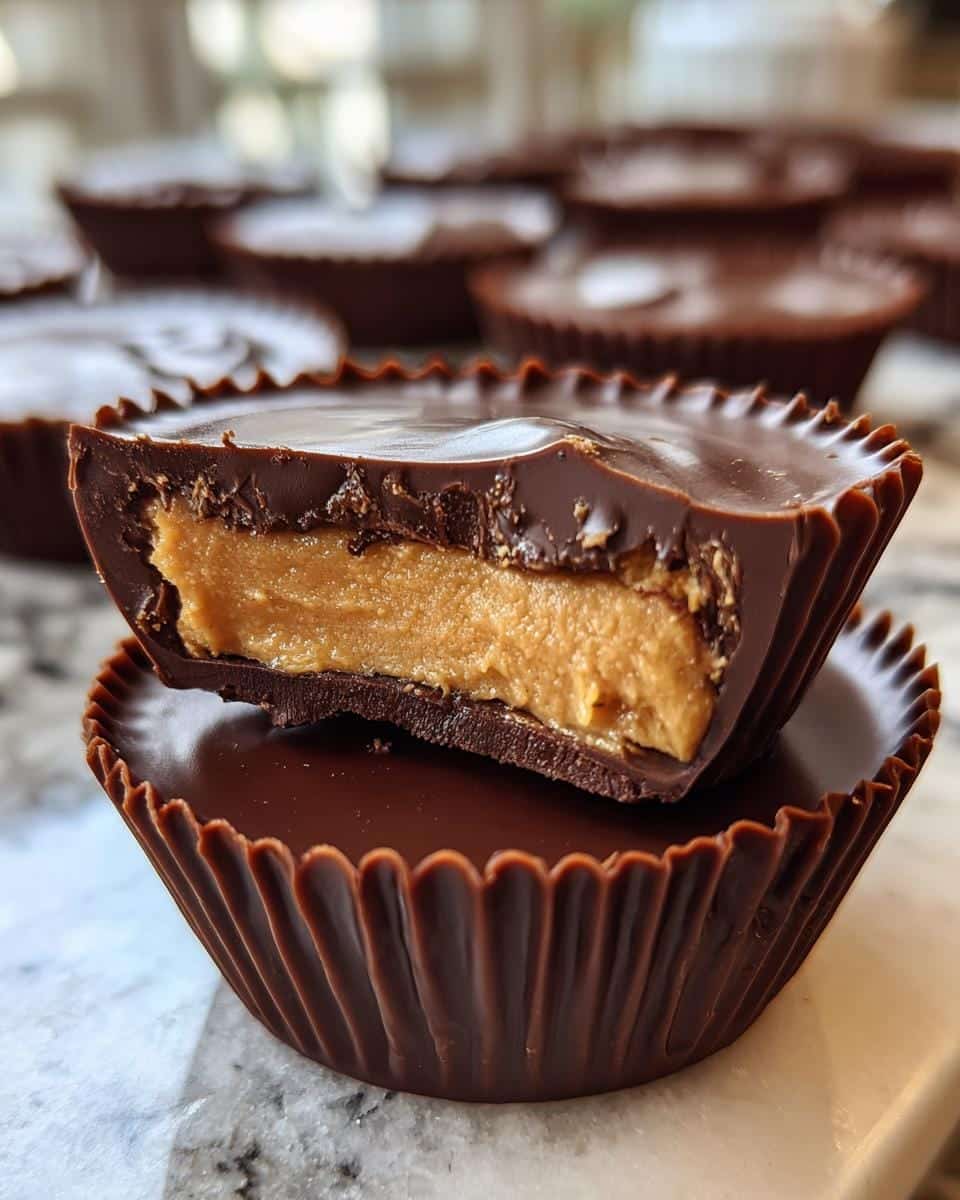
Table of Contents
Why You’ll Love These Reese’s Peanut Butter Cups
These homemade peanut butter cups are about to become your new obsession! Here’s why:
- No oven required – Just mix, melt, and chill for the easiest dessert you’ll ever make
- Endless customizations – Swap in dark chocolate, add sea salt, or mix in crushed cookies
- Better than store-bought – Creamier filling, richer chocolate, and no weird additives
- Perfect for gifts – Package them in cute boxes for birthdays, holidays, or just because
- Kid-approved fun – Little hands love helping assemble these bite-sized treats
Seriously, what’s not to love? Once you taste that first velvety bite, you’ll be hooked!
Ingredients for Reese’s Peanut Butter Cups
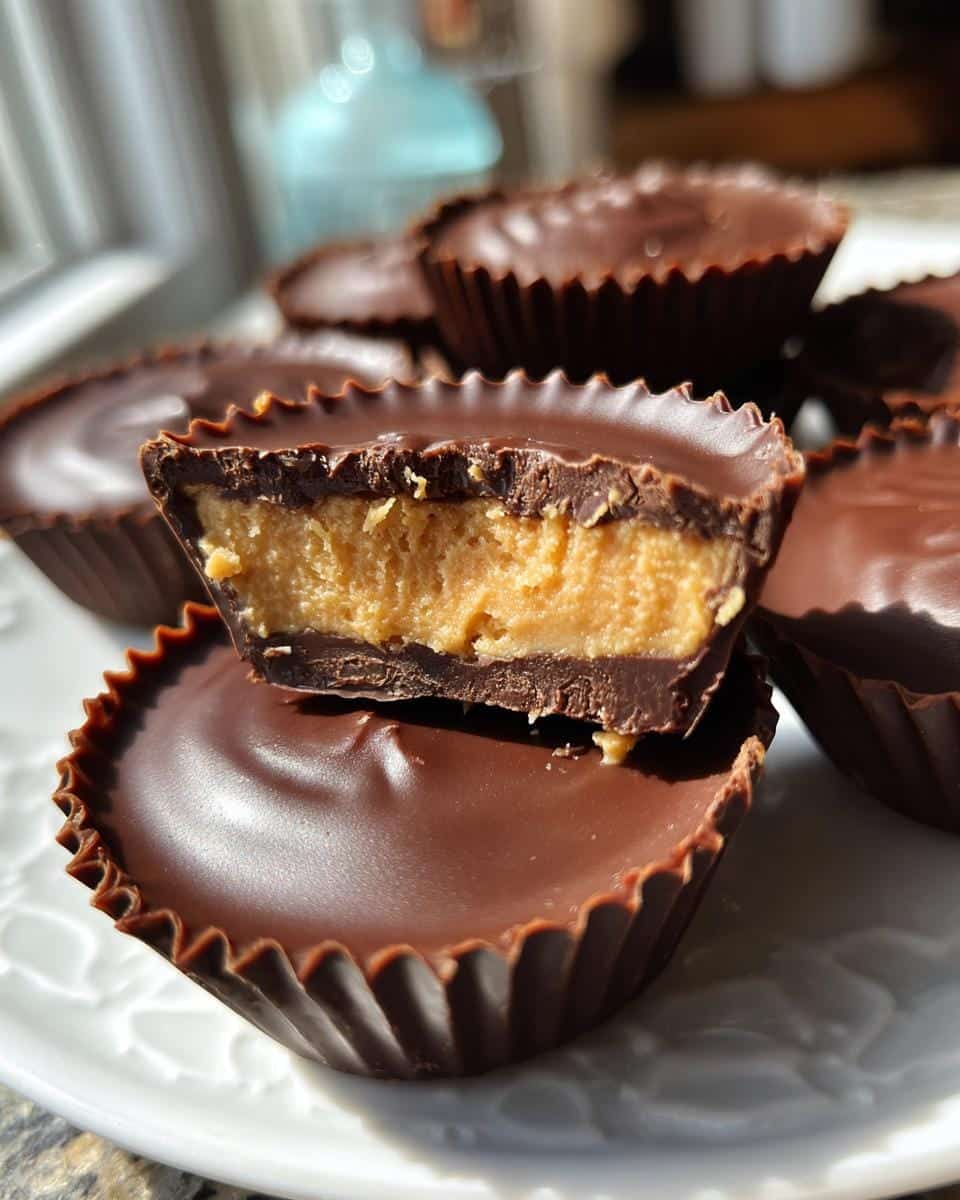
Gathering these simple ingredients is half the battle – and trust me, you probably have most in your pantry right now! Here’s what you’ll need:
- 1 cup creamy peanut butter – I use Jif for that classic Reese’s taste, but natural peanut butter works if you prefer less sweetness
- 1/2 cup powdered sugar – Sift it if yours is lumpy for ultra-smooth filling
- 2 tbsp unsalted butter, softened – Leave it on the counter for 30 minutes first
- 1/4 tsp salt – Just a pinch to balance all that sweetness
- 2 cups semi-sweet chocolate chips – Guittard or Ghirardelli melt like a dream
- 1 tbsp coconut oil (optional) – Makes the chocolate extra glossy and easier to work with
See? Nothing fancy – just good, honest ingredients that come together magically. Now let’s make some peanut butter cups!
Equipment You’ll Need
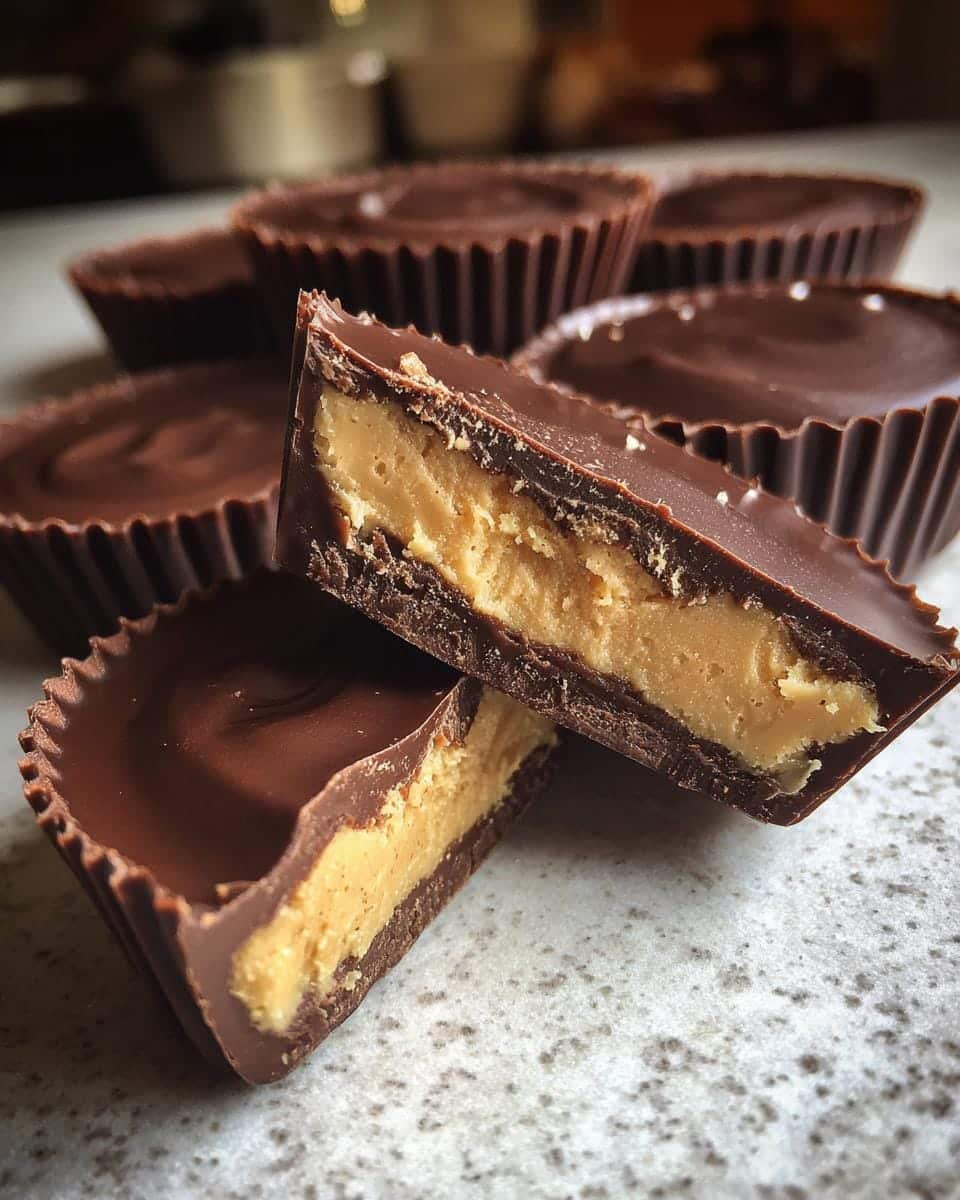
No fancy gadgets required here! Here’s what you’ll grab from your kitchen:
- Mini muffin tin (standard size works too, just adjust filling amounts)
- Paper liners (the cute colored ones make these extra gift-worthy)
- Medium mixing bowl (for that glorious peanut butter filling)
- Microwave-safe bowl (I use my trusty glass measuring cup)
- Spoon or small spatula (for smoothing chocolate like a pro)
That’s it! Now let’s get to the fun part – making magic happen.
How to Make Reese’s Peanut Butter Cups
Okay, let me walk you through the magical process of turning these simple ingredients into irresistible homemade Reese’s Peanut Butter Cups. I promise it’s easier than you think!
Preparing the Peanut Butter Filling
First, grab that creamy peanut butter – I always give it a quick stir if it’s separated. In a medium bowl, mix together the peanut butter, powdered sugar, softened butter, and salt. Keep mixing until it turns into this gloriously smooth, almost play-dough-like consistency. If it feels too sticky, add a touch more powdered sugar. Too dry? A drizzle of honey or maple syrup fixes it right up!
Melting the Chocolate
Now for the chocolatey magic! Combine chocolate chips and coconut oil (if using) in a microwave-safe bowl. Microwave in 30-second bursts, stirring vigorously between each one. Stop when about 90% melted – the residual heat will finish the job. You’ll know it’s ready when it’s smooth as silk and drips slowly off the spoon. Pro tip: resist the urge to overheat! Burnt chocolate is a sad, grainy thing.
Assembling the Cups
Line your muffin tin with those cute paper cups. Spoon about 1 teaspoon melted chocolate into each – just enough to coat the bottom. Now take small portions of your peanut butter mixture (about 1/2 tablespoon) and flatten them into discs. Gently press one into each chocolate-lined cup. Top with another teaspoon of chocolate, making sure to cover all the peanut butter completely. Give the tin a light tap on the counter to remove any air bubbles – this keeps those perfect smooth tops!
Chilling for Perfection
Pop your masterpiece into the fridge for at least 30 minutes to set. I know it’s tempting, but don’t rush this part! The wait is worth it when you get that satisfying snap as you bite into them. Store any leftovers (yeah right!) in an airtight container in the fridge for up to two weeks – though they never last that long in my house!
Tips for Perfect Reese’s Peanut Butter Cups
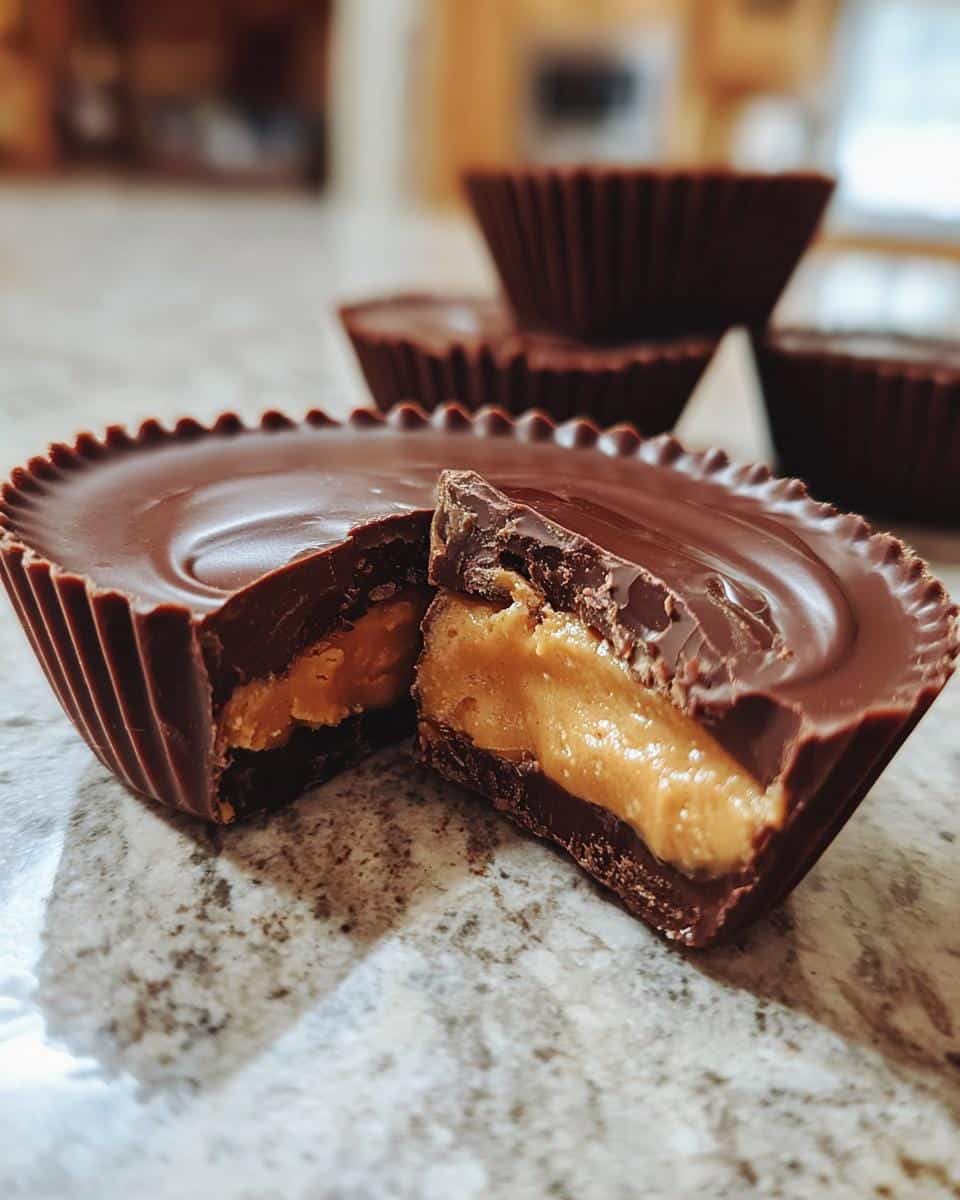
After making dozens (okay, maybe hundreds) of these peanut butter cups, I’ve picked up some game-changing tricks:
- Use room-temperature butter – cold butter makes lumpy filling while softened butter blends into silky perfection
- Splurge on good chocolate – those extra few dollars for quality chips make ALL the difference in flavor and meltability
- Work fast once chocolate’s melted – it starts setting quickly, so have your peanut butter discs ready to go
- Taste as you mix – adjust peanut butter sweetness with a pinch more sugar or salt until it’s just right for you
Follow these simple tricks, and you’ll have Reese’s-level peanut butter cups every single time!
Variations of Reese’s Peanut Butter Cups
Oh, the possibilities with these little cups of joy! Once you’ve mastered the classic version, try these fun twists:
- Salty-sweet crunch: Mix crushed pretzels or graham crackers into the peanut butter filling
- Dark chocolate delight: Swap semi-sweet chips for 70% dark chocolate – so sophisticated!
- Dairy-free dream: Use coconut oil instead of butter and dairy-free chocolate chips
- Gourmet touch: Sprinkle flaky sea salt on top before chilling for that perfect balance
- Candy lover’s special: Stir mini chocolate chips into the peanut butter center
The best part? You can make a few different batches and have your own peanut butter cup taste test party!
Storing and Serving Reese’s Peanut Butter Cups
These little beauties keep wonderfully in an airtight container in the fridge for up to 2 weeks – though in my house, they mysteriously vanish much faster! For that perfect Reese’s experience, let them sit at room temperature for 5-10 minutes before serving. The chocolate gets that ideal snap, and the peanut butter softens just enough to remind you why homemade beats store-bought every time.
Reese’s Peanut Butter Cups Nutritional Information
Each homemade peanut butter cup comes in at about 120 calories – not bad for such a decadent treat! You’re looking at 8g fat (3g saturated), 10g carbs, and 3g protein per cup. Of course, these numbers can vary based on your specific ingredients – using natural peanut butter or dark chocolate will change things up. But hey, we’re making candy here – a little indulgence never hurt anyone!
Frequently Asked Questions
I get asked about these homemade Reese’s Peanut Butter Cups all the time – here are the top questions with my tried-and-true answers!
Can I use crunchy peanut butter instead of creamy?
Absolutely! I love the texture surprise of crunchy peanut butter cups. Just know the filling won’t be quite as smooth when you bite into them. My husband actually prefers them this way!
How do I prevent the liners from sticking?
Two tricks: 1) Use quality liners (the cheap ones peel terribly), and 2) Make sure your chocolate layer fully covers the bottom and sides before adding peanut butter. That chocolate coating acts like edible Teflon!
Why is my chocolate seizing or getting grainy?
Oh no – water is chocolate’s enemy! Always dry your bowls completely, and don’t let steam from the microwave get to it. If disaster strikes, add a drizzle of vegetable oil and stir gently to rescue it.
Can I freeze these peanut butter cups?
You bet! They freeze beautifully for up to 3 months. Just layer them between parchment paper in an airtight container. Thaw at room temperature for about 15 minutes before enjoying that perfect chocolate snap.
Share Your Reese’s Peanut Butter Cups
I’d love to see your peanut butter cup creations! Snap a pic and tag me – nothing makes me happier than seeing your kitchen adventures with this recipe. Happy candy-making!
Print
1-Hour Homemade Reese’s Peanut Butter Cups to Die For
- Total Time: 55 minutes (includes chilling)
- Yield: 24 peanut butter cups
- Diet: Vegetarian
Description
A simple and delicious homemade version of the classic Reese’s Peanut Butter Cup. These treats combine creamy peanut butter and rich chocolate for a perfect bite-sized dessert.
Ingredients
- 1 cup creamy peanut butter
- 1/2 cup powdered sugar
- 2 tbsp unsalted butter, softened
- 1/4 tsp salt
- 2 cups semi-sweet chocolate chips
- 1 tbsp coconut oil (optional, for smoother melting)
Instructions
- Line a mini muffin tin with paper liners.
- In a bowl, mix peanut butter, powdered sugar, butter, and salt until smooth.
- Roll the peanut butter mixture into small balls and flatten slightly.
- Melt chocolate chips and coconut oil in a microwave-safe bowl, stirring every 30 seconds until smooth.
- Pour a small amount of melted chocolate into each liner, covering the bottom.
- Place a peanut butter disc on top of the chocolate in each liner.
- Cover the peanut butter with more melted chocolate.
- Refrigerate for 30 minutes or until set.
Notes
- Use natural peanut butter for a less sweet filling.
- Store in an airtight container in the fridge for up to 2 weeks.
- For a crunchier texture, add crushed graham crackers to the peanut butter mixture.
- Prep Time: 20 minutes
- Cook Time: 5 minutes
- Category: Dessert
- Method: No-Bake
- Cuisine: American
