Every December, my kitchen transforms into a makeshift coffee shop because I absolutely need my homemade Starbucks peppermint mocha fix. Forget the long drive-thru lines—I’ve perfected a version that’s just as creamy, minty, and chocolatey (maybe even better, if I do say so myself). It all started when I waited 20 minutes for one at Starbucks, only to realize I had all the ingredients at home. Now, it’s my little holiday ritual: fuzzy socks, Christmas music, and this cozy drink in my favorite mug. The best part? You can whip it up in 10 minutes flat—no barista skills required. Trust me, once you try it, you’ll wonder why you ever paid $6 for the caffeine-and-sugar rush. Let’s make magic happen!

Ingredients for Homemade Starbucks Peppermint Mocha
Gathering the right ingredients is half the battle—and luckily, this peppermint mocha doesn’t need anything fancy! Here’s what you’ll need to raid your pantry for:
- 1 cup strong brewed coffee (I use a dark roast for that deep coffee flavor that stands up to the chocolate)
- 1 cup milk (whole milk makes it extra creamy, but almond or oat milk work beautifully too)
- 2 tablespoons cocoa powder (unsweetened is key—none of that hot chocolate mix nonsense!)
- 2 tablespoons sugar (adjust to your sweet tooth—I sometimes go down to 1 tbsp if I’m topping with lots of whipped cream)
- 1/4 teaspoon peppermint extract (the star of the show! Start with this and add more drop by drop—it’s potent stuff)
- Whipped cream (the more the merrier, if you ask me)
- Chocolate shavings (I just run a veggie peeler over a chocolate bar—so much better than store-bought sprinkles)
A quick tip from my many trial runs: measure your peppermint extract carefully! That first time I got overzealous and ended up with what tasted like toothpaste in coffee. Not the holiday vibe we’re going for.
How to Make Homemade Starbucks Peppermint Mocha
Okay, let’s get to the fun part—making this cozy drink come together! I promise it’s easier than untangling Christmas lights. Just follow these simple steps, and you’ll be sipping holiday happiness in no time.
Brewing the Coffee
First things first—that coffee base needs to be strong. I use about 2 tablespoons of ground coffee per 1 cup of water (or 1 espresso shot if you’re feeling fancy). The bold flavor stands up to all that chocolatey goodness we’re about to add. Pro tip: if your coffee maker has a “bold” setting, now’s the time to use it! Let it brew while you work on the next step.
Preparing the Peppermint Cocoa Mixture
Here’s where the magic happens! Pour your milk into a small saucepan over medium heat—don’t let it boil, just get it nice and steamy. Whisk in the cocoa powder and sugar like your life depends on it (okay, maybe not that intense, but really whisk until it’s completely smooth—no one wants grainy mocha). Now the star ingredient: that peppermint extract. Start with 1/4 teaspoon, give it a taste, then add more drop by drop if needed. Remember: you can always add more, but you can’t take it out!
Combining and Serving
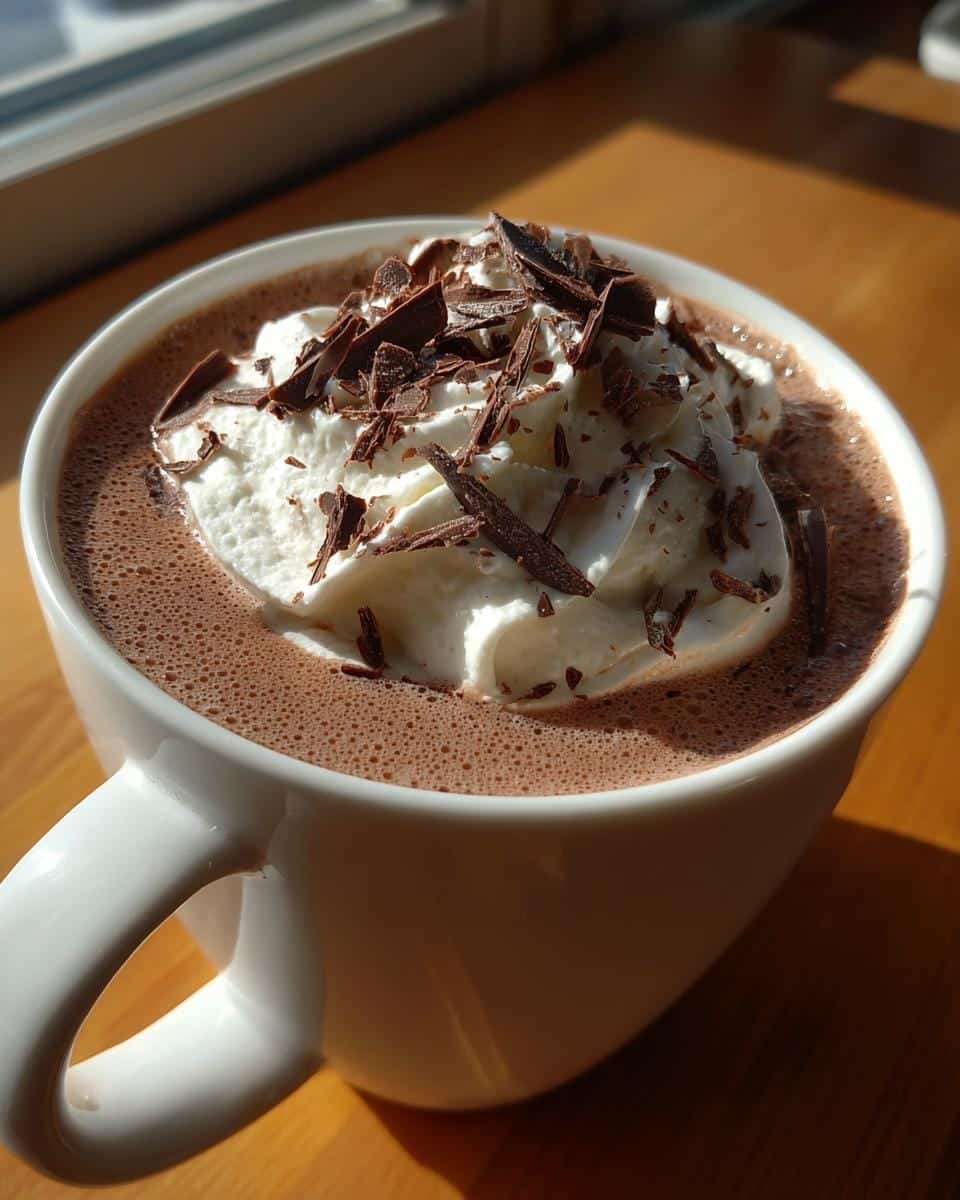
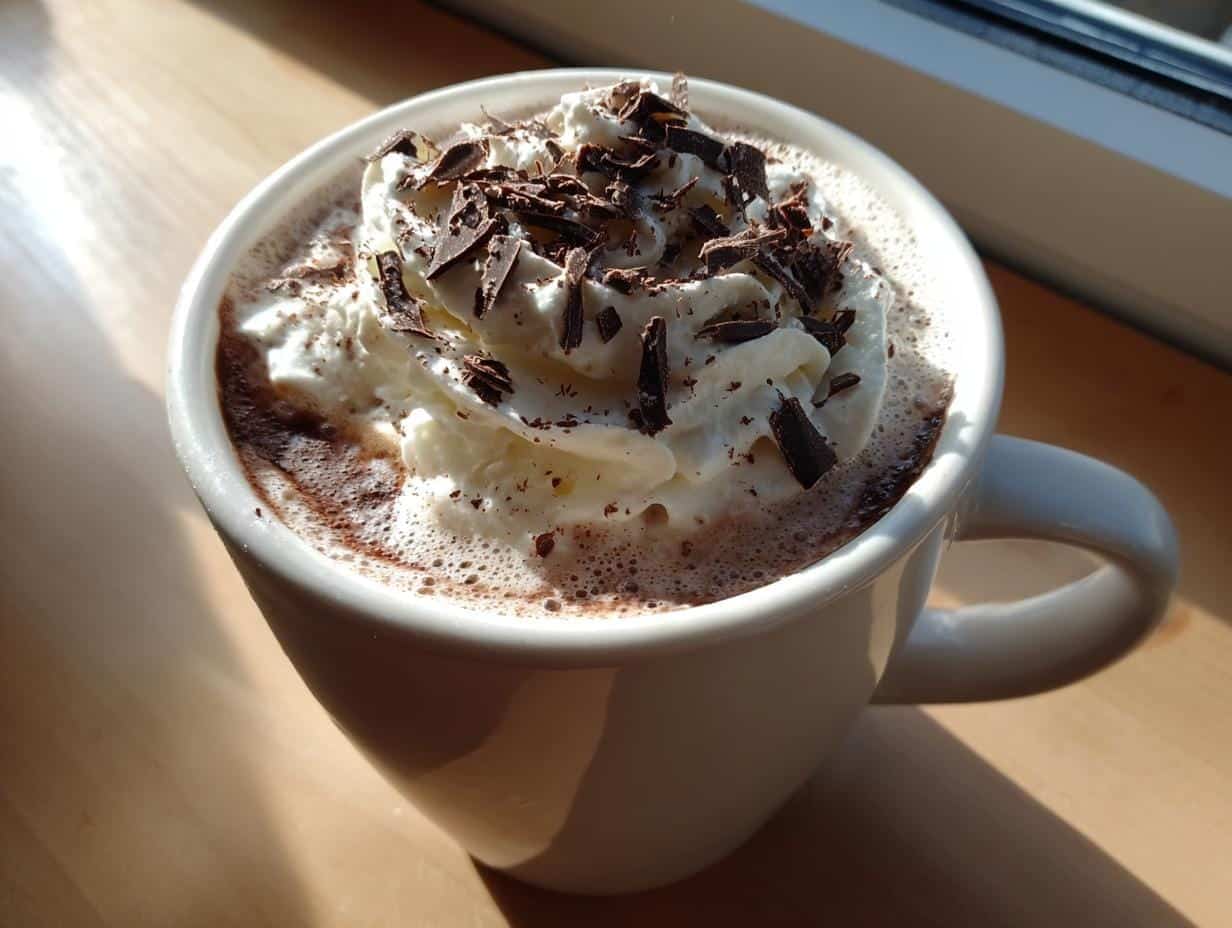
Pour your strong coffee into your favorite mug (mine’s the chipped one that says “Santa’s Favorite Elf”), then slowly add the peppermint cocoa mixture. Stir gently to combine all those delicious flavors. Now for the best part—pile on that whipped cream like you’re building a snowman! Finish with chocolate shavings that’ll melt slightly into creamy perfection. Grab a candy cane for stirring if you’re feeling extra festive. Voila! Your kitchen just became a holiday café.
Why You’ll Love This Homemade Starbucks Peppermint Mocha
Listen, I know what you’re thinking—why bother making this at home when you can just swing by Starbucks? Oh honey, let me count the ways this homemade version will steal your heart:
- Faster than a reindeer on Christmas Eve – Seriously, by the time you’d wait in that never-ending drive-thru line, you could’ve made three of these at home. Ten minutes start to finish, and no pants required!
- Way easier on your wallet – We’re talking maybe $1 per cup versus Starbucks’ holiday pricing. That extra cash can go toward more important things…like Christmas cookies.
- You’re the boss of sweetness – Not a fan of super sweet? Cut the sugar. Want it dessert-level indulgent? Add more! No judgment here—it’s your peppermint paradise.
- That festive flavor hits different – There’s something magical about sipping this while wearing pajamas, with your own whipped cream mountain and real chocolate shavings melting on top. Sorry Starbucks, but my couch beats your plastic chairs.
- No mysterious ingredients – You know exactly what’s in it (spoiler: no unpronounceable preservatives). Bonus: your kitchen will smell like a Christmas candle factory in the best way.
Trust me, after one sip of this cozy, chocolatey-minty perfection, you’ll be wrapping your hands around this mug all season long. And hey—no one has to know how ridiculously easy it was to make!
Tips for the Best Homemade Starbucks Peppermint Mocha
After making roughly a zillion of these peppermint mochas (okay, maybe dozens), I’ve picked up some foolproof tricks to make yours absolutely perfect every single time. These little details make all the difference between “good” and “why-is-this-so-much-better-than-Starbucks” good.
Treat your milk right
Heat it gently—I’m talking medium-low heat—until it’s steaming but not boiling. Boiled milk gets that weird skin on top and loses its sweetness. If you see tiny bubbles forming around the edges of the saucepan? That’s your cue to take it off the heat. Bonus tip: whisk constantly while heating to prevent scorching. Burnt milk is definitely not on my holiday wish list.
The peppermint extract dance
Oh, peppermint extract—so small, yet so mighty. Always start with just 1/4 teaspoon and taste before adding more. I learned this the hard way when I once made a batch that tasted like someone brushed their teeth in my coffee. If it’s not minty enough after stirring, add one drop at a time. And whatever you do, don’t confuse peppermint with spearmint extract unless you want your mocha tasting like gum!
Cocoa powder matters more than you think
Skip the cheap stuff—this is where splurging on good-quality unsweetened cocoa powder pays off. I’m partial to Dutch-process for its deep chocolate flavor, but any decent unsweetened cocoa will work. If your cocoa has been sitting in the pantry since last Christmas? Toss it. Stale cocoa tastes flat and won’t give you that rich mocha flavor we’re after.
Bonus pro moves
- Warm your mug first with hot water so your drink stays toasty longer
- Use a microplane to make superfine chocolate shavings that melt instantly into the whipped cream
- If your cocoa powder is clumpy, sift it first for silky-smooth texture
- For extra decadence, rub the rim of your mug with a candy cane before dipping it in chocolate syrup
There you have it—my hard-won wisdom from many happy (and a few disastrous) peppermint mocha experiments. Follow these tips, and you’ll be the barista of your own cozy holiday café in no time!
Homemade Starbucks Peppermint Mocha Variations
One of the best things about making this peppermint mocha at home? You can tweak it however you like! Whether you’re looking for a richer chocolate flavor or a stronger mint kick, this recipe is your playground.
Storing and Reheating Homemade Starbucks Peppermint Mocha
Okay, let’s be real—this drink is usually gone before it has a chance to get cold in my house. But just in case you miraculously have leftovers (or want to prep ahead for holiday guests), here’s how to keep your peppermint mocha tasting fresh:
The golden rule of storage
Always, always store the coffee-peppermint mixture without whipped cream. That fluffy topping turns sad and watery in the fridge. I learned this lesson after opening my fridge to what looked like a melted snowman. Just pour your leftover mocha base into an airtight container—a mason jar works perfectly—and pop it in the fridge for up to 2 days.
Reheating like a pro
When you’re ready for round two, give the mixture a good shake (the cocoa tends to settle), then warm it gently on the stove over low heat or in the microwave at 30-second intervals. Stir between bursts—no one likes lukewarm spots! If it seems too thick after chilling, just whisk in a splash of fresh milk to bring it back to that perfect silky texture.
A word of caution
The peppermint flavor intensifies over time, so that “just right” amount you loved yesterday might taste extra minty today. Before reheating, I always do a quick taste test—sometimes I’ll add a splash of fresh coffee to mellow it out. And whatever you do, don’t freeze it! The texture goes all grainy and weird upon thawing (another mistake I’ve made so you don’t have to).
Honestly though? This drink is at its absolute best fresh. But if you must store it, these tricks will keep your homemade peppermint mocha tasting like holiday magic—just remember to add fresh whipped cream and chocolate shavings right before serving!
Homemade Starbucks Peppermint Mocha Nutritional Information
Okay, let’s be honest—we’re not drinking this for the health benefits. But if you’re curious about what’s in your cozy cup of holiday cheer (or need to justify that second serving), here’s the scoop on the nutritional side of things. Remember, these numbers are estimates—your exact counts will depend on the specific ingredients you use!
- Serving Size: 1 generous mug (about 12 oz)
- Calories: Around 250 (less if you skip the whipped cream—but why would you?)
- Sugar: Approximately 25g (mostly from the chocolate and milk)
- Fat: About 8g (that creamy goodness has to come from somewhere!)
- Protein: 6g (thank you, milk!)
A few quick notes: Using almond milk instead of whole milk cuts about 50 calories and reduces the fat content. And if you’re watching sugar, you can absolutely reduce the amount—I’ve made it with just 1 tablespoon sugar before and it was still delicious. The whipped cream and chocolate shavings add extra calories, but they’re the festive finishing touches that make this drink special!
At the end of the day, this peppermint mocha is meant to be a treat—something to savor slowly while watching the snow fall (or pretending to, if you live somewhere warm like me). So unless you’re drinking three a day, I say enjoy every chocolaty, minty sip guilt-free!
Frequently Asked Questions
Can I make this peppermint mocha ahead of time?
Absolutely! Just prepare the coffee and peppermint cocoa mixture as directed, then store them together (without whipped cream) in the fridge for up to 2 days. When you’re ready to serve, gently reheat and add fresh toppings. The flavors actually meld together beautifully overnight—though the peppermint might intensify slightly, so taste before serving!
Is peppermint extract really necessary?
Yes, if you want that authentic Starbucks flavor! The extract gives that crisp, clean mint taste without any weird artificial aftertaste. Trust me, I’ve tried substituting with everything from candy canes to mint tea—nothing quite hits the same. Just remember: a little goes a long way with that potent extract! For more information on extracts, you can check out this guide to baking extracts.
What’s the best cocoa powder to use?
I swear by unsweetened Dutch-process cocoa powder—it has that deep, rich chocolate flavor without any bitterness. Regular unsweetened cocoa works too, but Dutch-process blends smoother into the milk. Whatever you do, don’t use hot chocolate mix—it’s already sweetened and will throw off your whole flavor balance!
Can I make this dairy-free?
Of course! Almond milk or oat milk work beautifully—just make sure to use the unsweetened varieties unless you want extra sugar. For the whipped cream, coconut whipped cream is my go-to dairy-free alternative. It adds that same luxurious topping we all love!
How can I make it extra chocolatey?
Oh, I like the way you think! Try adding a tablespoon of chocolate syrup to the milk mixture, or swap half the cocoa powder for melted dark chocolate. For serious chocoholics, I sometimes sprinkle cocoa powder right into the whipped cream before topping. No such thing as too much chocolate in my book!

10-Minute Homemade Starbucks Peppermint Mocha Bliss
- Total Time: 10 minutes
- Yield: 1 serving
- Diet: Vegetarian
Description
A creamy and refreshing homemade version of Starbucks’ famous peppermint mocha.
Ingredients
- 1 cup strong brewed coffee
- 1 cup milk
- 2 tablespoons cocoa powder
- 2 tablespoons sugar
- 1/4 teaspoon peppermint extract
- Whipped cream for topping
- Chocolate shavings for garnish
Instructions
- Brew a cup of strong coffee.
- In a small saucepan, heat milk over medium heat.
- Whisk in cocoa powder and sugar until dissolved.
- Stir in peppermint extract.
- Pour the coffee into a mug and add the peppermint cocoa mixture.
- Top with whipped cream and chocolate shavings.
Notes
- Adjust sugar to your taste.
- Use almond or oat milk for a dairy-free version.
- For extra richness, add a splash of heavy cream.
- Prep Time: 5 minutes
- Cook Time: 5 minutes
- Category: Beverage
- Method: Stovetop
- Cuisine: American


