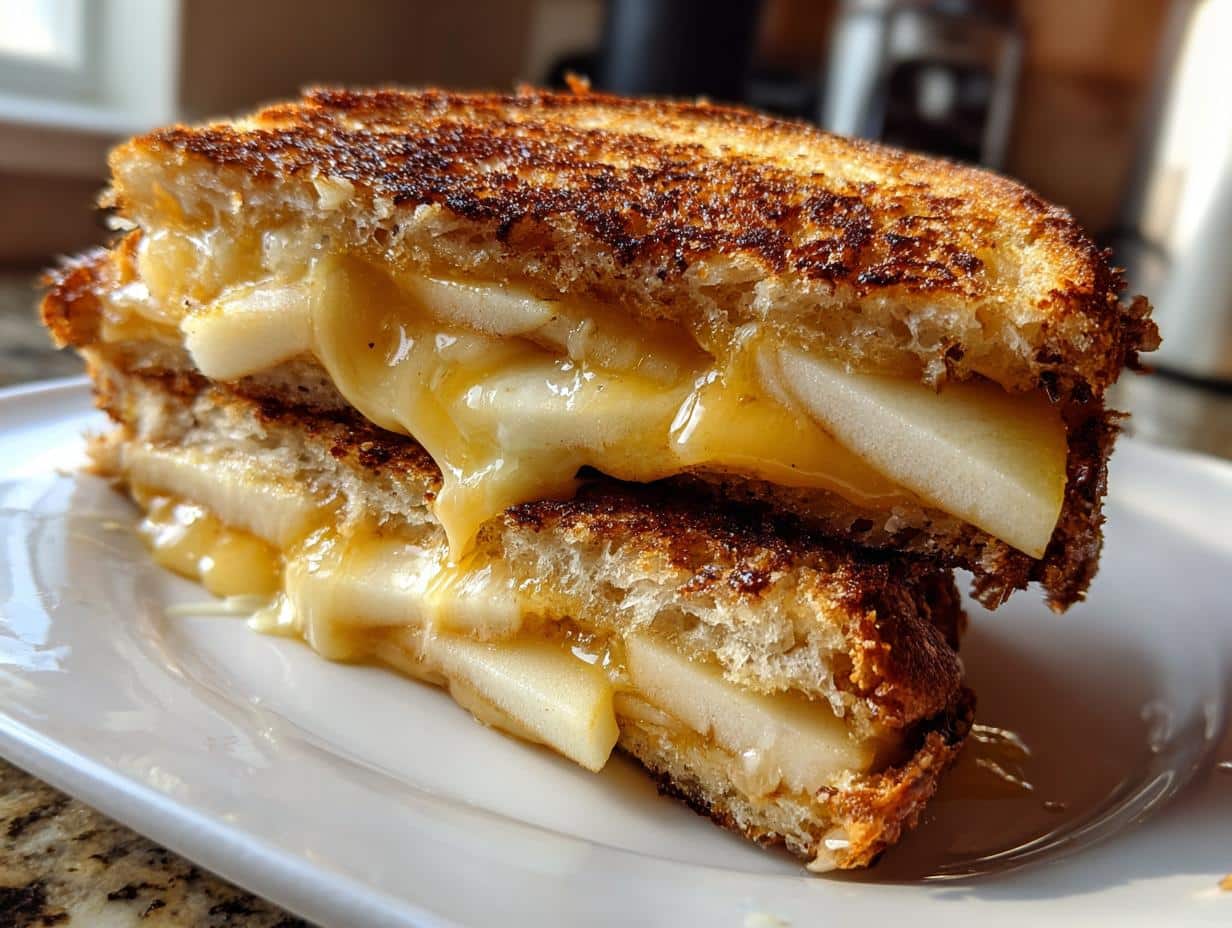
You know that moment when a bite of food just makes everything right in the world? For me, that’s a perfectly gooey grilled cheese sandwich but the grown-up kind, with a little something extra. I’ll never forget the first time I tried adding crisp Honeycrisp apple slices to my classic cheddar grilled cheese. The sweet crunch against the sharp, melty cheese? Absolute magic. It’s been my go-to quick lunch ever since, and after years of tweaking (and many, many test sandwiches), I’ve nailed the balance.
This Honeycrisp apple and cheddar grilled cheese is comfort food with a twist the kind of recipe that feels fancy but comes together in minutes. The apples add freshness and a subtle sweetness that cuts through the richness of the cheese, while the sourdough bread crisps up golden and buttery. It’s the sandwich I make when I want something comforting but not heavy, simple but special. And trust me, once you try it, you’ll wonder why you haven’t been adding apples to your grilled cheese all along.
Table of Contents
Why You’ll Love This Honeycrisp Apple and Cheddar Grilled Cheese
This isn’t just another grilled cheese it’s a flavor explosion you can make in minutes. Here’s why it’s my forever favorite:
- Sweet & savory perfection: The Honeycrisp apples’ natural sugar plays off sharp cheddar like they were made for each other
- Crazy easy: Just 4 ingredients and 15 minutes from skillet to plate
- Texture heaven: Crisp apples, melty cheese, and buttery crunch in every bite
- No fancy skills needed: If you can flip a sandwich, you’ve got this
- Always satisfying: Works for lunch, dinner, or even a grown-up grilled cheese snack attack
Seriously—this sandwich will ruin you for plain old grilled cheese forever. The apple makes it feel special without any extra effort.
Ingredients for Honeycrisp Apple and Cheddar Grilled Cheese
Here’s where the magic starts – with just a handful of simple ingredients that somehow become way more than the sum of their parts. I’ve learned through many test sandwiches that quality really matters here. No need for fancy gourmet stuff, but don’t skimp on these key players:
- 2 slices sourdough bread – About 1/2 inch thick (the slight tang pairs perfectly with the sweet apples)
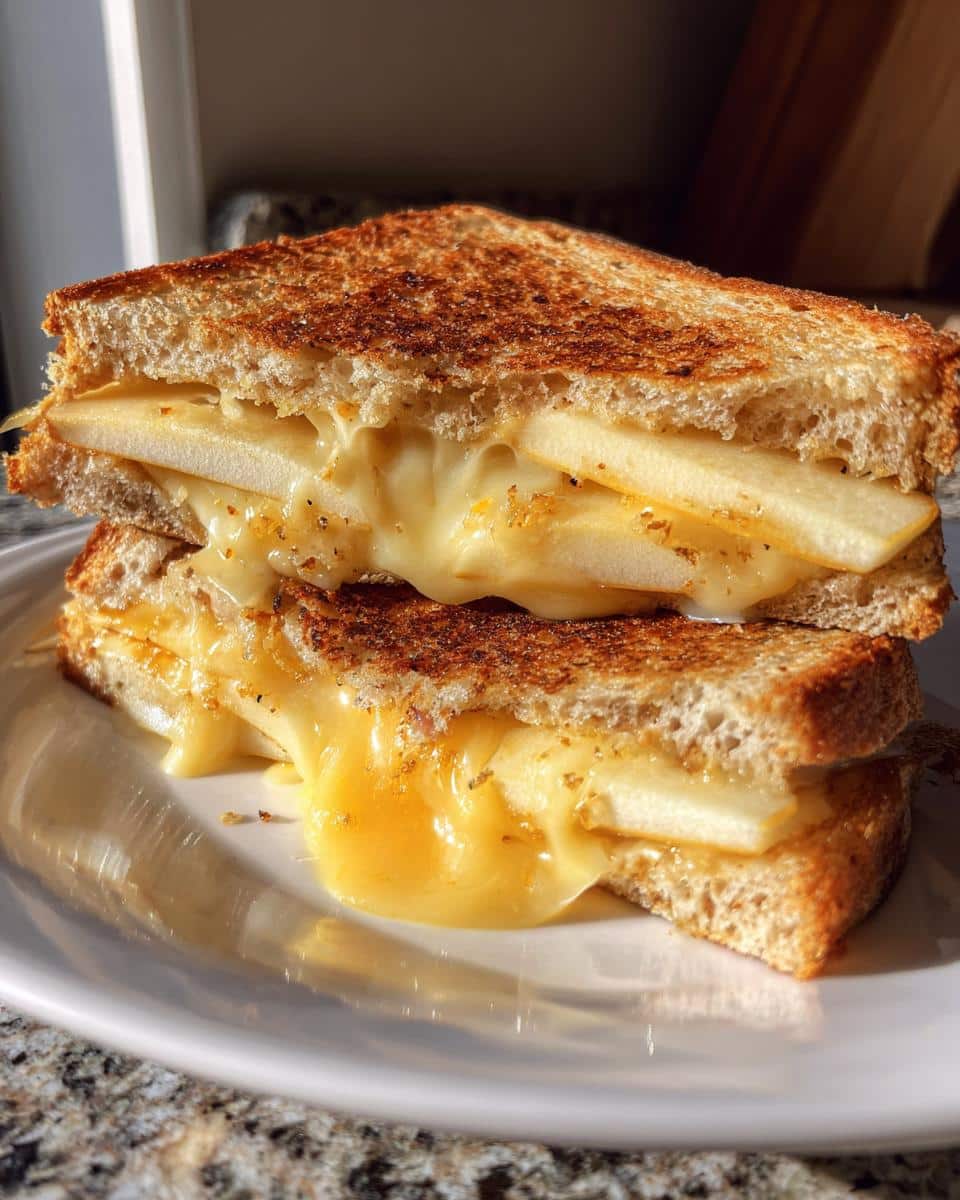
- 1 Honeycrisp apple – Thinly sliced (about 1/8 inch thick – trust me, this thickness gives you crunch without making the sandwich hard to eat)
- 1/2 cup sharp cheddar cheese – Shredded (I always hand-shred block cheese – pre-shredded doesn’t melt as well)
- 1 tablespoon butter – Softened but not melted (this is just enough for golden crispness without greasiness)
Pro tip from my many “oops” moments: Measure your apple slices after cutting, not before. I usually need about half of a medium Honeycrisp apple for one sandwich – but I always cut extra because someone (usually me) ends up snacking on them while cooking!
The butter amount might seem small, but it’s perfect when you’re using a good nonstick or cast iron skillet. Too much butter and your bread gets soggy; too little and it won’t get that beautiful golden crust. I’ve found exactly 1 tablespoon divided between both slices is the sweet spot.
How to Make Honeycrisp Apple and Cheddar Grilled Cheese
Okay, here’s where the magic happens! I’ve made this sandwich so many times I could do it in my sleep, but I’ll walk you through each step to ensure yours turns out just right. The key is patience—don’t rush the process, and you’ll be rewarded with the most perfect grilled cheese of your life.
Step 1: Prepare the Ingredients
First things first: grab your sharpest knife. Those apple slices need to be thin enough to soften slightly when cooked but still give that signature Honeycrisp crunch. I aim for slices about 1/8-inch thick—any thicker and they’ll make your sandwich too tall; any thinner and they’ll disappear into the cheese.
For the cheese, always shred it fresh from the block (I know, I know—it’s tempting to use pre-shredded, but trust me). The anti-caking agents in pre-shredded cheese make it melt weirdly. I like to use the large holes on my box grater—you want those luscious strands that’ll get all gooey and stretchy.
Step 2: Assemble the Sandwich
Now for my favorite part—the building! Lay out your sourdough slices and butter one side of each piece. Not just a quick swipe—really coat it evenly all the way to the edges (this is what gives you that perfect golden crust). Place one slice butter-side down in your cold skillet—yes, cold! We’re doing this right.
Next, sprinkle half your cheese directly onto the bread. The cheese layer acts like glue to hold everything together. Arrange your apple slices in a single layer—don’t overlap them too much or you’ll get uneven melting. Top with the remaining cheese (this top layer helps seal everything in), then place the second bread slice on top, butter-side up. Press down gently—you’re basically hugging all those ingredients together.
Step 3: Cook to Perfection
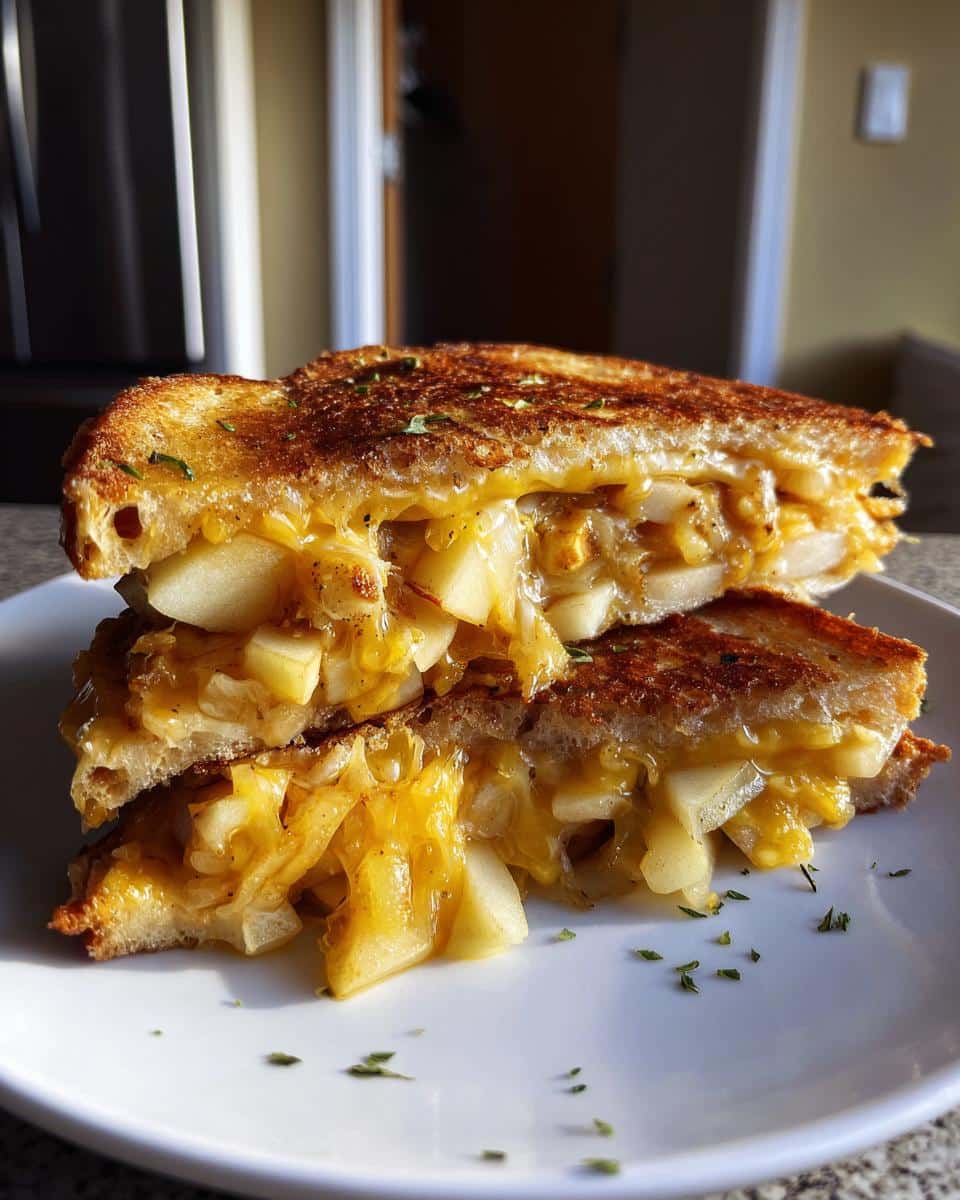
Here’s where most people mess up—they crank the heat too high! Medium heat is your friend here. Turn your burner to medium and let the sandwich cook undisturbed for about 3-4 minutes. You’ll know it’s ready to flip when you see the cheese just starting to melt out the sides (those little golden cheese “laces” are my favorite part).
Now the moment of truth—flip! Slide your spatula under that beauty and confidently turn it over. The second side usually cooks a tiny bit faster—about 2-3 minutes. You’re looking for that perfect golden brown color and listening for the cheese to start singing (that soft sizzle means it’s done). When you press lightly on the top, the sandwich should feel crisp but give slightly from all that melty goodness inside.
Let it rest for just a minute before cutting—I know it’s hard to wait, but this helps the cheese settle so it doesn’t all ooze out when you bite in. Then slice diagonally (because everything tastes better in triangles) and enjoy that first magical bite!

Tips for the Best Honeycrisp Apple and Cheddar Grilled Cheese
After making approximately a zillion of these sandwiches (okay maybe just dozens, but who’s counting?), I’ve picked up some game-changing tricks that take this from good to “oh-my-gosh-I-need-another-one” great. Here are my hard-earned secrets:
Butter at the right temp is everything. I leave mine out for about 20 minutes before cooking – soft enough to spread easily but not so melty it makes the bread soggy. Cold butter rips your bread, and melted butter pools weirdly. That perfect spreadable consistency? Golden crust magic.
That cast iron skillet isn’t just for show. It heats evenly and gives you that ideal crispy-but-not-burned exterior. If you don’t have one, any heavy pan works, but let it preheat properly – about 3 minutes on medium should do it. Test with a drop of water – it should sizzle but not explode violently.
Fresh apples make all the difference. I learned the hard way that apples sliced too early turn brown and lose their crispness. Now I always cut them right before assembling. A quick spritz of lemon juice helps if you must prep ahead, but honestly? Just keep the apple whole until sandwich time.
The pan needs breathing room – don’t crowd it! I tried making two sandwiches at once and ended up with steamed bread instead of crispy. One sandwich per pan gives you perfect heat distribution. If you’re feeding a crowd, keep finished sandwiches warm in a 200°F oven while you cook the others.
And here’s my secret weapon: a lid for the first minute. Just 60 seconds covered at the start helps the cheese begin melting before the bread browns too much. Then remove it to let the bread crisp up beautifully. This little trick prevents the “burnt outside, unmelted inside” tragedy we’ve all experienced.
Variations and Serving Suggestions
One of the best things about this sandwich is how easily you can make it your own! Over the years, I’ve played with so many versions—here are my favorite twists and perfect pairings that turn this quick meal into something extra special:
Mix up your cheeses: While sharp cheddar is my go-to, try Gruyère for a nutty twist or pepper jack if you like some heat. One rainy afternoon I used aged Gouda and oh my—the caramel notes with the apple were incredible. Just remember—good melting cheeses work best.
Add some savory depth: A thin layer of caramelized onions (I keep some frozen for emergencies) takes this to gourmet territory. Crispy bacon? Yes please. Even a smear of grainy mustard on the bread before assembling adds a nice zing.
Play with your apples: While Honeycrisp is perfection, Pink Lady or Fuji work great too in a pinch. For a fun autumnal version, I sometimes toss the apple slices with a pinch of cinnamon before adding to the sandwich just a whisper of spice that makes it feel extra cozy.
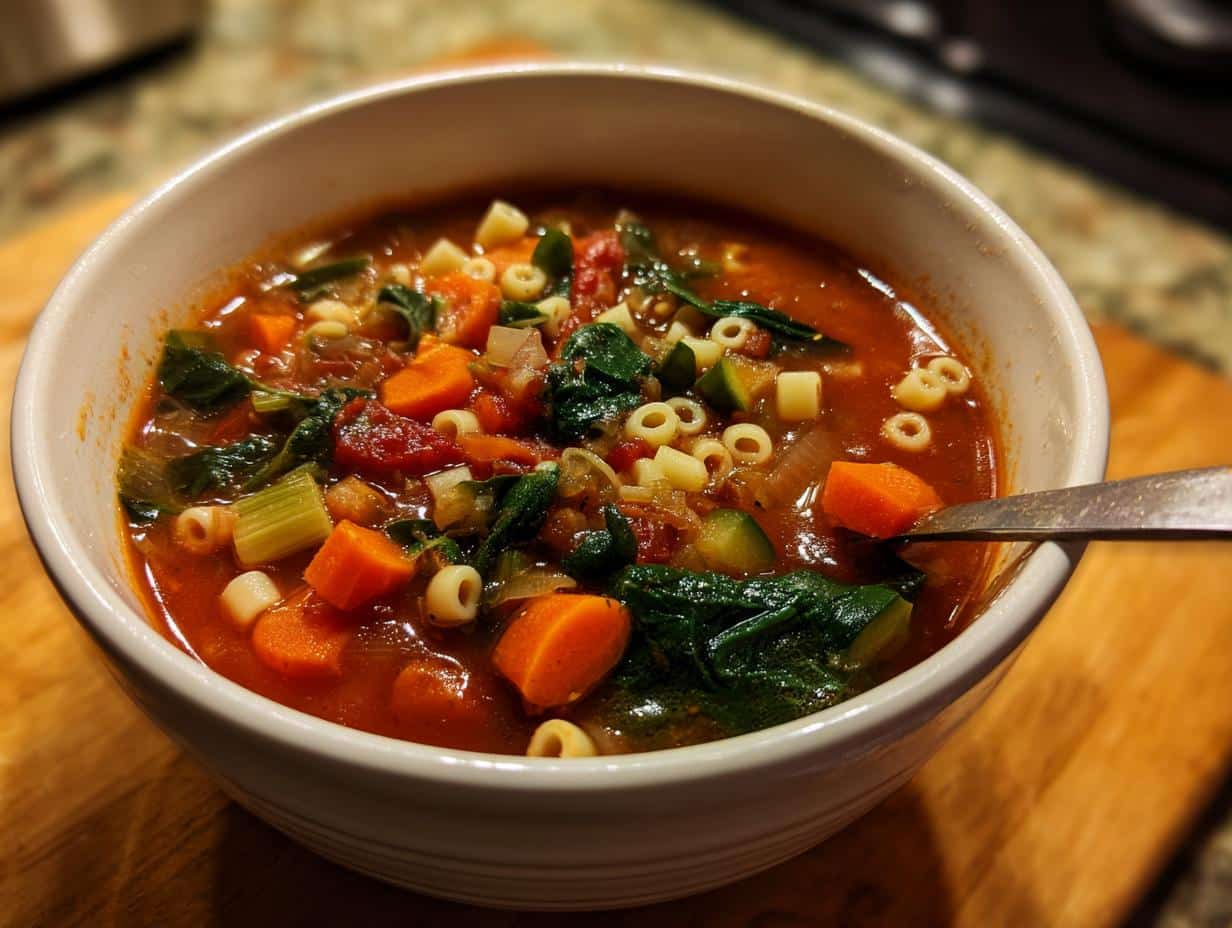
The perfect pairings: For the ultimate comfort meal, serve with a steaming bowl of tomato soup the classic combo we all love. A crisp green apple salad with walnuts and a bright vinaigrette makes a fantastic light side. And if it’s just me? I’ll happily eat two sandwiches and call it dinner!
My most adventurous variation? Adding very thin pear slices with the apples and a drizzle of honey. It sounds fancy but takes maybe 30 extra seconds perfect for when you want to impress but don’t want to actually cook. Whatever version you try, just remember the best grilled cheese is the one that makes you happiest!

Storage and Reheating Instructions
Let’s be real this sandwich is so good, leftovers are rare in my house! But if you somehow end up with extra (or you’re smart enough to make a double batch), here’s how to keep that grilled cheese magic alive:
Short-term storage: Wrap any uneaten sandwiches tightly in foil or place them in an airtight container. They’ll keep at room temperature for about 2 hours perfect for picnics or packed lunches. For longer storage, pop them in the fridge where they’ll stay good for up to 1 day. Any longer and the bread starts getting soggy from the apple’s moisture.
The fridge trick: If I know I’ll want to reheat later, I actually undercook my sandwich slightly just until the bread is golden but the cheese isn’t fully melted. This way when I reheat, everything comes out perfectly instead of overdone.
Reheating like a pro: That microwave is NOT your friend here! To bring back that glorious crispness, reheat in a dry skillet over medium-low heat for 2-3 minutes per side. No extra butter needed the residual butter from cooking will reactivate. The heat gently revives the cheese while crisping the bread back up. It’s almost as good as fresh!
Fun fact: The apples actually soften slightly when reheated, creating a different but delicious texture more like a warm apple pie filling mixed with melted cheese. It’s a happy accident I discovered one lazy Sunday morning when I ate last night’s sandwich for breakfast.
One last tip if your sandwich seems dry when reheating, a quick sprinkle of water in the pan creates steam to help re-melt the cheese without making the bread mushy. Just a teaspoon does the trick you’re not boiling the sandwich, just giving it a little moisture boost!
Nutritional Information
Okay, let’s talk numbers but with the understanding that my kitchen scale might be a little friendlier than yours! This is a rough estimate based on the ingredients I typically use, but your exact nutritional values will vary depending on your bread thickness, cheese brand, apple size, and how generously you butter that bread (no judgment here I’ve been known to add an extra dab).
For one complete sandwich (and let’s be honest who stops at one?), you’re looking at:
- Calories: Around 450
- Protein: 15g (thank you, cheddar!)
- Carbs: 50g (that’s the bread and apple working together)
- Fiber: 5g (sourdough and apple skins for the win!)
- Sugar: 15g (mostly from the natural sugars in our Honeycrisp)
- Fat: 20g (cheese and butter doing their delicious thing)
Now for my nutritionist-approved disclaimer These numbers are estimates based on standard ingredients your mileage may vary. I’m all about balance, so if you’re watching your intake, maybe pair this with a big green salad or save it for your cheat day. Personally? I think the joy factor alone makes it worth every calorie!
Pro tip: If you’re counting macros seriously, weigh your ingredients especially the cheese. I’ve found that “1/2 cup shredded” can range wildly depending on how densely you pack it. And that apple? Medium means different things to different people. My “medium” Honeycrisps are usually about 180g before coring.
Frequently Asked Questions
I’ve gotten so many questions about this sandwich over the years here are the ones that pop up most often with my tried-and-true answers:
Can I use other apple varieties?
Absolutely! While Honeycrisp is my top pick for its perfect balance of sweetness and crunch, Pink Lady, Fuji, or Jazz apples work well too. Just avoid super tart varieties like Granny Smith they compete too much with the cheddar.
How can I make this vegan?
Easy peasy! Just swap in your favorite plant-based cheddar (I like Violife or Daiya) and use vegan butter or olive oil for grilling. The apples stay naturally vegan their crunch is the real star anyway!
Why does my bread get soggy?
Ah, the dreaded sandwich sogginess! My secret? Pat those apple slices dry with a paper towel before assembling just like you would with fresh mozzarella. Also make sure your skillet is properly preheated so the bread starts crisping immediately.
Can I prep ingredients ahead?
You can shred cheese in advance, but slice apples right before cooking they brown quickly. If you must prep ahead, toss apple slices with lemon water and store in an airtight container with a damp paper towel for up to 2 hours.
What’s the best bread alternative?
Sourdough gives perfect structure, but whole grain, brioche, or even rye work beautifully. Just avoid super soft sandwich bread it can’t handle the weight of apples and cheese without collapsing.
For more delicious recipes and baking inspiration, check out our Pinterest page!
Print
Irresistible Honeycrisp Apple and Cheddar Grilled Cheese
- Total Time: 15 minutes
- Yield: 1 sandwich
- Diet: Vegetarian
Description
A delicious grilled cheese sandwich featuring the sweet crunch of Honeycrisp apples and the sharpness of cheddar cheese, perfect for a quick and satisfying meal.
Ingredients
- 2 slices of sourdough bread
- 1 Honeycrisp apple, thinly sliced
- 1/2 cup sharp cheddar cheese, shredded
- 1 tbsp butter
Instructions
- Heat a skillet over medium heat.
- Butter one side of each bread slice.
- Place one slice butter-side down in the skillet.
- Layer with cheese and apple slices.
- Top with the second bread slice, butter-side up.
- Cook until golden brown, then flip and cook the other side.
- Serve hot.
Notes
- Use a cast-iron skillet for even cooking.
- Adjust cheese quantity to taste.
- Prep Time: 5 minutes
- Cook Time: 10 minutes
- Category: Lunch
- Method: Grilling
- Cuisine: American
