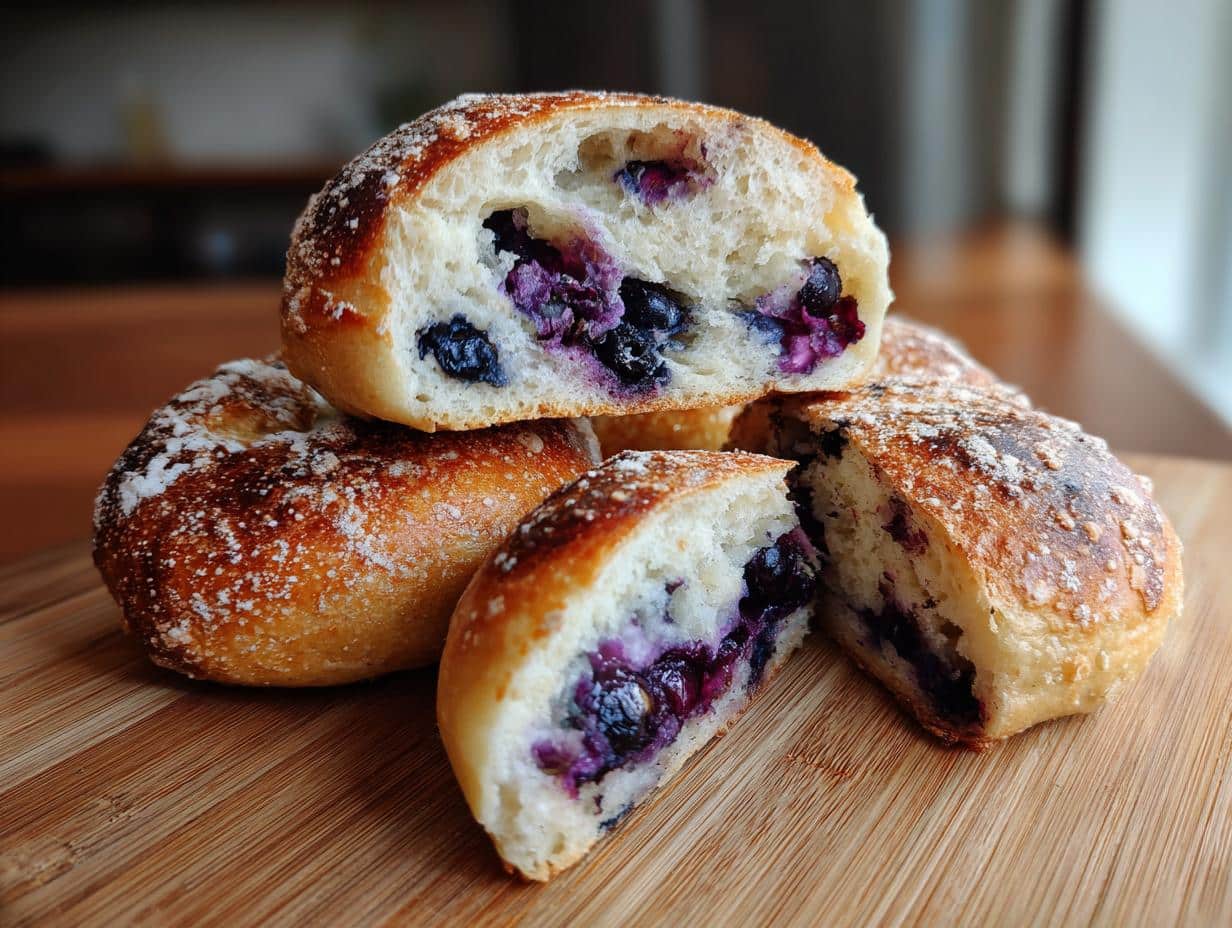
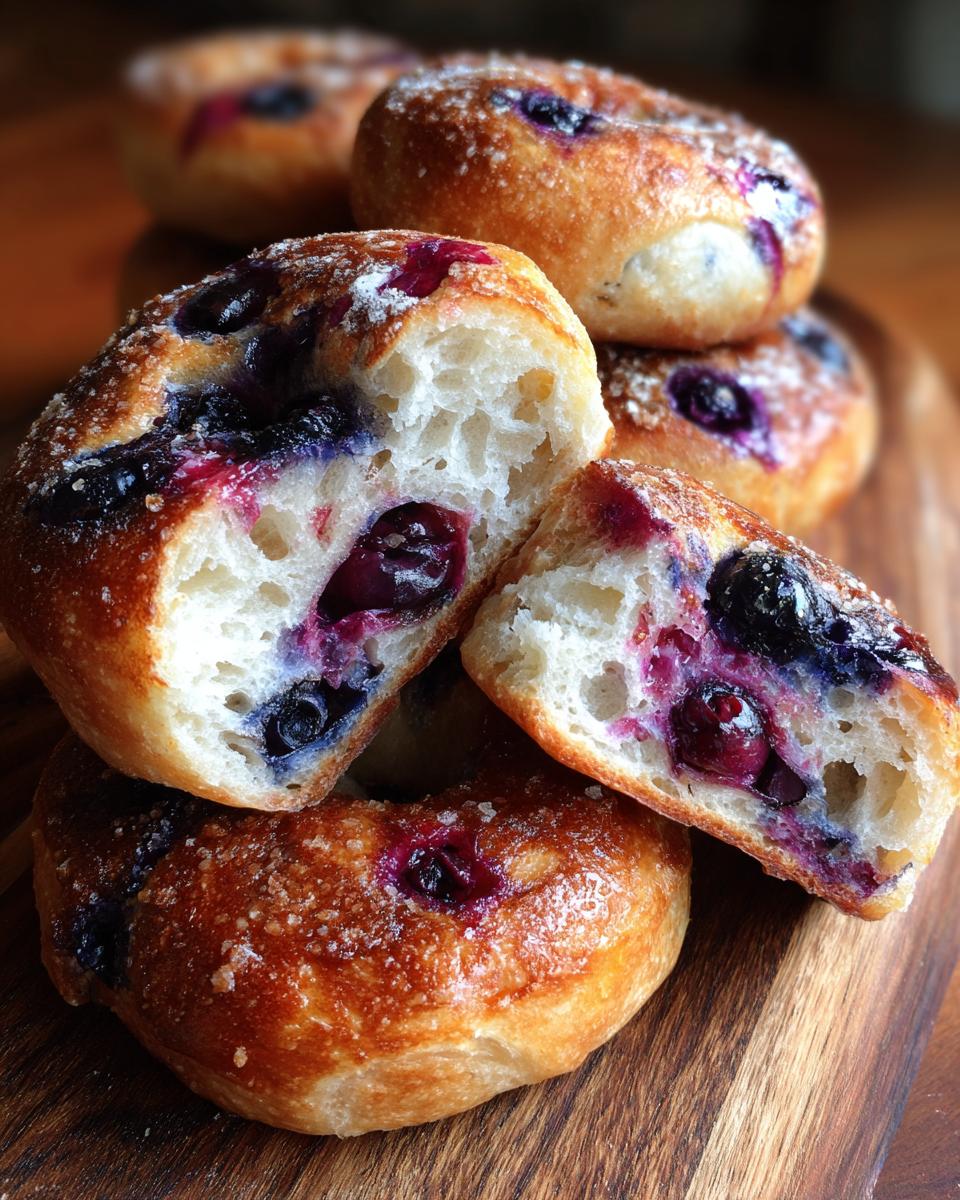
There’s something magical about the smell of fresh bagels wafting through the kitchen on a lazy weekend morning—especially when they’re homemade marbled blueberry bagels. Picture this: a golden-brown crust giving way to a soft, chewy interior dotted with juicy blueberries, their sweet-tart bursts cutting through the dough’s slight tang. These aren’t just any bagels; they’re little works of art, with swirls of purple-blue streaks that make every bite a surprise.
I started making these years ago when my kids begged for “something fun” instead of plain toast. Now, it’s our Saturday ritual—flour dusted on the counter, sticky fingers from kneading, and that proud moment when the marbled dough hits the boiling water. The secret? Fresh blueberries folded in gently, so they bleed just enough to create those gorgeous streaks without turning the whole dough purple. Trust me, once you try these, store-bought bagels will never compare.
Why You’ll Love These Marbled Blueberry Bagels
These aren’t your average bakery bagels—here’s what makes them special:
- Irresistible texture: That perfect balance of crispy crust and chewy center that makes you keep coming back for “just one more bite”
- Bursting with freshness: Real blueberries (none of that artificial stuff!) create pockets of juicy sweetness in every slice
- Easier than you think: No fancy equipment needed—just your hands, a bowl, and about an hour of mostly hands-off time
- Breakfast showstopper: The beautiful purple swirls turn morning toast into something Instagram-worthy
- Customizable: Swap in different berries, add lemon zest, or drizzle with honey—this dough is your canvas
The best part? That moment when you pull them from the oven and the whole kitchen smells like a cozy bakery. Pure weekend magic.
Ingredients for Marbled Blueberry Bagels
Gathering the right ingredients makes all the difference with these beauties. Here’s exactly what you’ll need:
- 3 1/2 cups all-purpose flour (spooned and leveled – no packing!)
- 1 cup warm water (about 110°F – think baby bottle temperature)
- 2 tsp active dry yeast (that little packet is perfect)
- 2 tbsp sugar (for the yeast and just a hint of sweetness)
- 1 tsp salt (yes, measure it – this balances the flavors)
- 1 cup fresh blueberries (please, please not frozen – I’ll explain why)
- 1 tbsp vegetable oil (or melted butter if you’re feeling fancy)
Ingredient Notes & Substitutions
Now for my little baker’s notes: If you must swap, honey works instead of sugar (use equal amount). For gluten-free, try a 1:1 baking flour blend – the texture changes slightly but still tastes amazing. And those blueberries? Frozen ones bleed too much and make soggy dough. If desperate, pat thawed berries completely dry. The biggest trick? Fold those berries in at the very end – just 3-4 gentle turns to create that gorgeous marbling without purple dough!
How to Make Marbled Blueberry Bagels
Alright, let’s get our hands dirty! Making these beauties is easier than you think – just follow these steps:
Step 1: Wake up your yeast
Pour that warm water into a small bowl and sprinkle in the yeast and sugar. Give it a quick stir and walk away for 5 minutes. When you come back, it should look foamy like a tiny science experiment – that means your yeast is alive and ready to work!
Step 2: Make the dough
In your largest mixing bowl, whisk together the flour and salt. Create a little well in the center and pour in the yeasty water and oil. Now get in there with your hands (my favorite part!) and knead for about 8 minutes until the dough feels smooth and elastic – it should bounce back when you poke it.
Step 3: The magic marbling moment
Here’s where the fun begins! Sprinkle your blueberries over the dough and gently fold them in with just 3-4 turns. Resist the urge to overmix – we want those gorgeous purple streaks, not uniform purple dough!
Step 4: Shape your bagels
Divide the dough into 8 equal pieces (I use a bench scraper for this). Roll each piece into a smooth ball, then poke your thumb through the center and stretch it out to about a 2-inch hole. They’ll look comically big now but shrink up perfectly during baking.
Step 5: The rise and boil
Let your shaped bagels rest for 30 minutes while you preheat the oven to 375°F. Then comes the secret step – boiling! Drop them into gently simmering water for 1 minute per side (use a slotted spoon to flip) before transferring to a baking sheet. This gives them that classic chewy texture.
Step 6: Bake to golden perfection
Bake for 20-25 minutes until they’re beautifully golden brown with those irresistible purple streaks peeking through. Your kitchen will smell absolutely heavenly!
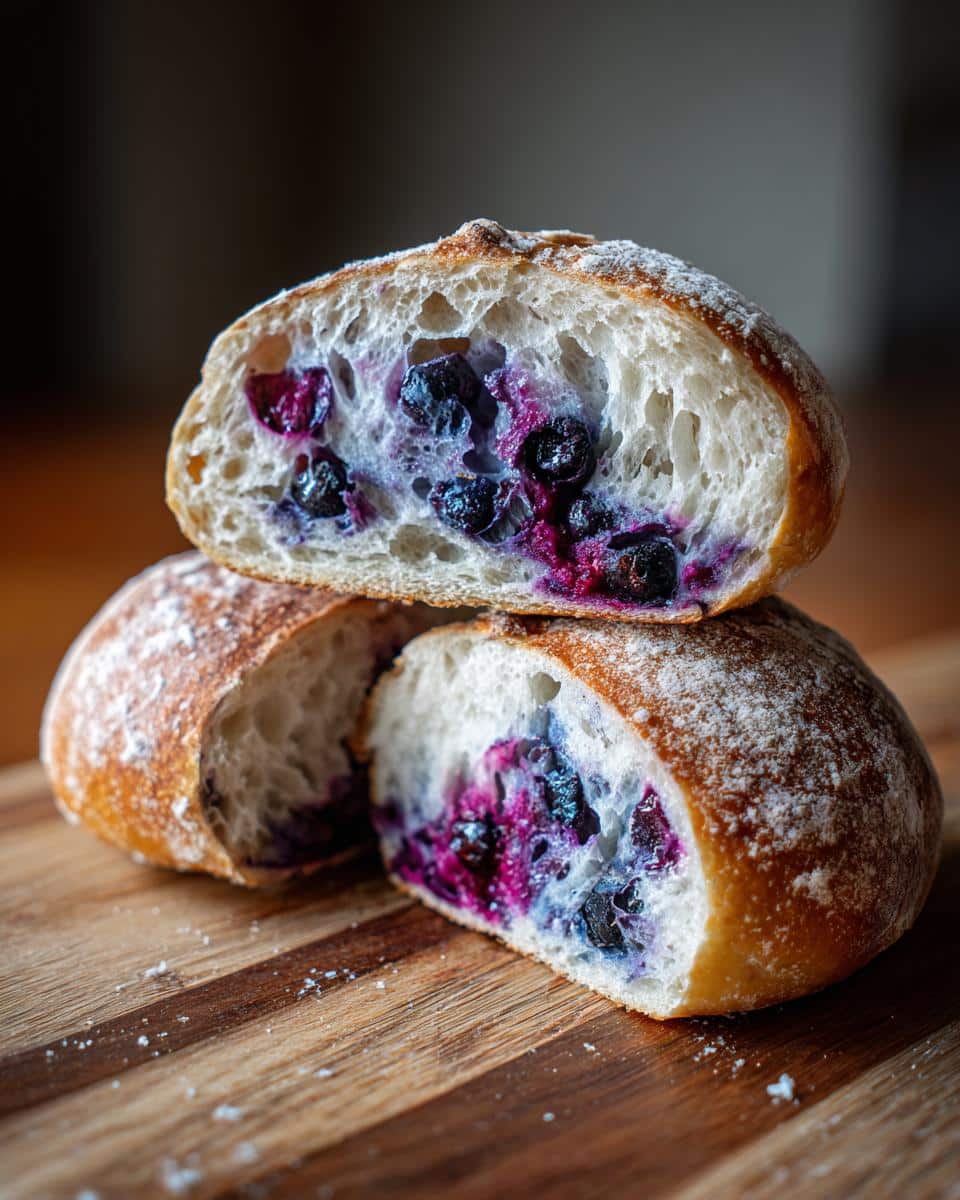
Tips for Perfect Marbling
The key to that Instagram-worthy swirl? Handle the dough gently like you’re tucking in a baby! Overmixing smashes berries and turns everything purple. Your dough should feel soft but not sticky – if it sticks to your hands, dust with just a bit more flour. And always, always use fresh berries – frozen ones bleed too much juice and make soggy dough (learned that the hard way!).
Baking and Serving Marbled Blueberry Bagels
That moment when your marbled blueberry bagels come out of the oven is pure kitchen magic! At 375°F, they’ll bake to perfection in 20-25 minutes – you’ll know they’re ready when they’re golden brown with steam rising and those beautiful purple streaks peeking through the crust. Resist the urge to slice them immediately (I know, it’s hard!) – let them cool on a rack for at least 10 minutes to set the texture.
Now for the best part: serving! My family goes wild for these slightly warm with a schmear of cream cheese that melts into all the nooks and crannies. For an extra treat, try honey walnut cream cheese or cinnamon butter. They’re also amazing toasted the next day – the berries get even jammier and more delicious. Pro tip: slice horizontally with a serrated knife to show off that gorgeous marbling!
Storage and Reheating
These marbled beauties keep beautifully! Store cooled bagels in an airtight container at room temperature for up to 3 days – though let’s be honest, they rarely last that long in my house. For longer storage, wrap individual bagels tightly in plastic and freeze for up to 2 months. When ready to eat, pop them straight in the toaster (no need to thaw!) for that just-baked crispness. Perfect for rushed mornings when you need a homemade breakfast in seconds.
Nutritional Information
Every baker’s ingredients vary slightly, so consider this a general guide rather than an exact measurement. Per marbled blueberry bagel, you’re looking at approximately:
- 210 calories
- 45g carbohydrates
- 5g protein
- 2g fat
- 2g fiber
Remember – the exact numbers will dance a bit depending on your flour brand, blueberry size, and how generous you are with the cream cheese topping!
FAQs About Marbled Blueberry Bagels
Can I use frozen blueberries instead of fresh?
Oh honey, I’ve been there – staring into an empty fridge with only frozen berries on hand. While you can use them in a pinch, thawed frozen berries bleed like crazy and make the dough soggy. If you absolutely must, pat them bone-dry with paper towels first, but fresh berries give that perfect marbled texture without turning your dough purple!
Why do we boil bagels before baking?
This is the magic step! Boiling gives marbled blueberry bagels their signature chewy crust and dense interior. The quick dip in hot water gelatinizes the starches on the surface, creating that irresistible shiny, crisp exterior we all love. Think of it like giving your bagels a spa treatment before their final bake!
My dough didn’t rise much – what went wrong?
Don’t panic! First, check your yeast expiration date (I’ve forgotten this more times than I’d like to admit). Also, make sure your water was warm but not hot – too hot kills the yeast. If your kitchen’s chilly, let the dough rise in a slightly warmed oven (turned off!) with the light on.
Can I make these gluten-free?
Absolutely! Swap the all-purpose flour for a good 1:1 gluten-free blend. The texture changes slightly – they’ll be more tender than chewy – but still delicious. Just be extra gentle when folding in the berries since GF doughs are more fragile.
How do I get more dramatic purple swirls?
Here’s my secret: slightly crush a few berries with your fingers as you fold them in! This releases extra juice in strategic spots. But go easy – we want artistic streaks, not purple pancake batter. The best marbling happens when you stop mixing while there are still visible flour streaks.
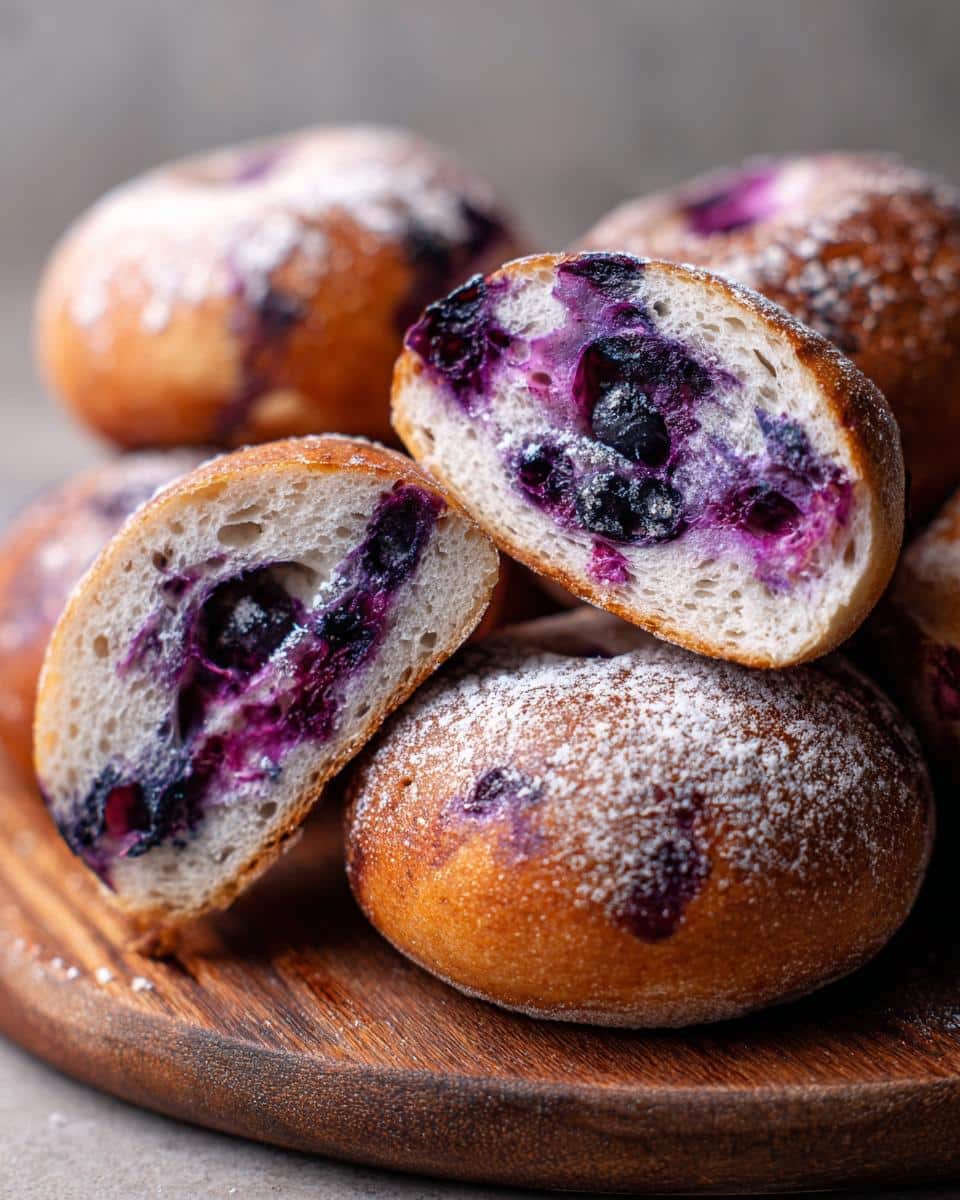

8 Magical Marbled Blueberry Bagels That Will Steal Your Heart
- Total Time: 1 hour 10 minutes
- Yield: 8 bagels
- Diet: Vegetarian
Description
Enjoy homemade marbled blueberry bagels with a perfect mix of sweet and tangy flavors. These bagels are soft, chewy, and packed with fresh blueberries.
Ingredients
- 3 1/2 cups all-purpose flour
- 1 cup warm water
- 2 tsp active dry yeast
- 2 tbsp sugar
- 1 tsp salt
- 1 cup fresh blueberries
- 1 tbsp vegetable oil
Instructions
- Dissolve yeast and sugar in warm water. Let it sit for 5 minutes until frothy.
- Mix flour and salt in a large bowl. Add the yeast mixture and oil. Knead until smooth.
- Gently fold in blueberries to create a marbled effect.
- Shape the dough into bagels and let them rise for 30 minutes.
- Boil each bagel for 1 minute per side, then bake at 375°F for 20-25 minutes until golden.
Notes
- Use fresh blueberries for the best flavor.
- Do not overmix the dough to keep the marbled texture.
- Let the dough rise in a warm place for better results.
- Prep Time: 45 minutes
- Cook Time: 25 minutes
- Category: Breakfast
- Method: Baking
- Cuisine: American
