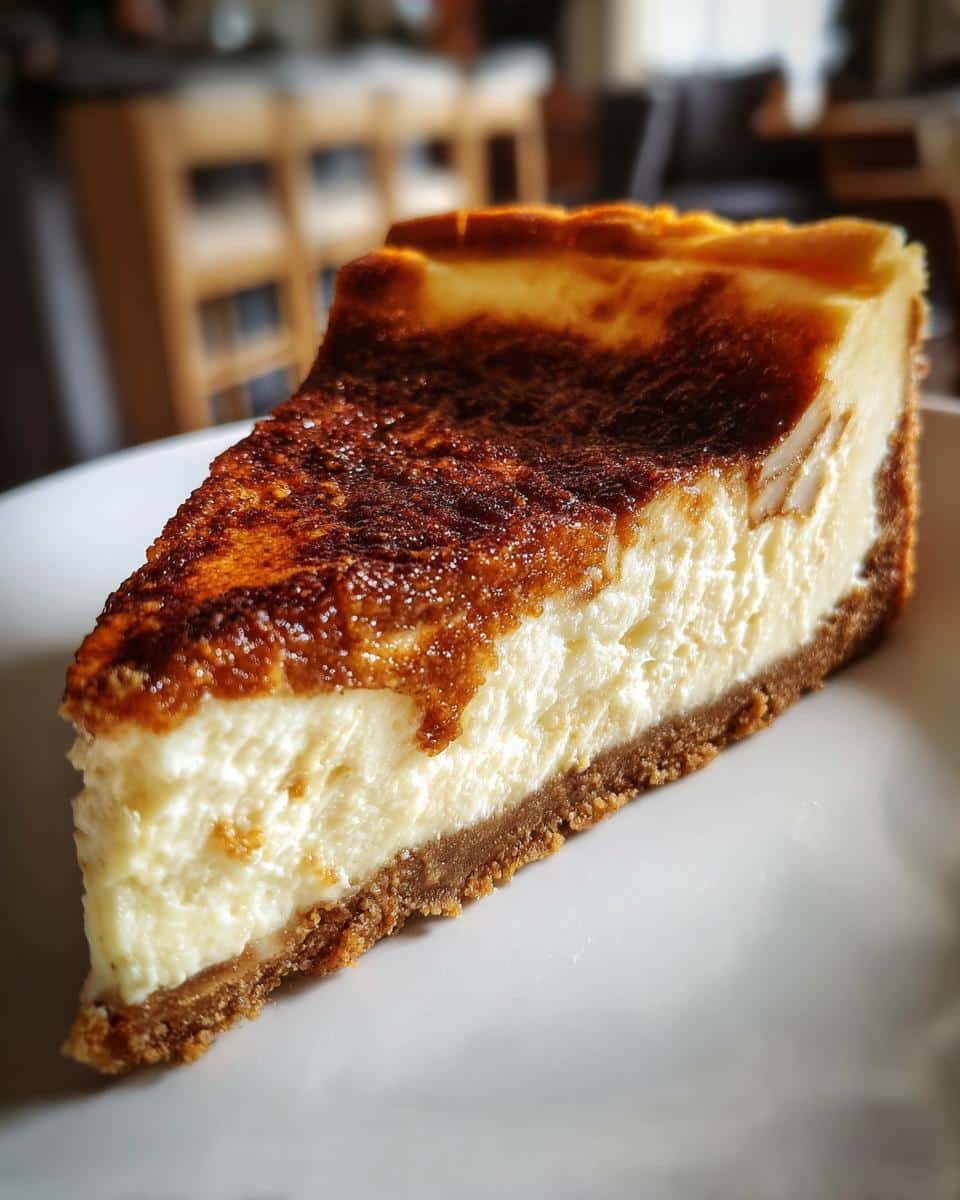
Oh my goodness, let me tell you about my obsession with bite-sized desserts! There’s just something magical about popping a perfect little treat into your mouth without any guilt (okay, maybe just a tiny bit). These Mini Cheesecake Bites became my go-to party lifesaver after I accidentally made them for a potluck last year – now friends beg me to bring them everywhere! They’re ridiculously easy to whip up, yet look so fancy lined up on a platter. Trust me, once you taste that creamy filling paired with the crisp graham cracker crust, you’ll understand why I’m completely hooked on these little delights.
Why You’ll Love These Mini Cheesecake Bites
Let me count the ways these little guys will steal your heart (and your guests’ appetites):
- Party magic: One batch makes 24 perfect two-bite treats – no slicing required!
- Foolproof prep: From mixing bowl to oven in under 20 minutes (I’ve timed it during my chaotic dinner parties).
- Endless creativity: Top with fresh berries, chocolate drizzle, or even a dollop of caramel – they’re like blank canvases for your sweet tooth.
- Crowd pleaser: The creamy texture and buttery crust make these disappear faster than you can say “cheesecake!”
The Simple Ingredients That Make These Mini Cheesecake Bites Shine
Here’s the beautiful part – you probably have most of these ingredients in your kitchen right now! I love recipes that don’t require fancy shopping trips. Let’s break it down:
For that irresistible crust:
- 1 cup graham cracker crumbs – I always use the honey kind for extra flavor
- 2 tbsp sugar – just enough sweetness to balance the tangy filling
- 3 tbsp melted butter – the glue that holds our little crusts together
For the creamy dreamy filling:
- 16 oz cream cheese, softened – this is KEY! Take it out at least an hour before
- 1/2 cup sugar – granulated works perfectly
- 2 eggs – room temperature blends smoother
- 1 tsp vanilla extract – the secret flavor booster
See? Nothing complicated – just good old-fashioned ingredients that work magic together. Now let’s get mixing!
Equipment You’ll Need
Gather these kitchen buddies before you start (I learned this the hard way mid-recipe!):
- Mini muffin pan – the star of our show
- Mixing bowls – one for crust, one for filling
- Electric mixer – or strong arms and a whisk
- Measuring cups/spoons – eyeballing never works with cheesecake!
How to Make Mini Cheesecake Bites
Alright, let’s dive into the fun part – turning these simple ingredients into irresistible mini cheesecake bites! The process is so easy you’ll wonder why you ever bought store-bought versions. Just follow these steps, and you’ll have perfect little cheesecakes popping out of your oven in no time.
Step 1: Prepare the Crust
First things first – preheat your oven to 325°F (165°C). While it’s warming up, grab your graham cracker crumbs, sugar, and melted butter. Mix them together until they look like wet sand – you’ll know it’s right when the mixture holds together when pressed. Now here’s my trick: use a shot glass or the back of a spoon to firmly press about a tablespoon of this mixture into each mini muffin cup. Really pack it down – this keeps our crusts from crumbling when you pop them out later!
Step 2: Make the Cheesecake Filling
Time for the creamy magic! In a large bowl, beat your softened cream cheese until it’s smooth and fluffy – about 1 minute should do it. Gradually add the sugar while mixing, then beat in the eggs one at a time. Finally, mix in that glorious vanilla extract. Here’s where I always tell friends: don’t overmix! Once everything is incorporated and smooth, stop mixing. Overbeating introduces too much air, which can make your mini cheesecakes puff up then collapse.
Step 3: Bake and Chill
Carefully spoon the filling over your crusts, filling each cup about 3/4 full. Slide them into the oven for 15-20 minutes – you’ll know they’re done when the edges are set but the centers still have a slight jiggle. Let them cool completely in the pan before transferring to the fridge (this patience prevents cracks!). Chill for at least 2 hours – I know it’s hard to wait, but trust me, the texture becomes perfect after chilling!

Tips for Perfect Mini Cheesecake Bites
After making countless batches (some more successful than others, oops!), here are my hard-earned secrets for flawless mini cheesecake bites every time:
- Paper liners are lifesavers: I learned this after scraping cheesecake out of pans one too many times – they pop right out with liners!
- Room temp is non-negotiable: Cold cream cheese = lumpy filling. I leave mine out at least 2 hours before baking.
- The jiggle test: Pull them when centers wiggle like jelly – they’ll firm up perfectly while cooling.
- Toppings can wait: Add fresh berries or sauces just before serving so your crust stays crisp.
Variations for Mini Cheesecake Bites
One of my favorite things about these little cheesecakes is how easily you can dress them up! Here are some fun twists I’ve tried (and loved):
- Oreo crust: Swap graham crackers for crushed Oreos – the black-and-white look is stunning!
- Zesty lemon: Add 1 tbsp lemon zest to the filling for a bright, fresh flavor.
- Chocolate lovers: Mix 1/4 cup cocoa powder into the filling and top with chocolate shavings.
- Salted caramel: Drizzle with warm caramel sauce and a pinch of sea salt before serving.

Serving and Storage
These mini cheesecake bites are best served chilled – I usually pop them out of the fridge right before my guests arrive. Store any leftovers (if there are any!) in an airtight container in the fridge for up to 5 days. They also freeze beautifully – just wrap them individually in plastic wrap and store in a freezer bag for up to 2 months. Thaw in the fridge overnight when you’re ready to enjoy them again! For more dessert inspiration, check out these delicious dessert recipes.
Mini Cheesecake Bites Nutrition Info
Just so you know, these are estimates per mini cheesecake bite (because let’s be real, who stops at just one?): 120 calories, 8g sugar, 8g fat. Indulge wisely, my friend!
FAQ About Mini Cheesecake Bites
I’ve gotten so many questions about these little treats over the years – here are the answers to what everyone wants to know:
Can I use a different crust?
Absolutely! Oreo crumbs make a delicious chocolatey base, or try crushed shortbread cookies for a buttery twist. Just keep the same 1:1 ratio of crumbs to melted butter.
Why did my cheesecakes crack?
Don’t panic! Cracks usually mean they baked too long or you overmixed the batter. Next time, pull them when the centers still jiggle slightly. For more baking tips, you can consult King Arthur Baking’s ingredient substitution guide.
Can I freeze them?
Yes! These freeze beautifully for up to 2 months. Just wrap them individually in plastic wrap before freezing – they’ll thaw perfectly in the fridge overnight. Learn more about how to freeze cheesecake.
How do I know when they’re done baking?
Watch for set edges with slightly wobbly centers – about 18 minutes in my oven. They’ll firm up as they cool, promise!
Share Your Mini Cheesecake Bites
I’d love to see your creations! Snap a pic of your mini cheesecake bites and tag me – nothing makes me happier than seeing your kitchen successes. And if you loved this recipe as much as I do, leave a star rating to help other bakers find it too!
Print
24 Irresistible Mini Cheesecake Bites Everyone Craves
- Total Time: 35 minutes
- Yield: 24 mini cheesecakes
- Diet: Vegetarian
Description
Easy-to-make mini cheesecake bites perfect for parties or snacks.
Ingredients
- 1 cup graham cracker crumbs
- 2 tbsp sugar
- 3 tbsp melted butter
- 16 oz cream cheese, softened
- 1/2 cup sugar
- 2 eggs
- 1 tsp vanilla extract
Instructions
- Preheat oven to 325°F (165°C).
- Mix graham cracker crumbs, 2 tbsp sugar, and melted butter. Press into mini muffin cups.
- Beat cream cheese, 1/2 cup sugar, eggs, and vanilla until smooth.
- Spoon filling over crusts.
- Bake for 15-20 minutes.
- Chill before serving.
Notes
- Use paper liners for easy removal.
- Top with fruit or chocolate if desired.
- Prep Time: 15 minutes
- Cook Time: 20 minutes
- Category: Dessert
- Method: Baking
- Cuisine: American