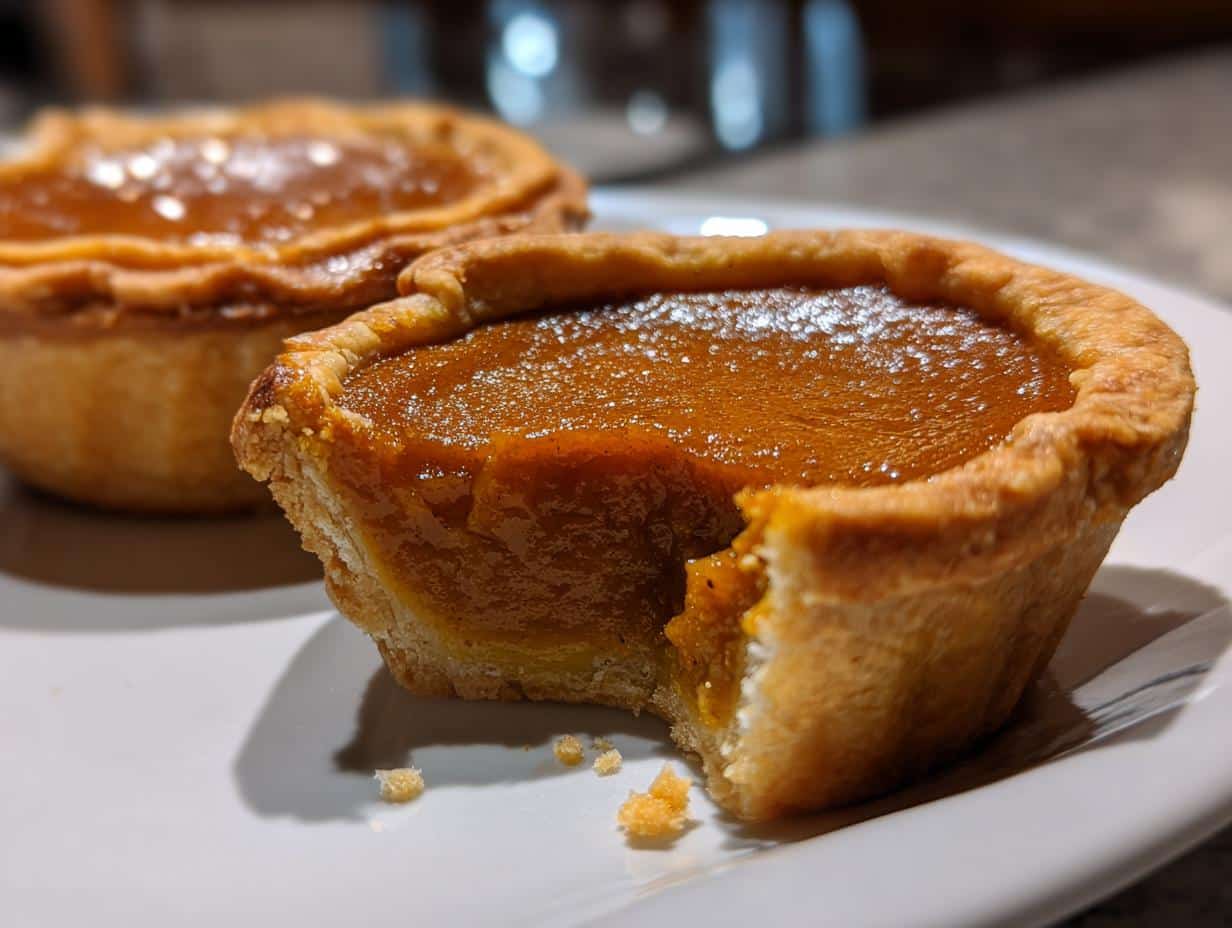
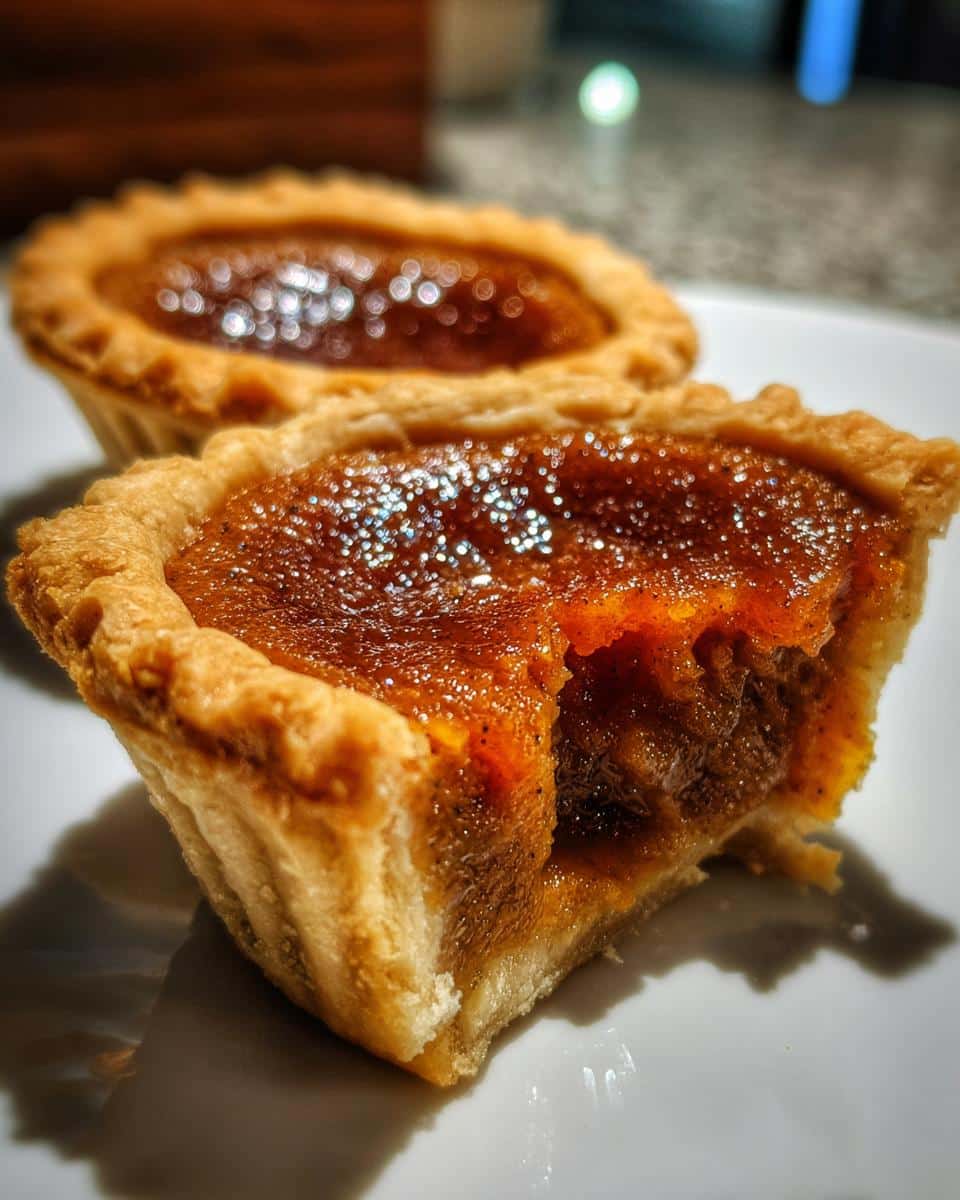
There’s something magical about mini pumpkin pies—they’re like little bites of autumn, wrapped in a flaky crust and filled with that creamy, spiced pumpkin goodness we all crave. I first fell in love with these tiny treats when my aunt brought them to Thanksgiving years ago, and now they’re my go-to for holiday parties, potlucks, or even just a cozy night in. They’re so much easier to serve than a whole pie (no slicing drama!), and let’s be honest—everyone loves having their own personal dessert. Plus, that warm cinnamon-nutmeg aroma filling your kitchen? Absolute heaven.
Why You’ll Love These Mini Pumpkin Pies
These adorable mini pumpkin pies are about to become your new obsession—here’s why:
- Perfect portions: No guilt here! Each little pie is just the right size for satisfying your sweet tooth without overdoing it.
- Fast and festive: Ready in under 30 minutes—way quicker than a whole pie—but still packed with all that classic holiday flavor.
- Crowd favorite: Seriously, I’ve never brought these to a gathering without someone begging for the recipe.
- Super cute factor: Their miniature size makes them irresistible (and Instagram-worthy). Bonus: no messy slicing!
Trust me, once you try these, you’ll never go back to regular pumpkin pie again!
Ingredients for Mini Pumpkin Pies
Here’s everything you’ll need for the best mini pumpkin pies—I’ve learned the hard way that ingredient quality makes ALL the difference!
- 1 pie crust – My secret? I use store-bought when I’m short on time (nobody will know!), but homemade is extra special
- 1 cup pumpkin puree – Must be pure pumpkin, NOT pie filling (trust me, I made that mistake once—way too sweet!)
- 1/2 cup packed brown sugar – Pack it tight like you mean it—this gives that deep caramel flavor
- 1/4 cup granulated sugar – The perfect balance with the brown sugar
- 1 large egg – Room temperature blends way easier
- 1/2 tsp cinnamon + 1/4 tsp each ginger & nutmeg – My grandma’s perfect spice ratio
- 1/4 tsp salt – Just enough to make all the flavors pop
- 1/2 cup evaporated milk – The magic ingredient for ultra-creamy texture
Pro tip: I always make extra filling—it’s delicious stirred into oatmeal the next morning!
How to Make Mini Pumpkin Pies
Making these adorable mini pumpkin pies is easier than you think—just follow these simple steps for perfect results every time. I’ve learned a few tricks over the years that make all the difference!
Preparing the Crust
First, roll out your pie dough to about 1/8-inch thickness (just slightly thicker than a coin). I use a 3-inch round cookie cutter to make perfect circles—but a drinking glass works in a pinch! Gently press each circle into a greased muffin tin, making sure to push it up the sides. If the dough gets too soft, pop it in the fridge for 10 minutes—this prevents shrinking during baking.
Mixing the Filling
In a large bowl, whisk together the pumpkin puree and sugars until smooth. Beat in the egg, then add all those warm spices—that cinnamon-ginger-nutmeg combo smells like heaven! Slowly stir in the evaporated milk until everything is beautifully blended but not overmixed (you want it silky, not bubbly). The filling should pour easily off a spoon.
Baking and Cooling
Fill each crust nearly to the top—they puff up less than you’d expect. Bake at 350°F on the middle rack for 25-30 minutes. They’re done when the edges are golden and the centers look set but still have a slight jiggle (they’ll firm up as they cool). Let them rest in the tin for 10 minutes before transferring to a rack—this patience prevents crumbly disasters!
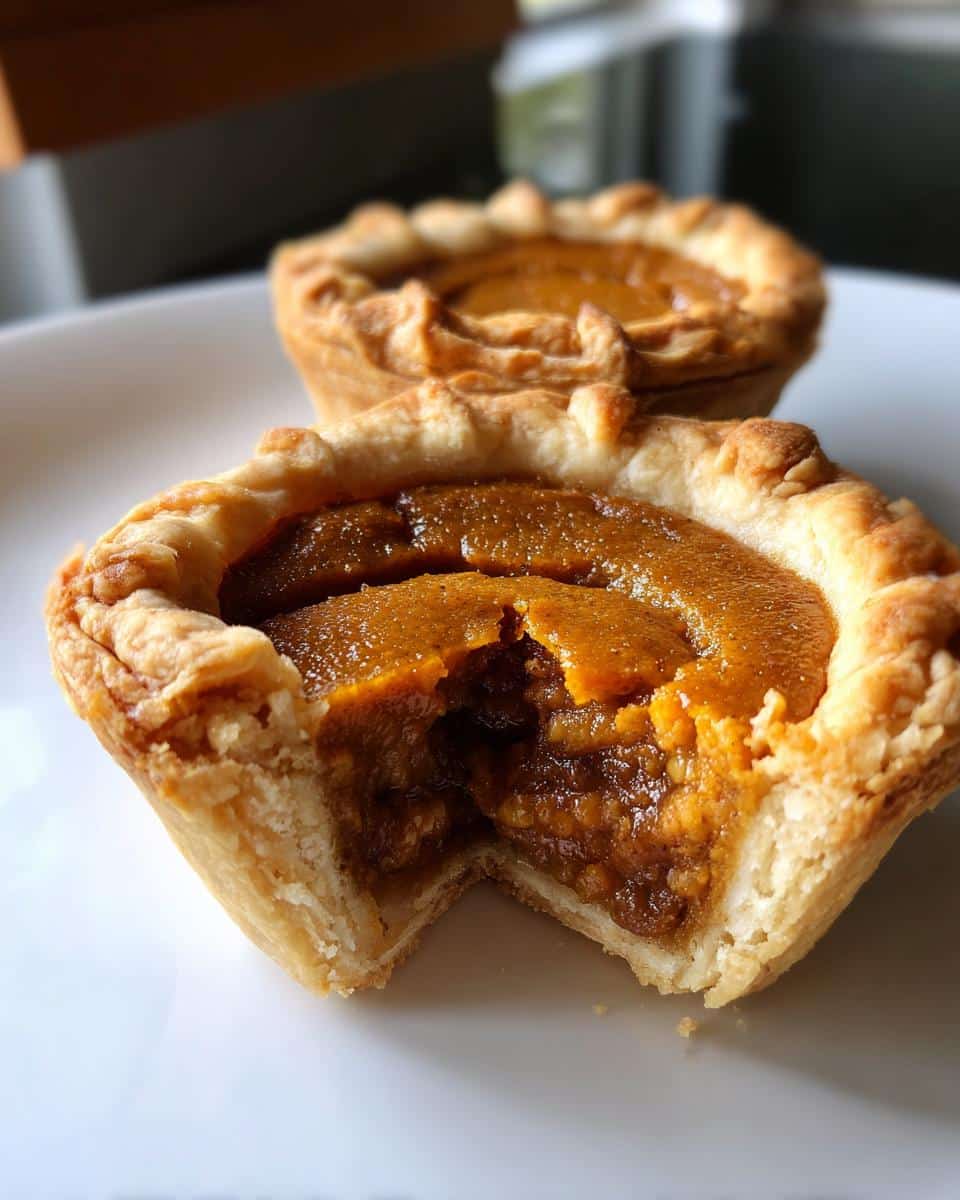
Pro tip: If your crust starts browning too fast, tent the pies with foil during the last 10 minutes. And resist the urge to overbake—nobody likes dry pumpkin pie!
Tips for Perfect Mini Pumpkin Pies
After making dozens (okay, maybe hundreds) of these mini pumpkin pies, I’ve picked up some foolproof tricks that’ll guarantee bakery-worthy results every time:
- Chill before baking: Pop the crust-filled muffin tin in the fridge for 15 minutes before adding filling—this prevents shrinkage and gives you those crisp, flaky edges we all love.
- Room temp ingredients: That egg and evaporated milk should be warmed up to take the chill off—they blend way smoother into the pumpkin mixture.
- Bubble patrol: Gently tap the filled tin on the counter before baking to release any sneaky air bubbles that cause cracks.
- The jiggle test: Pull them out when the centers still wobble slightly—they’ll set perfectly as they cool (overbaking makes them dry).
- Crust shield: If edges brown too fast, make a foil “ring” to cover just the crust during the last 10 minutes.
Follow these and you’ll be the pumpkin pie hero at your next gathering—promise!
Mini Pumpkin Pies Variations
Want to mix things up? Here are my favorite twists on classic mini pumpkin pies:
- Graham cracker crust: Swap pie dough for crushed grahams mixed with butter—so easy and adds a toasty flavor!
- Dairy-free magic: Use coconut milk instead of evaporated milk for a luscious vegan version (bonus tropical flavor).
- Crunchy surprise: Stir chopped pecans or walnuts into the filling or sprinkle on top before baking.
- Spice it up: Add a pinch of cardamom or allspice for extra warmth.
The possibilities are endless—have fun experimenting!
Serving and Storing Mini Pumpkin Pies
These little gems taste incredible warm or at room temp—just don’t skip the dollop of fresh whipped cream on top! My family loves them with a sprinkle of cinnamon or grated nutmeg for extra flair. For storage, keep them in an airtight container in the fridge for up to 3 days. They freeze beautifully too—just wrap individually and they’ll keep for a month. To reheat, pop them in a 300°F oven for 5 minutes and they’ll taste freshly baked all over again!
Mini Pumpkin Pies FAQs
I get asked these questions ALL the time—here are my tried-and-true answers for perfect mini pumpkin pies every time:
Can I use fresh pumpkin?
Absolutely! Just roast and puree it first, then drain excess liquid in a cheesecloth-lined sieve for an hour. My grandma swore by sugar pumpkins—they’re sweeter and less watery than carving pumpkins.
Can I make these ahead?
Yes! Bake and freeze them (unfrosted) for up to a month. Thaw overnight in the fridge, then warm slightly before serving. They’re lifesavers during busy holidays!
How do I prevent soggy crust?
Two tricks: pre-bake empty crusts at 350°F for 5 minutes (cool before filling), or brush unbaked crusts with egg wash—it creates a moisture barrier. Works like magic!
Nutritional Information
Here’s the scoop on what’s in these tasty mini pumpkin pies—just remember these numbers can change depending on your exact ingredients. One perfect little pie contains:
- 150 calories
- 12g sugar (that holiday sweetness we crave!)
- 2g protein
- 6g fat (mostly from that buttery crust)
Tag us on social if you try this recipe—we’d love to see your creations! You can find more delicious recipes on our Pinterest page.

30-Minute Mini Pumpkin Pies – Absolute Perfection You Must Try
- Total Time: 40 minutes
- Yield: 12 mini pies
- Diet: Vegetarian
Description
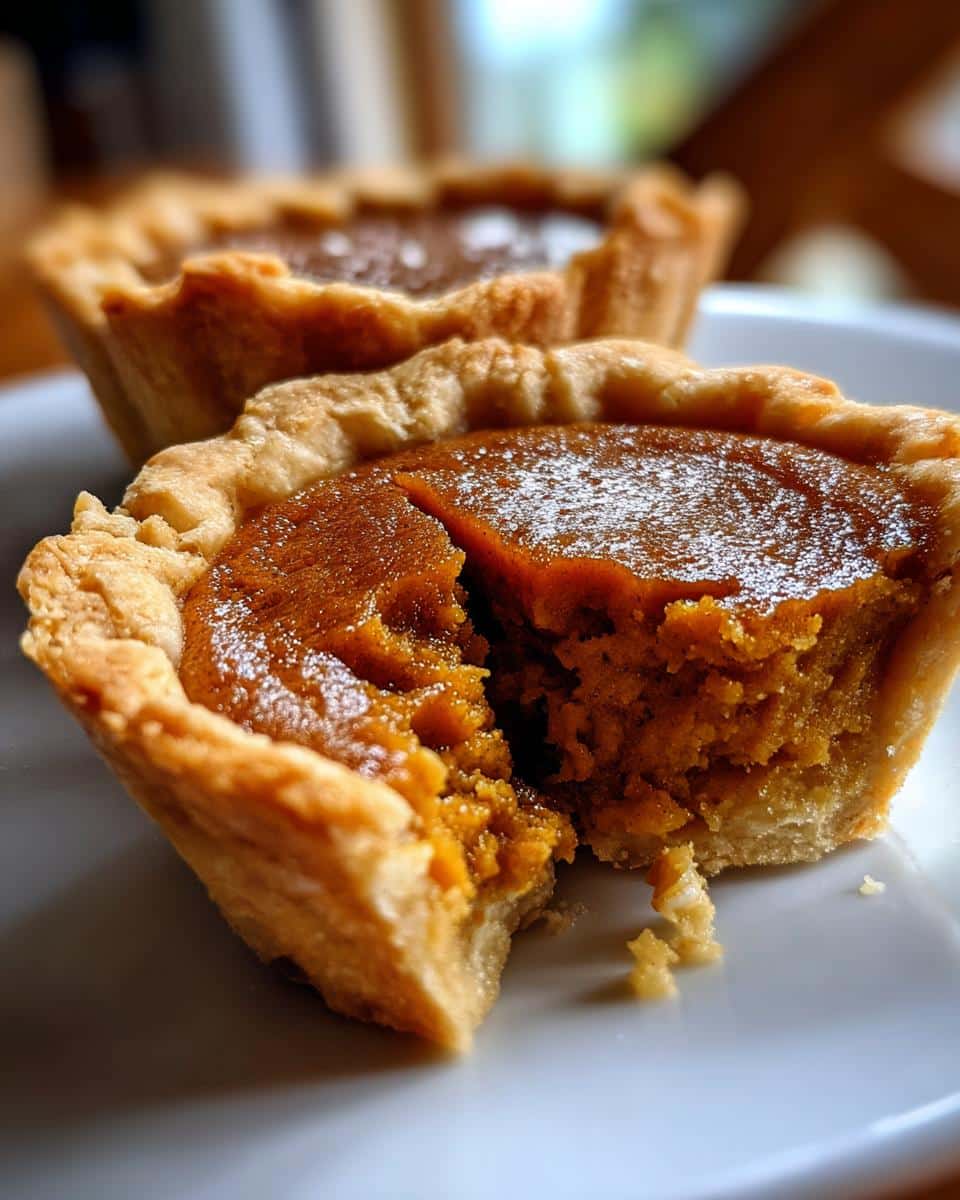
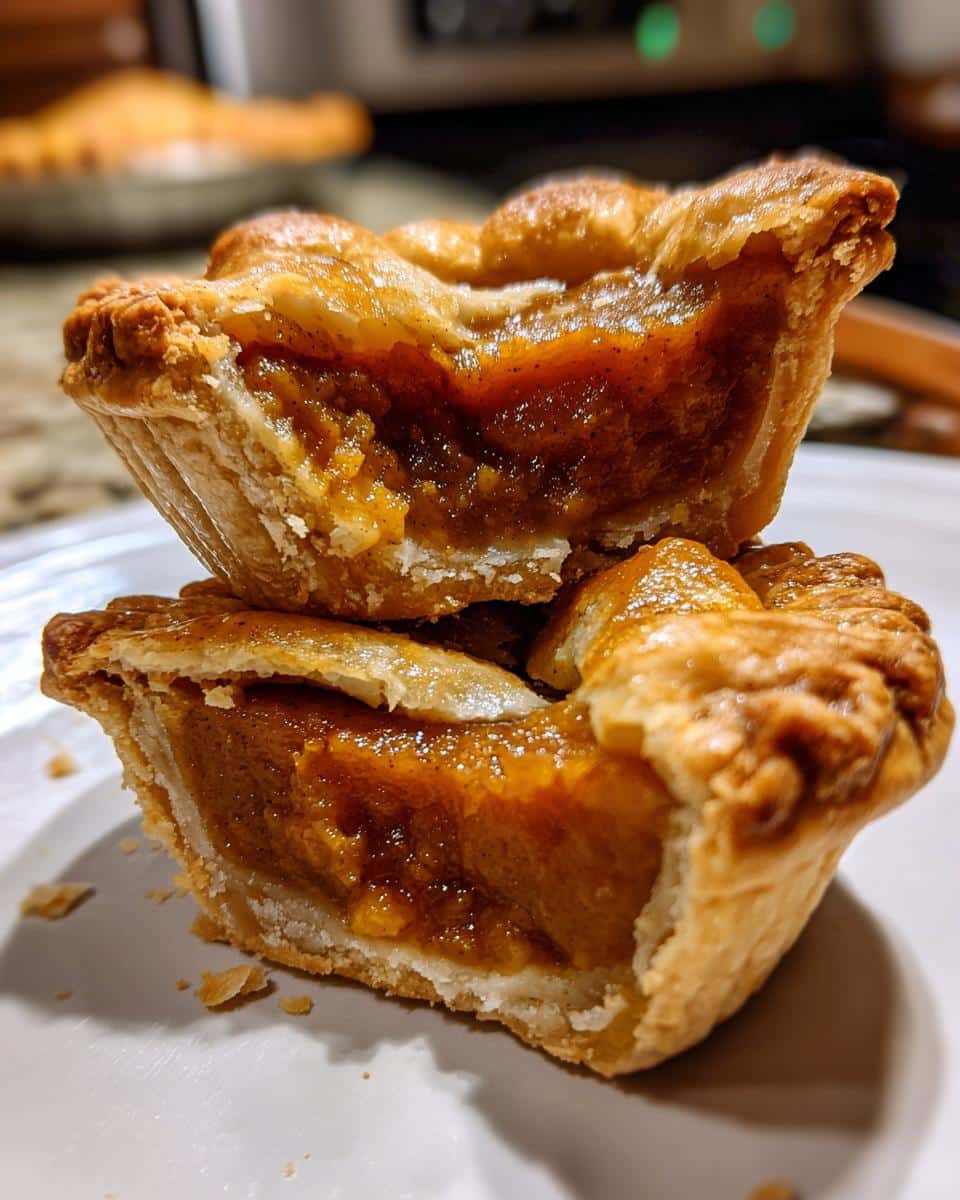
Mini pumpkin pies are perfect for individual servings. They have a flaky crust and a smooth, spiced pumpkin filling.
Ingredients
- 1 pie crust (store-bought or homemade)
- 1 cup pumpkin puree
- 1/2 cup brown sugar
- 1/4 cup granulated sugar
- 1 egg
- 1/2 teaspoon cinnamon
- 1/4 teaspoon ginger
- 1/4 teaspoon nutmeg
- 1/4 teaspoon salt
- 1/2 cup evaporated milk
Instructions
- Preheat oven to 350°F (175°C).
- Roll out pie crust and cut into small circles to fit a muffin tin.
- Press crust circles into muffin tin cups.
- In a bowl, mix pumpkin puree, sugars, egg, spices, and salt.
- Stir in evaporated milk until smooth.
- Fill each crust with pumpkin mixture.
- Bake for 25-30 minutes or until set.
- Cool before serving.
Notes
- Use a mini muffin tin for bite-sized pies.
- Chill dough before rolling for easier handling.
- Top with whipped cream if desired.
- Prep Time: 15 minutes
- Cook Time: 25 minutes
- Category: Dessert
- Method: Baking
- Cuisine: American
