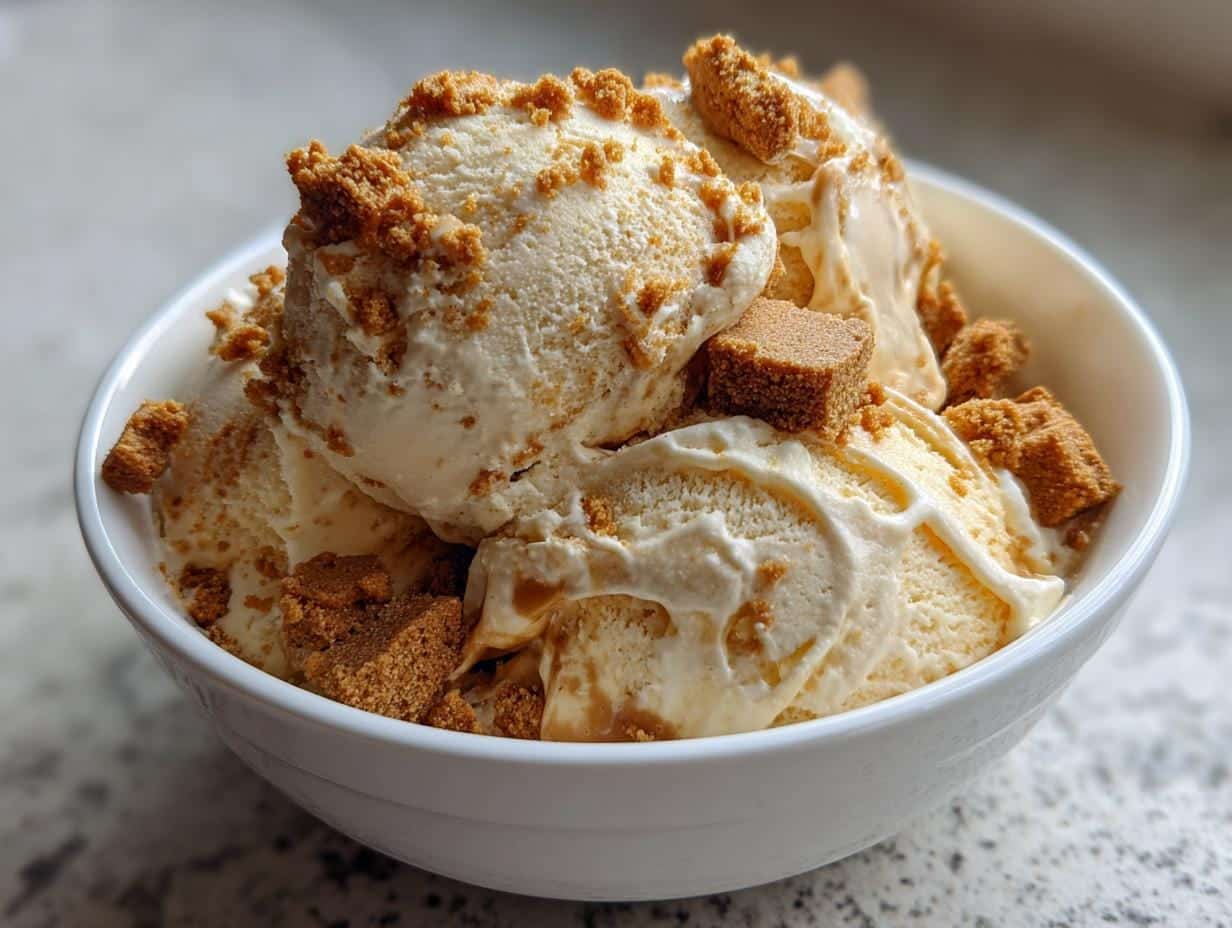
I’ll never forget the first time I made this no-churn Biscoff ice cream—it was a desperate attempt to satisfy a late-night craving, and wow, did it deliver! No fancy machine, no endless churning, just a handful of ingredients whipped into the creamiest, dreamiest dessert you can imagine. The magic? Sweetened condensed milk and Biscoff cookies, which turn into a caramel-spiced wonder with zero effort. It’s become my go-to for impromptu dinner parties (and, okay, solo spoonfuls straight from the freezer). Trust me, once you taste that rich, cookie-studded texture, you’ll never go back to store-bought.
Table of Contents
Why You’ll Love This No-Churn Biscoff Ice Cream
This recipe is my ultimate dessert hack—here’s why it’s about to become your favorite too:
- No fancy equipment needed: Forget about ice cream makers! All you need is a bowl, a whisk (or electric mixer), and your freezer. Seriously, that’s it.
- That irresistible Biscoff magic: The caramelized, spiced cookie flavor permeates every creamy bite. The crushed cookies add this amazing texture that’ll make you swoon.
- Ready in just 6 hours: Mix it up in 15 minutes, pop it in the freezer, and by dinner time you’ve got homemade ice cream that tastes like you spent all day on it.
- Endless ways to customize: Swirl in extra cookie butter, top with chocolate sauce, or mix in toasted nuts—it’s your perfect dessert canvas.
The best part? You probably have most of the ingredients in your kitchen right now. That’s dangerous knowledge, my friend.
Ingredients for No-Churn Biscoff Ice Cream
Here’s what you’ll need to make this ridiculously easy ice cream – I promise, every ingredient pulls its weight:
- 2 cups heavy cream, chilled: Don’t even think about using anything less than full-fat here – it’s what gives that luscious, scoopable texture. Pro tip: Chill your mixing bowl too for better whipping.
- 1 can (14 oz) sweetened condensed milk: The secret weapon that makes no-churn ice cream possible. That thick, syrupy sweetness is what prevents ice crystals from forming.
- 1 tsp vanilla extract: Just a splash to round out the flavors – pure vanilla makes all the difference compared to imitation.
- 1 cup crushed Biscoff cookies: Measure after crushing! I like some bigger chunks (about pea-sized) for texture, but go finer if you prefer.
- 1/4 cup Biscoff cookie butter (optional but amazing): For those gorgeous caramelized swirls that’ll make your ice cream look bakery-worthy.
Dairy-free? You can swap the heavy cream for full-fat coconut milk (chilled overnight) and use coconut condensed milk. The texture won’t be quite as creamy, but the Biscoff flavor still shines through beautifully.
How to Make No-Churn Biscoff Ice Cream
Okay, let’s get mixing! This foolproof process is easier than you think—I’ve made it dozens of times, and here’s exactly how I get perfect results every single time:
- Whip it good: Pour your chilled heavy cream into a cold mixing bowl and beat on medium-high until stiff peaks form. You’ll know it’s ready when the cream holds its shape when you lift the whisk (about 3-4 minutes with a hand mixer). Don’t overdo it or you’ll get butter!
- The sweet embrace: Gently fold in the sweetened condensed milk and vanilla extract using a rubber spatula. I go slow here—about 15-20 folds—to keep all that lovely air in the whipped cream. The mixture should look like fluffy clouds.
- Cookie time: Sprinkle in the crushed Biscoff cookies and fold just until combined. Some streaks are fine! You want pockets of cookie goodness throughout.
- Swirl magic (optional but glorious): If using cookie butter, dollop spoonfuls over the top, then drag a knife through to create ribbons. Don’t mix completely—those caramel swirls should peek through when scooped.
- Freeze like you mean it: Transfer to a loaf pan lined with parchment paper (easy removal later!) and smooth the top. Cover tightly with plastic wrap pressed directly on the surface to prevent ice crystals. Freeze for at least 6 hours, but overnight is ideal for ultimate creaminess.
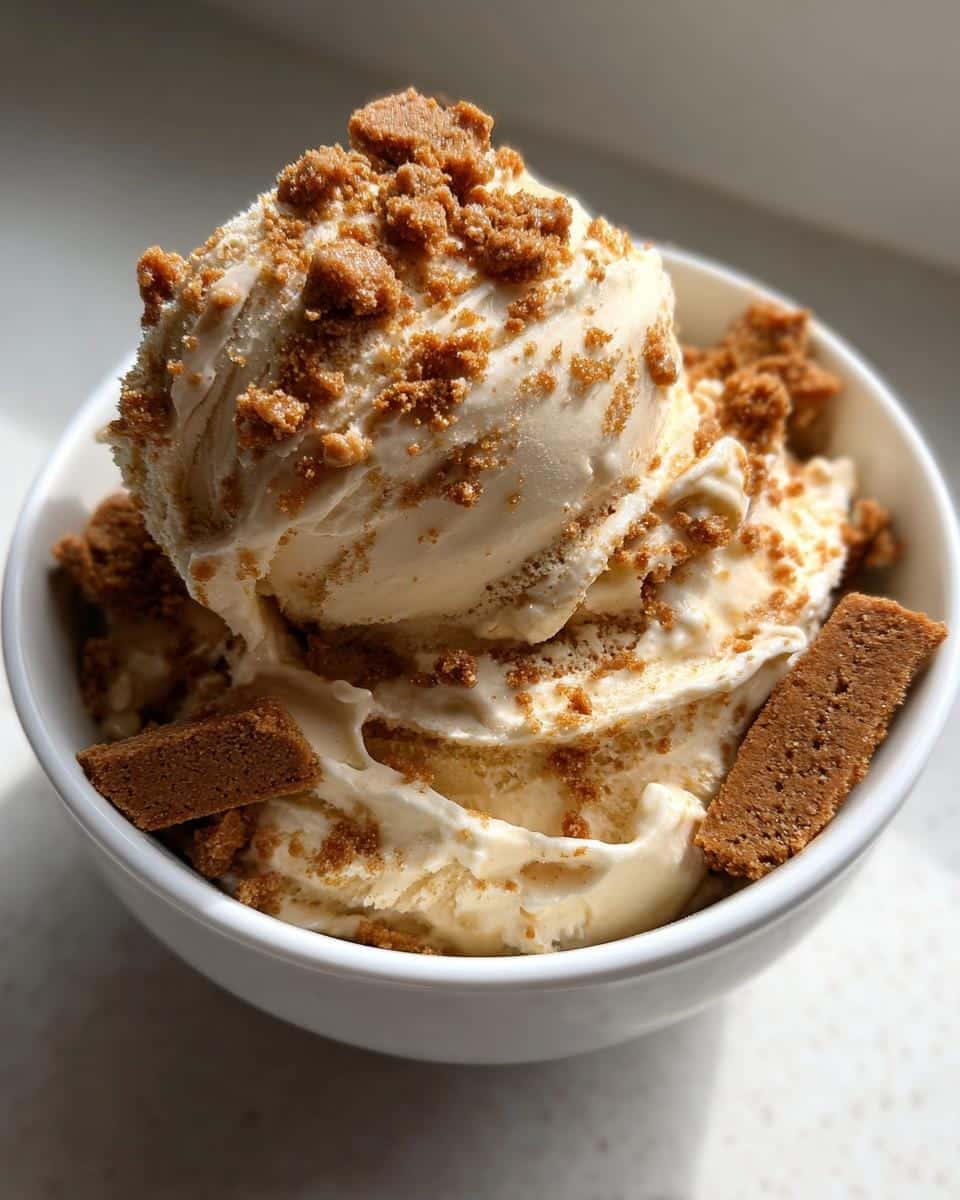
Pro tip: That “stiff peaks” stage is crucial—if your cream isn’t thick enough, the ice cream won’t set properly. Test by turning the bowl upside down (carefully!); the cream shouldn’t budge. And remember: gentle folds keep the texture dreamy!
Tips for the Best No-Churn Biscoff Ice Cream
After making this recipe more times than I can count (much to my family’s delight), I’ve learned a few tricks that take this ice cream from good to “Oh my gosh, how is this not from a fancy creamery?!” level amazing:
Chill everything—seriously, everything
I can’t stress this enough: cold is your friend here. Pop your mixing bowl and beaters in the freezer for 15 minutes before whipping the cream. Even better? Keep your cream in the fridge until the last possible second. Warm cream just won’t whip up properly, and you’ll be left with sad, soupy results. Trust me—I learned this the hard way during a summer kitchen disaster!
Swirl like an artist (but don’t overdo it)
When adding that luscious Biscoff cookie butter, think “ribbons,” not “mix-in.” Here’s my method: dollop spoonfuls across the surface after pouring the base into the pan, then use a butter knife to make just 3-4 lazy figure-eight motions. This creates those Instagram-worthy caramel veins that make every scoop exciting. Resist the urge to over-swirl—you want distinct pockets of cookie butter flavor.
Shallow pans freeze faster (and better)
Ditch the deep containers! I use a standard loaf pan, but for even quicker setting (and easier scooping), try spreading the mixture into a 9×9 inch baking dish. The thinner layer freezes more evenly, preventing those dreaded icy edges while keeping the center perfectly creamy. Bonus: more surface area means more room for cookie crumble toppings!
The parchment paper trick you need to know
Line your pan with parchment paper, leaving some overhang on the sides—it’s like giving your future self a delicious gift. Not only does this prevent sticking (Biscoff bits love to cling!), but you can lift the whole block out for cleaner slicing. And here’s my secret: press a sheet of parchment directly onto the surface before covering with plastic wrap. This double-layer protection keeps ice crystals at bay for weeks!
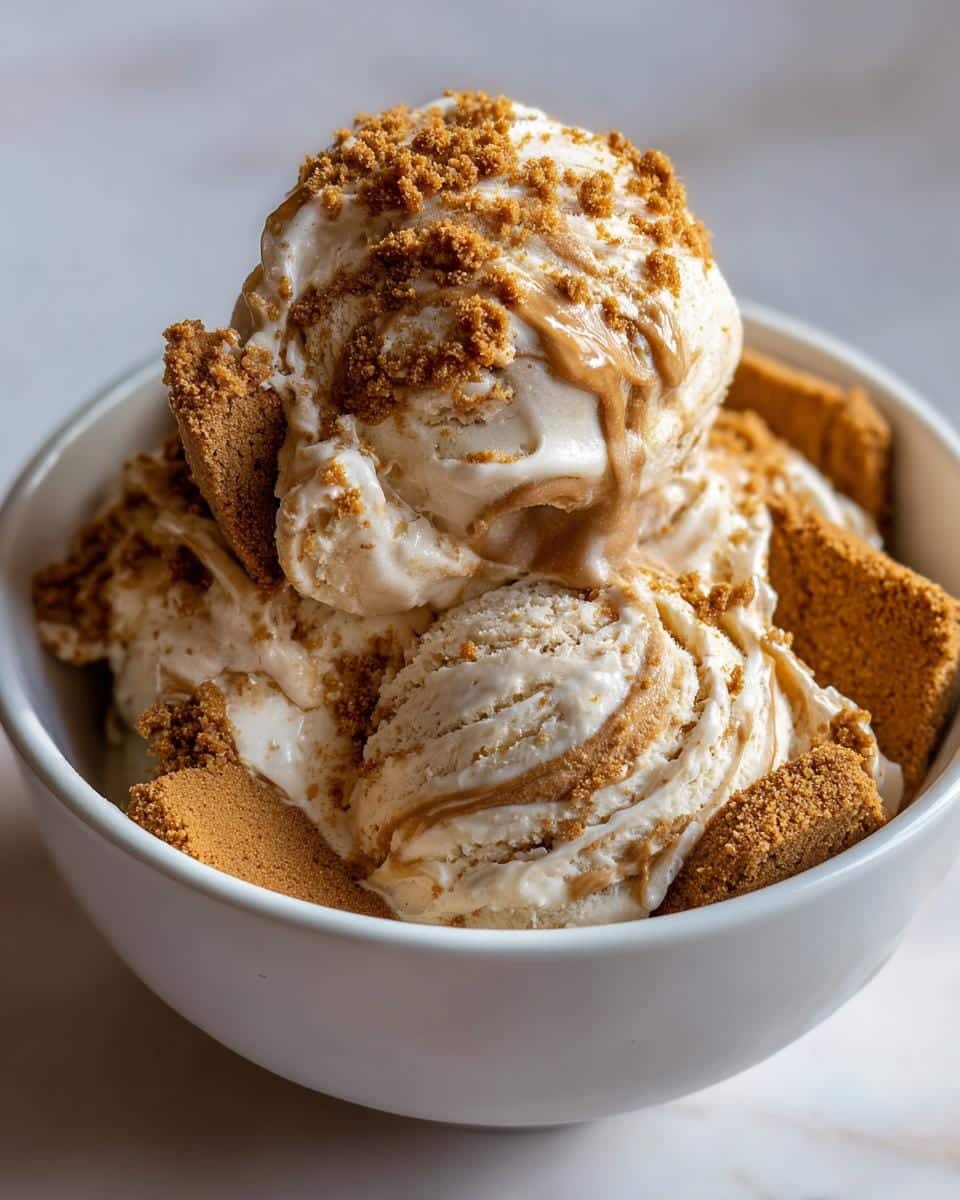
Remember: great ice cream isn’t rushed. Give it that full 6 hours (though overnight is better) to develop its full, creamy potential. The wait will be worth it when you scoop into that dreamy, spiced perfection!
Variations of No-Churn Biscoff Ice Cream
One of my favorite things about this recipe is how easily you can play around with flavors—I love getting creative based on what I’m craving or what’s in my pantry. Here are the variations that have become staples in my kitchen:
Caramel Swirl Dream
For those days when one caramelized flavor just isn’t enough, I’ll drizzle in about 1/4 cup of thick salted caramel sauce (store-bought or homemade) along with the cookie butter. The salty-sweet contrast takes this to another level! Pro tip: Warm the caramel slightly so it ribbons beautifully without clumping. My husband calls this version “crack in a bowl”—it disappears frighteningly fast.
Chocolate-Biscoff Crunch
Sometimes I’ll chop up a dark chocolate bar (about 4 oz) into rough chunks and fold them in with the cookies. The bitter chocolate cuts through the sweetness perfectly. For extra texture, I’ll save some cookie crumbs and chocolate pieces to sprinkle on top right before freezing—that first bite with the crunchy topping is pure magic.
Speculoos Spiced Upgrade
When I want to amplify those warm spice notes, I’ll add 1/2 teaspoon each of cinnamon and cardamom to the whipped cream mixture. A pinch of nutmeg works wonders too! This version reminds me of the speculoos cookies I had in Belgium—cozy, complex, and impossible to resist. Pair it with a chai tea for the ultimate autumn dessert.
The beauty of these variations? You can mix and match! Last week I did chocolate chunks with a cinnamon swirl, and it might have been my best creation yet. Don’t be afraid to experiment—that’s how kitchen legends are born.
Serving and Storing No-Churn Biscoff Ice Cream
Here’s the thing about homemade ice cream—it’s all about that perfect scoop! After years of trial and error (and many sad, melty messes), I’ve nailed down the best ways to serve and store this Biscoff dream:
The golden rule: patience pays off
I know it’s tempting to dig in straight from the freezer, but resist! Let the ice cream sit at room temperature for about 5 minutes before scooping. This brief thaw softens it just enough to get those beautiful, clean scoops without bending your spoon. If you’re serving for guests, I like to pop individual scoops onto a chilled plate or into bowls and let them sit for 2-3 minutes—this brings out the full creamy texture and lets those caramelized Biscoff flavors really shine.
Love No-Bake Desserts?
If you enjoy desserts without the hassle of baking, try our indulgent No-Bake Chocolate Cheesecake or the rich Death by Chocolate No-Bake Cheesecake Bars.
Storage secrets for ice cream that stays perfect
Wrap any leftovers tightly with parchment paper pressed directly on the surface (cut to fit if needed), then seal in an airtight container. This double-layer protection is my magic trick against freezer burn. Stored properly, your ice cream will stay delicious for up to 2 weeks—though in my house, it never lasts that long!
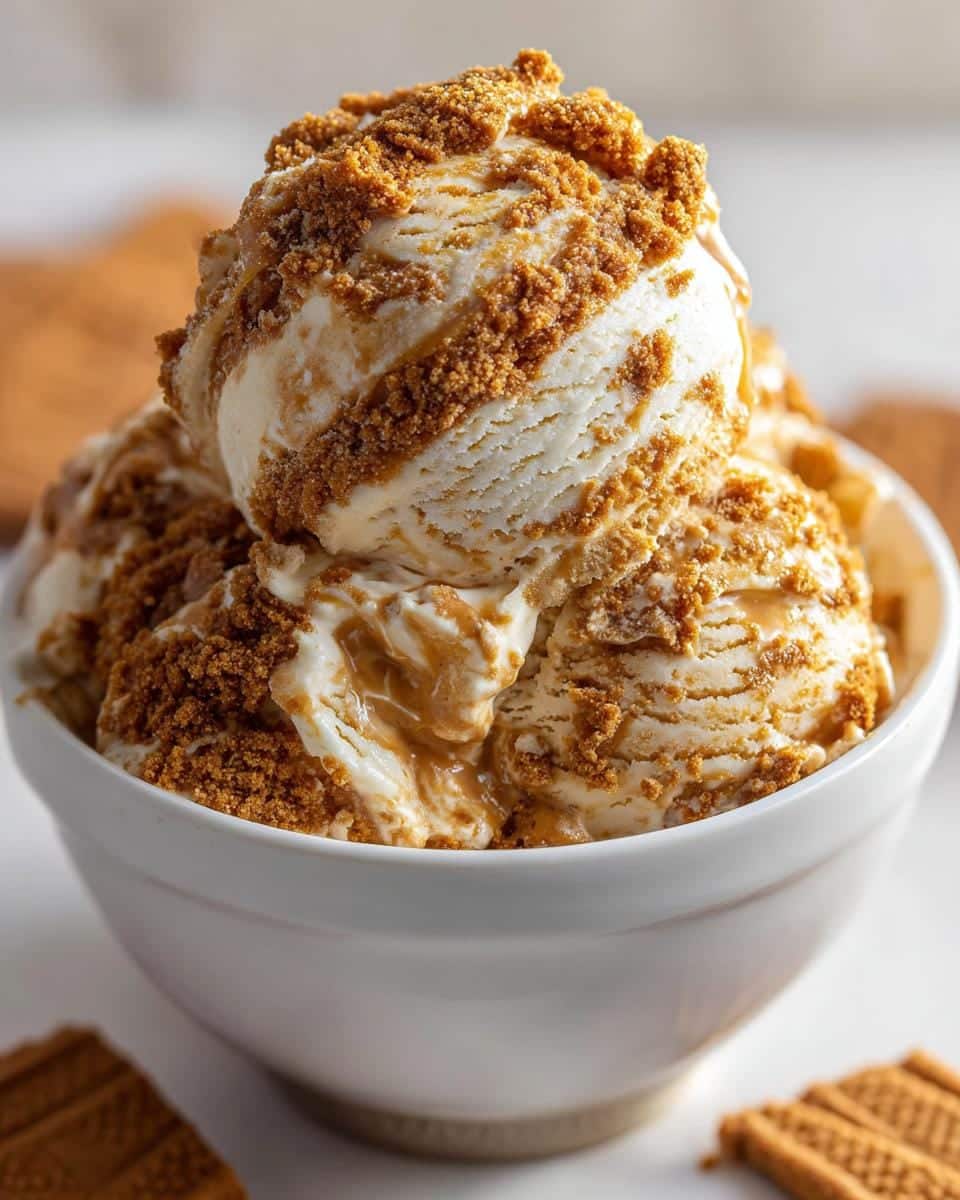
Pro tip: Those disposable aluminum loaf pans with lids work amazingly well if you’re gifting portions to friends (lucky them!). Just make sure to press that parchment barrier against the ice cream first to prevent ice crystals from forming on top.
Bringing back frozen-solid ice cream
Forgot to plan ahead and now your ice cream is rock-hard? No worries! Pop the container in the fridge for 15-20 minutes—the slower thaw helps maintain texture better than countertop thawing. If you’re really in a hurry, microwave the container (without the lid!) for 10-second bursts until just scoopable. But honestly? The anticipation makes that first creamy bite even more satisfying.
Remember: great ice cream deserves great presentation! I always keep a few extra Biscoff cookies on hand to crumble over the top right before serving—it adds crunch and makes everyone feel fancy.
Nutritional Information for No-Churn Biscoff Ice Cream
Let’s be real—we’re not eating ice cream for its health benefits, but I know some folks like to keep track (or need to for dietary reasons). Here’s the scoop on what’s in each creamy, dreamy serving. Just remember: these numbers are estimates, and your exact count might vary slightly depending on your specific ingredients—especially if you go wild with the cookie butter swirls (no judgment here!).
A standard 1/2-cup serving of this no-churn Biscoff ice cream comes in around 320 calories. It’s rich, indulgent, and worth every single one. The sweetened condensed milk brings natural sugars, while the heavy cream gives that luxurious mouthfeel we all crave. The Biscoff cookies? Well, they’re the delicious reason we’re all here, contributing to both the flavor and that irresistible crumbly texture.
Rather than obsessing over numbers, I prefer to focus on quality. This homemade version skips the stabilizers and artificial ingredients found in store-bought ice creams, so you’re getting pure, simple goodness in every bite. That said, if you’re watching sugar intake, you might enjoy smaller portions—though good luck stopping at just one spoonful once you taste it!
FAQs About No-Churn Biscoff Ice Cream
I get questions about this recipe all the time—here are the ones that pop up most often, along with my hard-won kitchen wisdom to help you avoid the mistakes I’ve already made!
Can I use low-fat cream instead of heavy cream?
Oh honey, no. I tried this once out of desperation (it was midnight, and the grocery store was closed), and let me tell you—it was a sad, soupy mess. The high fat content in heavy cream (at least 36%) is what gives structure to no-churn ice cream. Anything lighter just won’t whip up properly. If you’re dairy-free, full-fat coconut milk is your best alternative—just make sure it’s the canned kind, and chill it overnight first.
How do I prevent grainy texture in my ice cream?
This usually happens when we get over-enthusiastic with mixing! The key is gentle folds—think of it like tucking a baby into bed, not kneading bread dough. Stop mixing as soon as you no longer see streaks of condensed milk. And here’s my secret: if you accidentally overmix, stir in 1 tablespoon of cold whole milk to smooth things out before freezing. Works like magic!
Is the cookie butter absolutely necessary?
Not at all! The ice cream will still be delicious without it—the crushed cookies pack plenty of flavor on their own. But… (and this is a big but) that swirl of cookie butter takes it from “yum” to “OH WOW.” If you’re skipping it, I’d recommend bumping up the crushed cookies to 1 1/4 cups for extra Biscoff punch. Or get creative—try swirling in melted dark chocolate or dulce de leche instead!
Got more questions? Drop them in the comments—I love troubleshooting ice cream disasters (and trust me, I’ve had my share) to help you get perfect results every time!
Try This Recipe and Share Your Biscoff Creations in the Comments!
Alright, my fellow dessert lovers—it’s your turn to work some Biscoff magic! I want to see what delicious creations you come up with. Did you add an extra swirl of caramel? Mix in some toasted pecans? Maybe you went wild with a chocolate-Biscoff layer cake situation? (If so, I need details ASAP!) Drop your photos, questions, and genius variations in the comments below. There’s nothing I love more than geeking out over ice cream experiments with kindred spirits. And hey, if this becomes your new go-to dessert like it is mine, do a girl a favor—tag me on Pinterest so I can vicariously enjoy your sweet success! Now go forth and churn… well, no-churn!
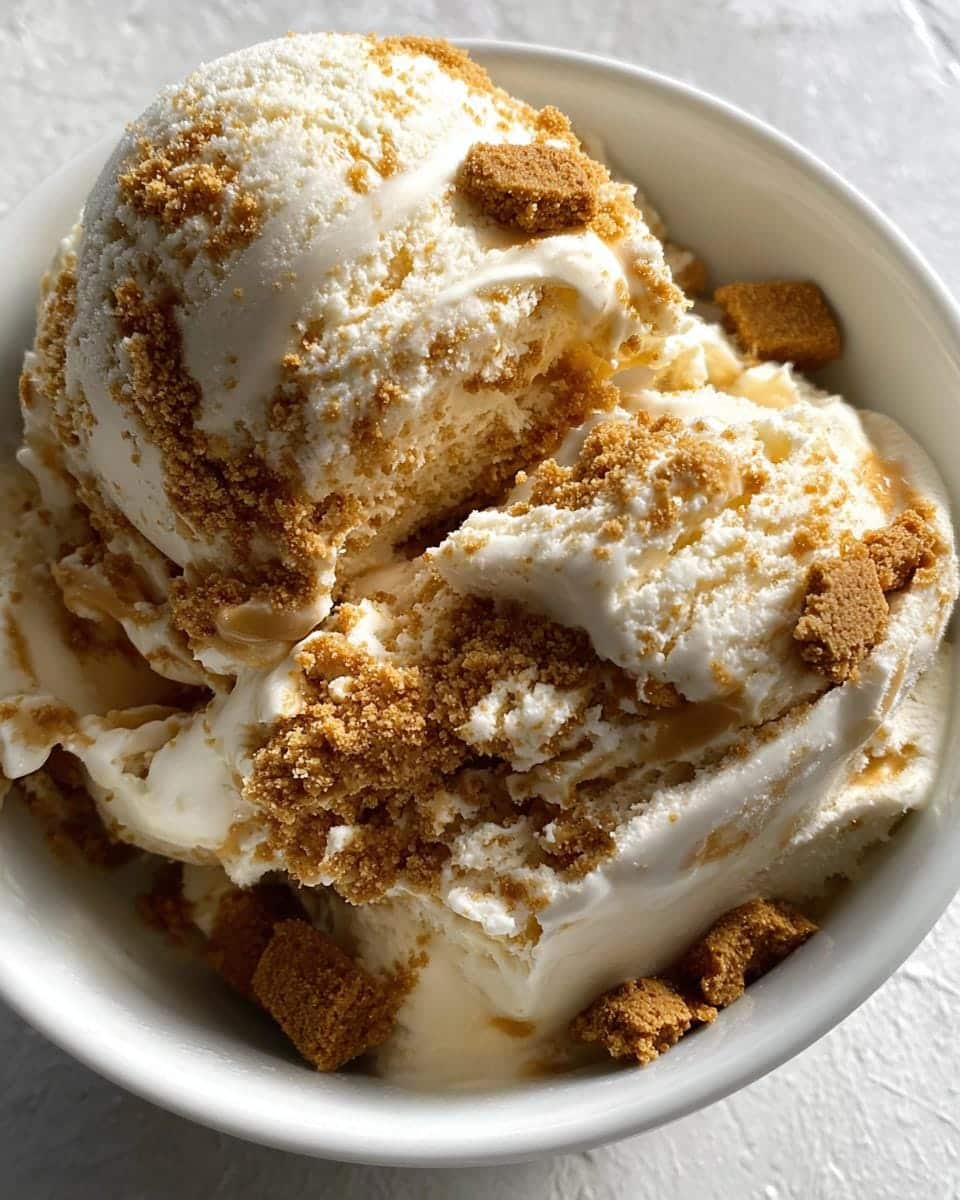

Irresistible No-Churn Biscoff Ice Cream in 6 Hours
- Total Time: 6 hours 15 minutes
- Yield: 6 servings
- Diet: Vegetarian
Description
A creamy and rich no-churn ice cream made with Biscoff cookies, perfect for a quick and easy dessert.
Ingredients
- 2 cups heavy cream
- 1 can (14 oz) sweetened condensed milk
- 1 tsp vanilla extract
- 1 cup crushed Biscoff cookies
- 1/4 cup Biscoff cookie butter (optional)
Instructions
- Whip the heavy cream until stiff peaks form.
- Fold in the sweetened condensed milk and vanilla extract.
- Gently mix in the crushed Biscoff cookies.
- If using, swirl in the Biscoff cookie butter.
- Pour the mixture into a loaf pan and freeze for at least 6 hours.
- Serve and enjoy.
Notes
- Freeze the ice cream overnight for best results.
- Add extra crushed cookies on top for texture.
- Store in an airtight container for up to 2 weeks.
- Prep Time: 15 minutes
- Cook Time: 0 minutes
- Category: Dessert
- Method: No-Churn
- Cuisine: International
