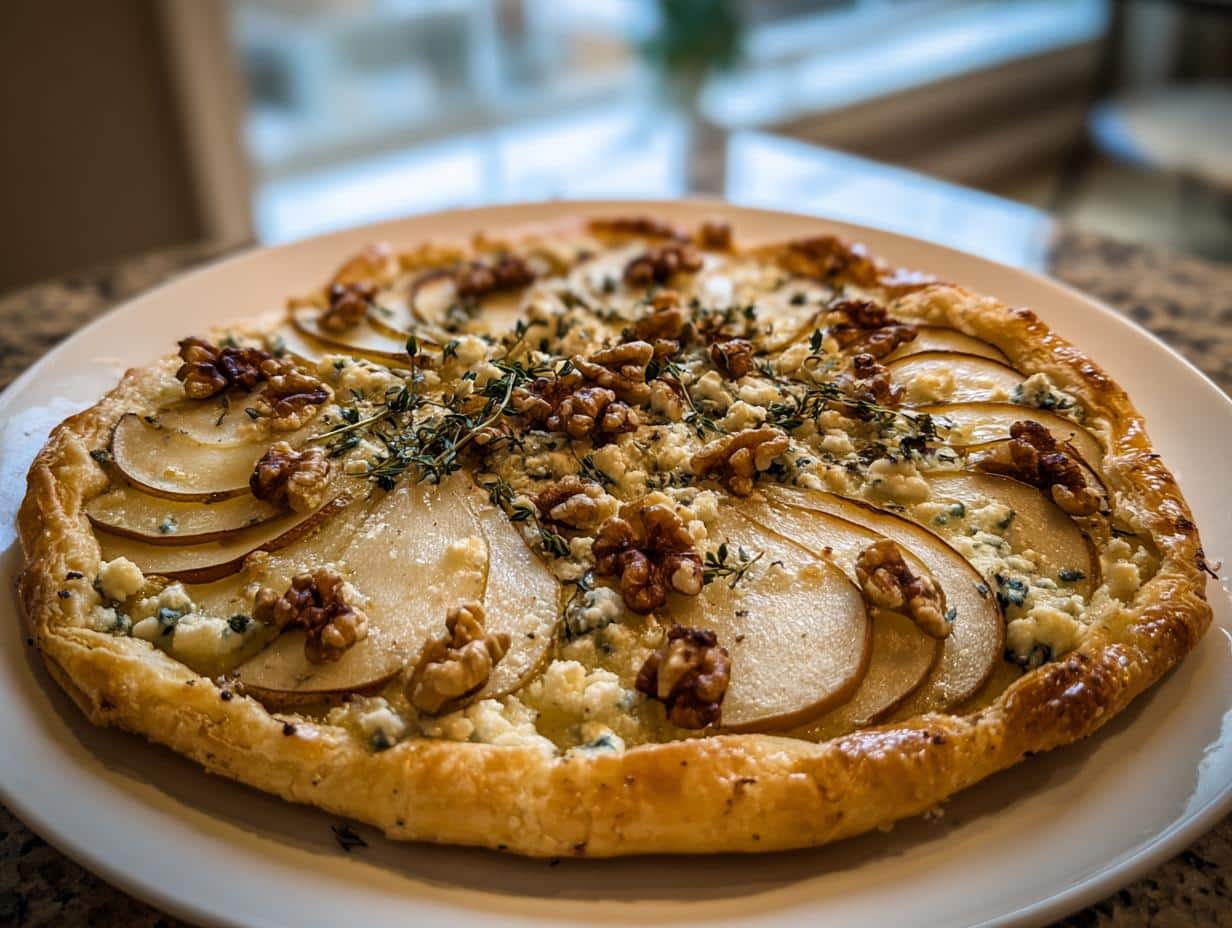
There’s something magical about the way sweet pears, crunchy walnuts, and tangy blue cheese come together in this tart. It’s one of those recipes that feels fancy but is surprisingly simple to make. I first threw this together on a whim for a dinner party, and it was such a hit that it’s now my go-to when I need something elegant yet effortless. Whether you’re serving it as an appetizer or a light meal, this tart never fails to impress. And the best part? It’s easily adaptable to be fully dairy-free with plant-based cheese—trust me, it’s just as delicious. Pair it with a side of arugula salad or a drizzle of honey for a complete flavor experience.
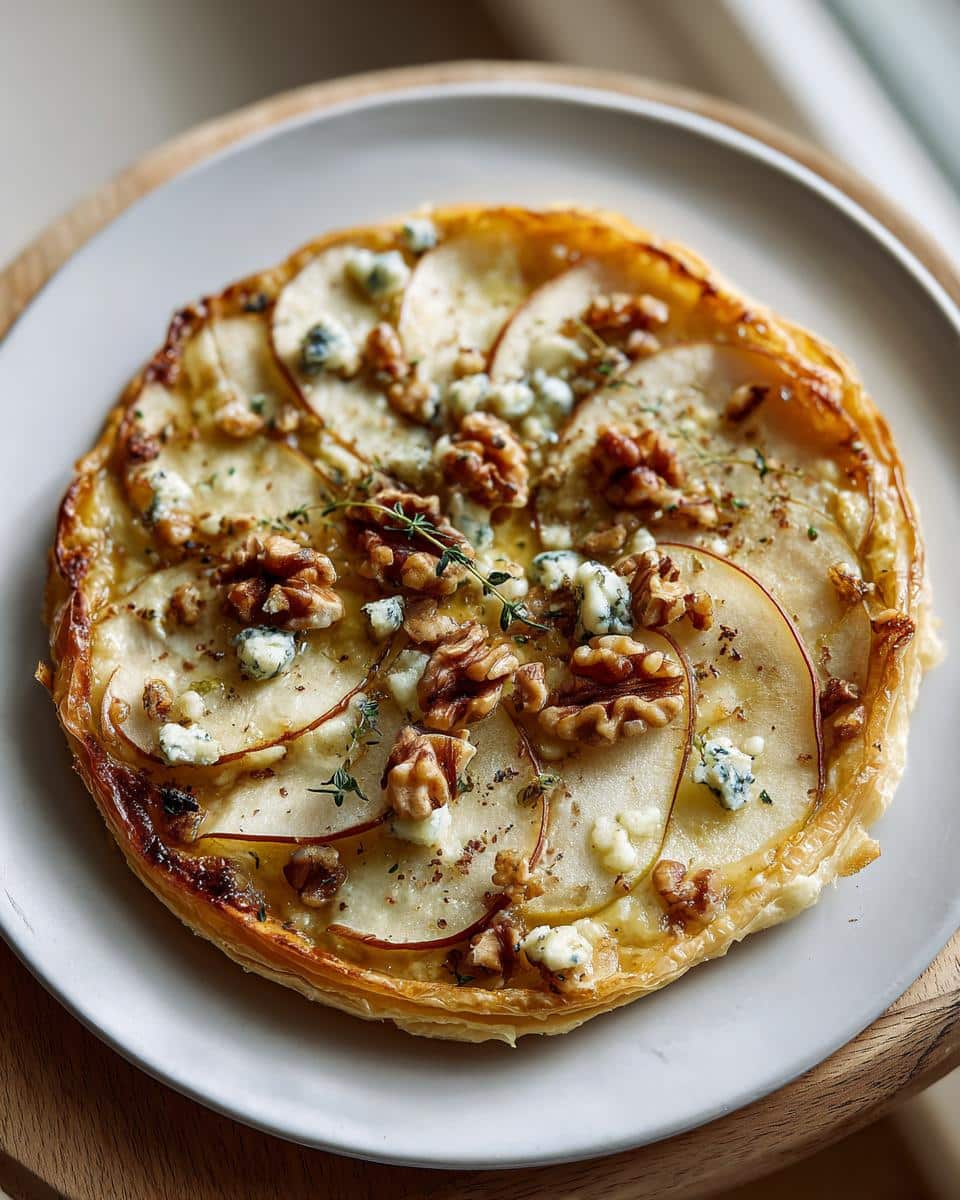
Why You’ll Love This Pear, Walnut & Blue Cheese Tart
This tart is one of those rare recipes that feels indulgent but couldn’t be simpler. Here’s why it’s become a staple in my kitchen:
- Effortless elegance: Looks like you spent hours, but really? Just 15 minutes of prep.
- Flavor fireworks: Sweet pears + earthy walnuts + tangy cheese = pure magic in every bite.
- No-fuss adaptability: Dairy-free? Swap in plant-based cheese—it’s just as crave-worthy.
- Pantry-friendly: Only 6 main ingredients (I bet you have half already).
- Crowd-pleaser: Equally at home at fancy dinners or casual lunches.
Seriously—this tart checks all the boxes. Once you try it, you’ll understand why I make it weekly!
Ingredients for Pear, Walnut & Blue Cheese Tart
Here’s everything you’ll need to make this showstopper of a tart. I always keep these ingredients on hand because you never know when you’ll need something impressive in a pinch:
- 1 sheet thawed puff pastry (keep it cold until you’re ready to use it!)
- 2 ripe pears, cored and thinly sliced (I like Bartlett or Anjou for their sweetness)
- 1/2 cup chopped walnuts (toasting them first adds extra flavor, but it’s optional)
- 1/2 cup crumbled blue cheese (or your favorite plant-based cheese for a dairy-free version)
- 2 tablespoons olive oil (a light drizzle does wonders)
- 1 teaspoon fresh thyme (dried works in a pinch, but fresh is best)
- Salt and pepper to taste (don’t skip this—it ties everything together)
That’s it! Simple, right? Now let’s get baking.
Equipment You’ll Need
No fancy gadgets required here—just a few basics you probably already have:
- Baking sheet (a standard half-sheet pan works perfectly)
- Parchment paper (trust me, this saves so much cleanup)
- Sharp knife (for slicing those pears paper-thin)
- Cutting board (I like using a large one for this)
See? Told you it was simple. Now let’s make some magic!
How to Make Pear, Walnut & Blue Cheese Tart
Ready to turn those simple ingredients into something extraordinary? Here’s how to make this tart step by step—it’s easier than you think, and the results are always worth it.
Step 1: Prep the Pastry & Oven
Start by preheating your oven to 400°F (200°C). While it heats up, roll out your thawed puff pastry on a baking sheet lined with parchment paper. No need to get fancy—just smooth it out so it’s ready for the toppings.
Step 2: Layer the Tart
Arrange those thin pear slices evenly over the pastry, leaving a little border around the edges. Scatter the chopped walnuts and crumbled blue cheese (or plant-based cheese) on top. Drizzle the whole thing with olive oil, then sprinkle with fresh thyme, salt, and pepper. Don’t be shy—the seasoning brings it all together!
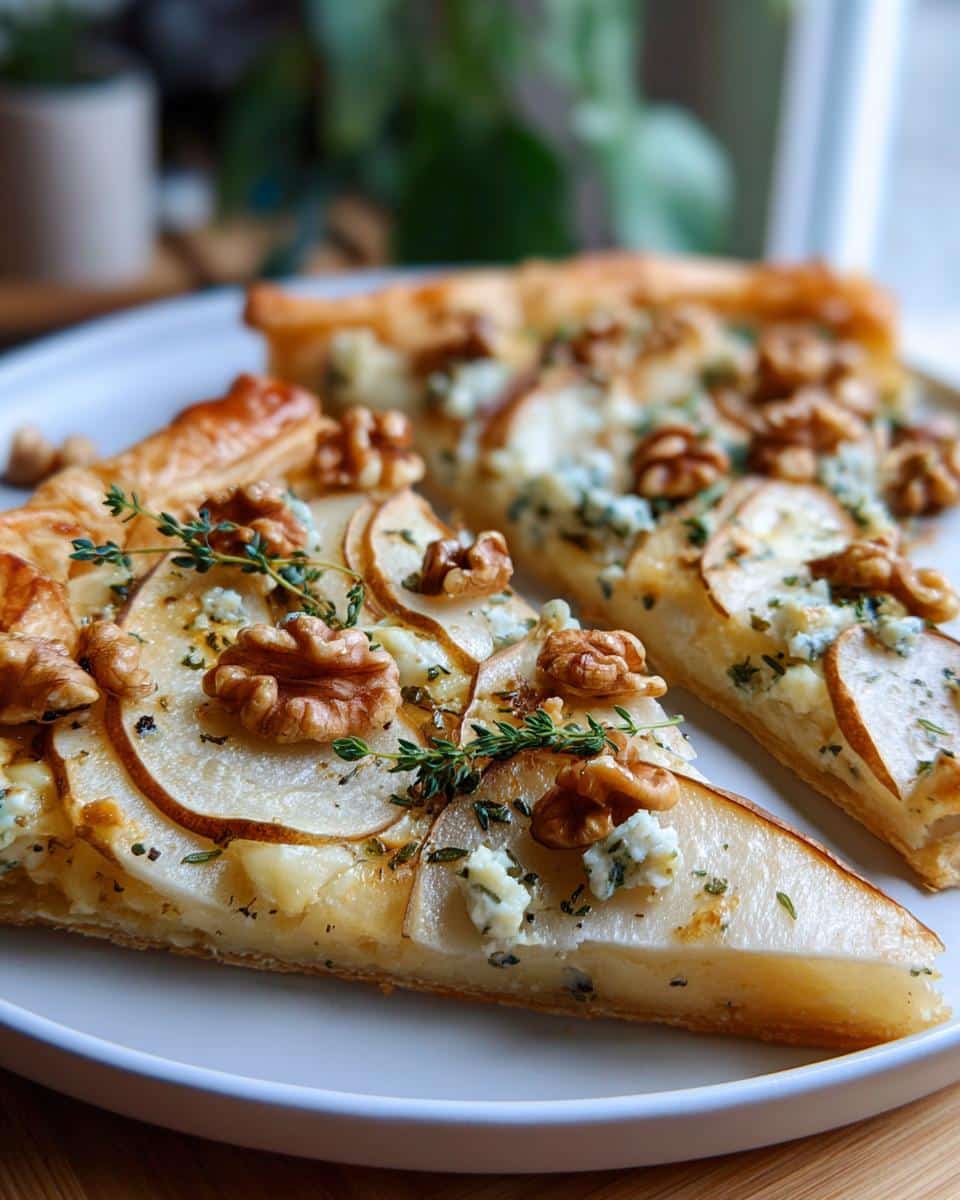
Step 3: Bake to Perfection
Pop the tart in the oven and let it bake for 20–25 minutes. You’ll know it’s done when the pastry is golden and flaky, and the pears are tender. Let it cool slightly before slicing—trust me, it’s worth the wait!
Tips for the Best Pear, Walnut & Blue Cheese Tart
After making this tart more times than I can count, I’ve picked up a few tricks that take it from good to wow:
- Toast those walnuts! Just 5 minutes in a dry pan brings out their nutty depth—game changer.
- Use pears that give slightly when pressed near the stem—overripe ones turn mushy, rock-hard ones stay crunchy.
- Let it rest 5 minutes before slicing—those melty cheese puddles need time to set.
- Slice pears thin (about 1/8 inch) so they soften perfectly during baking.
- Keep pastry cold until the moment you assemble—warm dough won’t puff as beautifully.
Follow these, and you’ll have people begging for the recipe—just like mine did!
Dairy-Free Adaptation
Don’t worry, dairy-free friends—this tart loses none of its magic with plant-based cheese! I’ve tested every blue cheese alternative out there, and the best ones melt beautifully while keeping that signature tang. My personal favorite? A cultured cashew-based blue—it’s so convincing, even my cheese-loving husband can’t tell the difference!
Serving Suggestions
This tart is a star on its own, but a little pairing magic makes it even better. I love serving it with a simple arugula salad—the peppery greens balance the sweetness perfectly. For a sweet-savory twist, drizzle a little honey over the top. It’s divine!
Storage & Reheating
Got leftovers? Lucky you! Just wrap any remaining tart tightly in foil or store it in an airtight container in the fridge—it’ll keep beautifully for 2 days. When you’re ready to enjoy it again, pop it in a 350°F (175°C) oven for about 10 minutes to bring back that perfect crispness. Microwaving works in a pinch, but trust me—the oven method keeps that puff pastry flaky!
Nutritional Information
Just a quick note—nutrition can vary based on your specific ingredients and brands. But as a general estimate, each serving of this tart comes in around 280 calories with 18g of fat. Not bad for something that tastes this indulgent!
FAQ About Pear, Walnut & Blue Cheese Tart
Got questions? I’ve got answers! Here are the most common things people ask me about this tart (and all the tricks I’ve learned along the way):
- Can I use canned pears? Fresh is best here—canned pears are too soft and make the pastry soggy. If you must, drain them very well and pat dry before using.
- How do I prevent a soggy bottom? Two words: parchment paper. It helps the heat circulate, giving you that perfect crispy base. Also, don’t overload with toppings!
- What’s the best plant-based cheese substitute? Look for cultured nut cheeses—they melt and taste the most authentic. Violife and Miyoko’s both make great blue-style options.
- Can I make this ahead? Absolutely! Assemble it up to 2 hours before baking and keep it chilled. Just add a few extra minutes to the bake time.
- Why didn’t my puff pastry rise properly? Oven wasn’t hot enough, or the pastry got too warm before baking. Keep it cold until the very last second!
There you have it—all my tart wisdom in one place. Happy baking!
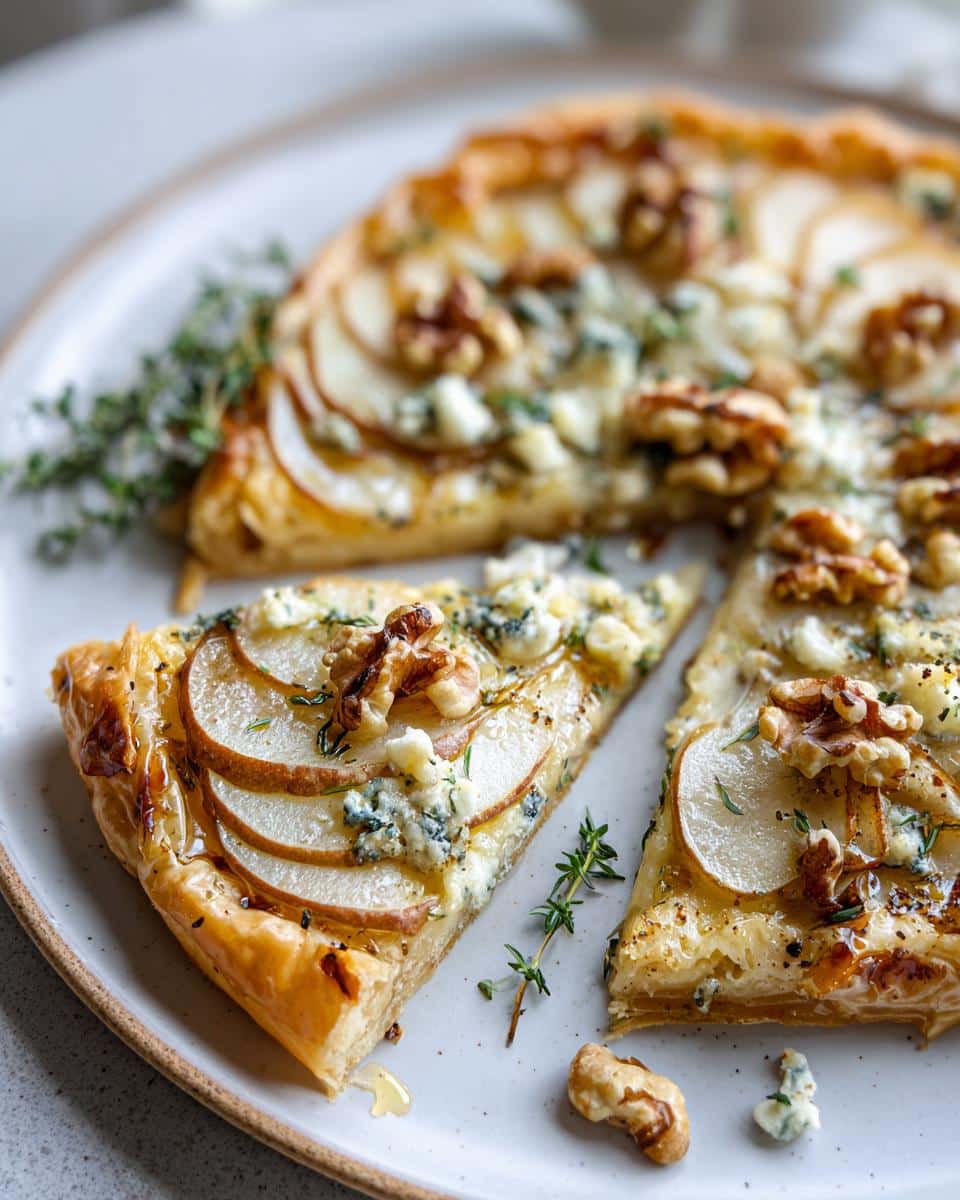

“Savory Pear, Walnut & Blue Cheese Tart in Just 6 Ingredients”
- Total Time: 40 minutes
- Yield: 6 servings
- Diet: Vegetarian
Description
A savory tart combining the sweetness of pears, the crunch of walnuts, and the tanginess of blue cheese (or plant-based cheese for a dairy-free option). Perfect for a light meal or appetizer.
Ingredients
- 1 sheet of puff pastry
- 2 ripe pears, thinly sliced
- 1/2 cup walnuts, chopped
- 1/2 cup crumbled blue cheese (or plant-based cheese)
- 2 tablespoons olive oil
- 1 teaspoon fresh thyme
- Salt and pepper to taste
Instructions
- Preheat your oven to 400°F (200°C).
- Roll out the puff pastry on a baking sheet lined with parchment paper.
- Arrange the pear slices evenly over the pastry.
- Sprinkle the walnuts and blue cheese on top.
- Drizzle with olive oil and season with thyme, salt, and pepper.
- Bake for 20-25 minutes until the pastry is golden and the pears are tender.
- Let cool slightly before serving.
Notes
- Use plant-based cheese for a fully dairy-free option.
- For added flavor, toast the walnuts before using.
- Serve warm for the best taste.
- Prep Time: 15 minutes
- Cook Time: 25 minutes
- Category: Appetizer
- Method: Baking
- Cuisine: Fusion
