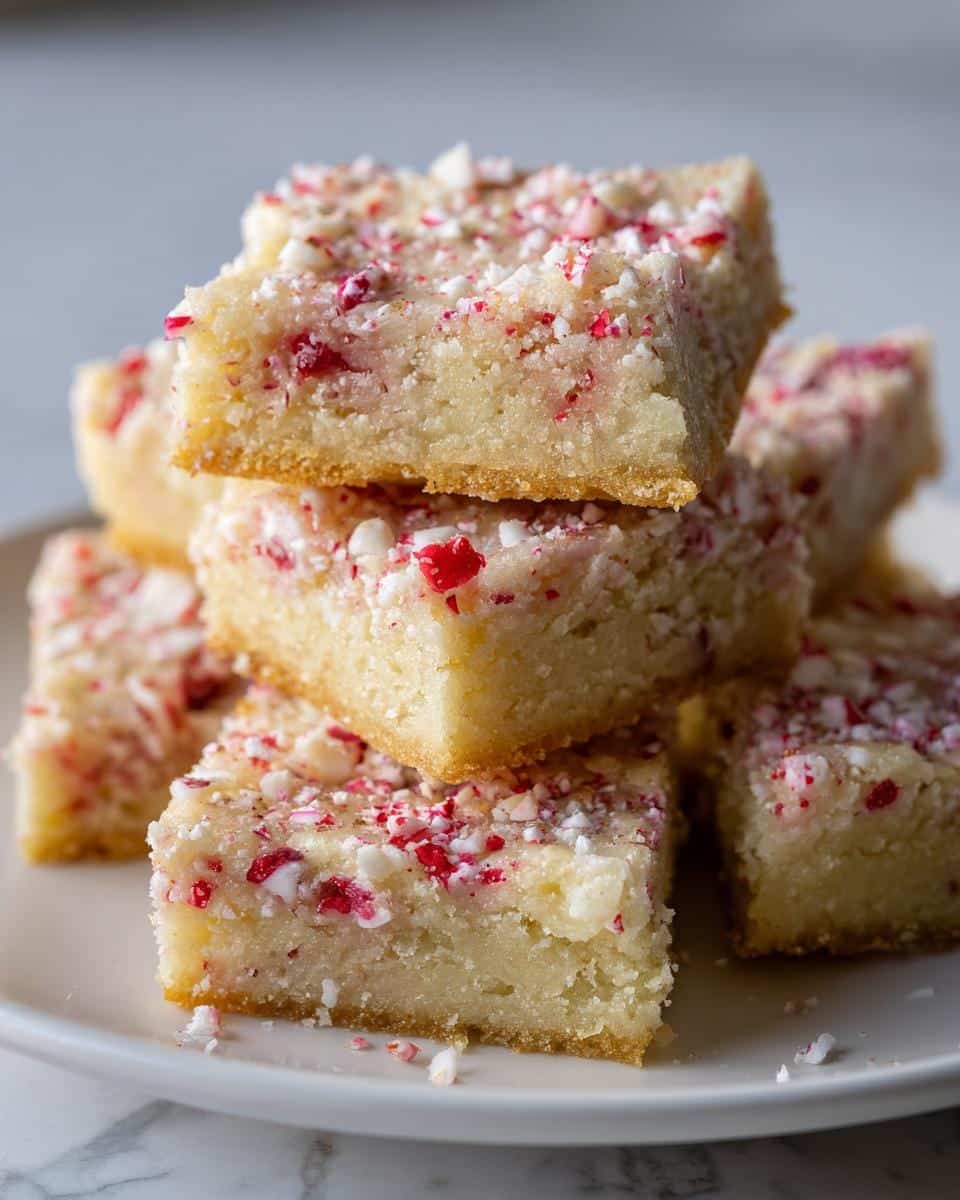
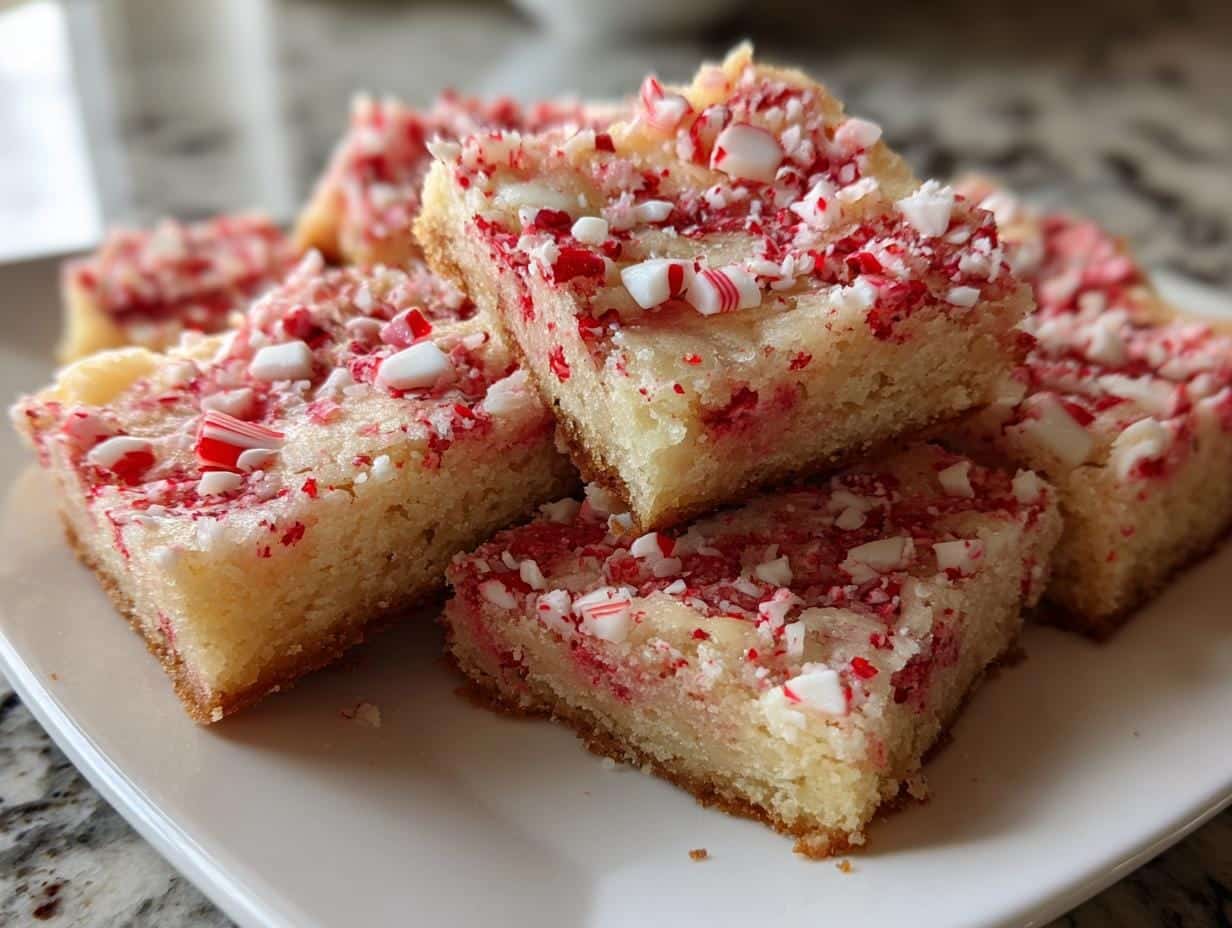
There’s something magical about holiday baking, isn’t there? The scent of peppermint and sugar wafting through the air, the joy of sharing treats with loved ones—it’s pure nostalgia. My family’s peppermint sugar cookie bars have been a holiday staple for as long as I can remember. Soft, chewy, and just the right amount of minty sweetness, they’re the kind of dessert that disappears fast. Whether you’re baking for a cookie swap or just want to treat yourself, these bars are a festive must-try. Trust me, once you’ve had one, you’ll be hooked!

Ingredients for Peppermint Sugar Cookie Bars
Gathering the right ingredients is half the battle when it comes to perfect peppermint sugar cookie bars. I’ve learned the hard way that quality matters—especially with something as simple as butter. You’ll want 1 cup of unsalted butter, softened (not melted!) so it creams beautifully with the sugar. Speaking of sugar, 1 ½ cups granulated sugar gives these bars their signature sweetness without being overwhelming.
For that festive peppermint punch, you’ll need ½ teaspoon peppermint extract (trust me, a little goes a long way) and ½ cup crushed peppermint candies—I like to smash them in a zip-top bag with a rolling pin for that perfect rustic texture. Don’t forget the basics: 2 large eggs (room temperature blends better), 1 teaspoon vanilla extract (the good stuff!), and the dry team—3 cups all-purpose flour (measured correctly—more on that later), 1 ½ teaspoons baking powder (not soda!), and ½ teaspoon salt to balance all that sweetness.
Pro tip: If your peppermint candies are rock-hard, pop them in the microwave for 5 seconds before crushing—they’ll break up like a dream!
How to Make Peppermint Sugar Cookie Bars
Okay, let’s get baking! These peppermint sugar cookie bars couldn’t be easier—just follow these simple steps, and you’ll have a pan of minty perfection in no time. The secret? Taking your time with each step (and resisting the urge to eat the dough—it’s worth the wait, I promise!).
Mixing the Dough
First things first: preheat your oven to 350°F and grease that 9×13-inch baking pan like you mean it. Now, grab your softened butter and sugar—this is where the magic starts. Cream them together for a good 2-3 minutes until they’re light and fluffy. Don’t skimp here! Those tiny air bubbles you’re creating will give your bars that perfect tender texture.
Next, beat in the eggs one at a time, followed by the vanilla and peppermint extracts. Go easy on the peppermint—it’s strong stuff! Now for the dry ingredients: whisk together the flour, baking powder, and salt in a separate bowl first (this prevents those pesky baking powder lumps). Add them to the wet ingredients in two batches, mixing just until combined. Overmixing = tough bars, and we don’t want that!
Finally, gently fold in those beautiful crushed peppermint candies. The dough will be thick—that’s exactly what you want!
Baking and Cooling
Time to spread that dough evenly in your prepared pan. I like to use a lightly greased offset spatula for this—it helps get into the corners without sticking. Pop it in the oven and set your timer for 20 minutes, but don’t wander off!
At the 20-minute mark, start checking for those perfect golden edges—the center might still look slightly underdone, and that’s okay. A toothpick should come out with moist crumbs, not wet batter. If it needs more time, add 2-3 minutes, but watch closely.
Here’s the hardest part: let the pan cool completely on a wire rack before cutting. I know, I know—the smell is irresistible! But if you cut too soon, you’ll end up with crumbly mess. Wait at least an hour (or cheat and pop them in the fridge for 30 minutes if you’re impatient like me). Then slice into bars and watch them disappear!
Why You’ll Love These Peppermint Sugar Cookie Bars
Let me tell you why these peppermint sugar cookie bars are about to become your new holiday obsession:
- Festive magic: That pop of red and white peppermint makes them look as merry as they taste—perfect for cookie plates and holiday parties.
- Shareable joy: No fussing with individual cookies! One pan, one bake, and you’ve got two dozen sweet treats ready to gift (or hoard).
- Cloud-soft texture: They’re like biting into a sugar cookie and a brownie’s love child—chewy edges with a tender, melt-in-your-mouth center.
- Just-right mint: Not toothpaste-y, not weak—the peppermint extract and candies create that cool, refreshing flavor without overpowering the buttery cookie base.
Seriously, these bars check every box for holiday baking happiness. Your kitchen will smell like a candy cane factory in the best way!
Tips for Perfect Peppermint Sugar Cookie Bars
Let me share some insider tips to make sure your peppermint sugar cookie bars turn out flawless every time. First off, measure your flour correctly—this is non-negotiable! Too much flour = dry, crumbly bars. I like to spoon the flour into the measuring cup and level it off with a knife. No packing it down!
Next, taste as you go with the peppermint extract. It’s potent stuff, and everyone’s tolerance for mint varies. Start with ½ teaspoon, then add a tiny bit more if you want a stronger kick. Trust me, it’s easier to add than to fix an overpowering mint bomb!
Don’t forget to check your baking powder’s freshness. If it’s been sitting in your pantry for over a year, it’s probably lost its oomph. To test it, mix ½ teaspoon with ¼ cup of hot water—if it doesn’t bubble, toss it and grab a fresh can. You can learn more about food safety here.
Lastly, resist the urge to overmix the dough. Once the dry ingredients are just incorporated, stop! Overmixing leads to tough bars, and we’re aiming for soft, chewy perfection here. Follow these tips, and you’ll be a peppermint sugar cookie bar pro in no time!
Peppermint Sugar Cookie Bars Variations
Want to mix things up? These peppermint sugar cookie bars are super adaptable! For a gluten-free version, swap the all-purpose flour with your favorite 1:1 gluten-free blend—it works like a charm. If you’re feeling extra festive, sprinkle crushed candy canes on top before baking for a pop of color and crunch. Love chocolate? Fold in ½ cup of white chocolate chips for a minty, creamy combo that’s downright addictive. You could even drizzle melted chocolate over the cooled bars for a fancy finish. The possibilities are endless—make them your own!
Storing and Serving Peppermint Sugar Cookie Bars
Here’s the scoop on keeping your peppermint sugar cookie bars fresh and delicious. Once they’re completely cooled, store them in an airtight container at room temperature—they’ll stay soft and chewy for up to 5 days. If you’re planning ahead, these bars freeze like a dream! Just wrap them tightly in plastic wrap, then pop them in a freezer-safe bag for up to 3 months. When you’re ready to enjoy, let them thaw at room temperature for an hour or so. I love serving these bars slightly chilled—it makes the peppermint flavor even more refreshing. Perfect for holiday snacking or gifting!
Peppermint Sugar Cookie Bars FAQs
Got questions about these festive treats? I’ve got answers! Here are the most common things people ask me about peppermint sugar cookie bars:
Can I freeze peppermint sugar cookie bars?
Absolutely! These bars freeze beautifully. Just wrap them tightly in plastic wrap (individually or the whole pan) and pop them in a freezer bag. They’ll keep for up to 3 months. Thaw at room temperature when you’re ready to enjoy—no microwave needed!
How do I prevent my bars from crumbling when cutting?
Two secrets: First, make sure they’re completely cooled—I know it’s hard to wait! Second, use a sharp knife and wipe it clean between cuts. If they’re still giving you trouble, try chilling them in the fridge for 30 minutes first. Works like a charm.
Can I use candy canes instead of peppermint candies?
You bet! Crushed candy canes work perfectly and make them extra festive. Just be sure to remove any plastic wrappers first (learned that one the hard way!). The red stripes look gorgeous in the dough.
Why are my bars dry?
Most likely culprit? Too much flour. Always spoon and level your flour—never scoop directly from the bag. Overbaking can also dry them out, so pull them when the edges are just golden.
Is there a substitute for peppermint extract?
If you’re in a pinch, you can use mint extract, but go easy—it’s stronger! Or skip the extract and double the crushed candies for a milder mint flavor.
Nutritional Information
Just so you know what you’re biting into, here’s the scoop on one peppermint sugar cookie bar (remember, these numbers are estimates—your exact ingredients might vary slightly). Each bar clocks in at about 180 calories, with 8g fat (5g saturated) and 25g carbs. You’ll also get a little protein boost at 2g per serving. Not bad for a holiday treat that tastes this indulgent! Of course, if you’re watching specific dietary needs, always double-check your exact ingredients.
I hope you love these peppermint sugar cookie bars as much as I do! If you try them, don’t forget to rate this recipe or tag us on Instagram with your creations—I’d love to see your festive bakes!
Print
Irresistible Peppermint Sugar Cookie Bars in 30 Minutes
- Total Time: 40 mins
- Yield: 24 bars
- Diet: Vegetarian
Description
Soft and chewy peppermint sugar cookie bars with a festive twist. Perfect for holiday baking.
Ingredients
- 1 cup unsalted butter, softened
- 1 1/2 cups granulated sugar
- 2 large eggs
- 1 tsp vanilla extract
- 1/2 tsp peppermint extract
- 3 cups all-purpose flour
- 1 1/2 tsp baking powder
- 1/2 tsp salt
- 1/2 cup crushed peppermint candies
Instructions
- Preheat oven to 350°F. Grease a 9×13-inch baking pan.
- Cream butter and sugar until light and fluffy.
- Beat in eggs, vanilla, and peppermint extract.
- Mix in flour, baking powder, and salt until combined.
- Fold in crushed peppermint candies.
- Spread batter evenly in the prepared pan.
- Bake for 20-25 minutes or until edges are golden.
- Cool completely before cutting into bars.
Notes
- Store in an airtight container for up to 5 days.
- For extra minty flavor, add an additional 1/4 tsp peppermint extract.
- Substitute peppermint candies with candy canes for a festive touch.
- Prep Time: 15 mins
- Cook Time: 25 mins
- Category: Dessert
- Method: Baking
- Cuisine: American


