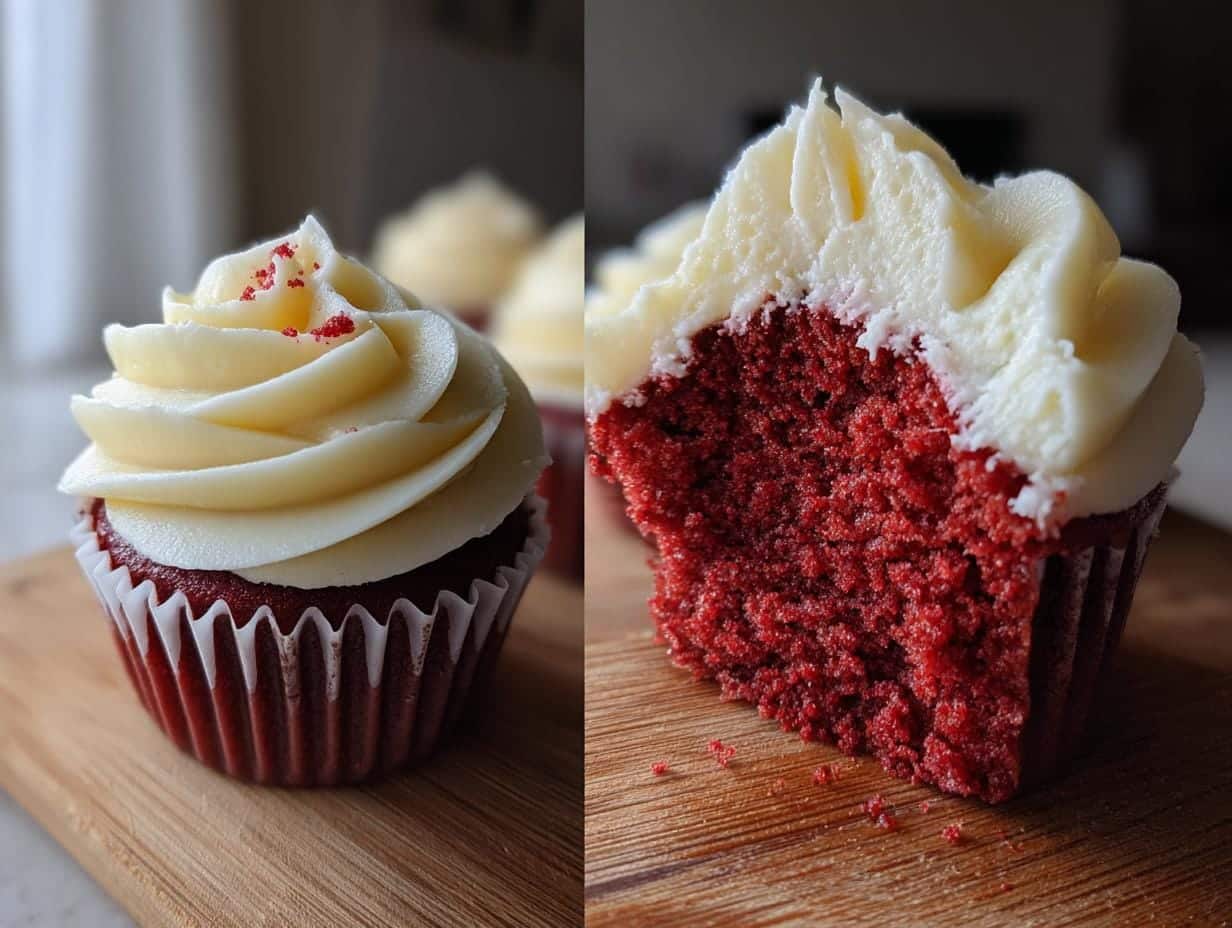
Let me tell you about my absolute obsession – these Red Velvet Crush Cupcakes that’ll make you weak in the knees! There’s something magical about that rich cocoa flavor paired with the tangy cream cheese frosting that just hits differently. I still remember the first time I baked these for my niece’s birthday party – the way everyone’s eyes lit up when they bit into that velvety crumb confirmed these weren’t just cupcakes, they were little edible love letters.
What makes these special? That stunning red color (thank you, good quality gel food coloring!), the hint of buttermilk tang, and that perfect moist texture that stays delicious for days. These cupcakes transformed me from someone who just liked red velvet to someone who keeps emergency cupcake supplies in the pantry “just in case.” Trust me, once you try this recipe, you’ll understand why I’m slightly addicted!
Table of Contents
Why You’ll Love These Red Velvet Crush Cupcakes
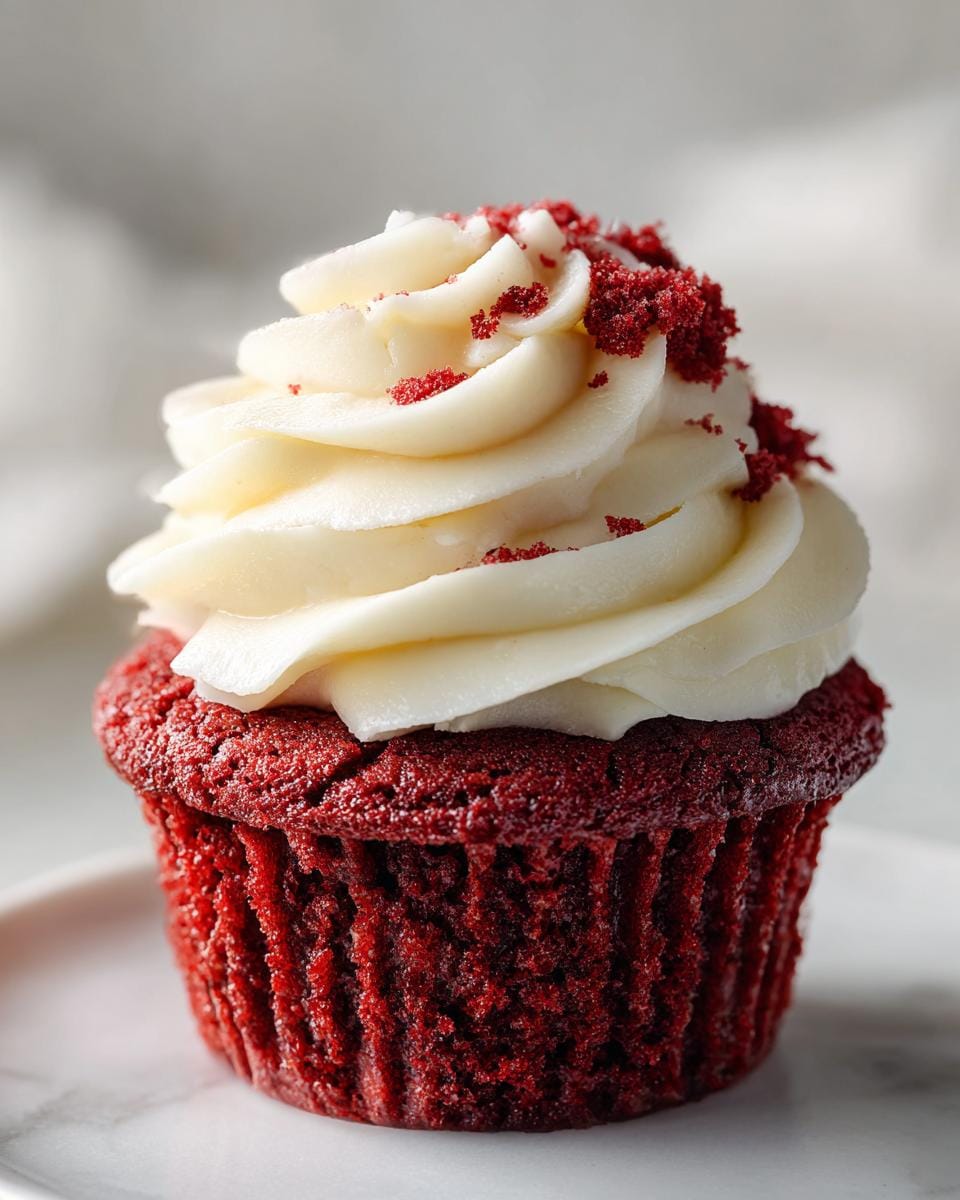
These cupcakes aren’t just a dessert—they’re an experience. Here’s why they’ll become your new go-to:
- That perfect crumb: Moist, tender, and just dense enough to feel indulgent without being heavy. The buttermilk and oil combo keeps them soft for days.
- Flavor that dances: A hint of cocoa with that signature tangy kick from vinegar and buttermilk? Yes please. It’s subtle but unforgettable.
- Showstopper red: That vibrant color makes everyone gasp—I’ve had people refuse to eat them at first because they’re “too pretty” (don’t worry, they always cave).
- Celebration magic: Birthdays, Valentine’s Day, or just Tuesday—these turn any moment into something special. Pro tip: They disappear fastest at potlucks!
Seriously, one bite and you’ll be hooked. My neighbor still texts me for the recipe every holiday season!
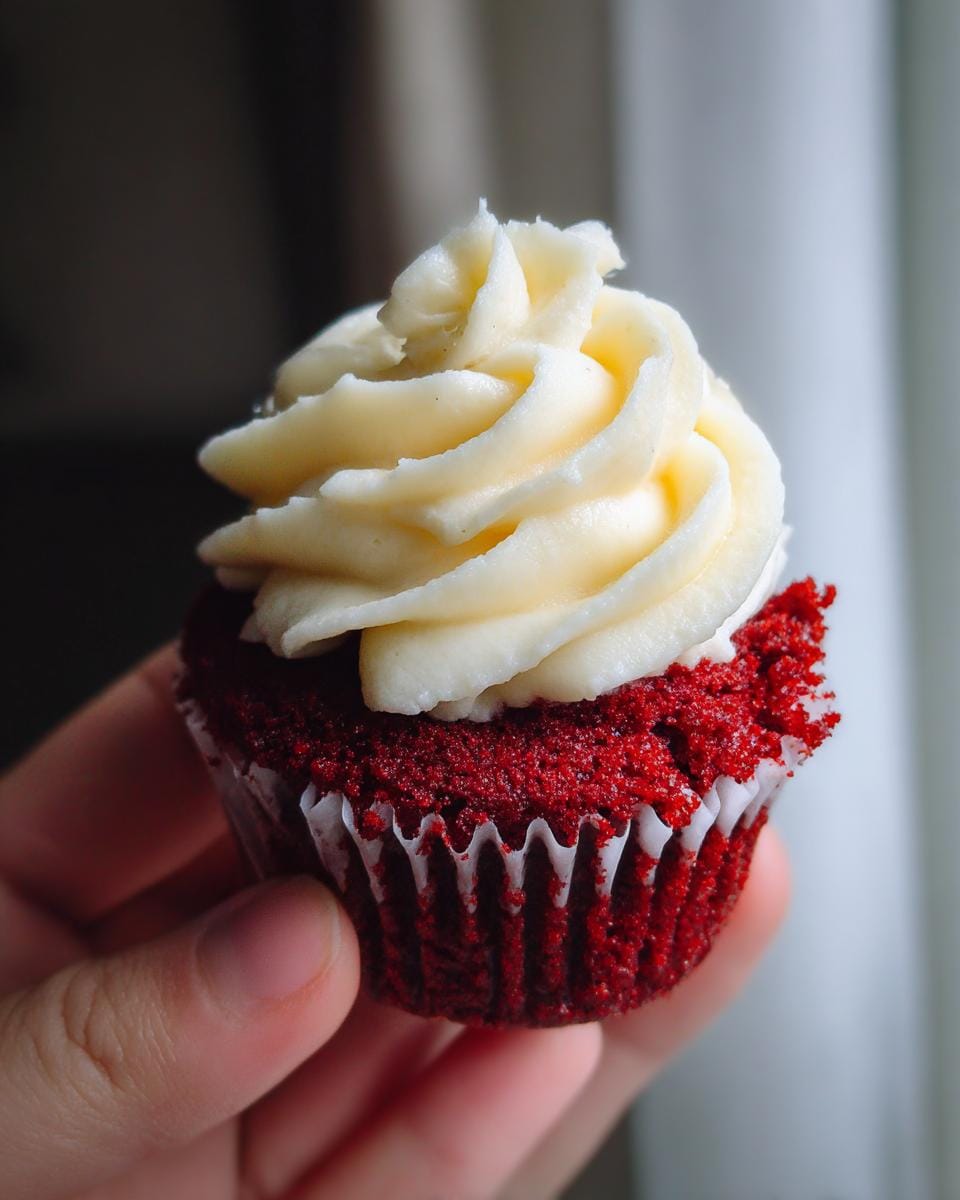
Ingredients for Red Velvet Crush Cupcakes
Here’s everything you’ll need to make these dreamy cupcakes come to life. I’m a stickler for measurements – baking is science, after all! – so I’ve listed everything exactly how Grandma taught me:
- Dry ingredients: 1 1/4 cups all-purpose flour (spooned and leveled), 3/4 cup granulated sugar, 1/2 teaspoon baking soda, 1/2 teaspoon fine sea salt, 1 teaspoon natural cocoa powder (not Dutch process)
- Wet ingredients: 1/2 cup vegetable oil (canola works too), 1 large egg at room temperature, 1/2 cup full-fat buttermilk (shake the carton first!), 1 tablespoon high-quality red gel food coloring (this gives that signature vibrant color)
- Flavor boosters: 1 teaspoon pure vanilla extract (none of that imitation stuff!), 1/2 teaspoon distilled white vinegar (trust me, it makes all the difference)
Pro tip from my many trials: Measure your flour correctly! Too much makes dry cupcakes. I always use the spoon-and-level method for perfect results.
Equipment You’ll Need
Before we dive into baking, let’s gather our tools – nothing fancy, just the basics that make cupcake magic happen:
- Standard 12-cup muffin pan (don’t even think about skipping the liners!)
- 2 mixing bowls (one big, one medium)
- Whisk and rubber spatula (my batter-scraping MVP)
- Measuring cups and spoons
- Cookie scoop (for perfectly even cupcakes)
- Wire cooling rack (patience is key!)
That’s it! No stand mixer required – just good old-fashioned elbow grease and love.
How to Make Red Velvet Crush Cupcakes
Alright friends, let’s dive into the magic! I’ll walk you through every step – just like I’m right there in the kitchen with you. Don’t worry if you’re new to baking; these cupcakes are surprisingly forgiving if you follow these simple steps.
Preparing the Batter
First, let’s get our dry team and wet team ready separately – this is crucial for perfect texture! In your big bowl, whisk together the flour, sugar, baking soda, salt and cocoa powder until they’re best friends. In the medium bowl, beat the oil and egg together like they’re slow dancing, then whisk in the buttermilk, food coloring (hello gorgeous red!), vanilla, and vinegar.
Now for the fun part – pour the wet ingredients into the dry and gently fold them together with your spatula. Here’s my golden rule: stop mixing when you stop seeing flour streaks. Overmixing makes tough cupcakes, and we want clouds of velvet here!
Baking the Cupcakes
Preheat that oven to 350°F (175°C) – no cheating on this step! Line your muffin pan with cute liners (I’m partial to the gold foil ones for extra pizzazz). Use a cookie scoop or spoon to fill each liner about 2/3 full – this gives the cupcakes room to rise into perfect domes.
Bake for 18-20 minutes. You’ll know they’re done when they spring back lightly when touched, and a toothpick comes out with just a few moist crumbs. Oh! And your kitchen will smell like heaven. Resist eating them straight from the pan – trust me, I’ve learned this the hard way!
Cooling and Frosting
This is where patience pays off! Let the cupcakes cool in the pan for 5 minutes, then transfer them to a wire rack. Walk away – seriously, let them cool completely (about 45 minutes) before frosting. I once frosted warm cupcakes in a hurry and ended up with pink puddles instead of frosting – lesson learned!
When they’re finally cool, go wild with your favorite frosting (cream cheese is classic, but buttercream works too). I pipe mine high because extra frosting never hurt anybody! Now step back and admire your edible masterpieces before digging in.
Frosting and Decoration Ideas
Now for the best part – dressing up these beauties! My absolute can’t-resist combo is a generous swirl of cream cheese frosting – tangy, sweet perfection that plays so nicely with the red velvet. For the simplest version, just beat together 8 oz softened cream cheese, 1/2 cup softened butter, 3 cups powdered sugar, 1 tsp vanilla, and a pinch of salt until fluffy. Want to gild the lily? Here are my favorite ways to make them extra special:
- Classic swirl: Pipe tall rosettes with a star tip – the higher, the better in my book!
- Festive crunch: Top with red sanding sugar or edible glitter for celebrations (kids go wild for this)
- Berry beautiful: Crown each cupcake with a fresh raspberry or strawberry slice
- Chocolate love: Drizzle with melted chocolate or sprinkle with mini chocolate chips
Remember – there are no rules here! I’ve even done crushed Oreos for a cookies-and-cream twist when the mood strikes.
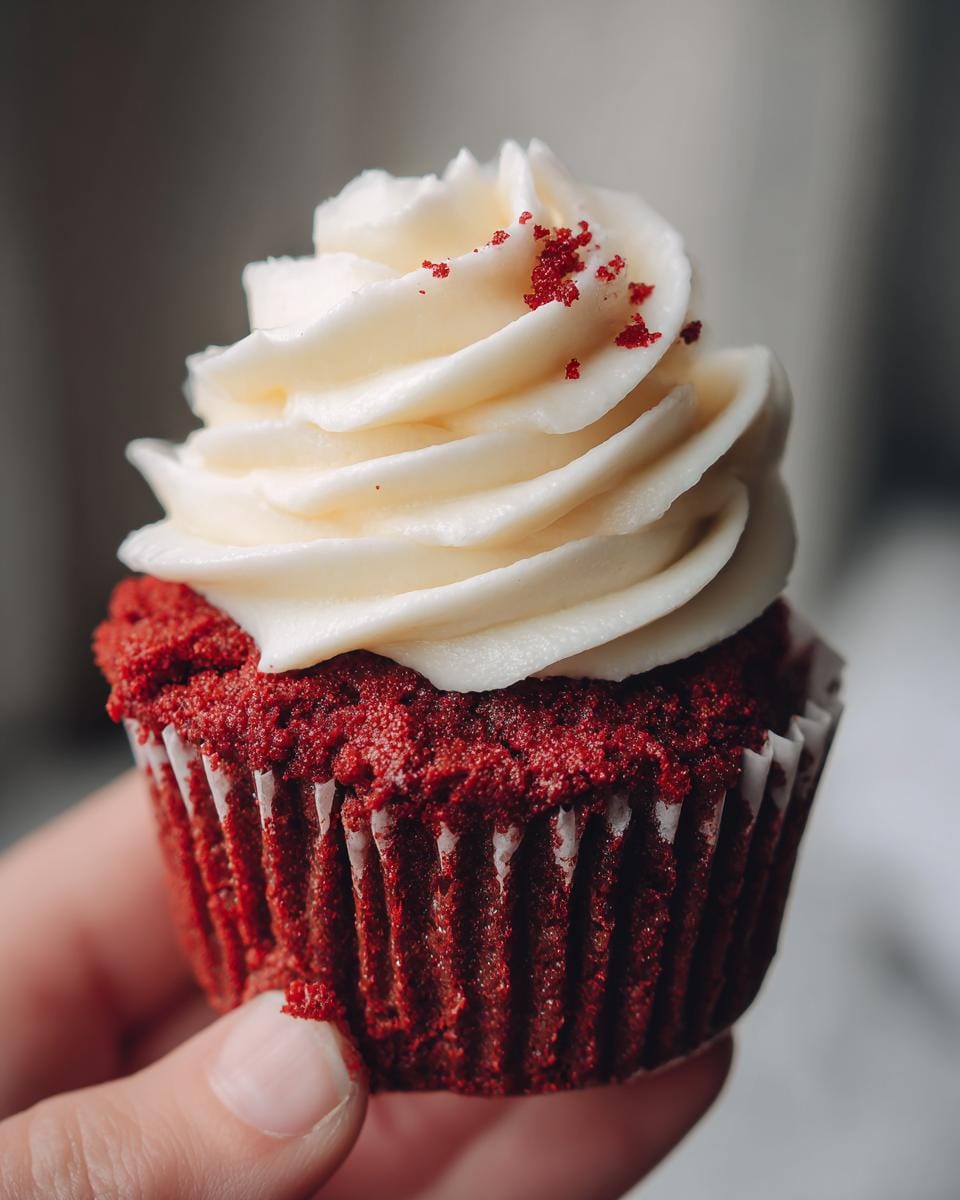
Tips for Perfect Red Velvet Crush Cupcakes
After baking dozens (okay, hundreds) of these cupcakes, I’ve picked up some foolproof tricks to guarantee success every time:
- Color matters: Skip liquid food coloring – gel gives that rich red hue without watering down your batter. I swear by Americana Super Red.
- Oven check: Use an oven thermometer! That little gadget saved me from underbaked disasters when I learned my oven runs 15°F cool.
- Storage secret: Keep unfrosted cupcakes in an airtight container at room temp for 3 days. Frosted ones last 2 days max before the fridge becomes necessary.
- Batter hack: If your batter seems too thick, add just a splash more buttermilk – but go slow! Better slightly thick than soupy.
Follow these, and you’ll be the red velvet hero at every gathering!
Variations and Substitutions
Listen, life happens – sometimes you’re out of buttermilk or your friend can’t have gluten. No sweat! Here’s how to tweak these cupcakes without losing that signature red velvet magic:
- Gluten-free: Swap the flour 1:1 with a gluten-free blend (I like King Arthur’s). Add 1/4 tsp xanthan gum if your mix doesn’t include it – this keeps them tender.
- Dairy-free: Make “buttermilk” by mixing 1/2 cup almond milk with 1/2 tbsp lemon juice. For frosting, use vegan cream cheese.
- Natural coloring: Beet powder works (use 2 tbsp), but expect a deeper burgundy hue rather than bright red.
- Egg-free: Try a flax egg (1 tbsp ground flax + 3 tbsp water), though the texture will be denser.
Fair warning: Some changes alter taste slightly, but hey – imperfect cupcakes still beat no cupcakes at all!
Storage and Reheating
Here’s how to keep these cupcakes tasting fresh as the day you baked them! Unfrosted, they last beautifully in an airtight container at room temp for 3 days. Frosted? They hold up for 2 days max before needing the fridge. To revive chilled cupcakes, let them sit out for 20 minutes – or microwave for 10 seconds if you can’t wait (we’ve all been there!).
Nutritional Information
Just a quick heads up – these nutrition estimates are based on my standard recipe, but your exact numbers may vary depending on brands and tweaks. Each gorgeous cupcake runs about 250 calories with that dreamy cream cheese frosting. Not health food, but totally worth every delicious bite in my book!
Frequently Asked Questions
Can I freeze these red velvet cupcakes? Absolutely! Freeze unfrosted cupcakes in an airtight container for up to 3 months. Thaw at room temperature before frosting. For best texture, I actually freeze mine the day I bake them – they stay incredibly moist!
Why is vinegar in the recipe? That little bit of white vinegar works magic! It reacts with the baking soda to give the cupcakes a perfect rise, plus it enhances the buttermilk’s tang – the secret behind that classic red velvet flavor. Don’t worry, you won’t taste it at all in the final product.
My batter seems too dry – help! No panic! Just add buttermilk one tablespoon at a time until it reaches that perfect pourable consistency. I’ve found humidity affects flour differently, so this happens to me sometimes too. Better to fix it now than end up with dry cupcakes!
Can I make these into a cake? You sure can! Double the recipe for two 9-inch layers. Bake at 350°F for 25-30 minutes. The vinegar reaction means they’ll rise beautifully – just do the toothpick test to check doneness.
Final Thoughts
There you have it – my go-to recipe for red velvet cupcakes that never fails to impress! I can’t wait for you to experience that first perfect bite of moist, tangy-sweet goodness. Follow me on Pinterest
Print
5-Star Red Velvet Crush Cupcakes That Steal Hearts
- Total Time: 35 minutes
- Yield: 12 cupcakes
- Diet: Vegetarian
Description
Deliciously moist red velvet cupcakes with a creamy frosting, perfect for any occasion.
Ingredients
- 1 1/4 cups all-purpose flour
- 3/4 cup granulated sugar
- 1/2 tsp baking soda
- 1/2 tsp salt
- 1 tsp cocoa powder
- 1/2 cup vegetable oil
- 1 large egg
- 1/2 cup buttermilk
- 1 tbsp red food coloring
- 1 tsp vanilla extract
- 1/2 tsp white vinegar
Instructions
- Preheat oven to 350°F (175°C). Line a cupcake pan with liners.
- Whisk flour, sugar, baking soda, salt, and cocoa powder in a bowl.
- Mix oil, egg, buttermilk, food coloring, vanilla, and vinegar in another bowl.
- Combine wet and dry ingredients, stirring until smooth.
- Fill cupcake liners 2/3 full. Bake for 18-20 minutes.
- Cool completely before frosting.
Notes
- Use gel food coloring for vibrant color.
- Do not overmix the batter to keep cupcakes tender.
- Store in an airtight container for up to 3 days.
- Prep Time: 15 minutes
- Cook Time: 20 minutes
- Category: Dessert
- Method: Baking
- Cuisine: American
