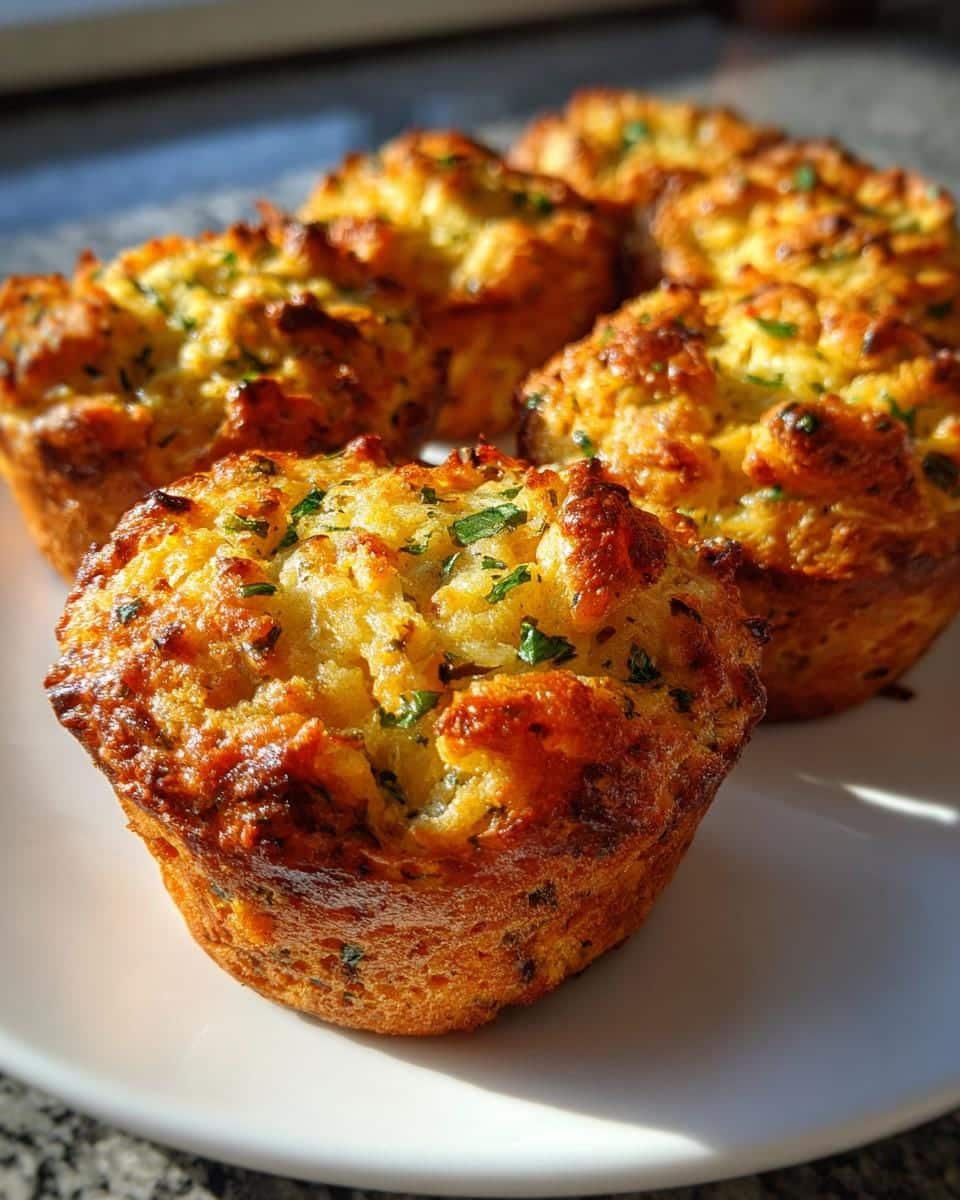
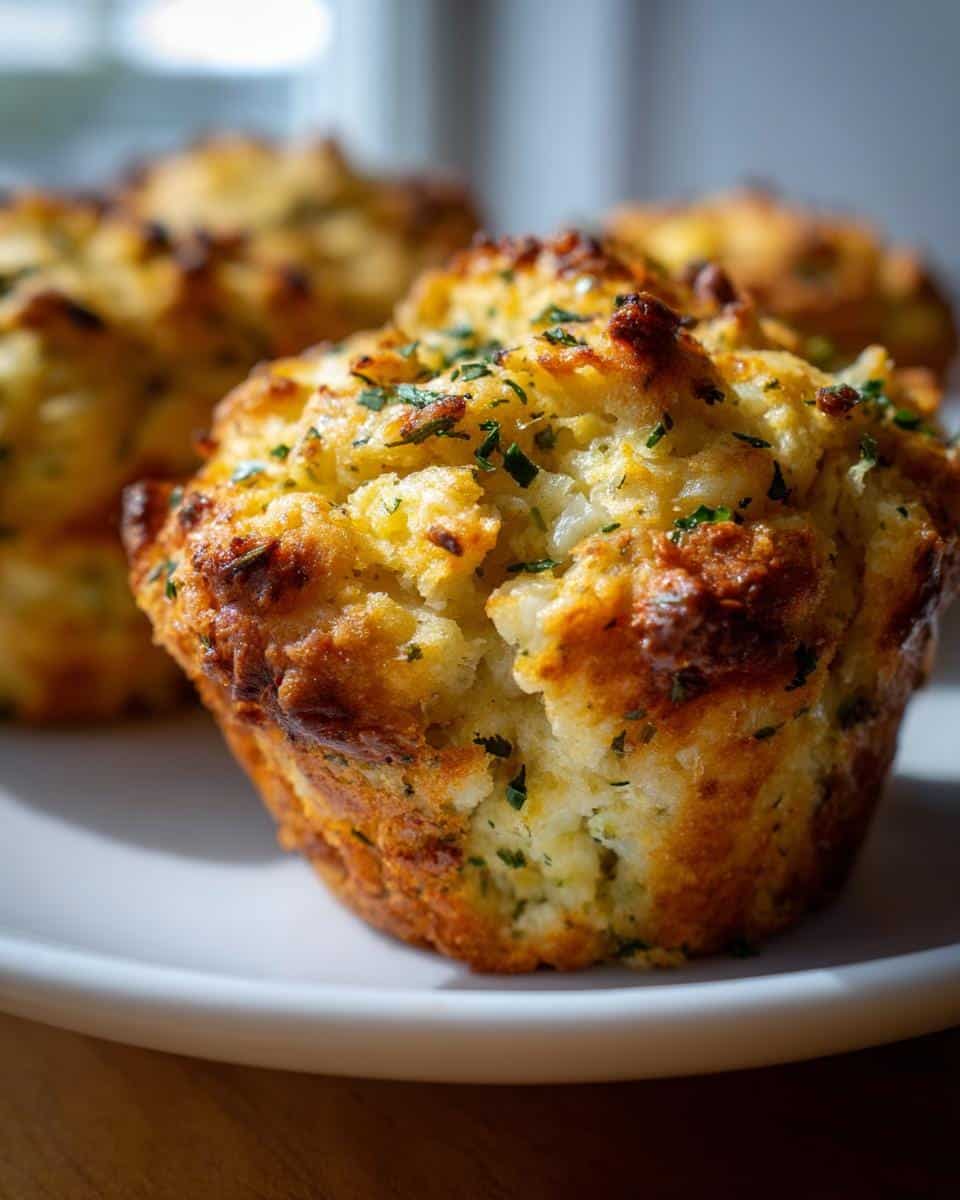
You know that moment when you’re staring at a giant casserole dish of stuffing at Thanksgiving, wondering how you’ll ever reheat it without drying it out? That’s exactly when I fell in love with stuffing muffins. My lightbulb moment came during a chaotic Friendsgiving years ago when I needed individual portions that could be grabbed between football plays and pie baking. These savory little wonders solve every stuffing dilemma – they’re perfectly portioned, reheat like a dream, and get those crispy edges we all fight over. After tweaking this recipe for a decade (and surviving countless holiday meals), I can confidently say these muffins deliver all the cozy comfort of traditional stuffing in a handheld package. They’re simple enough for weeknight dinners but special enough for holiday tables, and trust me, once you try them, you’ll never go back to scooping from a dish again.

Why You’ll Love These Stuffing Muffins
Listen, I’m obsessed with these stuffing muffins for so many reasons, and I know you will be too once you try them. Here’s why they’re absolute game-changers:
- Perfect little portions – No more wrestling with a spoon in a giant casserole dish or ending up with soggy leftovers!
- That golden, crispy edge – Every muffin gets that irresistible crunchy top we all fight over.
- Ready in under an hour – Faster than traditional stuffing and just as delicious.
- Endlessly customizable – Throw in sausage, cranberries, or mushrooms to make them your own.
- Reheats like magic – Pop them back in the oven and they taste freshly baked.
Seriously, once you go stuffing muffin, you’ll never go back!
Stuffing Muffins Ingredients
Here’s everything you’ll need to make these irresistible stuffing muffins:
- 2 cups plain bread crumbs (from day-old bread – trust me, fresh bread just doesn’t work the same)
- 1/2 cup unsalted butter, melted (that glorious golden liquid that makes everything better)
- 1/2 cup finely chopped yellow onion (the smaller the pieces, the better they distribute)
- 1/2 cup finely chopped celery (don’t skip this – it adds that essential crunch)
- 1/4 cup fresh parsley, chopped (none of that dried stuff here – we want bright, fresh flavor)
- 1 large egg, beaten (our binding agent that holds these little guys together)
- 1 teaspoon dried sage (the quintessential stuffing spice)
- 1/2 teaspoon fine sea salt (I prefer this over table salt for more even distribution)
- 1/4 teaspoon freshly ground black pepper (freshly ground makes all the difference)
- 1 cup low-sodium chicken or vegetable broth (low-sodium lets you control the seasoning)
Ingredient Notes & Substitutions
The day-old bread is non-negotiable in my book – fresh bread turns gummy while stale absorbs flavors beautifully. If you’re dairy-free, swap the butter for olive oil (though you’ll lose some richness). Not an onion fan? Try shallots for a milder flavor. That celery adds crucial texture, but diced fennel bulb makes an interesting twist. For gluten-free folks, use your favorite GF bread crumbs – I’ve had great success with sourdough GF varieties. Vegetarians should opt for veggie broth, obviously. And if sage isn’t your thing, thyme or poultry seasoning work wonders too. Just remember – the better quality your ingredients, the more amazing your muffins will taste!
Essential Equipment for Stuffing Muffins
Now, let’s talk tools! You won’t need anything fancy here – just the basics from your kitchen. A standard 12-cup muffin tin is your MVP (grease it well, folks!). Grab your favorite large mixing bowl – I prefer a wide one so you can really get in there and mix. You’ll need a sturdy spoon for stirring (wooden is my go-to), plus measuring cups and spoons for accuracy. Don’t forget a trusty cooling rack – those crispy bottoms need air circulation so they don’t steam and get soggy. That’s it! Simple tools for seriously delicious results.
How to Make Stuffing Muffins
Alright, let’s get these irresistible stuffing muffins going! Follow these steps and you’ll have golden, savory perfection in no time. I’ve made this recipe dozens of times, and these are the exact steps that guarantee success every single time.
Step 1: Prepare Your Oven and Muffin Tin
First things first – crank that oven to 375°F (190°C) and let it preheat properly. While it’s heating up, grab your muffin tin and grease every single cup really well. I mean it – get into all those little corners! Nothing’s worse than beautiful stuffing muffins stuck in the pan. You can use butter, cooking spray, or my favorite – that leftover melted butter from the recipe.
Step 2: Combine the Dry Ingredients for Your Stuffing Muffins
In your largest mixing bowl (trust me, you’ll want the space), toss together those beautiful bread crumbs with the sage, salt, and pepper. Give it a good whisk or stir to make sure those spices are evenly distributed. This is where the magic starts – that sage aroma hitting your nose is everything!
Step 3: Sauté the Aromatics
Here’s my secret weapon step – take about half of that melted butter and sauté your chopped onion and celery for 3-4 minutes until they’re just softened. This little extra step brings out their sweetness and makes the flavor so much deeper. Then mix these golden beauties right into your dry ingredients.
Step 4: Bring the Stuffing Muffin Batter Together
Now for the fun part! Pour in the remaining melted butter, fresh parsley, and beaten egg. Stir gently to combine. Here’s where you’ll add the broth – but go slow! Pour in about half first, mix, then add the rest gradually. You want the mixture moist enough to hold together when pressed, but not so wet that it’s dripping. Think “wet sand” consistency – perfect!
Step 5: Bake to Perfection
Spoon that glorious mixture into your prepared muffin cups, filling each about halfway. Don’t pack them down too hard – we want some texture! Pop them in the oven for 20-25 minutes. You’ll know they’re done when the tops are golden brown and crispy, and your kitchen smells like Thanksgiving heaven.
Step 6: Cooling and Serving Your Stuffing Muffins
Resist the urge to dig in immediately! Let those beauties cool in the pan for 5 minutes – this helps them set so they don’t crumble when you remove them. Then gently loosen the edges with a butter knife and transfer to a wire rack. Serve warm and watch them disappear!
Expert Tips for the Best Stuffing Muffins
After making these stuffing muffins more times than I can count, I’ve picked up some foolproof tricks that’ll take yours from good to “can I have the recipe?” amazing. First – stale bread is your best friend here. Fresh bread turns mushy, while day-old gives that perfect texture. Don’t overmix the batter! Gentle folds keep those muffins light and fluffy. Always sauté those onions and celery first – it’s an extra step, but wow does it deepen the flavor. Test doneness with a toothpick – it should come out clean but not bone dry. And here’s my golden rule: let them cool slightly before eating. I know it’s hard, but those 5 minutes make all the difference in keeping your stuffing muffins perfectly intact!
Serving Suggestions for Stuffing Muffins
Oh, the possibilities with these little flavor bombs! Of course they’re perfect alongside your holiday turkey – I love arranging them around the platter like edible decor. But don’t stop there! They’re incredible with roast chicken on a random Tuesday night (just drizzle with pan juices – heaven). For brunch, try them with poached eggs and hollandaise. My kids go wild when I serve them warm with homemade gravy for dipping – total comfort food magic. And here’s my favorite lazy dinner: stuffing muffins + rotisserie chicken + cranberry sauce = instant holiday vibes any night of the week!
Storing and Reheating Your Stuffing Muffins
Here’s the beautiful thing about these stuffing muffins – they actually taste better the next day! Once completely cooled, tuck them into an airtight container (I like layering with parchment paper if stacking) and they’ll keep for up to 3 days at room temperature. For longer storage, pop them in the freezer for up to 2 months – just thaw overnight in the fridge. When you’re ready to revive that crispy magic, reheat in a 350°F oven for about 10 minutes until warmed through. No oven? A quick 30-second zap in the microwave works in a pinch, though you’ll lose some crunch. Pro tip: brush with a little melted butter before reheating for extra golden goodness!
Stuffing Muffins Nutrition Information
Now, I’m no nutritionist, but I know you might be curious about what’s in these little flavor-packed muffins. Here’s the thing – every batch will be a bit different depending on your bread choice, how much butter you use (no judgment here!), and whether you add any extras like sausage or cheese. The nutritional info is really just a ballpark estimate. Your actual results might vary based on your specific ingredients and how big you make your muffins. The important thing is they’re delicious, and that’s what counts in my book!
Stuffing Muffins FAQs
Can I make stuffing muffins ahead of time?
Absolutely! These are one of my favorite make-ahead dishes. You can prepare the batter up to a day in advance – just cover and refrigerate it (the flavors actually improve!). When ready to bake, let it sit at room temperature for 15 minutes while your oven preheats, then bake as usual. Already baked muffins? They’ll keep beautifully in the fridge for 3 days or freezer for 2 months.
Can I freeze stuffing muffins?
You bet! Freezing is my secret weapon for having holiday-ready sides anytime. Let them cool completely, then wrap individually in plastic wrap and tuck into a freezer bag. When the craving hits, just pop them frozen into a 350°F oven for about 15 minutes – they’ll come out tasting fresh-baked. Perfect for those “oops, forgot a side dish” emergencies!
What herbs can I use instead of sage?
While sage is classic, don’t be afraid to mix it up! Thyme and rosemary work wonderfully – I often use 1/2 tsp each for a more complex flavor. Poultry seasoning is a great shortcut too. For a fresh twist, try chopped fresh herbs like parsley, chives, or even a bit of tarragon. The beauty of these savory muffins is how easily you can customize them to your taste!
Is this recipe gluten-free?
It can be! Just swap regular bread crumbs for your favorite gluten-free variety (I prefer GF sourdough crumbs). Double-check that your broth is GF too – many store-bought versions contain wheat. The texture might be slightly different, but the flavor will still be fantastic. For extra insurance, make sure all your other ingredients are certified gluten-free.
Can I add meat to these stuffing muffins?
Oh honey, can you ever! Cooked sausage (my personal favorite), diced bacon, or even shredded chicken take these to the next level. Just brown your meat first, let it cool slightly, then mix it in with the other ingredients. Start with about 1/2 cup of add-ins – you don’t want to overwhelm the delicate texture. Vegetarians? Try sautéed mushrooms for that umami punch!

Savory stuffing muffins recipe – 12 perfect crispy bites
- Total Time: 40 minutes
- Yield: 12 muffins
- Diet: Vegetarian
Description
A simple recipe for savory stuffing muffins, perfect as a side dish or snack.
Ingredients
- 2 cups bread crumbs
- 1/2 cup melted butter
- 1/2 cup chopped onion
- 1/2 cup chopped celery
- 1/4 cup chopped parsley
- 1 egg
- 1 tsp dried sage
- 1/2 tsp salt
- 1/4 tsp black pepper
- 1 cup chicken or vegetable broth
Instructions
- Preheat oven to 375°F (190°C).
- Mix bread crumbs, melted butter, onion, celery, parsley, egg, sage, salt, and pepper in a bowl.
- Gradually add broth until the mixture is moist but not soggy.
- Spoon the mixture into a greased muffin tin, filling each cup halfway.
- Bake for 20-25 minutes or until golden brown.
- Let cool for 5 minutes before removing from the tin.
Notes
- Use day-old bread for better texture.
- Add cooked sausage or mushrooms for extra flavor.
- Store leftovers in an airtight container for up to 3 days.
- Prep Time: 15 minutes
- Cook Time: 25 minutes
- Category: Side Dish
- Method: Baking
- Cuisine: American


