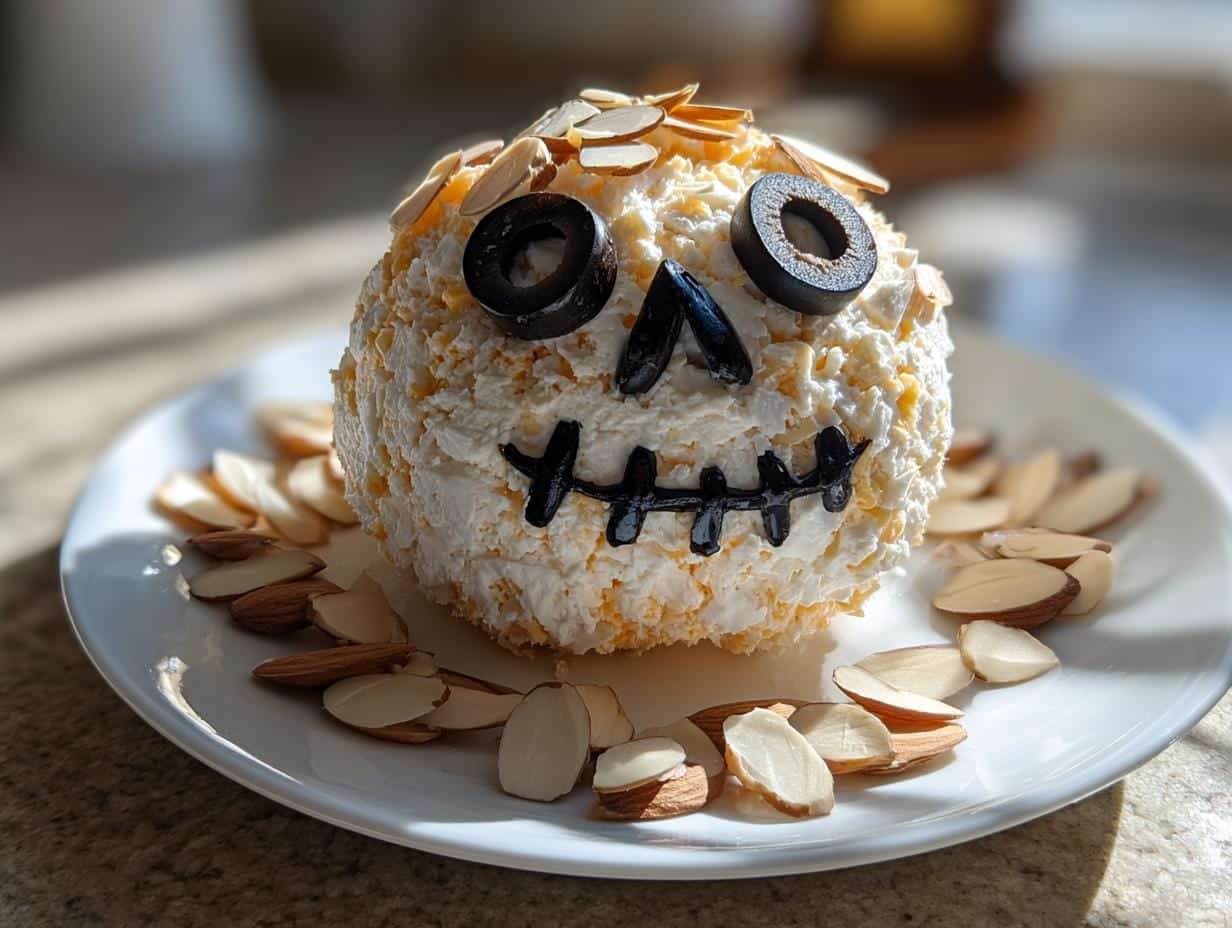
Oh my gosh, you should’ve seen the looks on my kids’ faces last Halloween when I brought out this Skellington Cheese Ball Appetizer! It was like magic – one minute they’re bouncing around hyped up on candy, the next they’re frozen in awe at this grinning skeleton made of cheese. Honestly, I live for these little kitchen moments that turn ordinary parties into something special.
This recipe has become my go-to Halloween trick – it looks impressive but couldn’t be simpler to make. Just wait till you see how easy it is to transform basic ingredients into a spooky centerpiece that’ll have all your guests snapping pictures before they devour it. The best part? That creamy, garlicky cheese base tastes even better than it looks (if that’s possible!).
I’ll never forget the year my niece refused to eat “Mr. Bones” because she thought he was too cute to destroy. We had to promise her we’d make another one just for nibbling! Now it’s our family tradition – one cheese ball for show, one for eating. Because let’s be real, no Halloween party is complete without a little cheesy magic.
Table of Contents
Why You’ll Love This Skellington Cheese Ball Appetizer Recipe
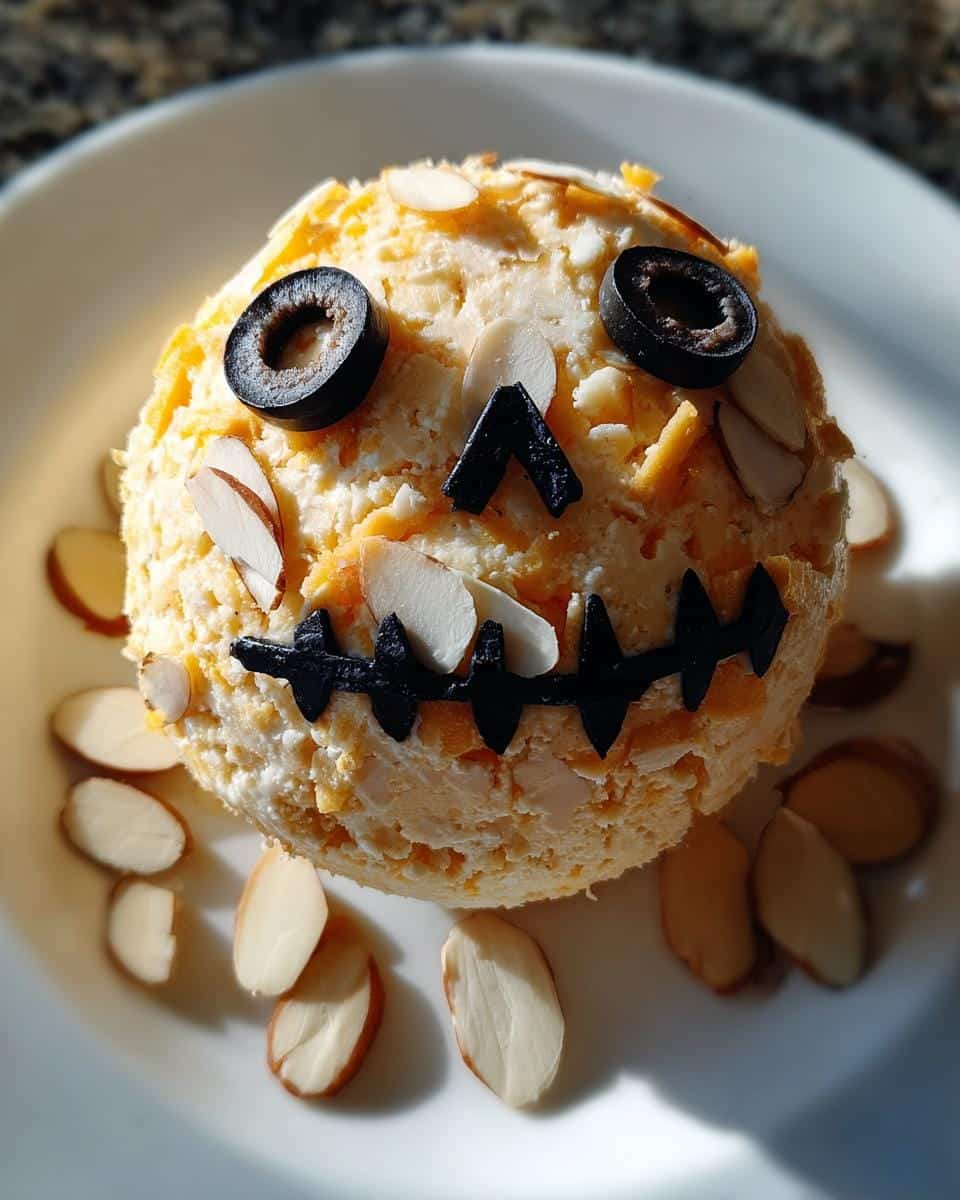
Listen, I know what you’re thinking – “Do I really need another cheese ball recipe?” But trust me, this one’s different. Here’s why it’s become my Halloween party MVP year after year:
- Shockingly easy: If you can mix ingredients and stick olives on a ball, you’ve got this. No fancy skills needed!
- Instantly festive: That moment when you reveal your edible skeleton? Pure magic. Gets more oohs and ahhs than my neighbor’s over-the-top decorations.
- Crowd-pleaser: The creamy garlic-cheddar base disappears faster than candy corn at a trick-or-treat party.
- Make-ahead friendly: Throw it together in 15 minutes, then let it chill while you deal with costumes and decorations.
- Endless fun: Kids love decorating their own mini “skellingtons” while adults appreciate the grown-up flavors.
Seriously, this recipe is like the perfect Halloween party guest – fun, low-maintenance, and everyone wants to hang out with it.
Ingredients for the Skellington Cheese Ball Appetizer Recipe
Here’s everything you’ll need to bring this cheesy skeleton to life (or should I say, afterlife?):
- 16 oz cream cheese – softened to room temperature (trust me, trying to mix cold cream cheese is like wrestling a pumpkin)
- 1 cup shredded cheddar cheese – the sharper the better for that bold flavor
- 1/2 cup sour cream – our secret weapon for ultra-creamy texture
- 1 tsp garlic powder + 1 tsp onion powder – the dynamic duo of flavor
- 1/2 tsp black pepper + 1/4 tsp salt – just enough to make the flavors pop
- 1/4 cup sliced black olives – for those spooky skeleton eyes and grin
- 1/4 cup sliced almonds – perfect little “bones” to decorate with
- Assorted crackers or veggies – for serving (I’m partial to spiderweb-shaped crackers when I can find them!)
Equipment You’ll Need
Don’t worry – you won’t need any fancy gadgets for this spooky creation! Just grab these basics from your kitchen:
- Large mixing bowl – big enough to really get in there and mix
- Rubber spatula – for scraping every last bit of that delicious cheese mixture
- Serving plate – pick something festive if you’ve got it!
- Plastic wrap – for chilling (and sneaking tastes)
That’s it! Unless you count your imagination as equipment – because that’s the real magic ingredient here.
How to Make the Skellington Cheese Ball Appetizer Recipe
Okay, let’s bring this spooky snack to life! The process is so simple you could probably do it with one hand while handing out candy with the other. Here’s how it all comes together:
Mixing the Cheese Base
First things first – dump that softened cream cheese into your mixing bowl. Pro tip: If you forgot to take it out of the fridge (we’ve all been there), zap it in the microwave for 15-second bursts until it’s soft but not melted. Now, add your shredded cheddar, sour cream, and all those delicious seasonings.
Here’s where the fun begins – get in there with your spatula (or clean hands, I won’t judge) and mix until everything is smooth and dreamy. You want zero lumps – we’re going for graveyard smooth, not lumpy monster flesh! The mixture should hold together when you press it but still be slightly sticky.
Shaping and Decorating the Skellington
Time to make some magic! Scoop all that cheesy goodness onto a sheet of plastic wrap. Now the fun part – form it into a ball shape, smoothing with your hands. Don’t stress about perfect symmetry; skeletons aren’t known for being perfectly round!
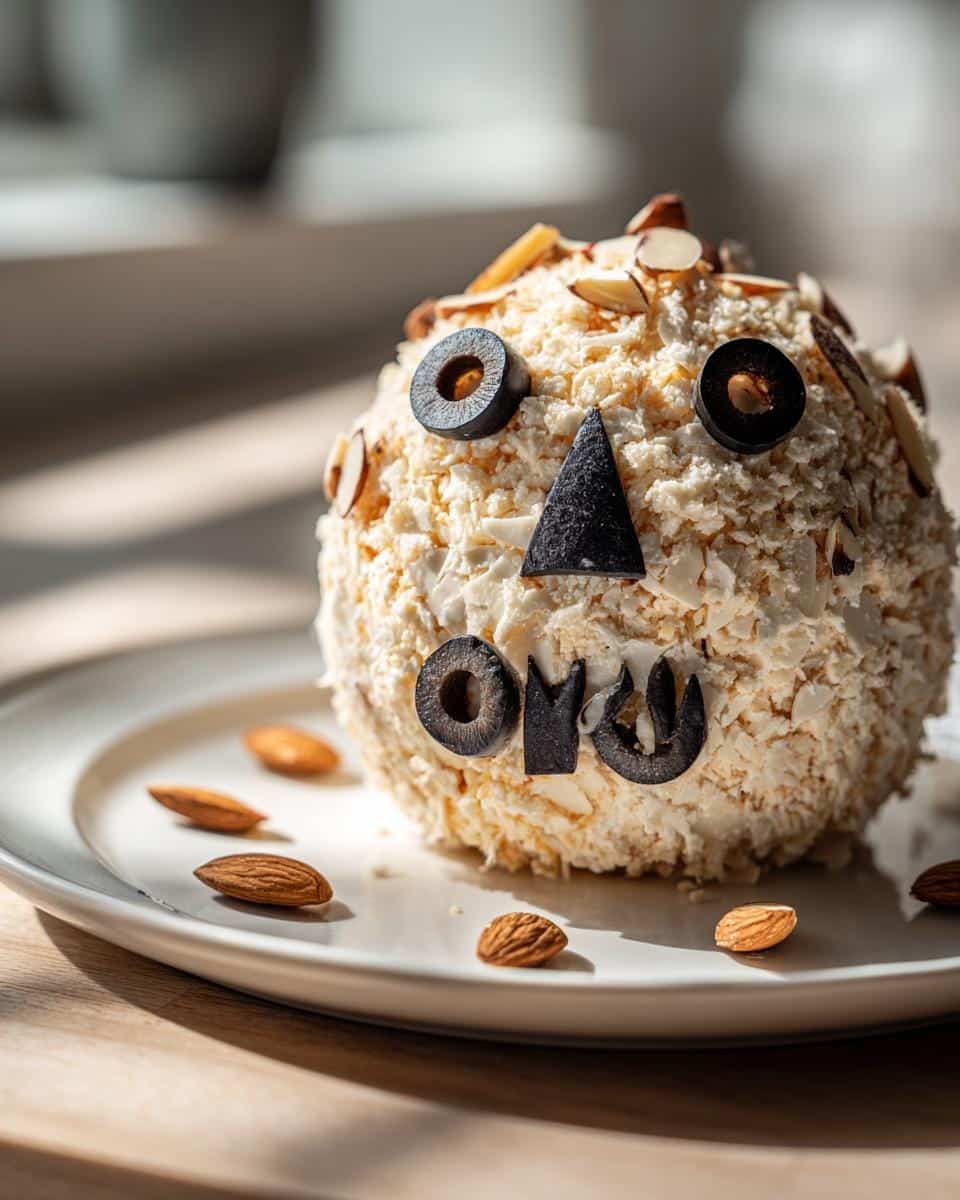
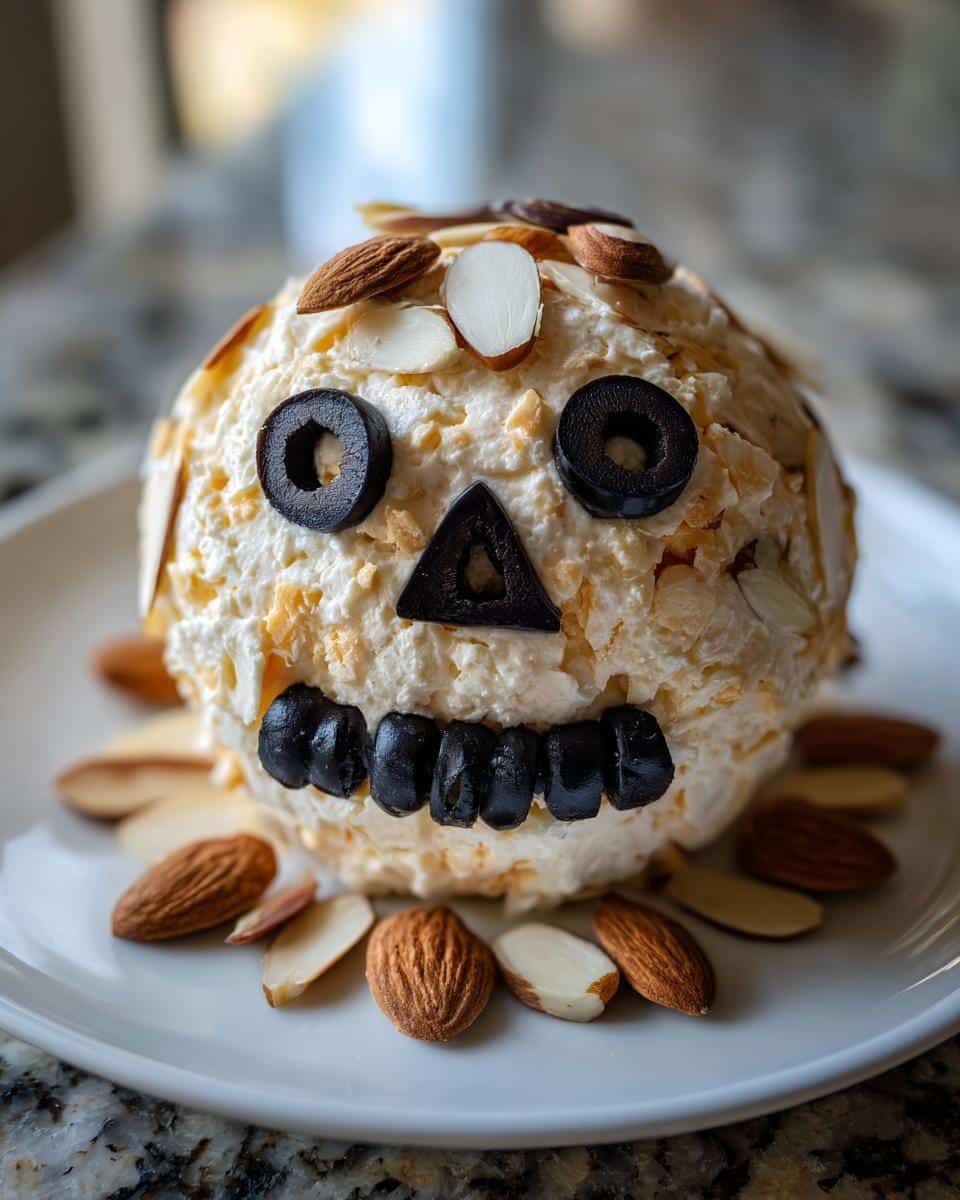
Transfer your cheese ball to your serving plate – this is where the real transformation happens. Use those black olive slices to create big, spooky eyes and a jagged jack-o’-lantern grin. Then get creative with the almond slices – arrange them like ribs, arms, or whatever bone structure tickles your fancy. Last year I made little almond “fingers” reaching up from the plate – totally worth the extra minute!
Chilling and Serving
Here’s where patience comes in (I know, tough when it looks this cute). Tuck your skellington into the fridge for at least an hour – this helps the flavors meld and makes it easier to slice. When it’s party time, surround your creation with crackers and veggies. I like to arrange them like a sunburst so guests can “break off bones” to scoop with.
Watch as your masterpiece becomes the life (and death) of the party! Just be prepared – this guy disappears faster than ghosts at sunrise.
Tips for the Perfect Skellington Cheese Ball Appetizer Recipe
After making this cheese ball more times than I can count (and surviving many Halloween party disasters), here are my hard-earned secrets:
- Prep ahead magic: Make the base up to 2 days early and store it shaped but undecorated in the fridge – add the creepy details right before serving so they stay fresh-looking.
- Spook level control: For extra fright factor, use more olives to create a ribcage or swap almonds for thin pretzel sticks as “broken bones.”
- Gluten-free ghosties: Simply serve with veggie sticks or gluten-free crackers – the cheese mixture is naturally GF!
- Stick prevention: Spritz your hands with cooking spray before shaping to keep the cheese from clinging like zombie hands.
- Temperature matters: Let it sit out 15 minutes before serving so the flavors really shine (but don’t leave it more than 2 hours at room temp).
These little tricks turn a good cheese ball into a legendary Halloween centerpiece!
Variations and Substitutions
Listen, even skeletons like to mix things up sometimes! Here are some fun ways to customize your Skellington Cheese Ball:
- Spicy bones: Swap the almonds for thin slices of pepperoni or jalapeños – gives it a kick and looks like fiery bones!
- Vampire version: Use roasted red pepper strips for bloody eyes and mouth instead of olives.
- Extra cheesy: Add a handful of crumbled blue cheese to the mix for grown-up ghost flavors.
- Nut-free option: Try pretzel sticks or chow mein noodles for crunchy “bones” instead of almonds.
The beauty is – as long as it’s creepy and delicious, you’re doing it right!
Serving Suggestions
Take your Halloween spread to the next level by pairing Mr. Skellington with these ghoulish goodies:
- “Witch finger” breadsticks poking out around the plate
- Blood-red tomato soup in mini cauldrons for dipping
- Pumpkin-shaped crackers or bat-shaped tortilla chips
- Spooky black lemonade with gummy worm “stirrers”
Trust me, when you arrange these together, your snack table will look like it came straight from a monster mash!
Storage and Reheating
Here’s the spooky truth – this cheese ball actually gets better after chilling overnight! Just wrap it tightly in plastic (so it doesn’t dry out like a mummy) and it’ll keep happily in your fridge for up to 3 days. No reheating needed – cold cheese is part of its undead charm! If the almonds or olives look sad after chilling, just swap them for fresh slices before serving.
Nutritional Information
Now, let’s be real – nobody eats a skeleton-shaped cheese ball for its health benefits! But since you asked, here’s the scoop: each serving (about 1/10 of the cheese ball) clocks in around 180 calories with 16g of fat. Of course, these numbers can vary depending on your exact ingredients – different cheese brands, cracker choices, and how generously you “sample” while decorating will all affect the final count. But hey, it’s Halloween – calories don’t count when they’re shaped like bones, right?
Frequently Asked Questions
Can I make the Skellington Cheese Ball ahead of time?
Absolutely! In fact, I recommend it. The flavors get even better after chilling overnight. Just wait to add those creepy olive eyes and almond bones until right before serving so they stay fresh-looking. Your future self will thank you when party day gets crazy!
How long will this cheese ball keep in the fridge?
Your edible skeleton will stay fresh for up to 3 days if wrapped tightly in plastic wrap. After that, the texture starts getting a little… well, let’s just say too authentic to actual decomposed remains!
Can I freeze the cheese ball?
Technically yes, but I don’t recommend it. The texture changes when thawed – it becomes more crumbly than creepy. Plus, wouldn’t you rather enjoy your masterpiece while it’s fresh? No zombie cheese here!
What if I can’t find sliced almonds?
No problem! Get creative with pretzel sticks, chow mein noodles, or even thin cucumber slices for bones. The key is having fun with it – there are no skeleton police coming to inspect your work!
Is this recipe gluten-free?
The cheese mixture itself is naturally gluten-free! Just be sure to serve it with GF crackers or veggie sticks to keep it safe for all your little ghosts and goblins.
Did this recipe bring some spooky joy to your Halloween? Rate it if you dare – and share your creepiest cheese ball photos with me!
For more delicious recipes and baking inspiration, check out our Pinterest page!
Print
Spooky Skellington Cheese Ball Recipe in Just 15 Minutes
- Total Time: 1 hour 15 minutes
- Yield: 1 cheese ball (serves 8-10)
- Diet: Vegetarian
Description
A spooky and delicious cheese ball shaped like a skeleton, perfect for Halloween parties or themed gatherings.
Ingredients
- 16 oz cream cheese, softened
- 1 cup shredded cheddar cheese
- 1/2 cup sour cream
- 1 tsp garlic powder
- 1 tsp onion powder
- 1/2 tsp black pepper
- 1/4 tsp salt
- 1/4 cup sliced black olives (for decoration)
- 1/4 cup sliced almonds (for decoration)
- Assorted crackers or veggies for serving
Instructions
- In a large bowl, mix cream cheese, cheddar cheese, sour cream, garlic powder, onion powder, black pepper, and salt until smooth.
- Shape the mixture into a round ball and place it on a serving plate.
- Use sliced black olives to create eyes and a mouth for the skeleton face.
- Arrange sliced almonds around the cheese ball to resemble bones.
- Chill for at least 1 hour before serving.
- Serve with crackers or veggies.
Notes
- For a spookier look, add more olive slices for ribs or other bone details.
- You can prepare this a day ahead and keep it refrigerated until serving.
- Use gluten-free crackers if needed.
- Prep Time: 15 minutes
- Cook Time: 0 minutes
- Category: Appetizer
- Method: No-Cook
- Cuisine: American
