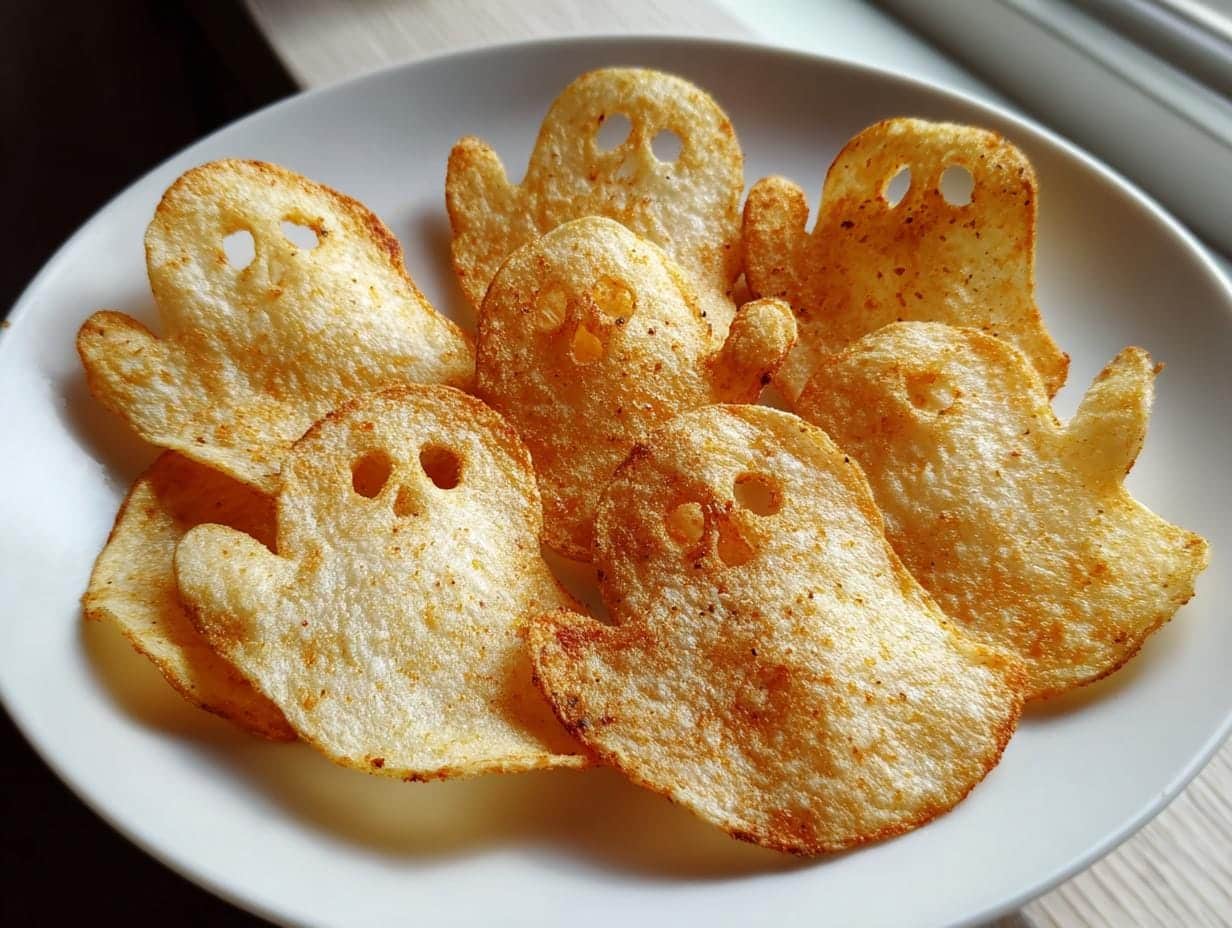
Halloween isn’t just about costumes—it’s about the snacks! These Spooky Baked Halloween Ghost Chips are my go-to for a fun, guilt-free treat that disappears faster than a ghost in the night. Crispy, flavorful, and oh-so-cute, these gluten-free and paleo-friendly chips are perfect for parties or just scaring up some kitchen fun with the kids. Made with just a handful of simple ingredients (no tricks here, just treats!), they’re baked, not fried, so you can munch away without the spooky aftermath. Trust me, once you try these, they’ll haunt your snack rotation all season long!
Why You’ll Love These Spooky Baked Halloween Ghost Chips
These ghost chips aren’t just adorable—they’re downright addictive! Here’s why they’ve become my Halloween staple:
- Boo-tifully crispy: That perfect crunch? Achieved by baking thin slices just until golden—no deep fryer needed!
- Spookily simple: Six ingredients, one baking sheet, and zero fancy skills required (my kind of magic).
- Ghostly guilt-free: Naturally gluten-free and paleo-friendly, so everyone can join the haunting.
- Kid-approved fun: Little hands love cutting out ghost shapes—mine always “accidentally” snack on the scraps!
Ingredients for Spooky Baked Halloween Ghost Chips
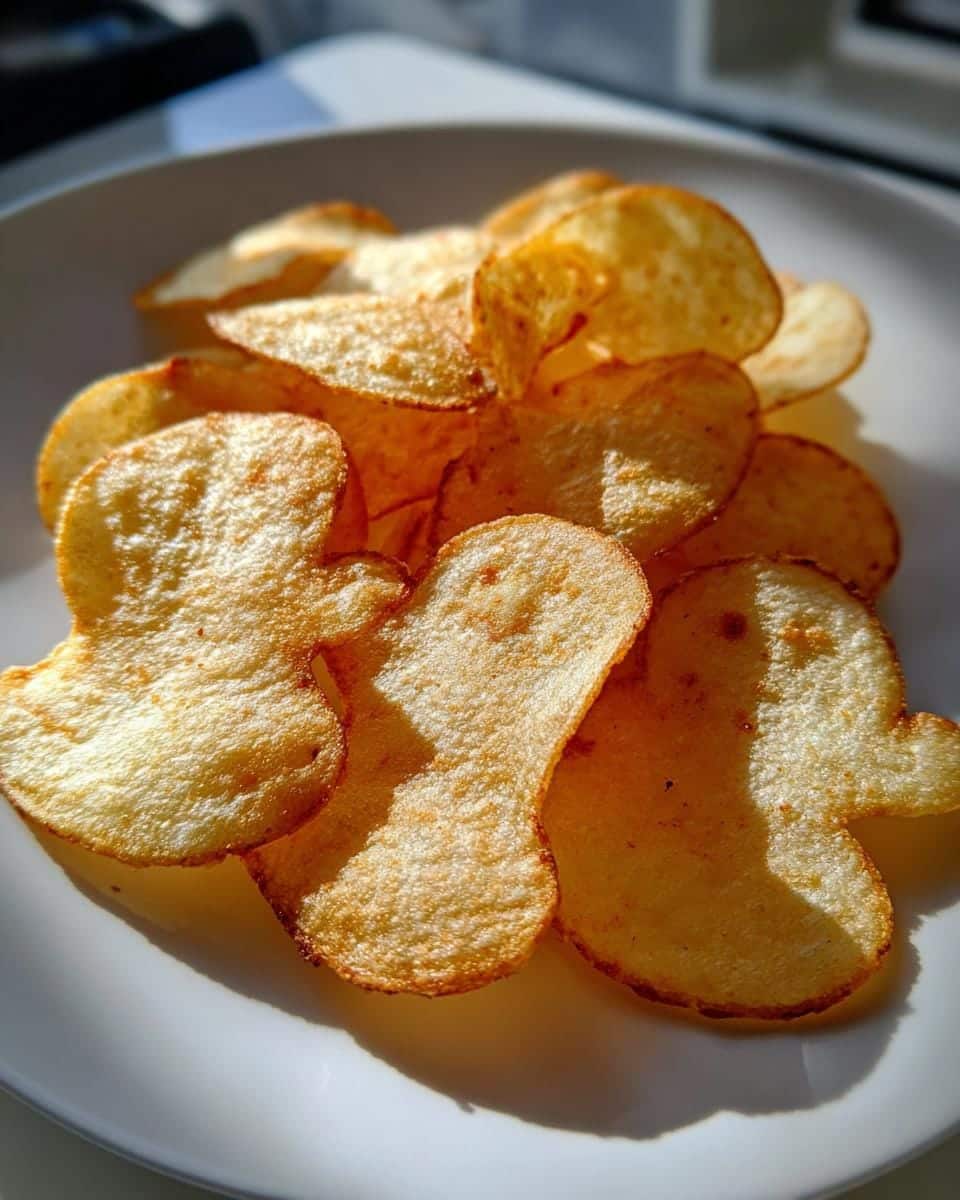
Gather these simple ingredients – I promise your pantry probably has most of them already! The magic is in how we transform them:
- 2 large potatoes, thinly sliced (a mandoline gives you those perfect ghost-thin slices)
- 1 tbsp olive oil (the good stuff – it makes all the difference!)
- 1 tsp salt (I use fine sea salt for even distribution)
- 1 tsp garlic powder (our secret flavor booster)
- 1/2 tsp paprika (smoked paprika adds extra spooky vibes)
- 1/2 tsp black pepper (freshly ground if you’re feeling fancy)
See? Nothing terrifying here – just real ingredients making ghostly good magic happen.
Equipment You’ll Need
Don’t worry—no cauldrons required! Just grab these basics:
- Baking sheet (the bigger, the better—ghosts need space to crisp up!)
- Ghost-shaped cookie cutter (or get creative with freehand knife cuts)
- Mandoline (optional but so worth it for paper-thin slices)
- Mixing bowl (any old bowl will do—even a witch’s brew cauldron if you’re feeling festive!)
That’s it! Now let’s make some magic.
How to Make Spooky Baked Halloween Ghost Chips
Ready to turn those simple ingredients into ghoulishly good snacks? Follow these easy steps—I promise it’s way less scary than it looks (and way more fun)!
Step 1: Preheat and Prep
First things first: fire up that oven to 375°F (190°C). While it heats, grab your baking sheet—no need to line it, but if you’re paranoid about sticking like I am, a quick spritz of oil won’t hurt. Ovens can be temperamental witches, so I always give mine a good 10 minutes to hit the right temp. Trust me, this makes all the difference for that perfect crisp!
Step 2: Cut and Season
Now the fun part! Slice those potatoes paper-thin (about 1/8-inch thick—thinner than a ghost’s whisper). Use your ghost cutter to stamp out shapes (save the scraps for impromptu potato confetti!). Toss them in a bowl with the oil and spices—get in there with your hands to make sure every nook and cranny of those little ghosts is coated. Pro tip: if your slices feel damp, pat them dry first with a towel—water is the enemy of crispiness!
Step 3: Bake to Crispy Perfection
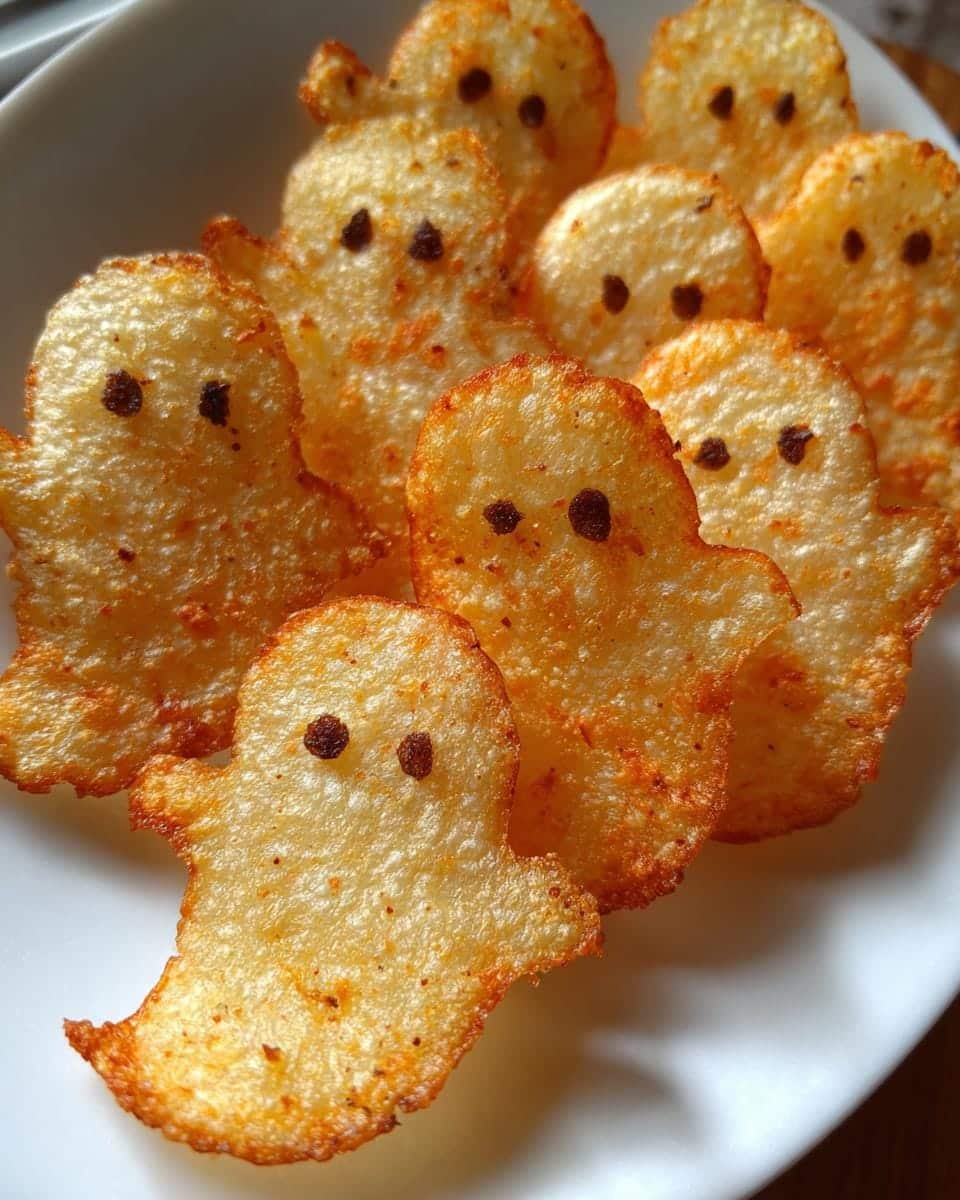
Arrange your ghosts in a single layer on the baking sheet—no overlapping unless you want soggy specters. Bake for 15-20 minutes, but start peeking at 12 minutes. You’re looking for golden edges that crisp up when tapped. They’ll firm up more as they cool, so resist eating them straight from the oven (spoken from experience—ouch!). Let them haunt the sheet for 5 minutes before serving. That’s it—you’ve just made edible ghosts that’ll vanish faster than you can say “Boo!”
Tips for Perfect Spooky Baked Halloween Ghost Chips
After making these ghost chips more times than I can count (and eating all my “test batches”), here are my foolproof tricks:
- Dry those ghosts: Pat potato slices with paper towels before seasoning—any extra moisture turns them from crispy to creepy-chewy!
- Rotate like a specter: Halfway through baking, spin your tray 180° to fight those sneaky oven hot spots.
- Watch closely: They go from perfectly golden to “oh no!” burnt in seconds—set a timer but trust your eyes more.
- Cool completely: Letting them sit 5 minutes post-bake makes them 3x crispier (the hardest wait of all!).
Follow these, and your ghosts will be the star of every Halloween spread!
Ingredient Substitutions & Variations
Ghosts don’t have to be predictable—mix it up with these easy swaps! Swap regular potatoes for sweet potatoes (orange ghosts for Halloween? Perfect!). Olive oil can trade places with avocado oil for a higher smoke point. Feeling adventurous? Try cayenne for heat or nutritional yeast for a cheesy twist. The spice cabinet is your haunted playground!
Serving Suggestions
These ghost chips practically beg to be dipped! Try them with creamy guacamole (extra spooky with olive oil “eyes”) or dairy-free ranch dyed green with spinach. For full Halloween effect, arrange them haunting a “graveyard” of hummus with carrot stick tombstones—the kids go wild for it!
Storage & Reheating
These little ghosts don’t like to stick around, but if you must save some, tuck them into an airtight container—they’ll stay crispy for up to 3 days. When reheating, skip the microwave (soggy ghosts are sad ghosts!) and pop them back in a 350°F oven for 3-5 minutes to revive their crunch. Though honestly? They rarely last long enough to need storing in my house—too darn snackable!
Nutritional Information
Just so you know, these numbers are friendly ghost estimates—actual values may float around based on your exact ingredients. For one serving (about 10-12 ghost chips):
- 120 calories (perfect for guilt-free haunting!)
- 4g fat (mostly the good kind from olive oil)
- 20g carbs (with 2g fiber to keep things balanced)
- 2g protein (ghosts need strength too!)
Not too spooky, right? Now go enjoy those crispy little specters!
Frequently Asked Questions
Got questions? I’ve boo-got answers! Here’s what readers ask most about these ghoulishly good chips:
Can I make these ghost chips ahead?
Absolutely! Bake them up to 3 days before your Halloween bash—just store in an airtight container. They might lose a tiny bit of crispness, but a quick 3-minute oven refresh brings them right back to life (unlike most ghosts!).
Are they kid-friendly?
Are you kidding? My little monsters go crazy for these! Letting them cut out the ghost shapes turns snack time into a craft project. Bonus: they’re gluten-free and paleo, so even allergy-prone goblins can join the fun.
No cookie cutter—can I still make these?
Of course! Freehand ghost shapes with a knife (wonky ghosts have character!), or simply slice potatoes into rounds—they’ll taste just as spooktacular. The shape’s just for fun, but that crispy crunch? That’s the real magic.
Can I use sweet potatoes instead?
Yes! Orange sweet potato ghosts are extra festive. Just slice slightly thicker (they shrink more) and add 2-3 extra minutes baking time. The natural sweetness pairs amazingly with smoky paprika!
Share Your Spooky Creations!
I’d love to see your ghostly masterpieces! Tag me @SpookySnacksWith[YourName] when you share photos—nothing makes me happier than seeing your kitchen haunted with crispy creations. And if you loved this recipe, leave a rating below to help other snack-loving spirits find it too! Find more spooky ideas.
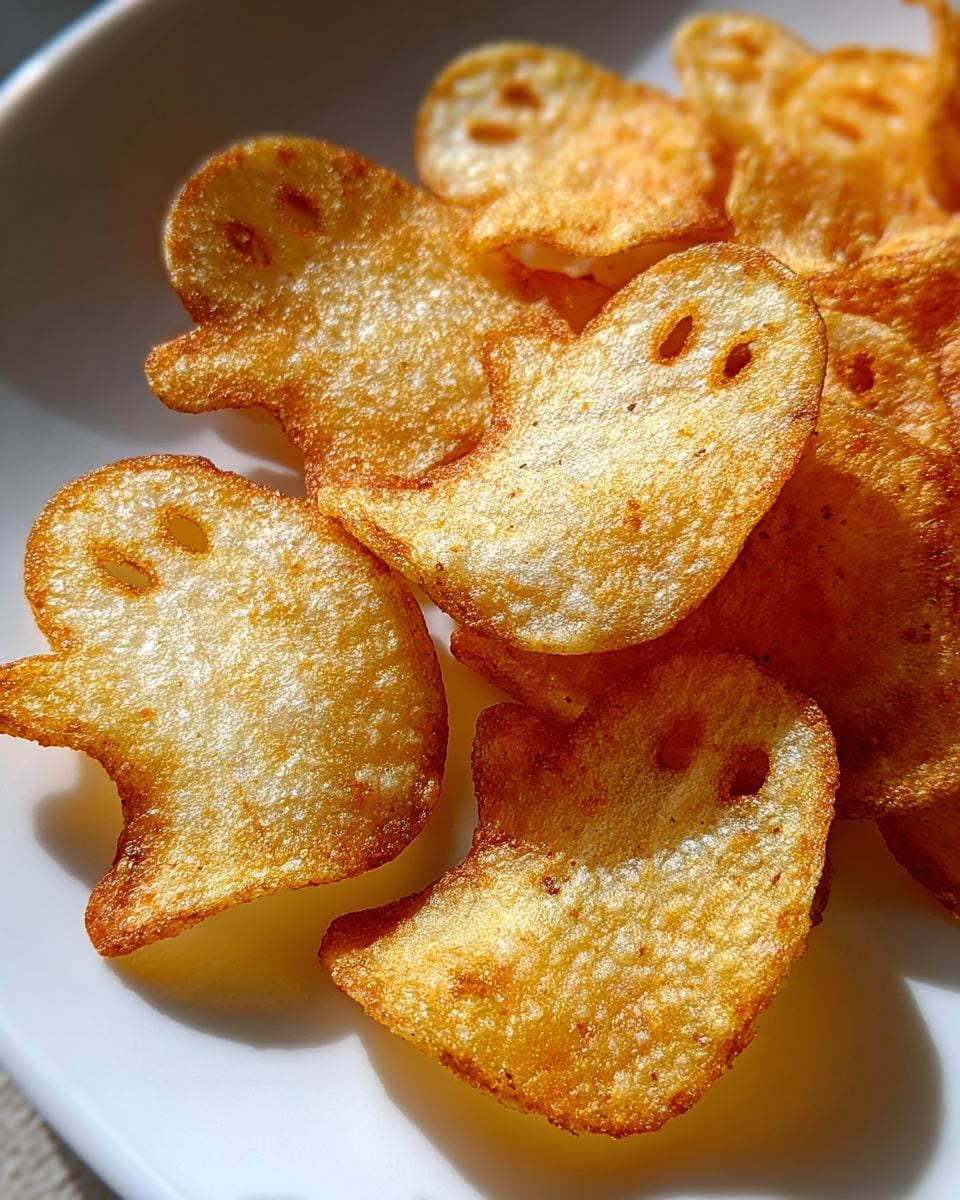

Spooky Baked Halloween Ghost Chips: 5-Ingredient Crispy Magic
- Total Time: 30 mins
- Yield: 4 servings
- Diet: Gluten Free
Description
A fun and spooky gluten-free and paleo-friendly snack perfect for Halloween. These ghost-shaped baked chips are crispy, flavorful, and easy to make.
Ingredients
- 2 large potatoes, thinly sliced
- 1 tbsp olive oil
- 1 tsp salt
- 1 tsp garlic powder
- 1/2 tsp paprika
- 1/2 tsp black pepper
Instructions
- Preheat oven to 375°F (190°C).
- Slice potatoes thinly and use a ghost-shaped cookie cutter to create shapes.
- Toss potato ghosts with olive oil, salt, garlic powder, paprika, and black pepper.
- Arrange on a baking sheet in a single layer.
- Bake for 15-20 minutes until golden and crispy.
- Let cool before serving.
Notes
- Use a mandoline for even slices.
- Store in an airtight container for up to 3 days.
- Serve with your favorite dip.
- Prep Time: 10 mins
- Cook Time: 20 mins
- Category: Snack
- Method: Baking
- Cuisine: American
