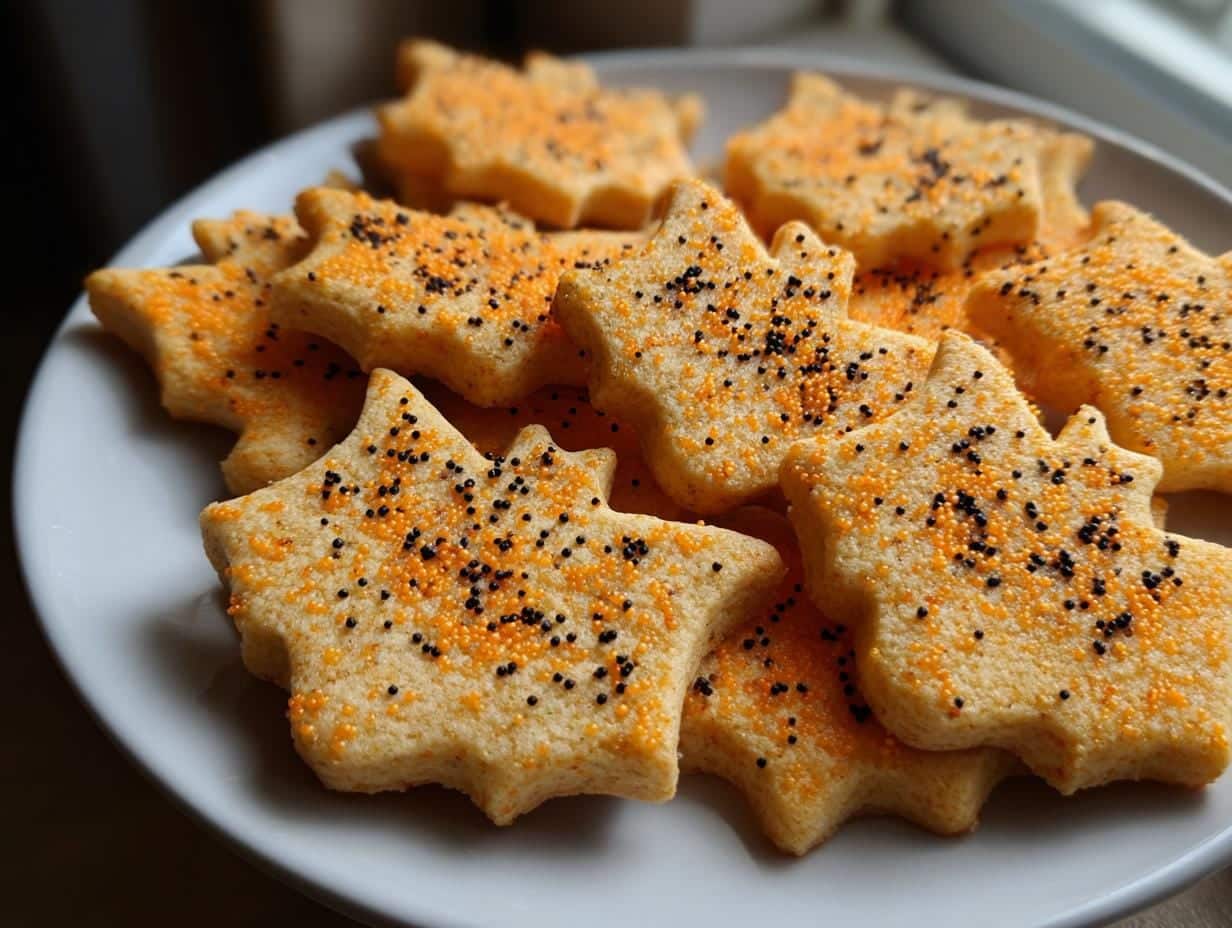
Oh my gosh, Halloween baking is my absolute favorite time of year! There’s something magical about turning simple ingredients into spooky, fun treats that make everyone smile. I still remember the first time I helped my mom make ghost-shaped cookies when I was little – we used way too much icing, but those messy, lopsided ghosts tasted like pure happiness.
These DIY Halloween treats are perfect because they’re seriously easy (no fancy skills needed!) but look impressive. Whether you’re throwing a party or just want to surprise your family, these cookies come together quickly with basic pantry staples. The best part? You can go wild with decorations – think creepy spiders, jack-o-lantern faces, or even bloody vampire bites!
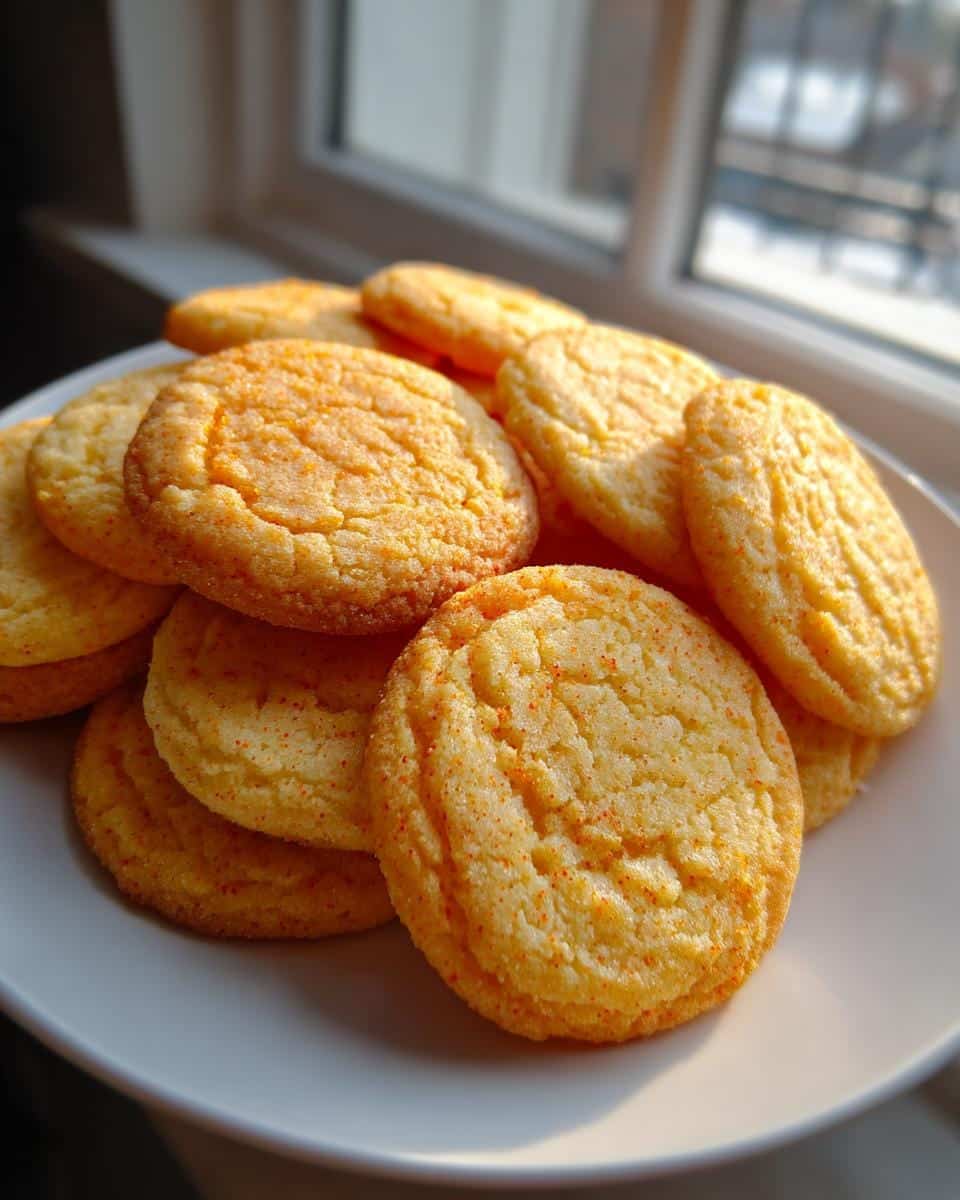
Why You’ll Love These DIY Halloween Treats
Trust me, these treats are going to be your new Halloween tradition—they’re that good! Here’s why:
- Super simple: No complicated steps here—just mix, roll, and bake. Even if you’ve never baked before, you’ll nail these.
- Endless creativity: Turn them into ghosts, pumpkins, or bats with cookie cutters or just your hands. Messy decorations? Even better!
- Kid-approved: My nieces go wild for these. Let them decorate their own—it keeps them busy and makes adorable (and hilarious) results.
- Budget-friendly: Uses basic ingredients you probably already have. No fancy trips to the store needed!
Plus, that buttery vanilla smell filling your kitchen? Pure Halloween magic.
Ingredients for DIY Halloween Treats
Grab these simple ingredients – you might already have most in your pantry!
- 1 cup packed brown sugar (the molasses adds extra richness)
- 1/2 cup softened butter (leave it out for 30 minutes first)
- 1 tsp vanilla extract (the good stuff makes all the difference)
- 2 cups all-purpose flour (spoon it in, don’t scoop!)
- 1/2 tsp salt (balances the sweetness perfectly)
- Food coloring (optional but so fun for Halloween colors)
Ingredient Notes & Substitutions
No stress if you need to swap things! Here’s what works:
Ran out of butter? Margarine works fine, though the flavor won’t be quite as rich. For gluten-free, use your favorite 1:1 flour blend – I’ve had great results with Bob’s Red Mill. And if you only have white sugar? It’ll work, but brown sugar gives that extra depth of flavor I love.
Pro tip: If you’re using food coloring, gel colors give vibrant hues without thinning the dough!
Equipment Needed for DIY Halloween Treats
Don’t worry—you won’t need any fancy gadgets! Just grab:
- A large mixing bowl (I use my favorite chipped blue one—it’s seen many Halloween battles)
- Wooden spoon or hand mixer
- Rolling pin (or an empty wine bottle in a pinch!)
- Halloween cookie cutters (or get creative with a knife for freehand shapes)
- Baking sheets (no need to grease them if you use parchment paper)
That’s it! Now let’s make some spooky magic.
How to Make DIY Halloween Treats
Okay, let’s get our hands dirty – I mean, let’s bake! Follow these simple steps for perfect Halloween treats every time:
- Preheat your oven to 350°F (175°C) – this gives your baking sheet time to heat evenly while you prep. Trust me, it makes a difference!
- Cream the sugar and butter together until light and fluffy – about 2 minutes with a mixer or 3-4 with a wooden spoon (great for working off that pre-Halloween candy energy!). The mixture should look like pale yellow clouds.
- Mix in the vanilla – I always add an extra splash because that aroma is half the fun!
- Whisk together flour and salt in a separate bowl, then gradually add to the wet ingredients. Mix just until combined – overmixing makes tough cookies, and we want these tender.
- Roll dough into 1-inch balls (about the size of a ping pong ball) and flatten slightly between your palms. If the dough feels sticky, pop it in the fridge for 15 minutes.
- Bake for 10-12 minutes until just golden around the edges. They’ll firm up as they cool, so don’t wait for brown tops!
- Let cool completely on the baking sheet for 5 minutes, then transfer to a rack. I know it’s tempting, but decorating warm cookies leads to melty disasters!
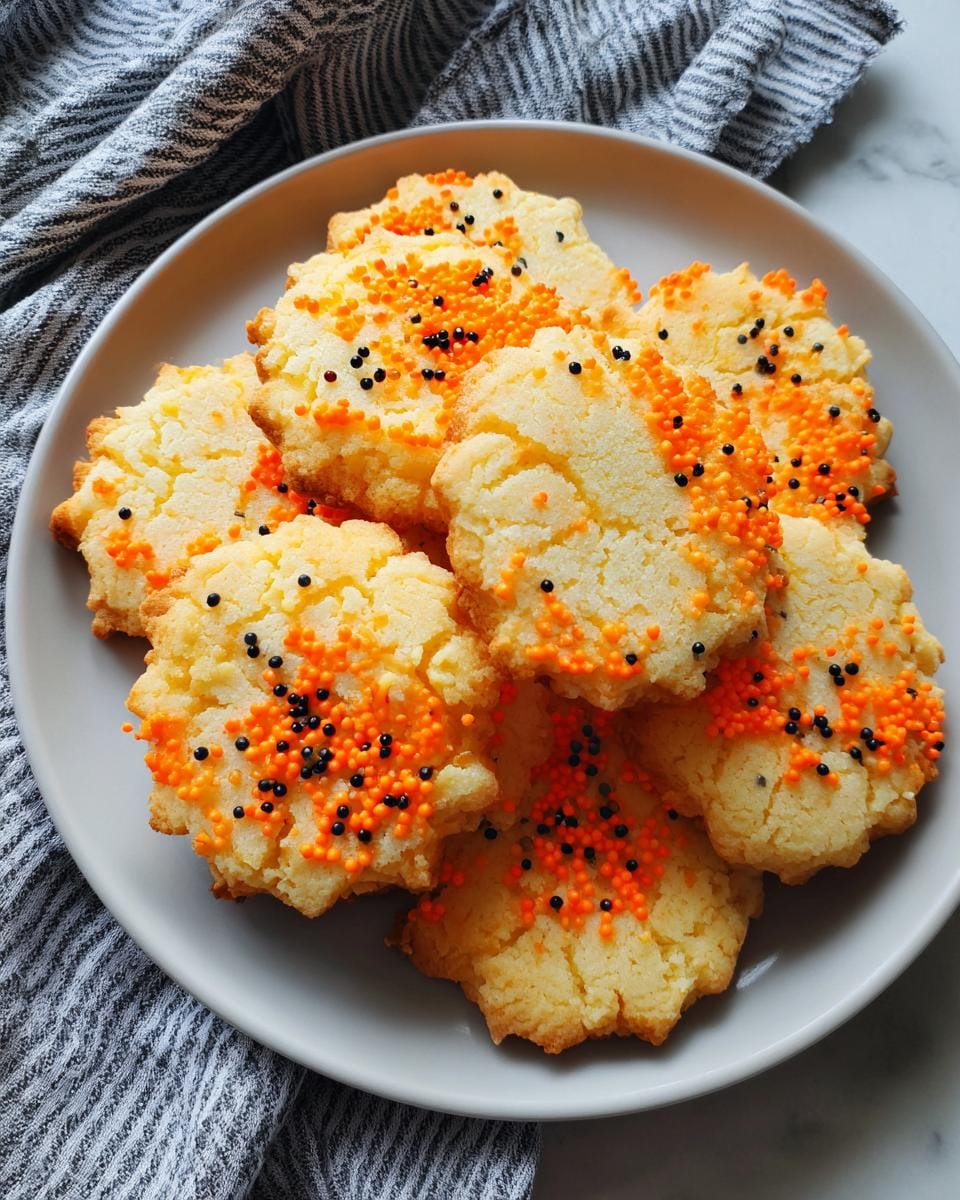
Decorating Your DIY Halloween Treats
Now for the best part – making them spooky! Here are my favorite easy decorating ideas:
Use colored icing to make simple ghost faces (two dots and a squiggly mouth), turn them into pumpkins with orange sprinkles and green licorice stems, or create “mummy” cookies with drizzled white icing “bandages.” For a creepy-cute touch, press mini chocolate chips into the dough before baking for spider bodies!
Tips for Perfect DIY Halloween Treats
After years of Halloween baking disasters (we don’t talk about the Great Cookie Meltdown of 2018), I’ve learned a few tricks for foolproof treats:
- Chill that dough! If it feels sticky after mixing, refrigerate for 15-30 minutes. This prevents spreading and makes clean cookie cutter shapes.
- Watch the clock: These babies go from perfect to overbaked fast. Pull them when edges are just golden – they’ll finish cooking on the pan.
- Cool completely before decorating unless you want icing rivers. I’ve learned this the hard way!
- Store in layers: Use parchment between cookies in an airtight container. They’ll stay fresh for up to 5 days… if they last that long!
Bonus tip: Freeze unbaked dough balls for instant Halloween treats all season!
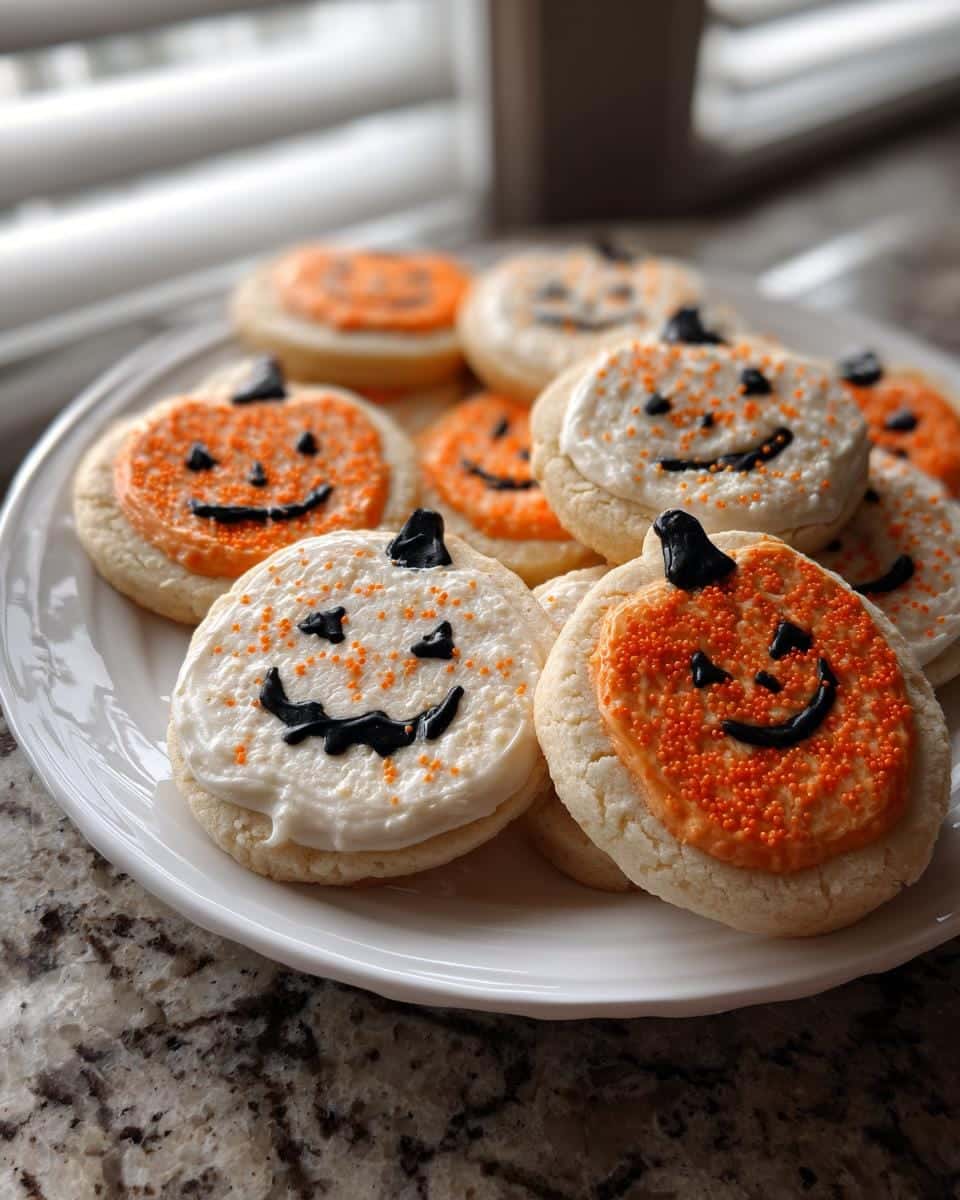
Serving and Storing DIY Halloween Treats
These treats shine at parties! Stack them on a tiered stand with fake spiders crawling up the sides, or arrange them in a haunted house scene. For storage, toss them in an airtight container—they’ll stay fresh for up to 5 days (though mine never last that long!). If you’re feeling fancy, separate layers with parchment to keep decorations intact.
Nutritional Information for DIY Halloween Treats
Here’s the scoop on what’s in these spooky sweets (per cookie): about 120 calories, 5g fat, and 8g sugar. Remember – exact numbers change based on your specific ingredients and decorations!
Frequently Asked Questions About DIY Halloween Treats
Got questions? I’ve got answers! Here are the Halloween cookie mysteries solved:
Can I freeze these cookies? Absolutely! Freeze baked cookies for up to 2 months in an airtight container. You can also freeze the dough balls – just bake straight from frozen, adding 1-2 extra minutes.
How long do they stay fresh? At room temp, they’re perfect for 5 days in a sealed container. If they last that long – mine usually disappear by Halloween night!
Can I make these without cookie cutters? Of course! Roll dough into balls and flatten into circles, or get creative with a knife to make freehand ghosts and bats.
Why did my cookies spread too much? Probably warm dough. Next time, chill it for 15-30 minutes before baking – makes all the difference!
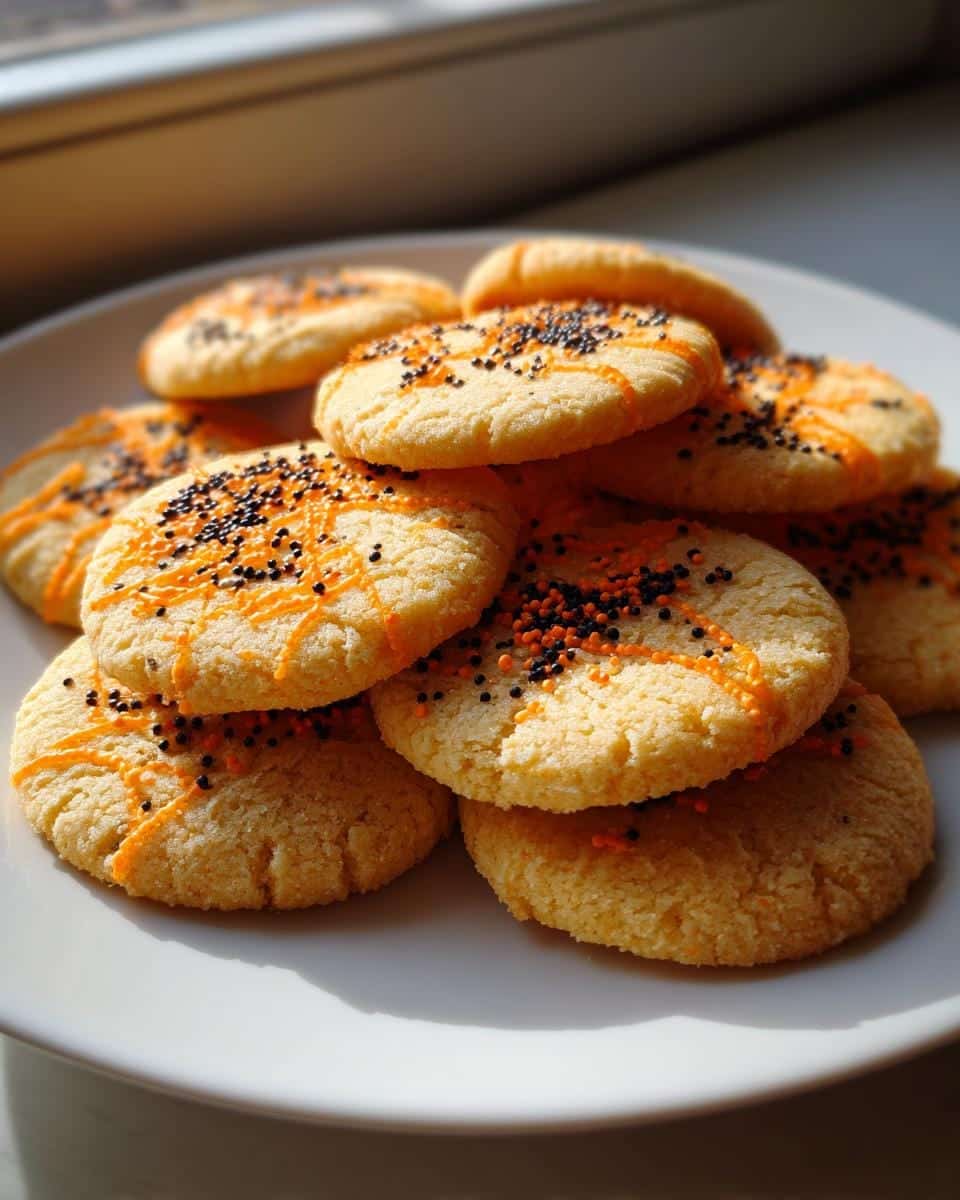

Spooky 5-Ingredient DIY Halloween Treats Kids Love
- Total Time: 27 minutes
- Yield: 24 cookies
- Diet: Vegetarian
Description
Easy DIY Halloween treats you can make at home.
Ingredients
- 1 cup sugar
- 1/2 cup butter
- 1 tsp vanilla extract
- 2 cups flour
- 1/2 tsp salt
- Food coloring (optional)
Instructions
- Preheat oven to 350°F.
- Cream sugar and butter together.
- Add vanilla extract and mix.
- Combine flour and salt, then blend into the mixture.
- Roll dough into small balls and flatten slightly.
- Bake for 10-12 minutes.
- Let cool before decorating.
Notes
- Store in an airtight container.
- Use Halloween-themed cookie cutters for fun shapes.
- Prep Time: 15 minutes
- Cook Time: 12 minutes
- Category: Dessert
- Method: Baking
- Cuisine: American
