Halloween baking just got a whole lot spookier – and easier! Every October, my kitchen turns into a haunted bakery where these Spooky Mummy Brownies become the star of every party. I’ll never forget the year my niece screamed with delight when she saw her first batch – turns out, candy eyeballs staring back at you from chocolatey goodness never gets old!
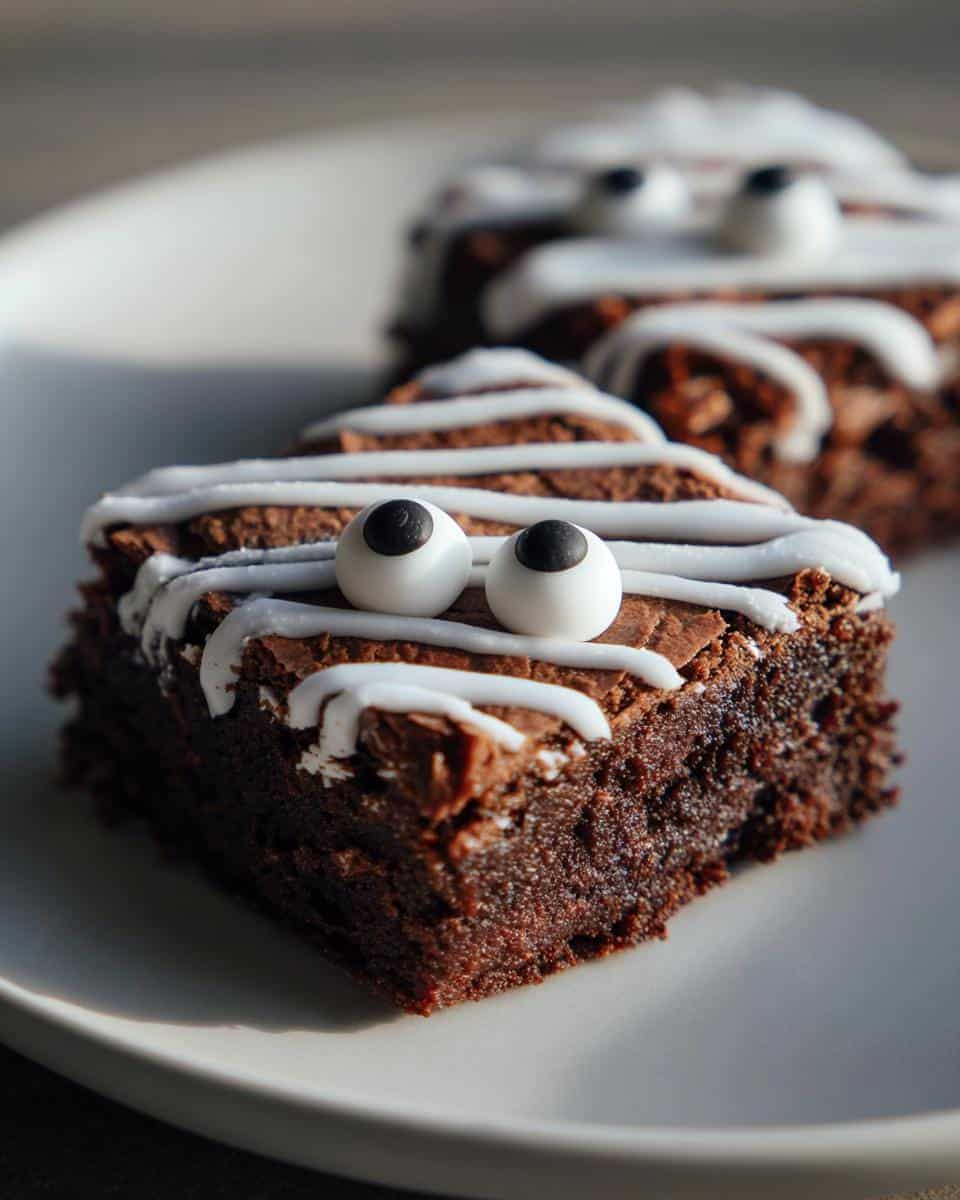
What I love most about these mummy brownies is how they transform an ordinary boxed mix into something magical with just white frosting and googly eyes. They’re the perfect last-minute treat when you’re swamped with costumes and decorations but still want to impress. The kids can even help decorate – though half the eyeballs usually disappear before making it onto the brownies in my house!
Whether you’re hosting a monster mash or just want to surprise your family, these sweet little mummies wrapped in frosting bandages will have everyone howling for more. And trust me, they disappear faster than ghosts at sunrise!
Why You’ll Love These Spooky Mummy Brownies
Let me count the ways these adorable mummy treats will steal the show at your Halloween bash:
- So easy a zombie could make them – Seriously, boxed brownies + frosting + eyeballs = instant magic
- Kid-approved decorating – Little hands love piping “bandages” and placing those silly candy eyes
- Party-perfect presentation – They look like you spent hours when really it’s 5 minutes of decorating
- No-bake option – Use store-bought brownies if you’re really in a pinch (I won’t tell!)
- Endless giggles guaranteed – Watching people react to edible mummies never gets old
Trust me, these disappear faster than candy corn at a trick-or-treat party!
Ingredients for Spooky Mummy Brownies
Here’s the beautiful part – you only need three main ingredients to make these adorable mummy treats come to life:
- 1 box brownie mix (plus whatever eggs/oil/water the package calls for – I always use Ghirardelli mix because it makes the richest, fudgiest base)
- 1 cup white frosting (store-bought works great, but homemade cream cheese frosting takes these to the next level)
- 20 candy eyeballs (the bigger the better for maximum spooky effect – I find them in the cake decorating aisle)
See? I told you this was easy! Now let’s get those mummies wrapped up.
Equipment You’ll Need
Grab these basic tools from your kitchen – I bet you already have most of them:
- 8×8 or 9×9 inch baking pan
- Mixing bowl and spoon
- Piping bag or ziplock bag with corner snipped off
That’s it! No fancy gadgets required for these cute little mummies.
How to Make Spooky Mummy Brownies
Alright, let’s bring these adorable mummy brownies to life! The process is so simple you’ll be done before you can say “Boo!” Just follow these easy steps and you’ll have the spookiest (and tastiest) treats on the block.
Step 1: Bake the Brownies
First things first – preheat your oven according to the brownie mix package. While it’s heating up, grease your baking pan or line it with parchment paper (my secret for easy removal). Mix up your brownie batter – I like to add an extra splash of vanilla extract for flavor – then pour it into the pan. Bake until a toothpick comes out with just a few moist crumbs, about 25-30 minutes.
Step 2: Cool Completely
Here’s where patience is key! Let those brownies cool all the way before decorating. I know it’s tempting, but warm brownies will make your frosting melt into a goopy mess instead of pretty mummy bandages. I usually wait at least an hour – perfect time to clean up and maybe sneak a corner piece for “quality testing.”
Step 3: Decorate Like a Mummy
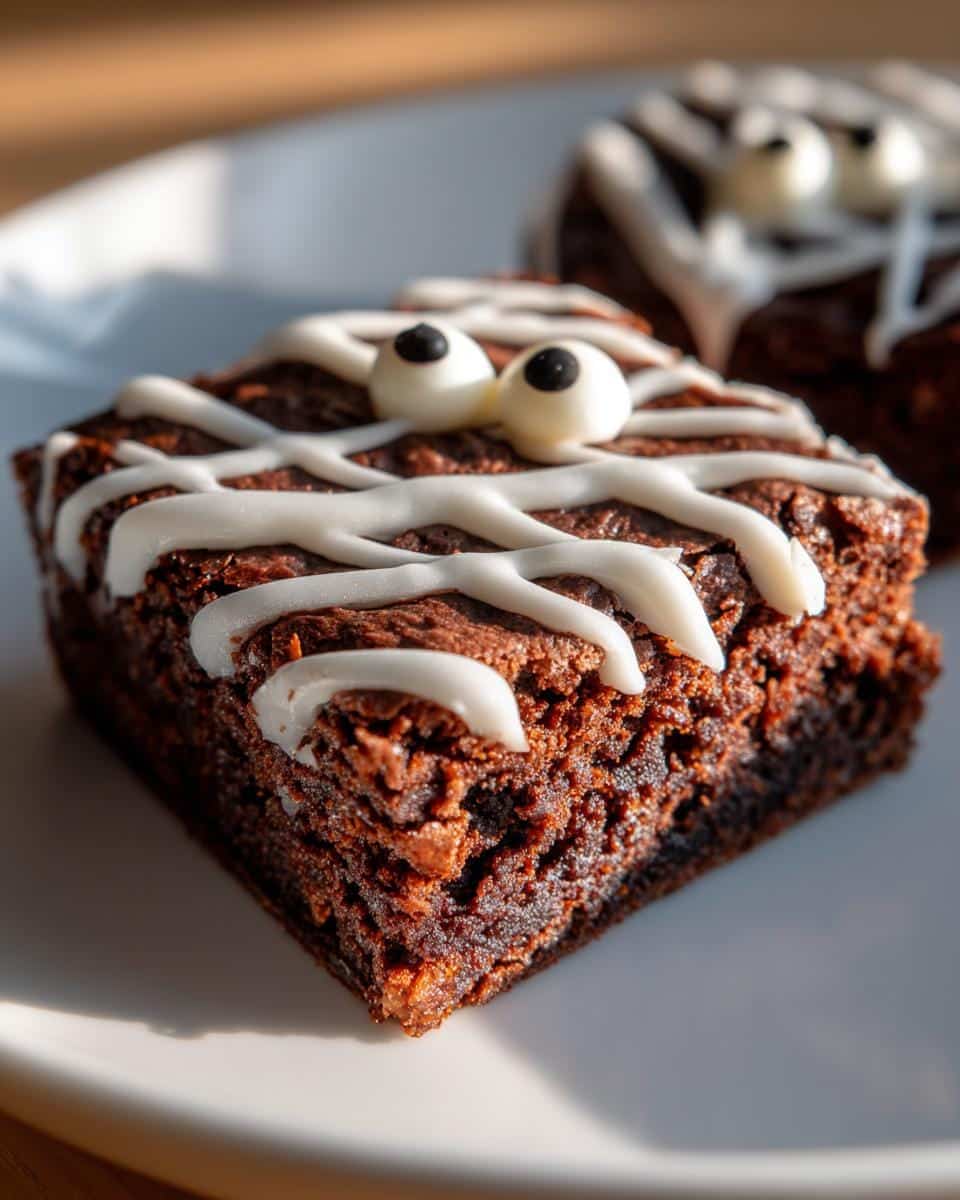
Now for the fun part! Spoon your white frosting into a piping bag or ziplock with a tiny corner snipped off. Pipe squiggly lines across the brownies to look like mummy bandages – don’t worry about perfection, messy is better! Leave little gaps to place candy eyeballs peeking through. Pro tip: Warm the frosting slightly for easier piping if needed, but not too much or it’ll run everywhere. Suddenly – voila! – you’ve got a whole tray of adorable edible mummies staring back at you.
Tips for Perfect Spooky Mummy Brownies
After making these mummy brownies every Halloween for years, I’ve learned a few tricks that make all the difference:
- Thick frosting is your friend – Thin frosting runs everywhere. If yours seems drippy, pop it in the fridge for 15 minutes first.
- Get creative with eyeball placement – Some peeking through bandages, others sliding down like they’re trying to escape!
- Make it a family affair – Kids LOVE helping with this part (though you might lose half your eyeballs to sneaky fingers).
Remember – the messier your “bandages” look, the more authentic your mummies become!
Variations for Spooky Mummy Brownies
Once you’ve mastered the basic mummy magic, try these fun twists to make your brownies even spookier:
- Dark chocolate brownies – Use a dark chocolate mix for extra richness that pairs perfectly with sweet frosting
- Colored eyeballs – Find red or glow-in-the-dark candy eyes for extra creepy factor
- Edible glitter – Dust with black or orange sparkles for a magical monster effect
- Peanut butter swirl – Mix peanut butter into half the batter before baking for a delicious surprise
The best part? You can’t mess these up – every variation turns out frightfully delicious!
Serving and Storing Spooky Mummy Brownies
These little mummies taste best at room temperature when the frosting is soft but still holds its shape. If you need to store them (if they last that long!), pop them in an airtight container – they’ll stay fresh for about 3 days. Just be careful stacking them so the eyeballs don’t get smushed!
Nutritional Information
Nutritional values are estimates and vary based on ingredients/brands used. Each brownie contains about 180 calories, 8g fat, and 15g sugar.
Frequently Asked Questions
Can I use homemade frosting instead of store-bought?
Absolutely! My favorite is cream cheese frosting – just beat together 4oz softened cream cheese, 1/4 cup butter, 1 cup powdered sugar, and 1/2 tsp vanilla. It pipes beautifully and tastes amazing with the chocolate brownies.
How far in advance can I make these spooky mummy brownies?
You can bake the brownies 2 days ahead and store them airtight at room temperature. Wait to decorate until the day of your party though – the frosting looks freshest when added just before serving.
Can I freeze mummy brownies?
Yes! Freeze undecorated brownies for up to 3 months. Thaw overnight in the fridge, then decorate as normal. The candy eyeballs might get a bit sticky if frozen after decorating.
What if I can’t find candy eyeballs?
No worries! Use white chocolate chips with mini chocolate chip pupils, or pipe little frosting dots. Get creative – imperfect eyes make for extra-spooky mummies!

Spooky Mummy Brownies: 3-Ingredient Halloween Magic
- Total Time: 35 minutes
- Yield: 20 brownies
- Diet: Vegetarian
Description
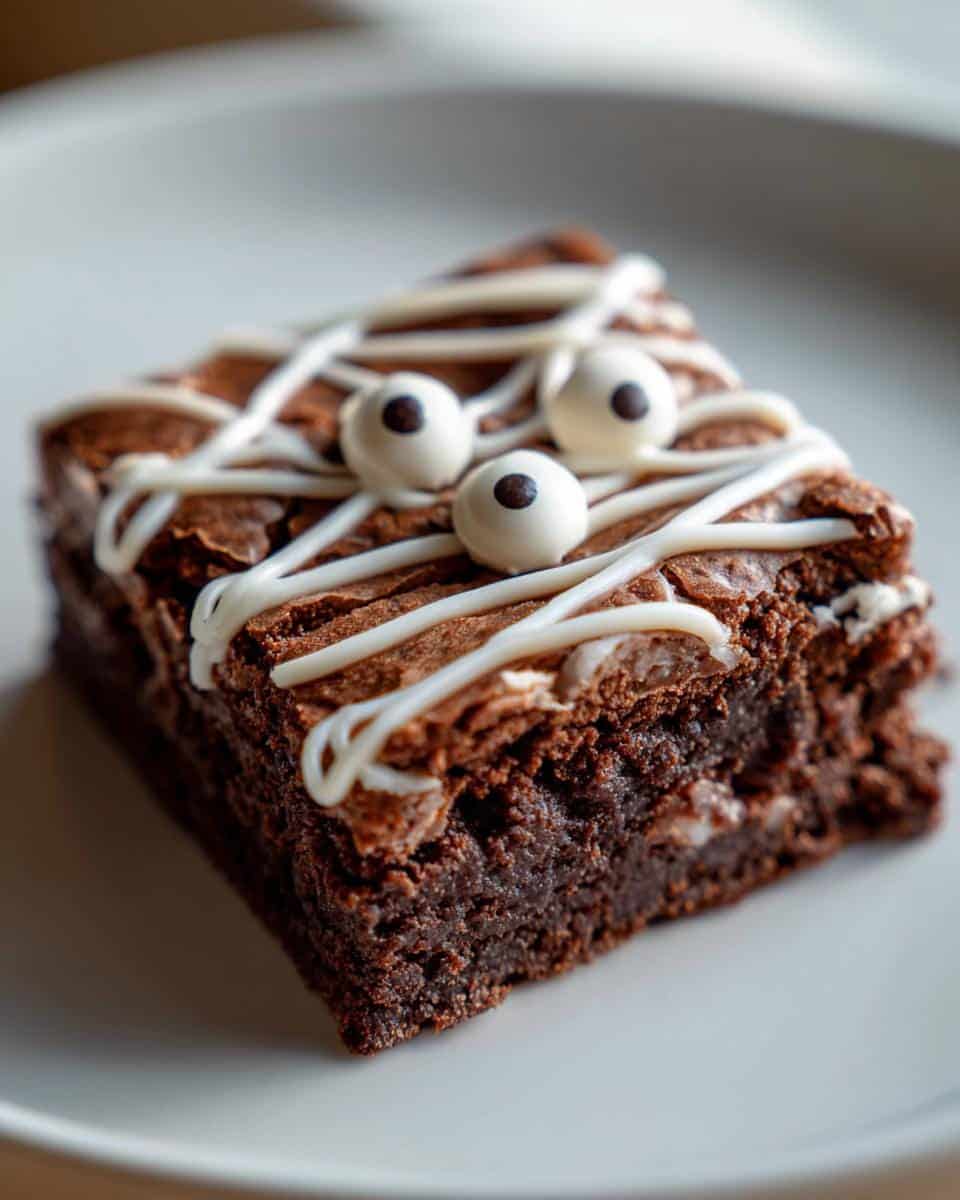
Spooky Mummy Brownies are a fun and easy Halloween treat. These brownies are decorated with white icing to resemble mummy bandages, making them perfect for parties.
Ingredients
- 1 box brownie mix (plus required ingredients listed on the box)
- 1 cup white frosting
- 20 candy eyeballs
Instructions
- Preheat oven and prepare brownie mix according to package instructions.
- Bake brownies as directed and let them cool completely.
- Pipe thin lines of white frosting across the brownies to create a mummy wrap effect.
- Place candy eyeballs on the frosting lines.
- Serve and enjoy your spooky treat.
Notes
- Use store-bought frosting for convenience.
- Let brownies cool before decorating to prevent frosting from melting.
- Prep Time: 10 minutes
- Cook Time: 25 minutes
- Category: Dessert
- Method: Baking
- Cuisine: American

