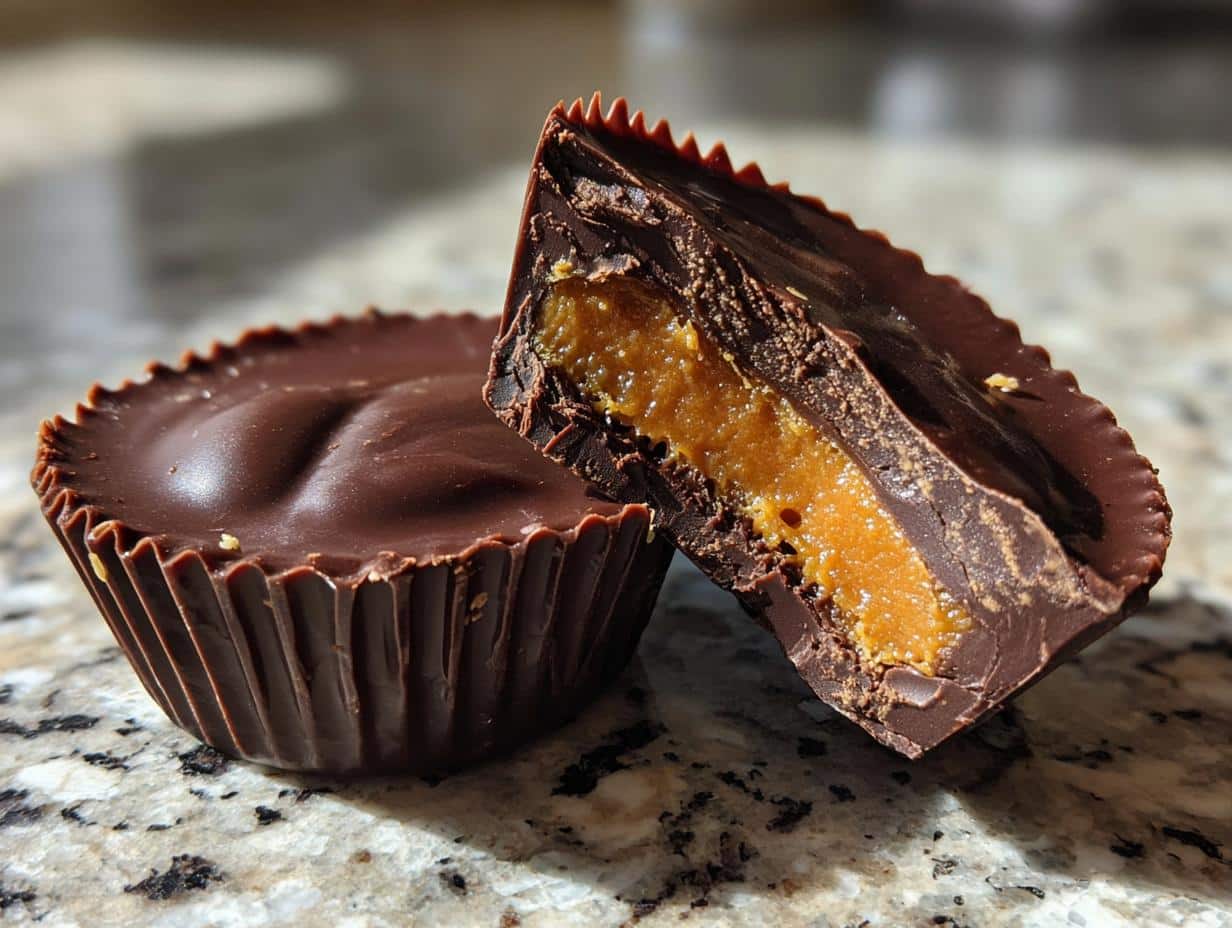
You know that moment when the air turns crisp, the leaves start changing, and suddenly all you can think about is pumpkin-flavored everything? That was me last October, staring at a pile of pumpkin puree in my pantry and craving something rich, chocolatey, and completely dairy-free. After one too many failed attempts at vegan desserts that tasted more like cardboard than treats, I finally nailed these Dairy Free Chocolate Pumpkin Butter Cups—and oh my gosh, they’re everything. Imagine the creamy pumpkin spice filling of your dreams sandwiched between layers of smooth, melty chocolate, all without a drop of dairy. They’re my go-to when I need a little autumn in my mouth, whether it’s for a party or just because Tuesday. And trust me, even my butter-loving dad couldn’t tell they were vegan when he stole three from the fridge last weekend.
Why You’ll Love These Dairy Free Chocolate Pumpkin Butter Cups
Okay, let me count the ways these little cups of joy will steal your heart (and probably your willpower). First off, they’re ridiculously easy—like, “I-can-make-these-half-asleep” easy. No oven, no fuss, just layers of goodness that come together in minutes. Here’s why they’re a must-try:
- No-bake magic: Seriously, just melt, layer, freeze. No sweating over a hot oven or worrying about overbaking.
- Dietary win: Vegan, dairy-free, and gluten-free if your chocolate chips play nice. Everyone at the table gets to indulge.
- Flavor bomb: That spiced pumpkin filling against the dark chocolate? It’s like autumn hugged your taste buds.
- Texture heaven: Creamy meets crunchy meets melt-in-your-mouth—all in one bite.
- Secret weapon: They look fancy but take less effort than scrolling through Netflix to pick a movie.
Oh, and did I mention they’re kid-approved? My niece once declared them “better than unicorns,” which, coming from a six-year-old, is basically a Michelin star.
Ingredients for Dairy Free Chocolate Pumpkin Butter Cups
Alright, let’s gather the dream team of ingredients that’ll make these pumpkin butter cups shine! Here’s exactly what you’ll need – and yes, I’m giving you all my little prep secrets so yours turn out perfect:
- 1 cup dairy-free chocolate chips (melted – I like Enjoy Life brand for foolproof results)
- 2 tbsp coconut oil (solid state, not melted – this helps the chocolate set properly)
- ½ cup pumpkin puree (must be unsweetened pure pumpkin, NOT pumpkin pie filling – check that label!)
- 2 tbsp almond butter (go for the creamy kind – no chunky bits unless you want surprise texture)
- 1 tbsp maple syrup (the real stuff – pancake syrup will make it weirdly sticky)
- 1 tsp pumpkin pie spice (or make your own blend if you’re feeling fancy)
- ¼ tsp vanilla extract (skip the imitation stuff – splurge on the good vanilla)
- Pinch of salt (trust me, this makes all the flavors pop)
Pro tip: Measure everything before you start melting – once that chocolate’s ready, you’ll want to move fast!
Equipment You’ll Need
- Standard 12-cup muffin tin
- Paper muffin liners (the pretty fall-themed ones if you’re feeling festive)
- Double boiler or microwave-safe bowl (I use my favorite glass measuring cup)
- 2 mixing bowls (one for chocolate, one for pumpkin filling)
- Spoon or small spatula for spreading
That’s it – no fancy gadgets required! Just grab these basics and you’re golden.
How to Make Dairy Free Chocolate Pumpkin Butter Cups
Now for the fun part – let’s transform these simple ingredients into magical pumpkin butter cups! I’ll walk you through each step so yours turn out just as dreamy as mine always do. Don’t worry if you’re new to no-bake treats – this is practically foolproof.
Melt the Chocolate Layer
First, let’s tackle that luscious chocolate. You’ve got two options here – my grandma would’ve used a double boiler (a heatproof bowl set over simmering water), but honestly, the microwave works just fine if you’re careful. If going the stovetop route, stir constantly with a silicone spatula until you get a smooth, glossy pool of chocolate – about 3-4 minutes. No rushing this part!
Microwave warriors: zap your chocolate chips and coconut oil in 30-second bursts, stirring vigorously between each round. Should take about 90 seconds total. Stop when there are just a few unmelted chips left – the residual heat will finish the job as you stir. This prevents that dreaded burnt chocolate taste.
Assemble the Bottom Layer
Line your muffin tin with those cute paper liners – the chocolate likes to stick without them. Now grab a spoon and drop about 1½ teaspoons of melted chocolate into each cup. Here’s my trick: tilt the tin and use the back of the spoon to spread the chocolate up the sides just a bit. This creates a little “cup” that’ll hold our pumpkin filling perfectly.
Pop the whole tray into the freezer for exactly 10 minutes. Set a timer! We want the chocolate firm but not rock-hard – you should be able to gently press it without leaving a dent.
Prepare the Pumpkin Filling
While the chocolate sets, let’s whip up that spiced pumpkin goodness. Dump all your filling ingredients (pumpkin puree, almond butter, maple syrup, spices, vanilla, and salt) into a bowl. Now grab a fork and mix like you mean it – we want absolutely zero lumps. Taste it (because chef’s privileges) and adjust if needed. More spice? Go for it. Sweeter? Add another drizzle of maple syrup.
The texture should be like thick peanut butter – if it’s too stiff, a tiny splash of almond milk will loosen it up. Too runny? More almond butter to the rescue!
Layer and Freeze
Time for assembly! Spoon about 1 teaspoon of pumpkin filling into each chocolate cup, pressing gently to flatten. Leave about ⅛-inch space at the top – we need room for that final chocolate layer. Now pour (or carefully spoon) the remaining melted chocolate over each one, sealing in the pumpkin completely.
Back into the freezer they go for 20 minutes – no cheating! They’re done when the tops are completely matte (not shiny) and firm to the touch. Pro tip: If your kitchen’s warm, give them an extra 5 minutes. Now comes the hardest part… waiting before devouring!
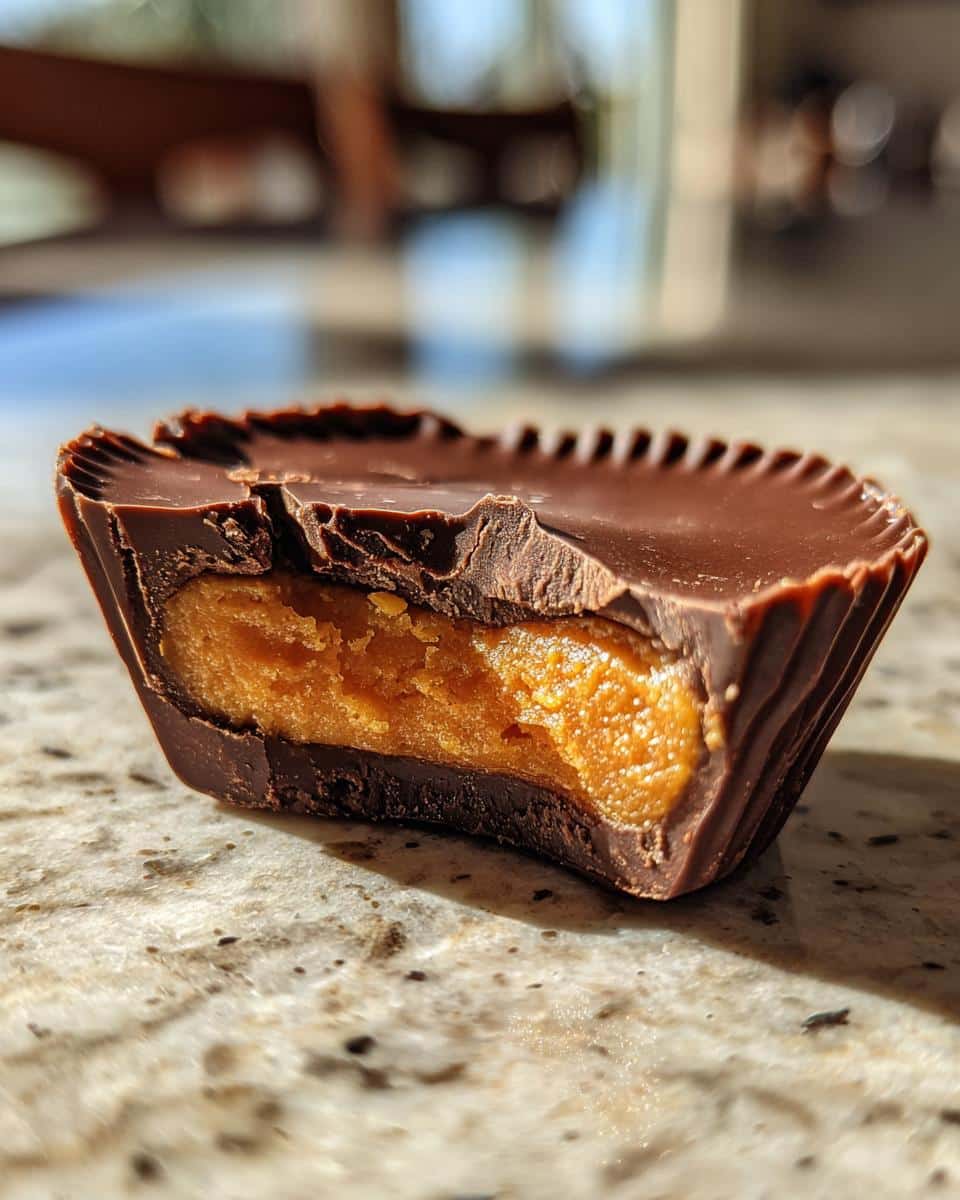
Expert Tips for Perfect Dairy Free Chocolate Pumpkin Butter Cups
After making these more times than I can count (and taste-testing every batch, obviously), I’ve nailed down the little tricks that take them from good to “oh-my-goodness-I-need-another” amazing. Here’s what I’ve learned:
- Smooth is best: Chunky almond butter makes lumpy filling – trust me, I learned this the messy way. Creamy gives that dreamy texture.
- Freeze between layers: Don’t skip the 10-minute chill after the bottom chocolate layer! It prevents the pumpkin from bleeding through.
- Keep ’em cold: These babies melt faster than snow in July. Store them in the fridge in an airtight container.
- No watery subs: Trying to swap pumpkin for applesauce? Big mistake – you’ll end up with chocolate soup.
- Room temp almond butter: Cold almond butter won’t mix smoothly – let it sit out for 15 minutes first.
Bonus tip: If your chocolate starts hardening while you work, just give it another quick zap – but go slow! Burnt chocolate smells worse than burnt popcorn.
Variations and Substitutions
Listen, I get it – sometimes you’re staring into your pantry thinking, “I don’t have almond butter, now what?” Don’t panic! Here are my tried-and-true swaps that still deliver amazing results (and a few disasters to avoid at all costs):
- Nut-free option: Sunflower seed butter works beautifully instead of almond butter – just know it’ll give a slightly earthier flavor (my nephew prefers it this way).
- Sweetener swap: Out of maple syrup? Try date syrup or even agave – just use ¾ the amount since they’re sweeter.
- Chocolate change-up: Dark chocolate chips can replace dairy-free ones if you’re not strictly vegan – but check that label for milk solids!
- Spice adjustment: No pumpkin pie spice? Mix ½ tsp cinnamon + ¼ tsp ginger + ⅛ tsp nutmeg + pinch of cloves.
Warning: Whatever you do, don’t try substituting applesauce or yogurt for the pumpkin puree – you’ll end up with sad, weepy chocolate puddles instead of perfect cups. Learned that one the hard way after a late-night baking experiment gone wrong!
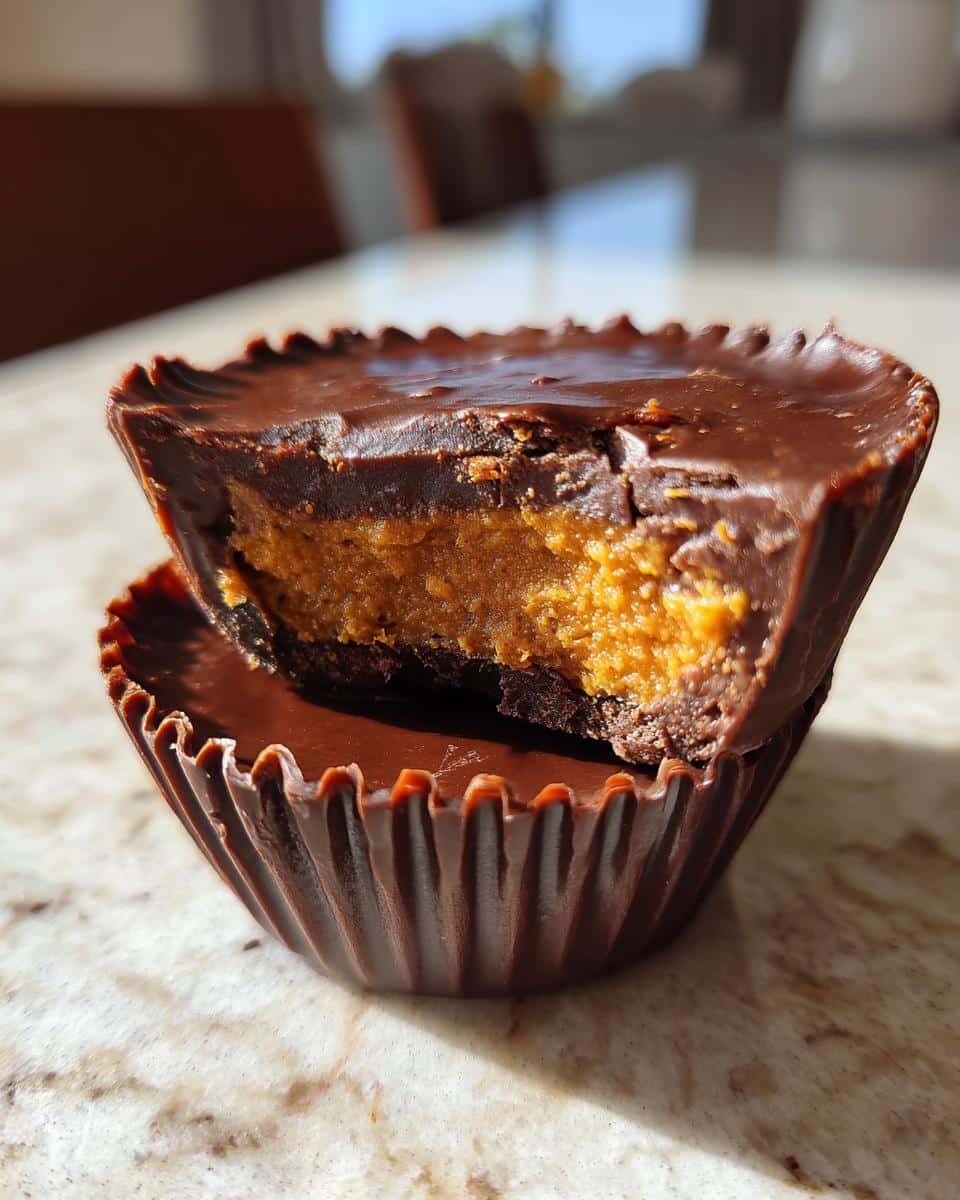
Serving and Storing Dairy Free Chocolate Pumpkin Butter Cups
Here’s the scoop on keeping these pumpkin butter cups at their absolute best! They’re happiest stored in an airtight container in the fridge – that keeps the chocolate snappy and the filling creamy. They’ll stay dreamy for up to a week (if they last that long in your house!). Serve them straight from the fridge for that perfect texture – no need to warm them up. Just pop one (or three) onto a pretty plate and watch them disappear. Trust me, you’ll want to hide a few in the back for yourself!
Dairy Free Chocolate Pumpkin Butter Cups FAQs
I get questions about these pumpkin butter cups all the time – here are the answers to what everyone wants to know!
Can I use regular chocolate chips instead of dairy-free?
Nope, that defeats the whole dairy-free purpose! Regular chocolate contains milk solids. My favorite brands are Enjoy Life or Lily’s – they melt perfectly and keep the recipe vegan.
How long do these actually last in the fridge?
About a week in an airtight container – if you can resist eating them all sooner! The pumpkin filling stays creamy, and the chocolate keeps its snap. Pro tip: Write the date on the container so you don’t forget.
What if I leave out the coconut oil?
Bad idea, friend! The oil helps the chocolate set properly. Without it, you’ll get soft, melty messes. If you’re coconut-averse, try refined coconut oil – it has no coconut taste.
Can I freeze these long-term?
Absolutely! They freeze beautifully for 2-3 months. Just thaw in the fridge for an hour before serving – no one likes frosty teeth marks in their chocolate.
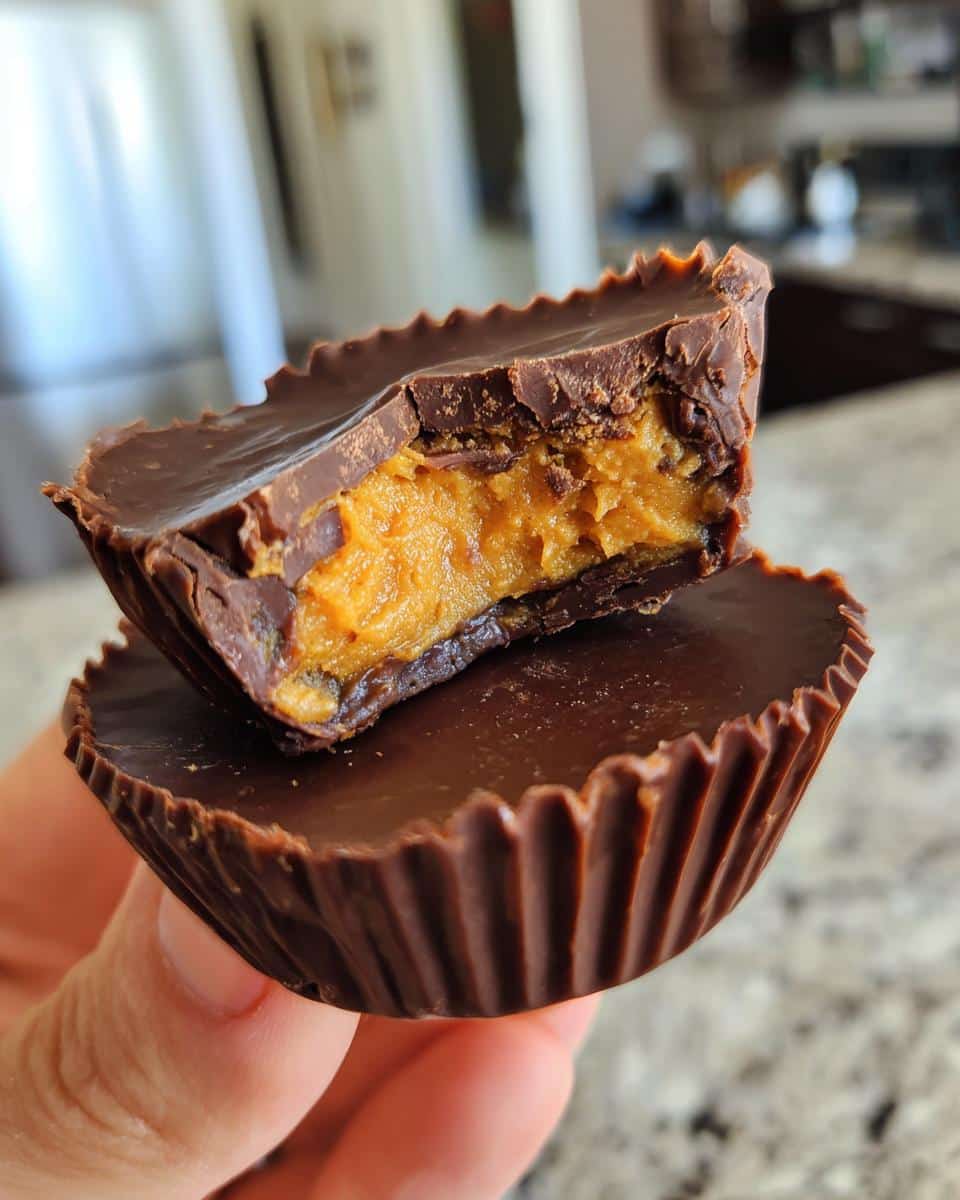
Nutritional Information
Okay, let’s talk numbers – but keep in mind, these can vary depending on your exact ingredients (I’m looking at you, different almond butter brands with your sneaky oil separation). For one glorious Dairy Free Chocolate Pumpkin Butter Cup, you’re looking at roughly:
- 120 calories (perfect for when you “just want a little something”)
- 7g fat (the good kind from nuts and coconut)
- 12g carbs (with 2g fiber to balance things out)
- 1g protein (hey, every bit counts!)
Important note: My calculations are based on the exact ingredients I use – your favorite chocolate chips or almond butter might shift these numbers slightly. And let’s be real – when something tastes this good, who’s counting? (Okay, fine, sometimes we are – but isn’t it nice when the numbers aren’t terrifying?)
Print
Irresistible Dairy Free Chocolate Pumpkin Butter Cups in 30 Minutes
- Total Time: 40 mins
- Yield: 12 cups
- Diet: Vegan
Description
Delicious dairy-free chocolate pumpkin butter cups with a rich, creamy filling. Perfect for fall treats or anytime snacks.
Ingredients
- 1 cup dairy-free chocolate chips
- 2 tbsp coconut oil
- 1/2 cup pumpkin puree
- 2 tbsp almond butter
- 1 tbsp maple syrup
- 1 tsp pumpkin pie spice
- 1/4 tsp vanilla extract
- Pinch of salt
Instructions
- Melt the dairy-free chocolate chips and coconut oil together in a double boiler or microwave.
- Line a muffin tin with paper liners and spoon a thin layer of melted chocolate into each.
- Freeze for 10 minutes to set.
- Mix pumpkin puree, almond butter, maple syrup, pumpkin pie spice, vanilla, and salt in a bowl.
- Spoon the pumpkin mixture over the set chocolate layer, leaving space for the top chocolate layer.
- Pour the remaining melted chocolate over the pumpkin layer and spread evenly.
- Freeze for 20 minutes or until firm.
- Serve chilled and store leftovers in the fridge.
Notes
- Use smooth almond butter for best texture.
- Adjust sweetness by adding more or less maple syrup.
- Store in an airtight container for up to a week.
- Prep Time: 15 mins
- Cook Time: 5 mins
- Category: Dessert
- Method: No-Bake
- Cuisine: American
