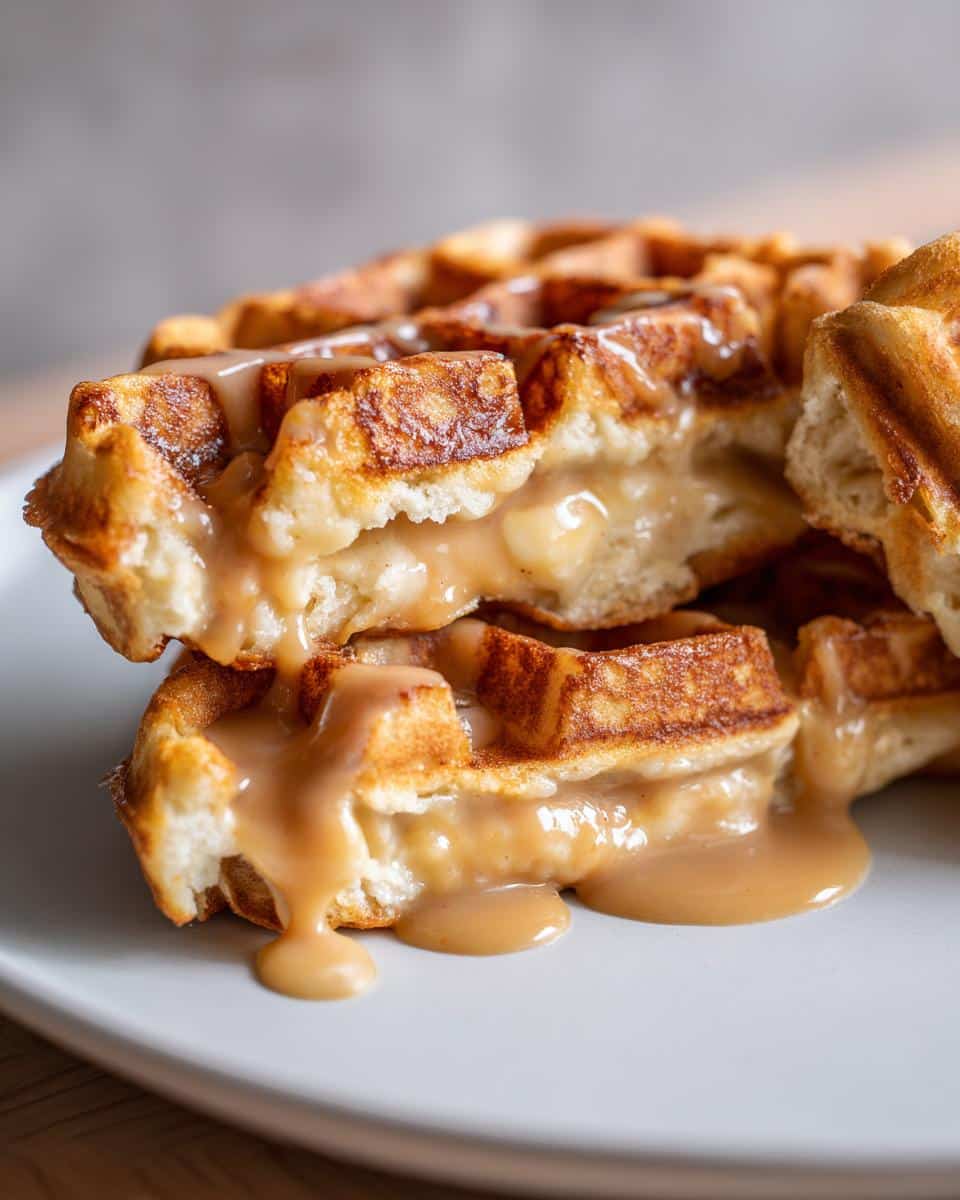
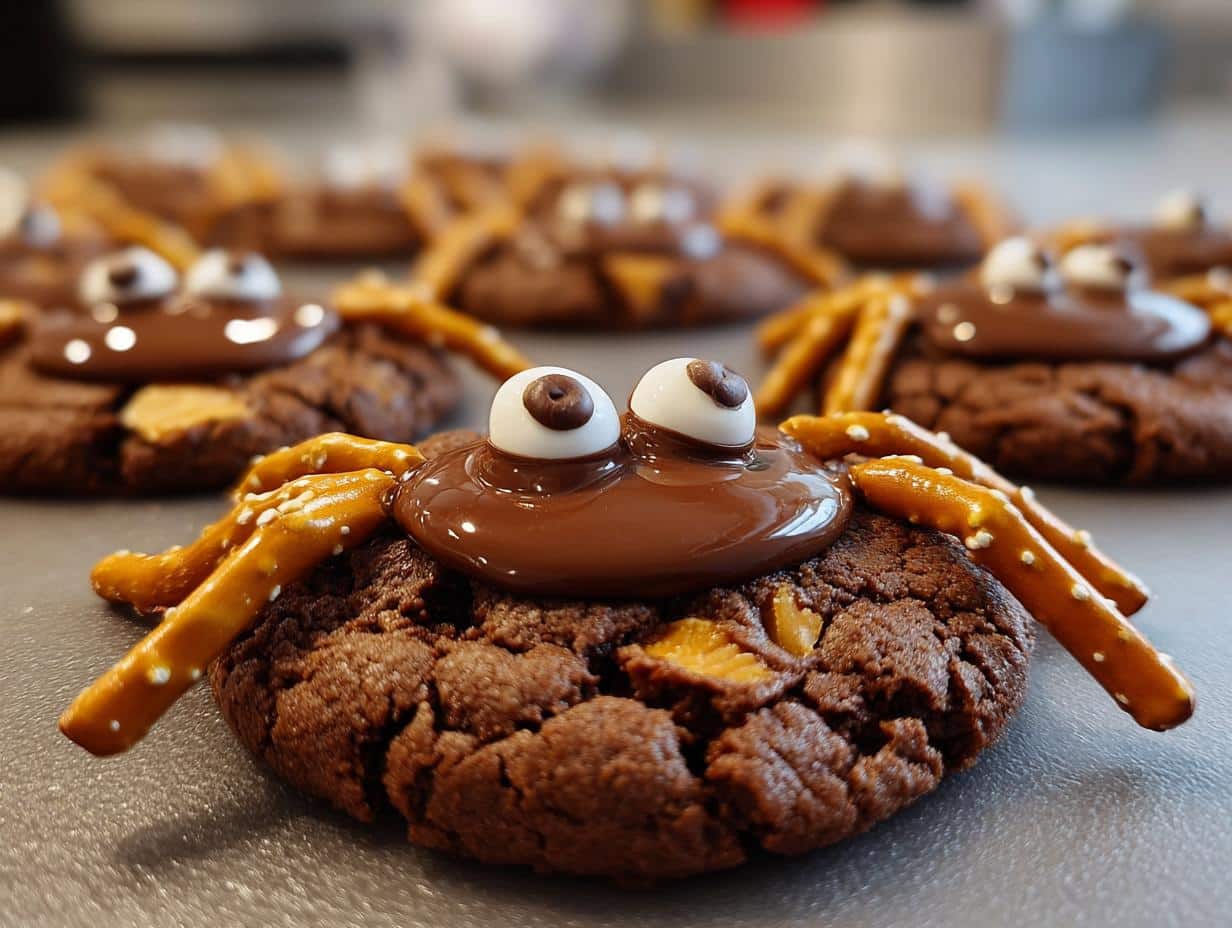
I get giddy every October when it’s time to make my famous Decorated Jack-O’-Lantern Sugar Cookies with Royal Icing! There’s something magical about transforming simple dough into grinning pumpkin faces that make both kids and adults squeal with delight. Whether you’re a cookie decorating pro or just starting out, these spooky treats are surprisingly easy to create – and trust me, they’ll be the star of any Halloween party or school bake sale. The secret? A buttery sugar cookie base that holds its shape perfectly, topped with vibrant royal icing that sets up nice and crisp for picture-perfect jack-o’-lanterns every time. Let me show you how it’s done!
Table of Contents
Ingredients for Decorated Jack-O’-Lantern Sugar Cookies with Royal Icing
Gathering your ingredients is the first step to cookie magic – and trust me, you’ll want everything measured and ready to go before you start. Here’s what you’ll need to create these spooky treats:
For the Sugar Cookies:
- 2 3/4 cups all-purpose flour (spooned and leveled)
- 1/2 teaspoon baking powder
- 1/4 teaspoon salt (I always use fine sea salt)
- 1 cup (2 sticks) unsalted butter, softened to room temperature (this is crucial for proper creaming)
- 1 1/2 cups granulated sugar
- 1 large egg (straight from the fridge is fine)
- 1 teaspoon pure vanilla extract (the good stuff makes a difference!)
For the Royal Icing:
- 2 cups powdered sugar (sifted to remove lumps)
- 1 1/2 tablespoons meringue powder (found in the baking aisle)
- 3-4 tablespoons room temperature water (add gradually)
- Gel food coloring in orange, black, and green (liquid coloring makes icing too runny)
A quick tip from my messy experience: measure your flour correctly by spooning it into the cup and leveling it off with a knife. Too much flour makes dry cookies, and we want these jack-o’-lanterns perfectly tender!
How to Make Decorated Jack-O’-Lantern Sugar Cookies with Royal Icing
Now for the fun part – turning those ingredients into adorable spooky cookies! Follow these steps carefully, and you’ll have picture-perfect jack-o’-lanterns that’ll impress all your Halloween guests.
Preparing the Cookie Dough
First things first – preheat your oven to 350°F (175°C) and line your baking sheets with parchment paper. Trust me, this prevents sticking better than greasing the pans!
In a medium bowl, whisk together the flour, baking powder, and salt – this ensures your dry ingredients are evenly distributed. Now grab your stand mixer (or a sturdy bowl and hand mixer) and cream that softened butter with sugar until it’s light and fluffy, about 2-3 minutes. This step creates those tiny air pockets that make your cookies tender.
Beat in the egg and vanilla until just combined – don’t overmix! Gradually add your dry ingredients, mixing until the dough comes together in a soft ball. I like to knead it a couple times by hand to make sure everything’s incorporated. Roll it out between two sheets of parchment to 1/4-inch thickness – this thickness bakes evenly and holds the icing well.
Use pumpkin-shaped cookie cutters to create your jack-o’-lantern bases. Pro tip: dip your cutter in flour between cuts to prevent sticking. Transfer carefully to prepared baking sheets with a thin spatula.

Baking and Cooling
Bake those orange beauties for 8-10 minutes – you’ll know they’re ready when the edges just barely start turning golden. They’ll look soft in the center, but don’t worry, they firm up as they cool.
Here’s the hardest part – let them cool completely on the baking sheets for 5 minutes, then transfer to wire racks. I know you’ll want to start decorating right away, but patience is key! Warm cookies make melty icing messes.
Decorating with Royal Icing
While cookies cool, make your royal icing: whisk powdered sugar and meringue powder together, then add water 1 tablespoon at a time until it’s thick but pipeable. Divide into three bowls and tint orange, black, and green with gel coloring (way more vibrant than liquid!).
Start with orange icing – pipe outlines around each cookie, then “flood” the centers using a toothpick to spread evenly. Let this base layer dry for about 30 minutes. Now have fun creating faces with black icing! Squiggly mouths, triangle eyes – go wild. Add green stems last. Let the icing set completely (about 4 hours or overnight) before stacking or packaging.

Tips for Perfect Decorated Jack-O’-Lantern Sugar Cookies
After making hundreds of these cookies (and learning from my mistakes!), here are my can’t-live-without tips for jack-o’-lantern cookie perfection:
- Chill that dough! If your kitchen is warm, pop the rolled-out dough in the fridge for 15 minutes before cutting shapes – it prevents spreading and keeps those pumpkin edges sharp.
- Gel food coloring is queen for royal icing. Liquid colors dilute the icing and make it runny, while gels give you vibrant shades without changing the consistency.
- Store them right in an airtight container with parchment between layers. They’ll stay fresh for up to a week – if they last that long!
- Work in batches when decorating. Ice a few cookies at a time so the base layer can set while you prepare more.
- Keep a damp towel handy to wipe your piping tips – it prevents color bleeding when switching between orange and black icing.
Trust me, these little tricks make all the difference between good cookies and “how did you make these?!” cookies!
Ingredient Substitutions and Notes
Don’t panic if you’re missing something – I’ve tested plenty of swaps over the years! For the butter, you can use margarine in a pinch, but the cookies won’t have quite the same rich flavor. No meringue powder? Try 1 tablespoon lemon juice instead – it helps the icing set, though not quite as firmly.
Short on time? Store-bought sugar cookie dough works, but roll it thinner than the package suggests. And if you’re out of pumpkin cutters, a round cutter with a little green stem works too – just pipe on jack-o’-lantern faces!
Allergic to eggs? Use 1/4 cup applesauce instead – the cookies will be slightly puffier but still delicious. Just remember: fresh ingredients always give the best results!
Storing and Serving Decorated Jack-O’-Lantern Sugar Cookies
Here’s the secret to keeping your spooky creations looking fresh: let the icing dry completely (overnight is best) before storing. I use airtight containers with sheets of parchment paper between layers – this keeps those grinning faces from smudging. They’ll stay perfect for up to a week at room temperature, though let’s be honest… they never last that long at my house! For parties, arrange them on a platter with some candy corn scattered around – the orange colors match beautifully.
Nutritional Information
While we all know Halloween treats aren’t exactly health food, I like having a general idea of what’s in my Decorated Jack-O’-Lantern Sugar Cookies! Here’s the estimated nutritional breakdown per cookie (based on 24 servings):
- Calories: 180
- Total Fat: 7g
- Saturated Fat: 4g
- Sugar: 15g
- Carbohydrates: 27g
- Protein: 2g
Just remember – these numbers can vary slightly depending on your exact ingredients and how thick you ice those grinning pumpkins! I’m no nutritionist, so consider this a friendly estimate. The real magic is in sharing these spooky treats with people you love (and maybe sneaking an extra cookie or two for yourself – no judgment here!).
Frequently Asked Questions
Here are answers to all the burning questions I get about these Decorated Jack-O’-Lantern Sugar Cookies – straight from my flour-dusted experience!
Can I use pre-made cookie dough?
Absolutely! While homemade dough gives the best flavor, refrigerated sugar cookie dough works in a pinch. Just roll it slightly thinner than the package suggests (about 1/4-inch) to prevent puffing. Bonus tip: chill the cut shapes before baking to keep those pumpkin edges crisp!
How long does the royal icing take to set?
The icing crusts over in about 30 minutes, but needs 4-6 hours to fully harden. For serious decorating (like stacking cookies), I let mine dry overnight. If you’re in a rush, a fan pointed at low speed helps speed things up!
Can I freeze these decorated cookies?
You bet! Freeze undecorated baked cookies for up to 3 months. For iced cookies, freeze them in a single layer first (so the icing sets), then transfer to airtight containers with parchment between layers. Thaw at room temperature – the icing stays perfect!
My icing is too runny/thick – help!
Add water drop by drop to thin thick icing. For runny icing, mix in more powdered sugar 1 tbsp at a time. The perfect consistency? It should ribbon off your spoon and disappear into the bowl in about 10 seconds.
For more delicious recipes and baking inspiration, check out our Pinterest page!


Magical Decorated Jack-O’-Lantern Sugar Cookies That Wow
- Total Time: 40 minutes
- Yield: 24 cookies
- Diet: Vegetarian
Description
Decorate your Halloween with these festive Jack-O’-Lantern sugar cookies topped with royal icing. Perfect for parties or spooky treats.
Ingredients
- 2 3/4 cups all-purpose flour
- 1/2 tsp baking powder
- 1/4 tsp salt
- 1 cup unsalted butter, softened
- 1 1/2 cups granulated sugar
- 1 large egg
- 1 tsp vanilla extract
- 2 cups powdered sugar
- 1 1/2 tbsp meringue powder
- 3–4 tbsp water
- Orange, black, and green food coloring
Instructions
- Preheat oven to 350°F (175°C). Line baking sheets with parchment paper.
- Whisk flour, baking powder, and salt in a bowl.
- Cream butter and sugar until fluffy. Beat in egg and vanilla.
- Gradually add dry ingredients to wet, mixing until combined.
- Roll dough to 1/4-inch thickness. Cut into pumpkin shapes.
- Bake for 8-10 minutes. Cool completely.
- For icing, mix powdered sugar, meringue powder, and water until smooth.
- Divide icing and tint orange, black, and green.
- Pipe outlines and fill cookies with orange icing.
- Add black icing for faces and green for stems.
- Let icing set before serving.
Notes
- Chill dough for 30 minutes for easier handling.
- Use gel food coloring for vibrant shades.
- Store cookies in an airtight container.
- Prep Time: 30 minutes
- Cook Time: 10 minutes
- Category: Dessert
- Method: Baking
- Cuisine: American
