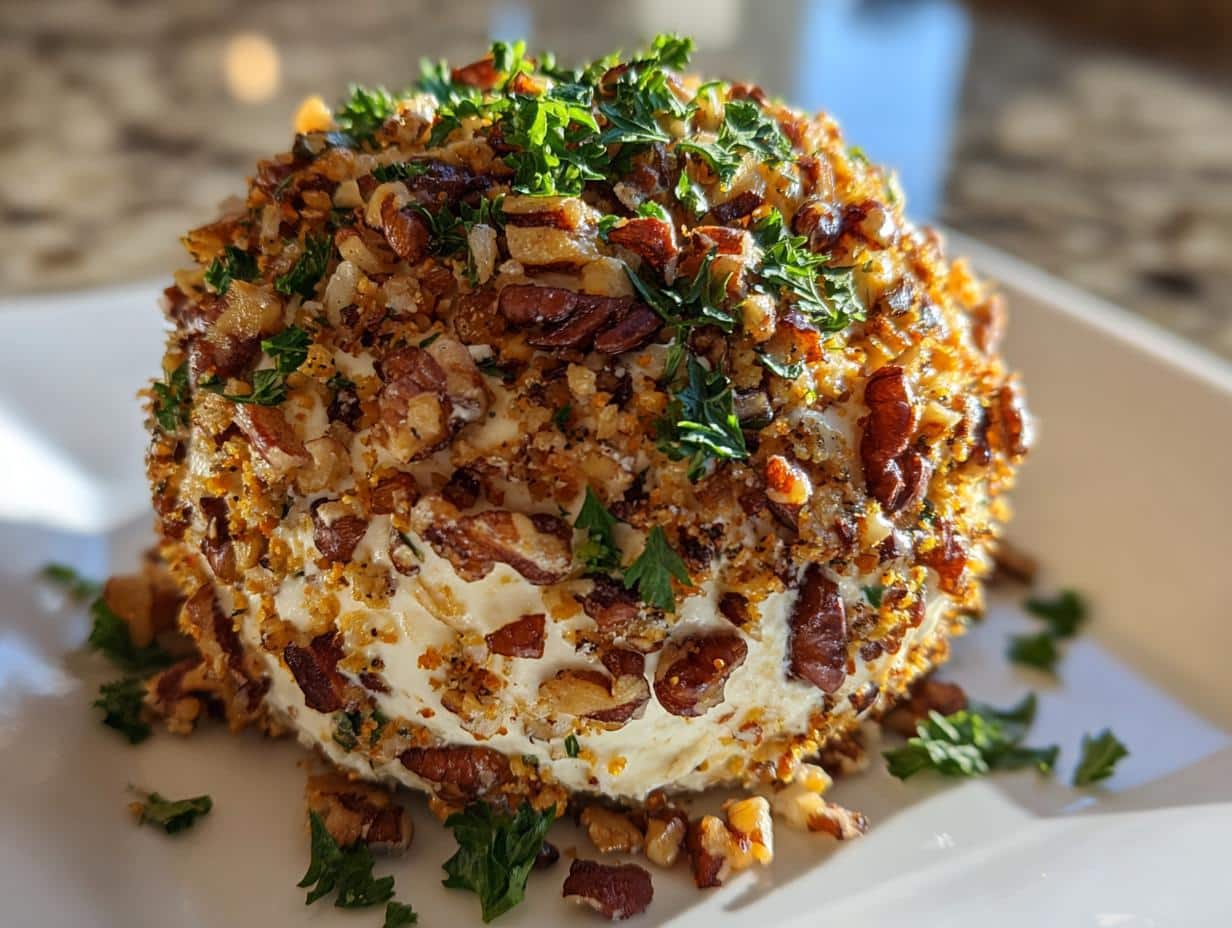
Oh my gosh, you have to try this Holiday Cheese Ball – it’s been my secret weapon at every Christmas party since 2015! Picture this: creamy, tangy cheese hugged by this gorgeous crunchy nut blanket that just sings “festive season.” I’ll never forget the first time I served it – my aunt actually stopped mid-conversation to ask, “What IS this magical thing?” before proceeding to eat half the bowl with crackers. The best part? It takes literally 15 minutes to throw together (plus chilling time, but shhh). Whether you’re hosting or bringing a dish, this nut-studded beauty always disappears first from the appetizer table. Trust me, once you make it, you’ll get requests every single year!
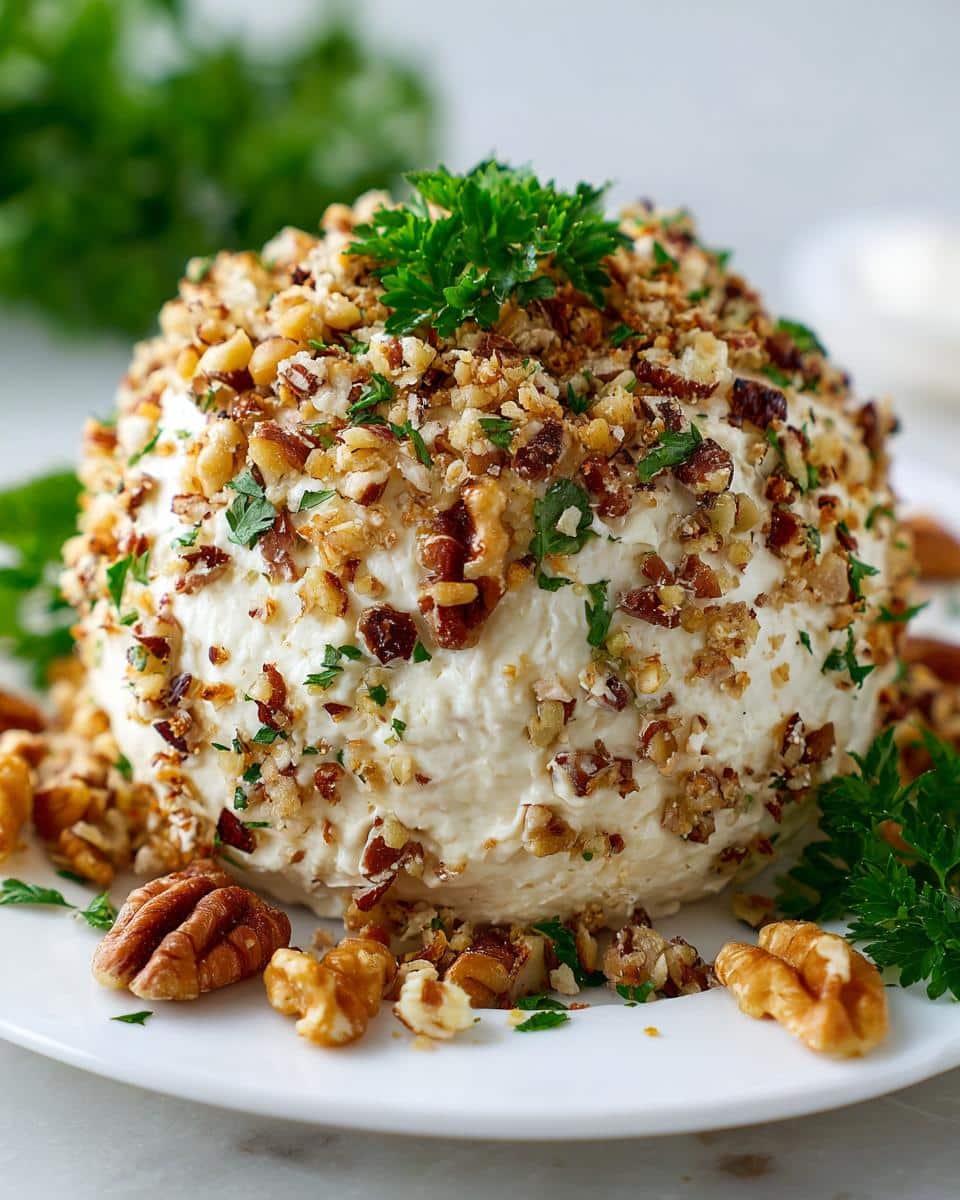
Why You’ll Love This Holiday Cheese Ball
This isn’t just any cheese ball—it’s the one that’ll make you the star of every holiday gathering. Here’s why:
- Effortless elegance: Only 15 minutes of hands-on work (and zero cooking!) for a showstopper that looks like you spent hours
- Universal crowd-pleaser: My picky uncle and gourmet-foodie neighbor both go crazy for that creamy-cheesy-nutty magic
- Holiday table MVP: Beautiful enough for fancy parties but sturdy enough to survive the kids’ snack table chaos
- Your rules: Swap nuts, add heat, or mix in dried fruit—it’s basically a blank canvas for your holiday creativity
Ingredients for Your Holiday Cheese Ball
Gather these simple ingredients – quality matters here! You’ll need:
- 2 cups cream cheese (softened to room temp – this is crucial!)
- 1 cup shredded sharp cheddar (the sharper the better for flavor)
- 1/2 cup chopped pecans (measure after chopping)
- 1/4 cup chopped walnuts (I like to leave some bigger pieces for texture)
- 1 tsp garlic powder (not garlic salt!)
- 1 tsp onion powder
- 1/2 tsp paprika (smoked paprika adds amazing depth)
- 1/4 tsp black pepper (freshly cracked if you have it)
- 1/4 cup fresh parsley (finely chopped – stems removed)
Ingredient Notes & Substitutions
No walnuts? Almonds work beautifully too! For nut allergies, try toasted sunflower seeds – they give that same satisfying crunch. Vegan? Swap in your favorite plant-based cream cheese and cheddar. Fresh parsley makes all the difference (dried just doesn’t have the same bright flavor), but in a pinch, use 1 tbsp dried. Pro tip: Toast those nuts first – it takes the flavor to another level!
How to Make the Perfect Holiday Cheese Ball
Okay, let’s get our hands dirty—literally! Making this Holiday Cheese Ball is almost foolproof, but I’ve learned a few tricks over the years that take it from “good” to “can you please give me the recipe RIGHT NOW?” Here’s exactly how I do it:
Mixing the Cheese Base
First, grab your softened cream cheese—this is non-negotiable unless you want lumpy cheese ball drama! I dump it all into my favorite big mixing bowl with the shredded cheddar and spices. Then comes the fun part: mash and stir with a sturdy wooden spoon until it looks like smooth, orange-tinted clouds. Don’t overmix though—stop once everything’s just combined or the texture gets weirdly gummy.
Shaping and Coating
Now for the satisfying part! Scoop all that cheesy goodness onto a sheet of parchment paper (trust me, this saves so much cleanup). With slightly damp hands—this prevents sticking—gently shape it into a ball that’d make a snowman jealous. Combine your chopped nuts and parsley in a shallow dish, then roll that cheese ball like it’s a snowball collecting winter memories. Press gently to help the coating stick evenly. Wrap it up tight and chill for at least an hour—the waiting is torture, but it makes all the difference!
Tips for the Best Holiday Cheese Ball
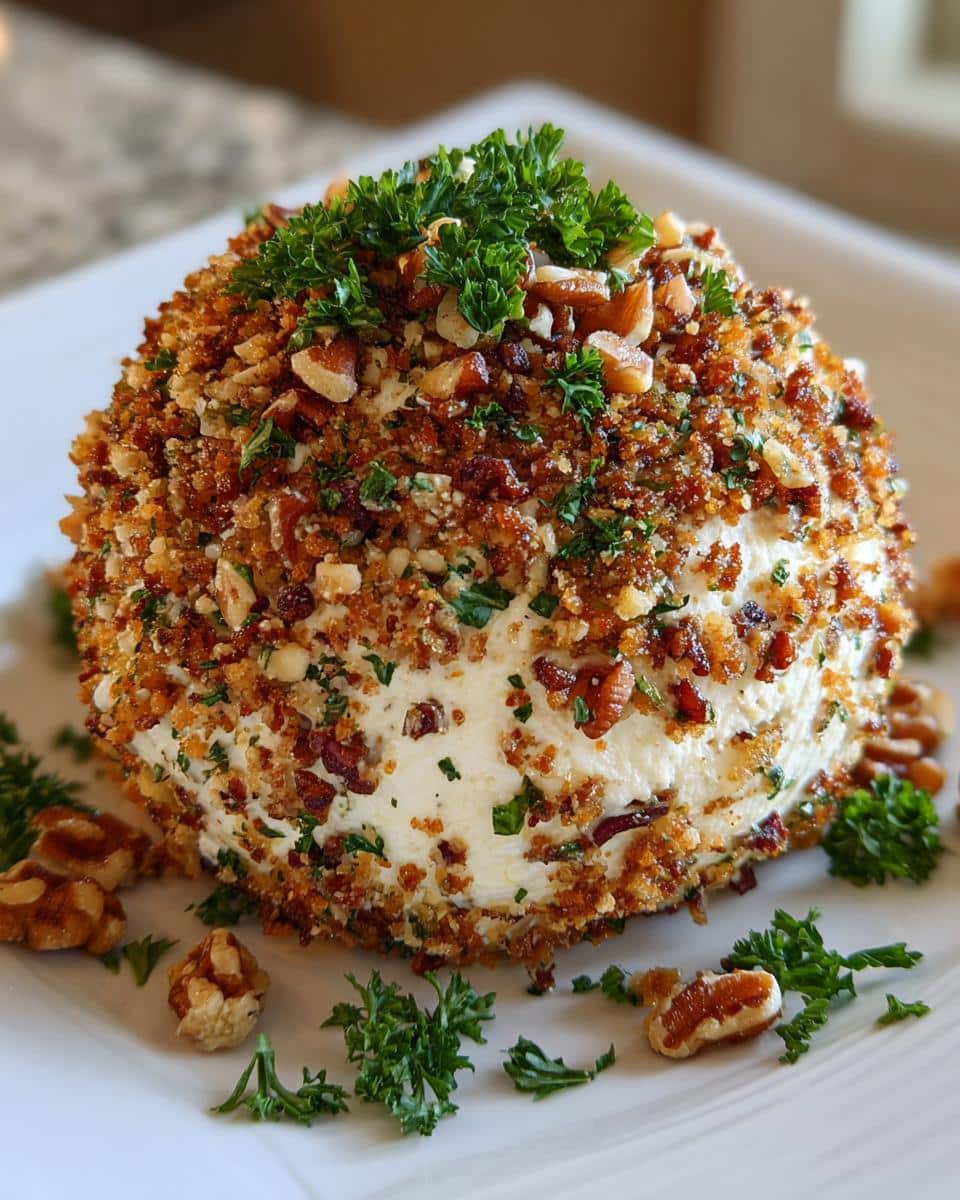
After making this Holiday Cheese Ball more times than I can count, I’ve picked up some game-changing tricks:
- Chill like it’s hot: That hour in the fridge isn’t just a suggestion—it firms everything up so you get perfect slices instead of a cheesy puddle!
- Toast those nuts: Just 5 minutes in a dry pan transforms them from “nice” to “oh wow” with deeper flavor.
- Glove up: Disposable food gloves make shaping SO much easier (and prevent orange-stained fingers!).
- Double coat: If any bald spots appear after the first roll, press extra nut mixture onto them before wrapping.
Serving Your Holiday Cheese Ball
Here’s where the magic happens! I love setting out my Holiday Cheese ball surrounded by an assortment of dippers – crispy crackers are classic, but apple slices add a fresh crunch that’s unexpectedly perfect. Don’t forget a small knife for spreading! A final sprinkle of fresh parsley makes it look extra festive. Pro tip: Let it sit at room temperature for 15 minutes before serving – that perfect spreadable texture is worth the wait!
Storage & Reheating
Here’s the beautiful thing about this Holiday Cheese Ball—it actually gets better after chilling! Store any leftovers (if you’re lucky enough to have some) in an airtight container in the fridge for up to 5 glorious days. No reheating needed—just pull it out 15 minutes before serving to let it soften perfectly!
Holiday Cheese Ball Variations
Once you’ve mastered the classic, try these fun twists! My personal favorite is the Spicy Southern version – just add 1/4 tsp cayenne pepper to the cheese mix and roll in pecans with a pinch of chili powder. For festive flair, mix in 1/4 cup dried cranberries before shaping – the sweet-tart bursts are divine! And oh my stars, the Everything Bacon variation (swap parsley for cooked crumbled bacon in the coating) disappears faster than holiday cookies!
Holiday Cheese Ball FAQs
You’ve got questions? I’ve made enough of these cheese balls to have all the answers!
- Can I freeze it? Honestly? Don’t do it. The texture turns weirdly grainy when thawed – trust me, I learned this the hard way after last year’s freezer experiment!
- Can I make it ahead? Absolutely! It’s actually better after chilling overnight. I often make it up to 2 days before – just wrap tight and keep in the fridge.
- Nut allergies? No problem! Toasted pumpkin or sunflower seeds work beautifully. For my niece’s school party, I used crushed pretzels and everyone went nuts (pun intended).
Nutritional Information
Just so you know, one serving (about 1/10th of the cheese ball) has roughly 180 calories. These are estimates since ingredients vary—your favorite cheddar might be saltier than mine! If you’re counting closely, nutritional calculators help fine-tune it for your specific ingredients. Now tell me—what’s your favorite way to customize this Holiday Cheese Ball? I’m always looking for new twists to try!
Print
15-Minute Holiday Cheese Ball That’ll Steal the Party
- Total Time: 1 hour 15 mins
- Yield: 1 cheese ball (serves 8-10)
- Diet: Vegetarian
Description
A festive nut-based cheese ball perfect for holiday gatherings. It’s creamy, flavorful, and easy to prepare.
Ingredients
- 2 cups cream cheese, softened
- 1 cup shredded cheddar cheese
- 1/2 cup chopped pecans
- 1/4 cup chopped walnuts
- 1 tsp garlic powder
- 1 tsp onion powder
- 1/2 tsp paprika
- 1/4 tsp black pepper
- 1/4 cup fresh parsley, finely chopped
Instructions
- In a bowl, mix cream cheese, cheddar cheese, garlic powder, onion powder, paprika, and black pepper until well combined.
- Shape the mixture into a ball using your hands.
- In a separate bowl, combine chopped pecans, walnuts, and parsley.
- Roll the cheese ball in the nut mixture until fully coated.
- Wrap in plastic wrap and refrigerate for at least 1 hour before serving.
Notes
- For a spicier version, add 1/4 tsp cayenne pepper.
- Let the cheese ball sit at room temperature for 15 minutes before serving for easier spreading.
- Store leftovers in an airtight container in the fridge for up to 5 days.
- Prep Time: 15 mins
- Cook Time: 0 mins
- Category: Appetizer
- Method: No Cook
- Cuisine: American
