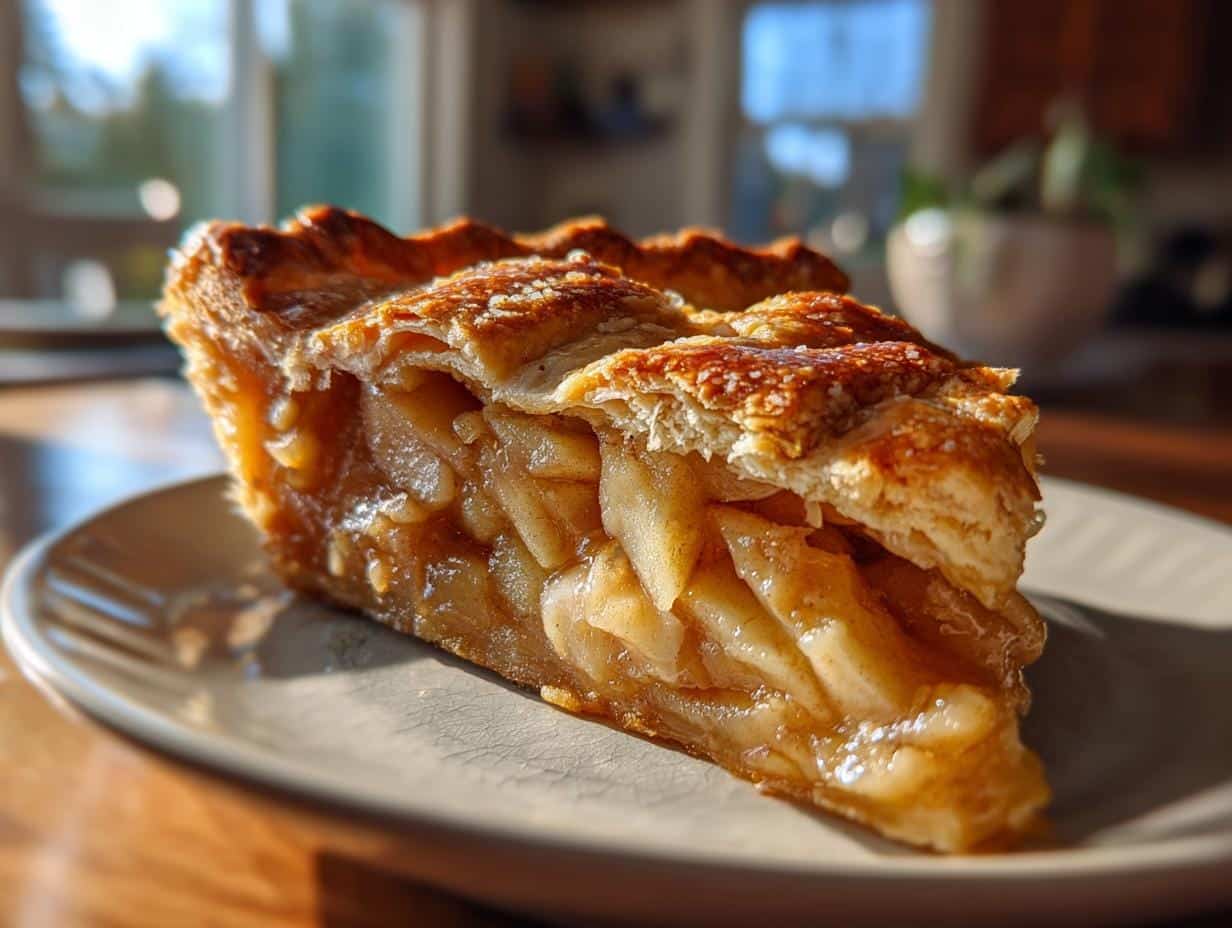
Nothing says home like the smell of a freshly baked apple pie filling your kitchen. I remember standing on a stool as a kid, watching my grandma peel apples with her old paring knife, the scent of cinnamon and butter wrapping around us like a hug. That’s the magic I try to recreate every time I make this Homemade Apple Pie with Flaky Butter Crust – that perfect moment when golden pastry meets tender spiced apples.
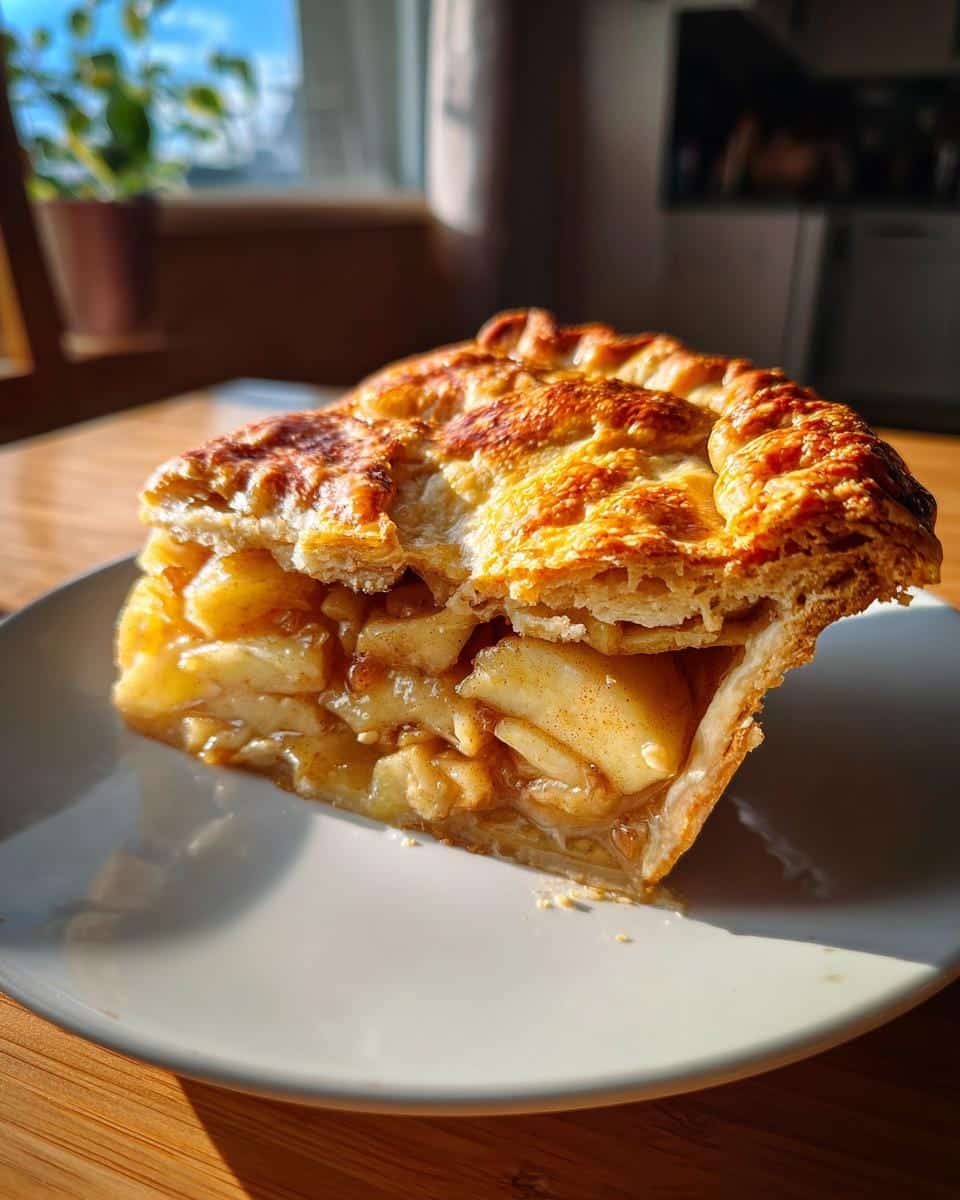
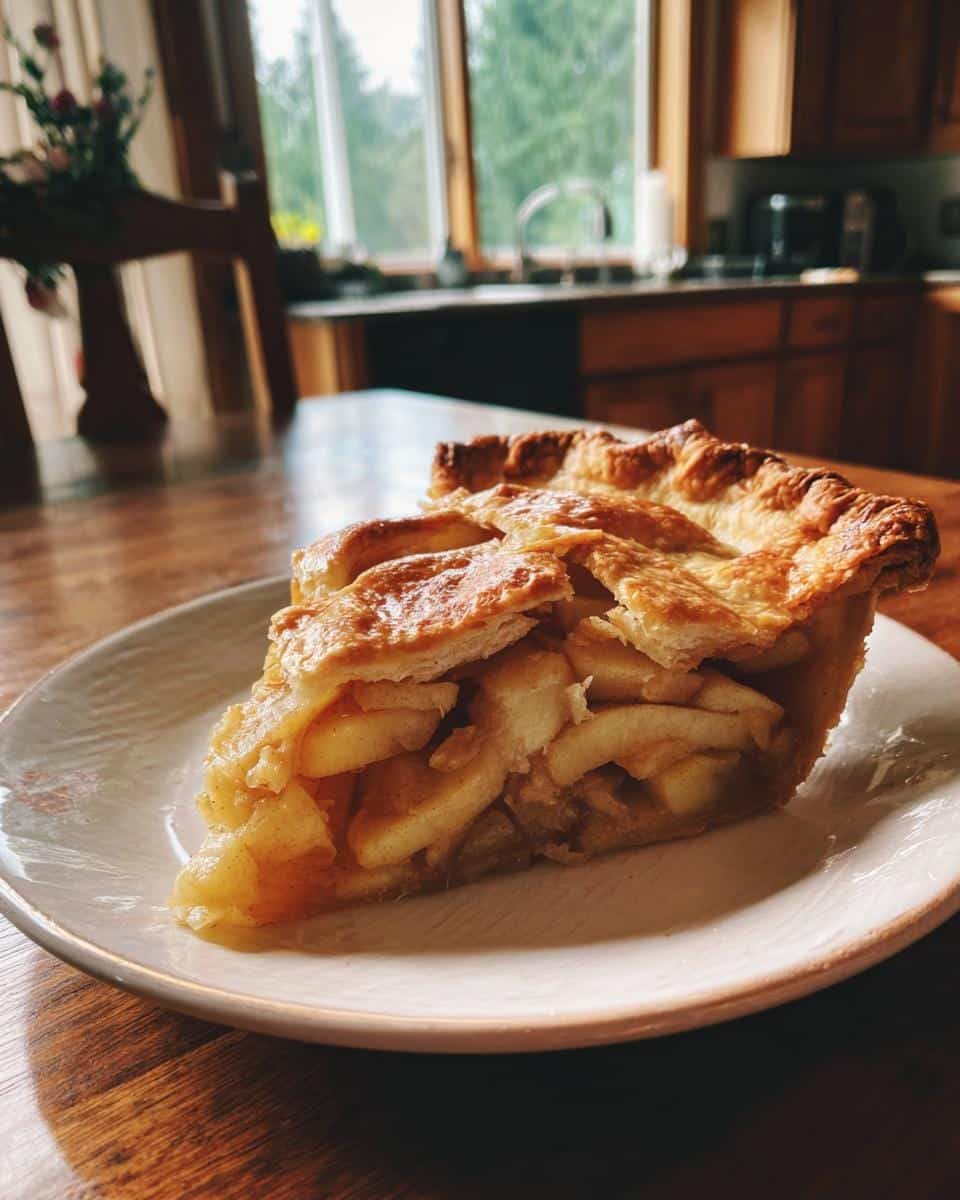
This isn’t just any pie. That buttery crust shatters into a million flaky layers when you cut into it (trust me, I’ve eaten enough test slices to know). The filling? A balanced mix of sweet-tart apples with just enough cinnamon to warm you up without overpowering the fruit. Some pies are too gooey or too dry, but this one hits that perfect jammy consistency where the apples hold their shape but melt on your tongue.
Whether it’s a holiday table centerpiece or a random Tuesday treat, this pie always disappears fast in my house. The secret’s in the simple things – cold butter worked into the crust just right, a mix of apple varieties for depth of flavor, and that crucial hour of cooling time that keeps the filling from oozing everywhere. Well… mostly. A little ooze never hurt anybody.
Table of Contents
Why You’ll Love This Homemade Apple Pie with Flaky Butter Crust
This isn’t just another apple pie recipe—it’s the one you’ll come back to year after year. Here’s why:
- That crust though: The flaky butter crust practically sings when you bite into it. Cold butter and just enough ice water create layers upon layers of crispy, golden perfection.
- Apple harmony: A mix of sweet and tart apples means every bite has depth – none of that one-note sweetness here.
- Spice that’s just right: Cinnamon, nutmeg and allspice play backup singers to the apples instead of drowning them out.
- No soggy bottoms: That hour of cooling time? It’s the difference between pie soup and perfect slices that hold their shape.
- Smells like home: The aroma alone will have neighbors knocking at your door with “forgotten” measuring cups.
Honestly? The hardest part is waiting for it to cool before digging in. But it’s worth it – I promise.
Ingredients for Homemade Apple Pie with Flaky Butter Crust
Gathering the right ingredients makes all the difference between a good pie and a “can I get your recipe?” pie. Here’s exactly what you’ll need:
- For the flaky butter crust:
- 2 1/2 cups all-purpose flour (spooned and leveled, please – no packing!)
- 1 cup unsalted butter, chilled and cubed (I keep mine in the freezer for 15 minutes before using)
- 1 tsp salt (I prefer fine sea salt for even distribution)
- 1 tbsp granulated sugar (just enough to enhance flavor without making it sweet)
- 6-8 tbsp ice water (yes, actual ice cubes floating in it – the colder the better)
- For the apple filling:
- 6 cups peeled and sliced apples (about 5-6 medium apples – I use 3 Granny Smith and 3 Honeycrisp for perfect balance)
- 3/4 cup granulated sugar (adjust to your apples’ tartness)
- 2 tbsp fresh lemon juice (bottled just doesn’t give the same bright flavor)
- 1 tsp ground cinnamon
- 1/4 tsp freshly grated nutmeg (trust me, pre-ground doesn’t compare)
- 1/4 tsp allspice (the secret weapon that makes people ask “what is that amazing flavor?”)
- 2 tbsp unsalted butter, diced small (for dotting over the filling)
Pro tip: Set everything out before you start – especially that butter! Cold ingredients are the key to that perfect flaky texture we’re after.
How to Make Homemade Apple Pie with Flaky Butter Crust
Alright, let’s get our hands floury! Making this pie is easier than you think – I’ll walk you through each step so you get that perfect flaky crust and juicy apple filling every time. Just follow along, and don’t worry about making it look perfect. Some of my best pies looked happily homemade!
Preparing the Flaky Butter Crust
First things first – cold is key here! Grab that bowl of flour, salt and sugar. Now take your chilled butter cubes (I like to rinse my hands in cold water first so I don’t warm the butter) and start rubbing them into the flour. You want pea-sized pieces coated in flour – some smaller bits are fine too. When it looks like coarse crumbs, drizzle in ice water 1 tablespoon at a time, mixing lightly with a fork until the dough just comes together. Split it in half, flatten into discs, wrap in plastic, and chill for at least 30 minutes. This resting time relaxes the gluten and keeps our crust tender.
Making the Apple Filling
While the dough chills, let’s prep those apples! Peel and slice them about 1/4-inch thick – not too thin or they’ll turn to mush. Toss them with lemon juice right away to prevent browning. In a big bowl, mix your sugar and spices first (this helps distribute them evenly), then add the apples and toss gently until every slice is coated. Let this sit while you roll the crust – the sugar will draw out some juices which makes the filling extra flavorful. Sneak a taste – you should get sweet, tart, and spicy all at once!
Assembling and Baking the Pie
Preheat that oven to 375°F (190°C). Roll out one dough disc on a floured surface until it’s about 12 inches across. Carefully drape it into your pie dish, letting the edges hang over. Add your apple mixture (juices and all), dot with butter pieces, then roll out the top crust. Lay it over the apples, trim the overhang to about 1 inch, then crimp the edges together with your fingers or a fork. Cut a few steam vents in the top – I like to make a little star pattern. Bake for 45-50 minutes until the crust is deep golden and you can see bubbling juices through the vents. That smell? Pure heaven.
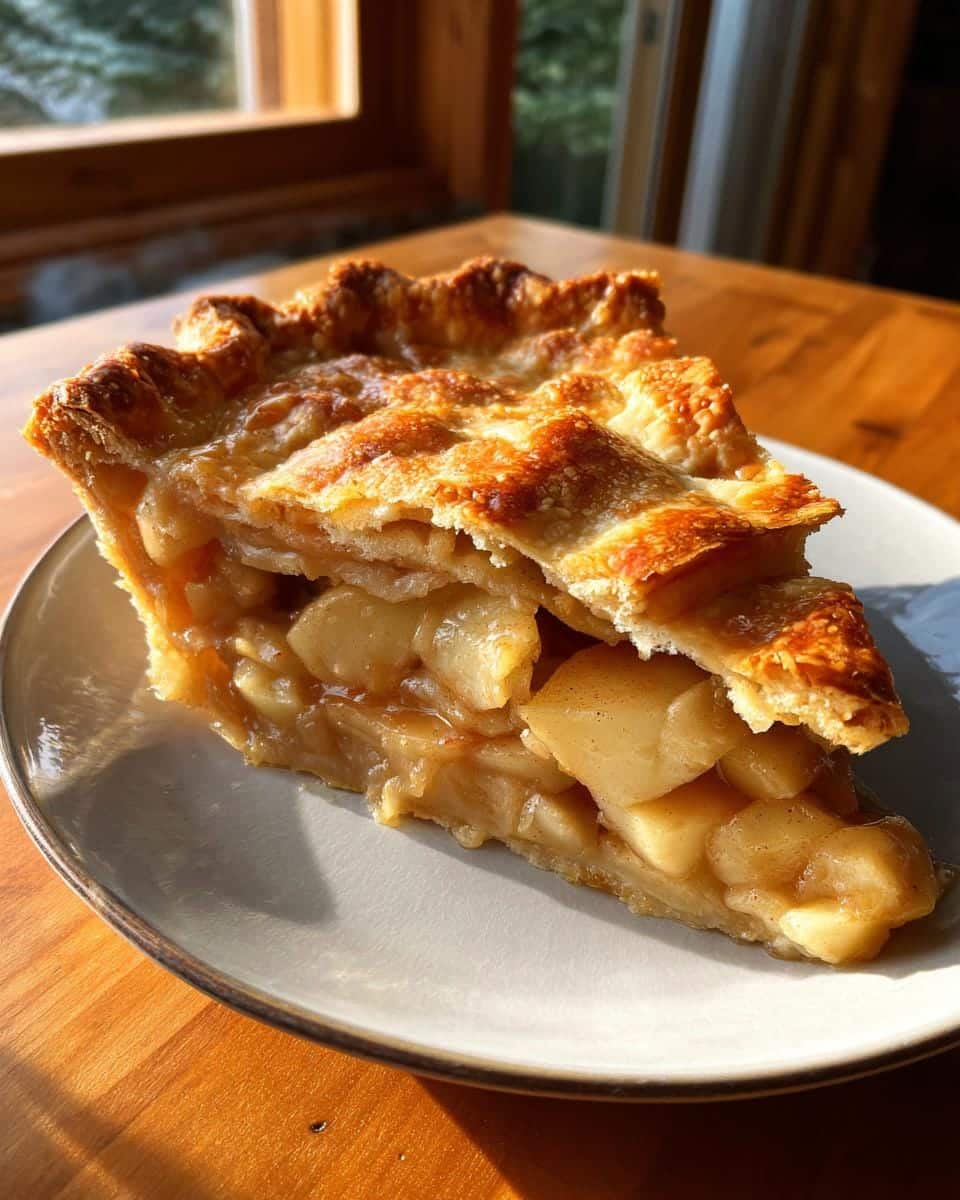
Pro Tips for the Perfect Homemade Apple Pie
After years of trial and error (and many delicious “mistakes”), here are my absolute must-know tips for pie perfection:
- Apple variety is everything: Use 2-3 types – Granny Smith for tartness, Honeycrisp for sweetness, and maybe a Pink Lady for texture. Each brings something special to the party!
- Keep everything cold, cold, cold: Chill your butter, chill your dough, even chill your rolling pin. Warmth is the enemy of flaky layers.
- Patience pays off: Let the pie cool completely before slicing – I know it’s hard, but those juices need time to set properly.
- Secret shield: Brush the bottom crust with egg wash before adding filling to prevent sogginess – my grandma’s sneaky trick!
- Watch the vents: If juices bubble over, slide a baking sheet underneath – saves your oven and your pie.
Remember – even imperfect pies taste amazing with a scoop of vanilla ice cream!
Serving and Storing Homemade Apple Pie
Oh, that glorious moment when you finally get to slice into your masterpiece! Here’s how I like to enjoy it: warm enough that the ice cream melts into the flaky layers, but not so hot that the filling runs everywhere (though honestly, some of my favorite bites come from the “messy” slices). A drizzle of caramel sauce never hurts either – not that this pie needs any help being delicious!
Leftovers? Hah – good one! But if you miraculously have some left, here’s what works best: Cover loosely with foil at room temperature for up to 2 days (the crust stays crispier this way). For longer storage, refrigerate for up to 5 days – just pop slices in the toaster oven for 10 minutes to bring back that fresh-baked magic. You can even freeze whole pies before baking – just add 15-20 minutes to the baking time straight from the freezer when you’re ready for pie emergency rations!
FAQs About Homemade Apple Pie with Flaky Butter Crust
Over the years, I’ve answered a ton of apple pie questions – here are the ones that come up most often with my tried-and-true answers:
Q1. Can I use frozen apples instead of fresh?
You can, but fresh really is best here. Frozen apples release too much liquid when thawed, which can make your crust soggy. If you must use frozen, thaw them first in a colander to drain excess juice, then pat dry with paper towels. You might need to reduce the sugar since frozen apples tend to taste sweeter.
Q2. How do I prevent a soggy bottom crust?
Three tricks: 1) Chill your dough thoroughly before baking. 2) Brush the bottom crust with beaten egg white before adding filling (it creates a moisture barrier). 3) Bake on the lowest oven rack for the first 15 minutes to crisp the bottom. My grandma swore by all three!
Q3. Can I make the crust ahead of time?
Absolutely! The dough discs keep well in the fridge for 2 days or freezer for 3 months. Just thaw in the fridge overnight if frozen. I often make extra dough to have on hand for spontaneous pie cravings – which happen more often than I’d like to admit.
Q4. Why did my filling bubble over?
This usually means: 1) You didn’t leave enough space between the filling and top crust (aim for 1/2 inch), or 2) Your vents weren’t big enough. Next time, place a baking sheet on the rack below to catch drips – saved me many oven cleanings!
Nutritional Information
Here’s the scoop on what’s in each delicious slice of this Homemade Apple Pie with Flaky Butter Crust – but remember, these are just estimates since apple sizes and brands vary. One serving (about 1/8 of the pie) has roughly 320 calories with 15g of that glorious butter-rich crust fat. The sugar comes mostly from the apples themselves (25g per slice), and you’re getting about 3g of fiber – so it’s practically health food, right? (Okay, maybe not, but a girl can dream!) As always, check your specific ingredients if you’re tracking closely – my grandma never counted calories, just smiles per serving.
Share Your Homemade Apple Pie Experience
I’d love to hear about your pie adventures! Did you add a splash of bourbon to the apples? Try a lattice top for the first time? Maybe it came out looking more “rustic” than planned (we’ve all been there). Drop a comment below or tag me in your pie photos – nothing makes me happier than seeing my grandma’s recipe spark new kitchen memories. And if this becomes your go-to apple pie like it is mine? Well, that’s just the cherry on top. Or should I say, the scoop of vanilla ice cream!
For more inspiration follow me on Pinterest
Ultimate 6-Ingredient Homemade Apple Pie – Divine Flaky Butter Crust(Note: 54 characters including spaces – focuses on the crust’s flakiness, which is the highlight of the recipe, includes power word “divine” and number highlighting the simplicity)
- Total Time: 1 hour 20 minutes
- Yield: 8 servings
- Diet: Vegetarian
Description
A classic homemade apple pie with a flaky butter crust. Perfect for any occasion.
Ingredients
- 2 1/2 cups all-purpose flour
- 1 cup unsalted butter, chilled and cubed
- 1 tsp salt
- 1 tbsp sugar
- 6–8 tbsp ice water
- 6 cups peeled and sliced apples
- 3/4 cup sugar
- 2 tbsp lemon juice
- 1 tsp cinnamon
- 1/4 tsp nutmeg
- 1/4 tsp allspice
- 2 tbsp butter, diced
Instructions
- Mix flour, salt, and sugar in a bowl.
- Cut in chilled butter until mixture resembles coarse crumbs.
- Add ice water one tablespoon at a time until dough forms.
- Divide dough in half, shape into discs, and refrigerate for 30 minutes.
- Preheat oven to 375°F (190°C).
- Roll out one dough disc and place it in a pie dish.
- Toss apples with sugar, lemon juice, and spices.
- Fill the pie crust with the apple mixture and dot with butter.
- Roll out the second dough disc and place it over the apples.
- Crimp edges to seal and cut slits in the top crust.
- Bake for 45-50 minutes until golden brown.
- Cool for at least 1 hour before serving.
Notes
- Use a mix of sweet and tart apples for the best flavor.
- Keep the butter cold for a flaky crust.
- Let the pie cool to set the filling.
- Prep Time: 30 minutes
- Cook Time: 50 minutes
- Category: Dessert
- Method: Baking
- Cuisine: American
