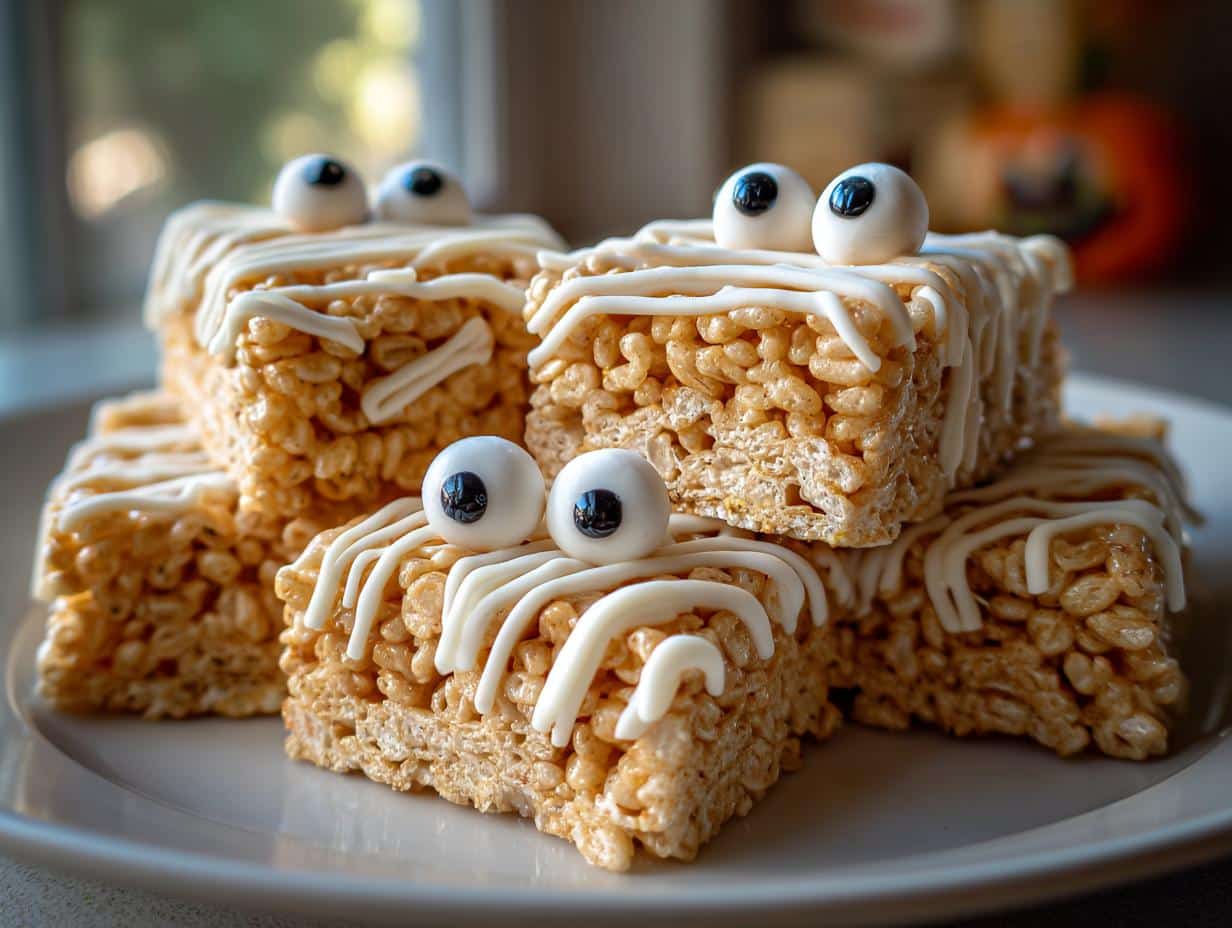
Oh my gosh, you guys—these Mummy Rice Krispie Treats are hands-down my favorite Halloween treat to whip up! I can still remember the first time I made them for my kids’ school party—they were gone in minutes, and I’ve been getting requests ever since. The best part? Even if you’re not much of a baker, you can totally handle this. Just imagine gooey marshmallows hugging crispy cereal, all dressed up like adorable little mummies with their icing “bandages.” Seriously, they’re spooky-cute and so easy that you’ll want to make extra batches for neighbors, coworkers—everyone deserves a fun Halloween surprise!
Why You’ll Love These Mummy Rice Krispie Treats
Listen, these treats are basically Halloween magic in edible form—and here’s why:
- Foolproof fun: No oven required! Just melt, mix, and decorate—even my 6-year-old can help (and trust me, he’s a messy chef).
- Instant crowd-pleaser: That perfect combo of crispy-chewy texture plus sweet icing? Yeah, they disappear faster than ghosts at sunrise.
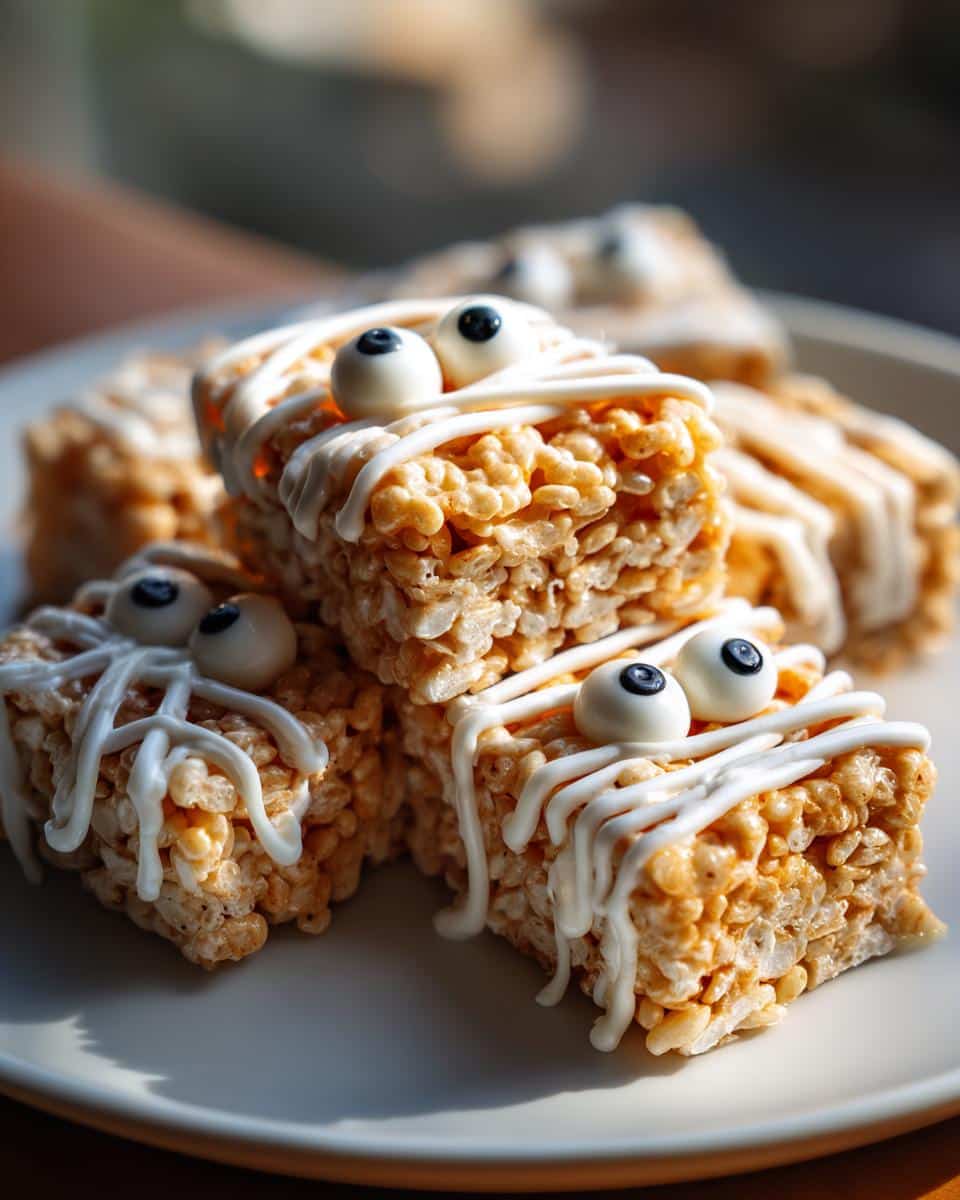
- Total vibe: Those little candy eyeballs peeking through icing “bandages”? Absolute showstoppers at parties—Instagram-worthy before you even say “boo!”
Seriously, if you want maximum Halloween spirit with minimal effort, this is your recipe. *chef’s kiss*
Ingredients for Mummy Rice Krispie Treats
Okay, let’s gather our little “mummy-making” supplies! Here’s the beauty of this recipe—you probably have half these things in your pantry already. But a quick heads-up: don’t skimp on the butter (it’s the secret to that perfect chewy texture), and grab extra marshmallows because… well, you’ll sneak a few while cooking. I always do!
- 3 tablespoons unsalted butter (melted—trust me, measuring it solid then melting leads to sad, dry treats)
- 10 ounces marshmallows (mini melt faster, but standard work just fine—just chop them if you’re impatient like me)
- 6 cups Rice Krispies cereal (the OG crispy rice cereal—no substitutions here or your mummies lose their crunch!)
- 1 cup white icing (gel icing is my go-to—it pipes beautifully for those messy “bandage” streaks)
- 10 candy eyeballs (or more… because who can resist giving some mummies a lazy eye for extra personality?)
Pro tip: If your kitchen’s warm, stash the icing in the fridge until the last minute—it’ll hold its shape better when you’re doing your best “ancient Egyptian embalmer” impression.
How to Make Mummy Rice Krispie Treats
Alright, let’s turn these simple ingredients into the cutest little edible mummies you ever did see! Don’t worry—this isn’t rocket science, just good old-fashioned sticky-fingers fun. Here’s how we do it:
Step 1: Melt the Butter and Marshmallows
First things first—grab your biggest saucepan (trust me, you’ll need the space!) and melt that butter over low heat. I mean it—keep that flame gentle! Once the butter’s all liquid gold, toss in your marshmallows and stir like your life depends on it. You want them completely melted and gloriously gooey, but not caramel-colored. Burnt marshmallows = sad mummies.
Step 2: Mix in the Cereal
Now comes the satisfying part—dumping in that mountain of Rice Krispies! But here’s the trick: fold gently with a rubber spatula until every last crispy bit is coated in marshmallow love. Too much stirring crushes the cereal, and nobody wants flat, sad mummies.
Step 3: Shape and Cool the Treats
Quick! Before the mixture cools, press it into a greased 9×13″ pan—I use my butter wrapper to grease it because #nothrowaway. Press firmly but lovingly with damp hands (pro tip!) to get an even layer. Now walk away for 30 minutes—let those future mummies set up properly!
Step 4: Decorate Like a Mummy
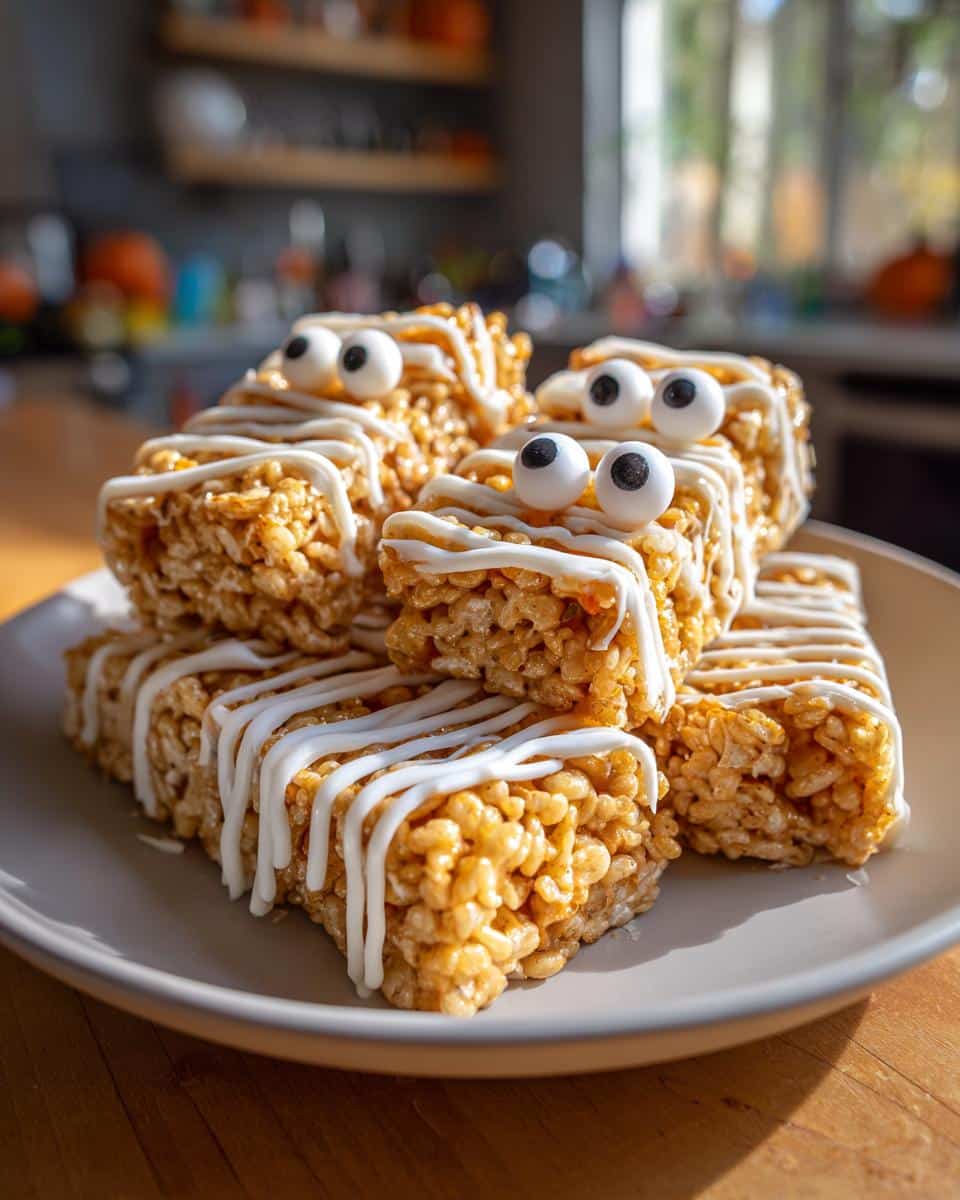
The grand finale! Cut cooled treats into rectangles, then grab that icing. Channel your inner artist—zigzag “bandages” haphazardly across each bar, leaving little gaps for the eyeballs to peek through. Press on candy eyes while icing’s still wet (so they stick). Voilà—spooky-cute mummies ready to haunt dessert tables! Bonus points if you give some wonky eyes for extra personality.
Tips for Perfect Mummy Rice Krispie Treats
Want your mummies to look straight out of a pastry chef’s nightmare (in the best way)? Here are my hard-earned secrets:
- Gel icing is your BFF: That squeeze bottle gives you way more control than runny canned frosting—perfect for those ragged “ancient bandage” lines.
- Work fast with warm mix: Rice Krispie treats set quickly, so have your pan greased and ready before melting starts. Cold batter = crumbly mummies!
- Eyeball placement matters: Stick them slightly crooked or clustered for extra personality—real mummies weren’t perfect either!
- Damp hands save sanity: Wet your fingers slightly before pressing the mix into the pan—no more sticky fingers ruining your masterpiece.
Follow these, and your treats will be the talk of the crypt… I mean, kitchen!
Storing and Serving Suggestions
These mummy treats stay fresh in an airtight container for up to 3 days—if they last that long! I always stash mine in the fridge if the kitchen’s warm (helps the icing stay put). They’re perfect for classroom parties, trick-or-treat goodie bags, or just sneaking from the container when nobody’s looking—no judgment here!
Mummy Rice Krispie Treats Variations
Want to mix things up with your mummies? Oh, we’ve got options! Swap the white icing for chocolate drizzle to make “dirty bandages”—just melt chocolate chips with a splash of coconut oil for smooth piping. For Halloween parties, use colored icing like neon green or purple. Feeling extra? Add mini chocolate chips to the batter before pressing for a “sandy tomb” texture. The spooky possibilities are endless!
Nutritional Information
Just so you know, these numbers can change depending on your exact ingredients—but per mummy-sized treat, you’re looking at roughly 150 calories and 12g sugar. Not bad for something this fun, right? (But let’s be real—nutrition facts never stopped me from eating three at once!)
FAQs About Mummy Rice Krispie Treats
Got questions? I’ve got answers! Here are the things people ask me most about these adorable little mummies:
Can I Use Different Cereals?
Technically yes, but—and this is a big but—you’ll lose that signature crispy-crunchy texture. Cornflakes get soggy fast, and puffed rice is too airy. Stick with Rice Krispies for mummies that hold their shape!
How Do I Prevent Sticky Treats?
Too sticky usually means too much marshmallow or not enough butter. Measure carefully! And don’t skip greasing your hands and pan—trust me, it’s the difference between “adorable” and “glued to the table.”
Can I Freeze These Treats?
You can, but the texture gets weird—like eating a mummy that thawed after centuries in a pyramid. Best enjoyed fresh or at room temp!
Share Your Spooky Creations!
Tag me in your mummy masterpieces on Instagram—I want to see those creative icing bandages and goofy eyeballs! Bonus points if you name your mummies. *wink* You can find more fun recipes on Pinterest!

Spooky-Cute Mummy Rice Krispie Treats in 20 Minutes
- Total Time: 20 minutes
- Yield: 10 treats
- Diet: Vegetarian
Description
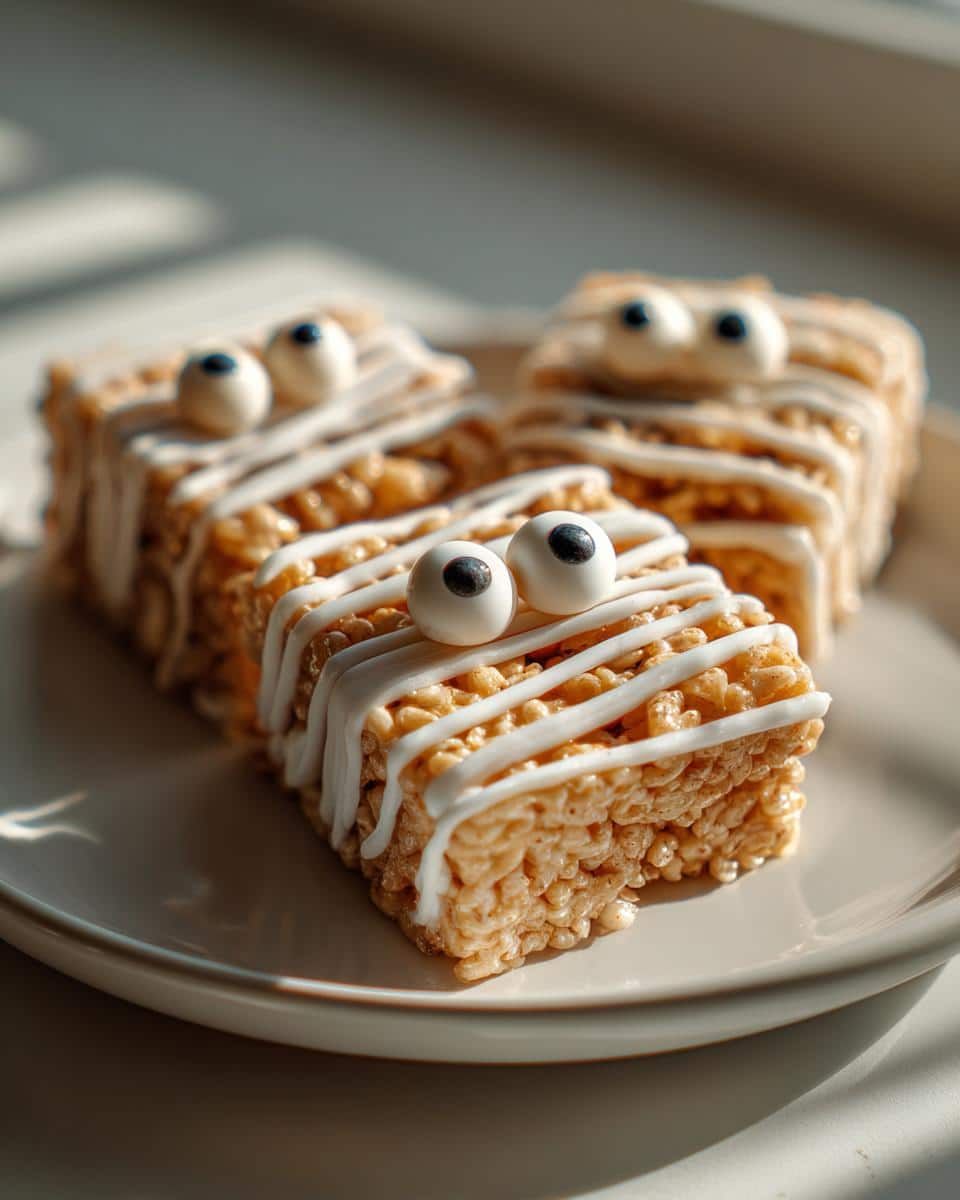
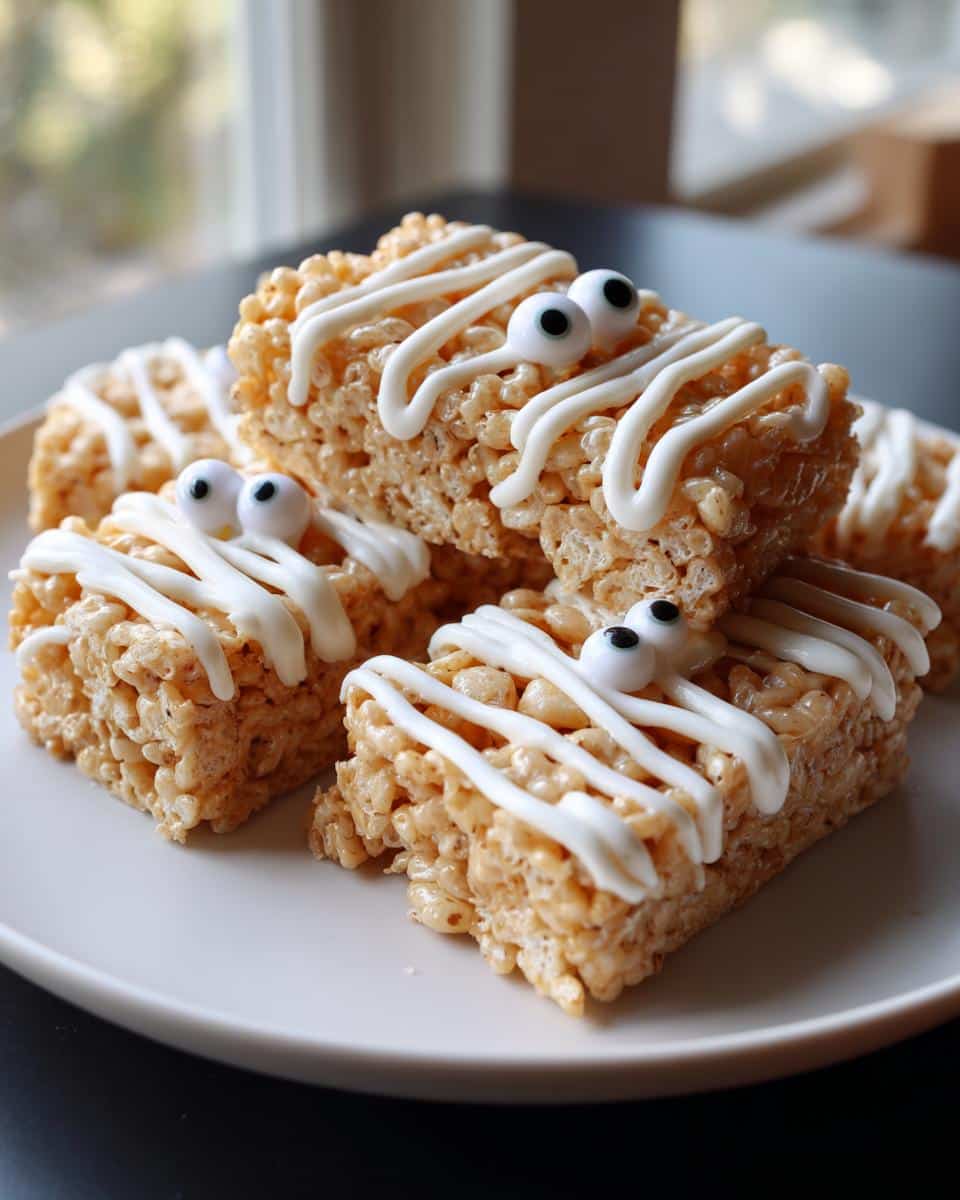
Mummy Rice Krispie Treats are a fun and easy-to-make Halloween dessert. These treats are shaped like mummies and decorated with icing to create a spooky yet delicious snack.
Ingredients
- 3 tablespoons butter
- 10 oz marshmallows
- 6 cups Rice Krispies cereal
- 1 cup white icing
- 10 candy eyeballs
Instructions
- Melt butter in a large saucepan over low heat.
- Add marshmallows and stir until fully melted.
- Remove from heat and mix in Rice Krispies cereal.
- Press the mixture into a greased baking pan and let cool.
- Cut into rectangles and drizzle white icing in a crisscross pattern to resemble bandages.
- Add candy eyeballs to complete the mummy look.
Notes
- Store in an airtight container for up to 3 days.
- Use gel icing for better control when decorating.
- Prep Time: 15 minutes
- Cook Time: 5 minutes
- Category: Dessert
- Method: No-Bake
- Cuisine: American
