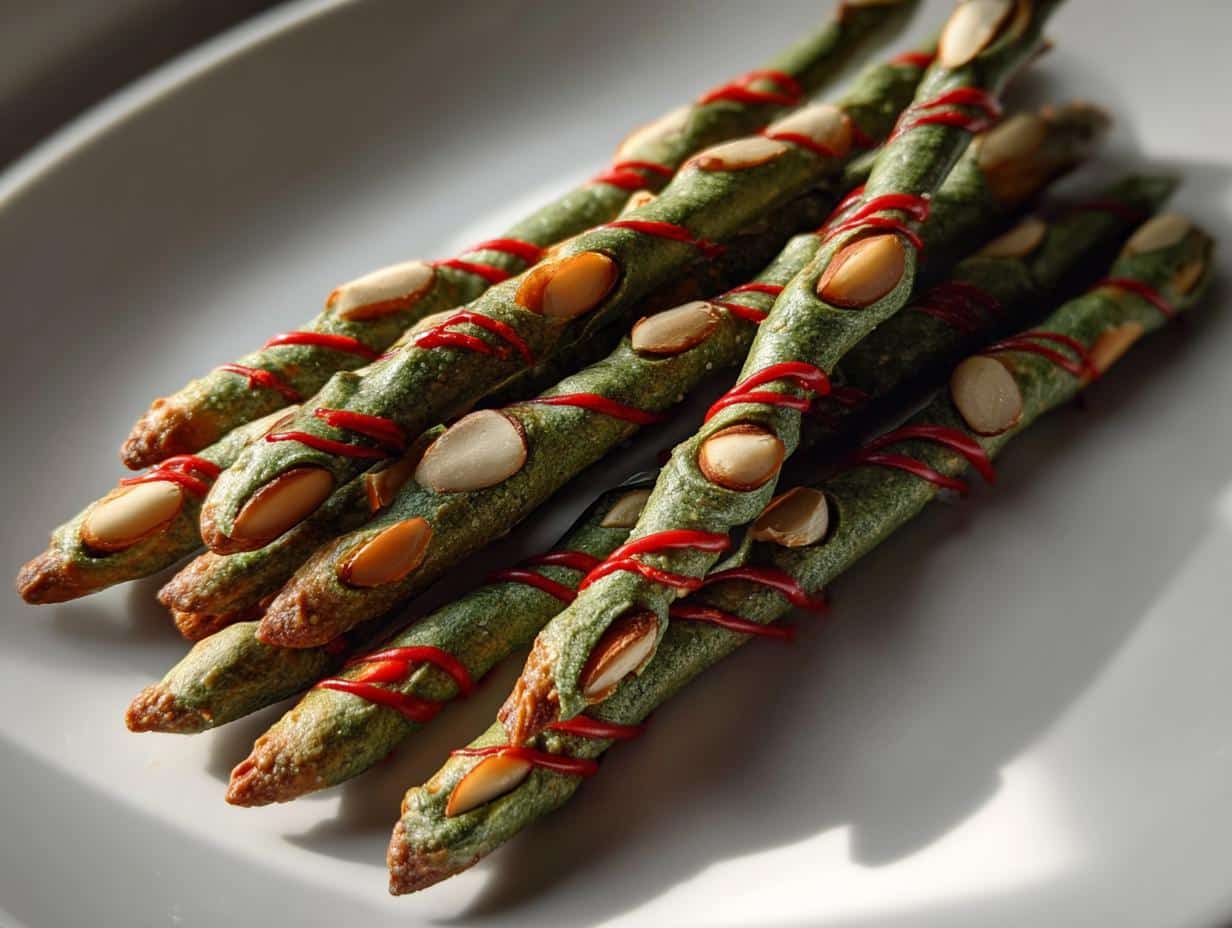
Halloween baking doesn’t get much creepier—or easier—than these Witch Finger Pretzels! I first made them for my niece’s spooky birthday party, and let me tell you, the kids went wild. There’s something hilariously gross about biting into a “witch’s finger” that makes everyone giggle. The best part? You only need five simple ingredients and about 20 minutes to whip up a batch. Whether you’re hosting a haunted house party or just want to surprise your coworkers with something delightfully eerie, these pretzel rods dipped in green “skin” with almond “nails” are guaranteed to steal the show. Trust me, they’re so simple, you’ll be cackling with joy!
Why You’ll Love These Witch Finger Pretzels
Oh my gosh, you guys—these are SO much fun to make! Here’s why they’re my go-to Halloween treat every year:
- Kid-approved: My niece’s friends still talk about “eating witch fingers”—they love the spooky factor!
- Impossibly easy: No baking required, just melt, dip, and decorate. Even my clumsy hands can’t mess these up!
- Party perfect: They look seriously impressive but take less time than carving a pumpkin.
- Totally customizable: Want zombie fingers? Add more red streaks. Prefer elegant witch hands? Skip the “blood.” It’s all up to you!
Seriously, if you need a last-minute Halloween snack that’ll get people talking, this is it!
Ingredients for Witch Finger Pretzels
Alright, let me tell you exactly what you’ll need to whip up these creepy-crawly witch fingers. I’ve made these enough times to know which ingredients work best – and which ones to avoid (trust me, slivered almonds just don’t give you that perfect witchy nail look!). Here’s the full breakdown:
- 1 bag of pretzel rods (about 20 rods) – Go for the straightest ones you can find; curved fingers look a little… broken
- 1 cup whole almond slices (NOT slivered!) – These become the fingernails, so you want them nice and wide
- 1/2 cup white chocolate chips – I always use Ghirardelli; they melt like a dream
- 1 tbsp coconut oil – This is our secret for that perfectly smooth, dippable chocolate
- Green food coloring (gel works best) – The witchier the green, the better! I usually use about 10 drops
- Red food coloring (just a tiny bit) – For those delightfully gory bloody details
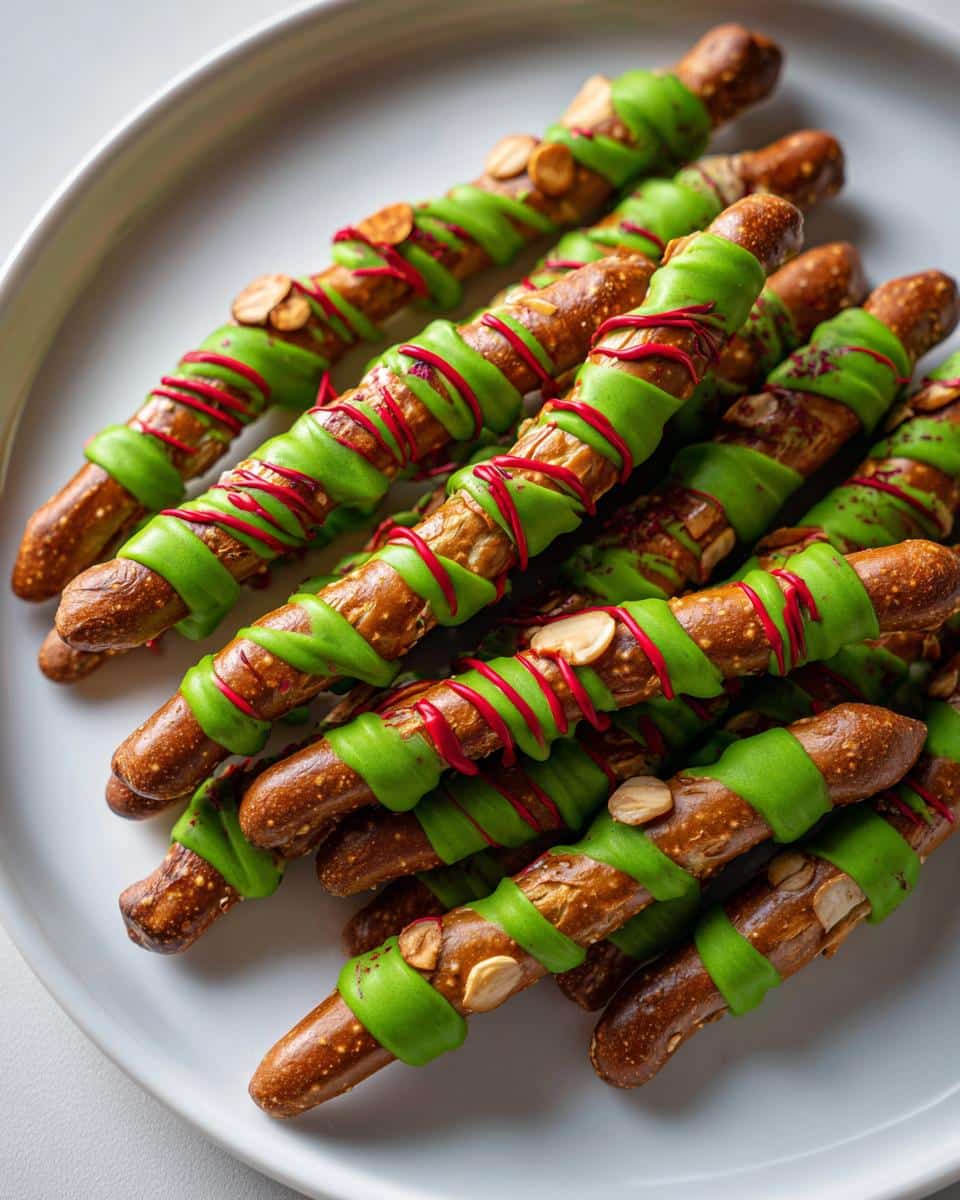
Pro tip from my many (many) batches: If your store only has broken almond slices, check the bulk bins – that’s where I often find perfect whole ones. And don’t even get me started on the time I tried using milk chocolate… let’s just say brown witch fingers aren’t nearly as fun!
How to Make Witch Finger Pretzels
Okay, let’s get our hands dirty—figuratively speaking! Making these witch fingers is seriously easy, but I’ve learned a few tricks over the years to make them extra creepy-good. Follow these steps, and you’ll have a plate full of spooky snacks in no time!
Step 1: Melt the Chocolate
First, grab a microwave-safe bowl (I always use my favorite glass measuring cup—the spout makes dipping easier!). Toss in your white chocolate chips and coconut oil. Now, here’s the important part: microwave in 30-second bursts, stirring well between each one. Trust me, chocolate burns faster than a witch at dawn! Mine usually takes about 1 minute total. You want it smooth and drippy, not thick like paste.
Step 2: Color and Dip the Pretzels
Now for the fun part—making them green! Add your food coloring gradually (I start with 5 drops of gel coloring) and stir until you get that perfect sickly witch skin tone. Hold each pretzel rod by the undipped end and swirl it in the chocolate, leaving about an inch bare at the bottom—that’s our “bone” peeking out! Let the excess drip off for a second before laying it on parchment paper.
Step 3: Add the Almond Nail
Work quickly here—you want to press the almond slice onto the chocolate while it’s still wet. I place it at a slight angle near the tip to look like a real fingernail. Give it a gentle wiggle to help it stick, but don’t push too hard or you’ll break the pretzel (learned that the hard way!).
Step 4: Create Bloody Details
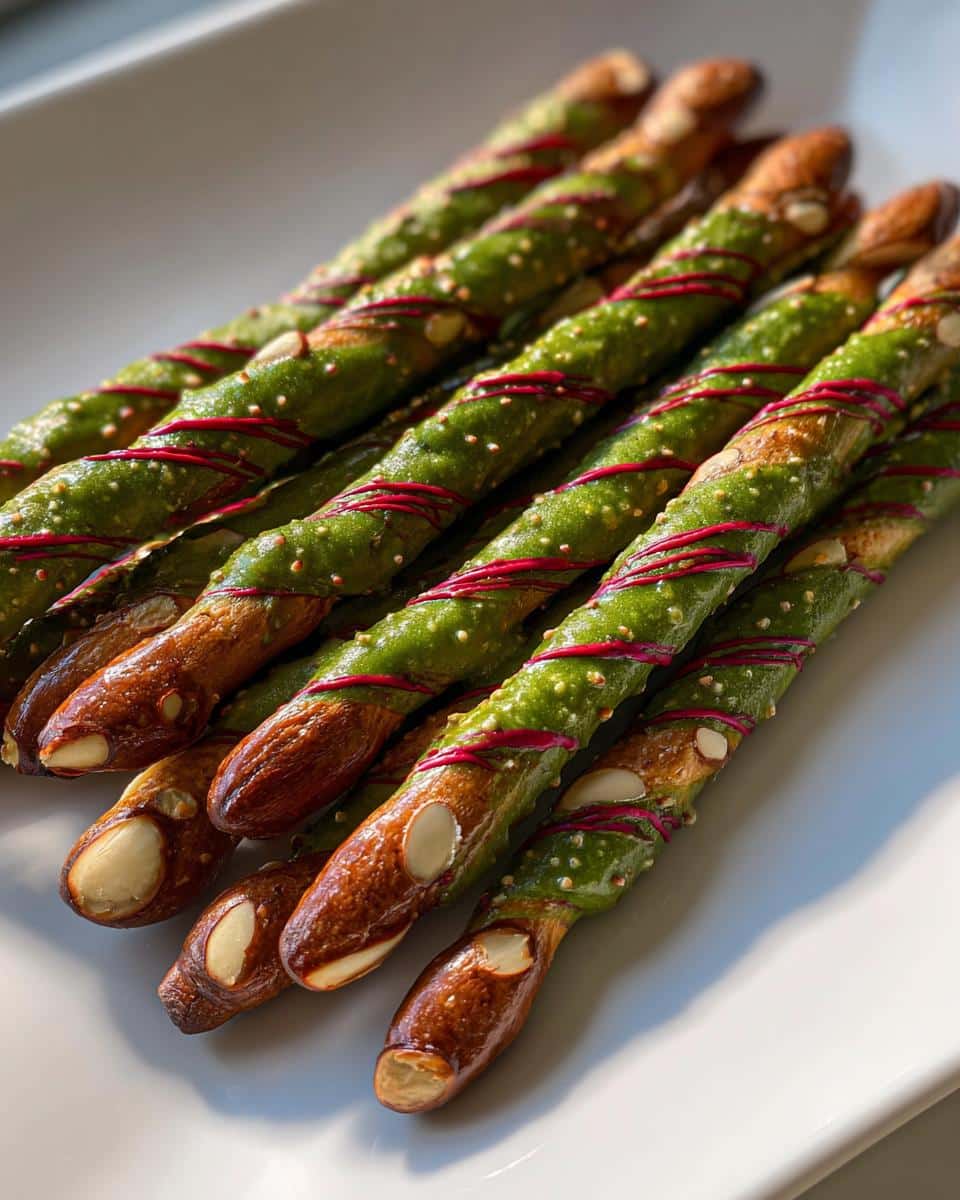
Dip a toothpick in red food coloring and lightly drag it from under the almond “nail” down the finger. Less is more here—you want subtle streaks, not a crime scene! I sometimes add a tiny dot at the base for extra creep factor. Let them dry completely (about 15 minutes) before serving.
See? Told you it was easy! Now try not to cackle too loudly when your guests freak out over these!
Tips for Perfect Witch Finger Pretzels
Okay, witches-in-training, listen up! After making about a zillion of these (okay, maybe just dozens), here are my can’t-live-without tips:
- Parchment is your BFF: Skip the wax paper—nothing sticks to parchment, and your fingers won’t lose their “skin!”
- Chill out: Pop them in the fridge for 5 minutes if you’re impatient like me. Chocolate sets faster without sweating!
- Almond angles matter: Offset those nails slightly—real fingers aren’t perfect! Jagged edges add creepy realism.
Oh! And lick the bowl after—no witch would let good chocolate go to waste!
Ingredient Substitutions
Ran out of something? No worries, my fellow kitchen witches! Here are my tried-and-true swaps:
- Candy melts instead of white chocolate: They’re more forgiving when melting but taste sweeter. Use 1/2 cup melts + 1 tsp oil.
- Cashew halves for almonds: They give a wider “nail” look—just trim any uneven edges with kitchen shears first.
- Vegetable oil for coconut oil: Works in a pinch, but your chocolate might not set quite as firm.
Just remember—brown chocolate makes zombie fingers, not witch fingers! (Unless that’s your vibe—no judgment!)
Storing and Serving Witch Finger Pretzels
Now that you’ve created these delightfully creepy witch fingers, let’s talk about keeping them fresh and showing them off properly! Here’s what I’ve learned after many Halloweens of making these:
Storage secret: Pop them in an airtight container with parchment between layers—they’ll stay crisp for up to 3 days at room temperature. No fridge needed unless your kitchen’s super warm (but watch for condensation when you take them out!).
Serving witchcraft: The presentation is half the fun! I love arranging them on a “witch’s platter”—just grab a black serving tray and add some spooky flair:
- Scatter plastic spiders around the fingers
- Use a dollop of red jam as “blood” pooling underneath
- Pair with other easy treats like “eyeball” cake pops or “bat wing” chips
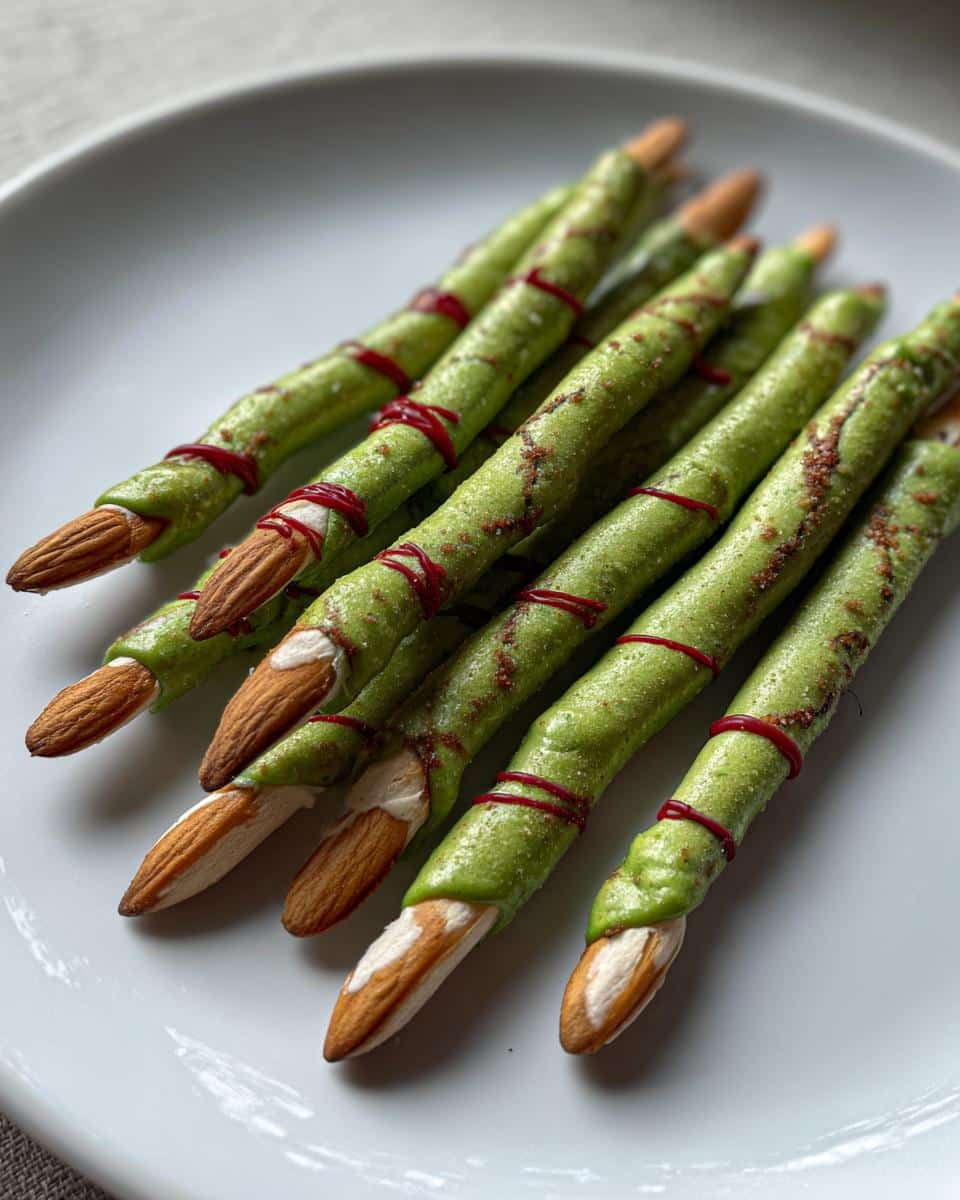
Pro tip from last year’s party: Label them “Severed Witch Fingers” with a mini chalkboard sign—the kids went nuts taking “bites” and pretending to scream! Best part? Cleanup is as easy as sweeping up a few stray crumbs (no pumpkin guts to deal with!).
Witch Finger Pretzels Nutritional Info
Okay, let’s be real—these aren’t exactly health food, but who cares when they’re this fun?! Just remember that nutritional values can vary depending on the brands you use (like that fancy organic chocolate versus the budget stuff). Each witch finger is basically a pretzel rod with some chocolate and almond action—so think of it as a sweet-and-salty treat rather than a vitamin-packed snack!
That said, if you’re watching portions (maybe save some for the trick-or-treaters!), one finger is plenty satisfying. The almonds add a nice protein boost, and hey—pretzels are fat-free before we dunk them in chocolate, right? Everything in moderation… except maybe Halloween spirit—go wild with that!
Disclaimer: Nutritional values are estimates and vary based on brands used. These are treats—enjoy them as such!
Frequently Asked Questions
Got witchy questions? I’ve got answers! Here are the ones I hear most:
Can I use milk chocolate instead of white?
Technically yes, but you’ll get “zombie fingers” instead of witch fingers! The green coloring won’t show up well on brown chocolate.
How far in advance can I make these?
Up to 3 days ahead! Store in an airtight container at room temp—the almonds might soften slightly but they’ll still taste great.
Any nut-free alternatives?
Try sunflower seeds or candy corn tips for “nails”! For allergies, use vegan chocolate chips and check pretzel ingredients too.
Made these creepy-crawly treats? Tag me #WitchFingerPretzels—I’d love to see your spooky creations! Check out more fun recipes on Pinterest!
Print
5-Ingredient Witch Finger Pretzels—Spookily Delicious!
- Total Time: 20 minutes
- Yield: 20 pretzels
- Diet: Vegetarian
Description
Witch Finger Pretzels are a fun and spooky Halloween treat. These pretzel snacks resemble witch fingers and are perfect for parties.
Ingredients
- 1 bag of pretzel rods
- 1 cup of almond slices
- 1/2 cup of white chocolate chips
- 1 tbsp of coconut oil
- Green food coloring
- Red food coloring
Instructions
- Melt white chocolate chips with coconut oil in a microwave-safe bowl.
- Add green food coloring to the melted chocolate and mix well.
- Dip each pretzel rod into the green chocolate, leaving one end uncovered.
- Press an almond slice onto the dipped end to resemble a fingernail.
- Use a toothpick to add red food coloring streaks for a bloody effect.
- Let the pretzels dry on parchment paper before serving.
Notes
- Store in an airtight container to keep fresh.
- Adjust food coloring for darker or lighter shades.
- Use a piping bag for more precise chocolate application.
- Prep Time: 15 minutes
- Cook Time: 5 minutes
- Category: Snack
- Method: No-Bake
- Cuisine: American
