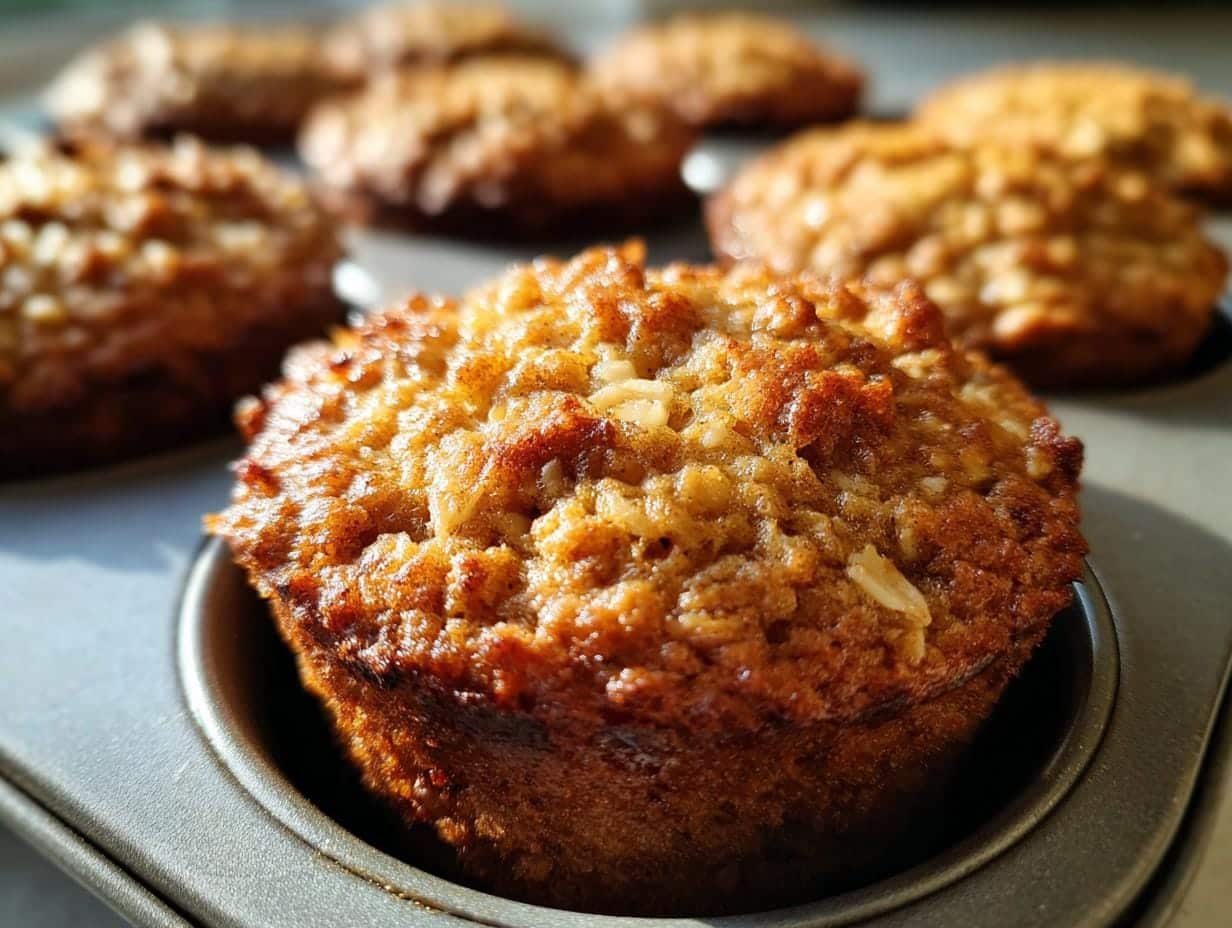
You know those mornings when you’re running out the door with barely enough time to grab your keys? That’s exactly why I fell in love with baked oatmeal cups – they’re like little breakfast miracles waiting in my fridge! I’ll never forget the first time I made a batch on Sunday night and had grab-and-go breakfasts all week. No more sad, rushed mornings with just coffee!
These healthy baked oatmeal cups have become my secret weapon for busy weeks. They’re packed with wholesome oats, just sweet enough with honey or maple syrup, and totally customizable with whatever mix-ins I’m craving. Best part? They freeze like a dream – just pop one in the microwave while I’m getting dressed and boom, warm breakfast in seconds.
After trying dozens of versions (some disasters included!), I’ve perfected my go-to recipe that’s foolproof and always delicious. Whether you need a quick breakfast solution or a healthy snack option, these baked oatmeal cups are about to become your new best friend.
Table of Contents
Why You’ll Love These Baked Oatmeal Cups
Let me tell you why these little cups have become my breakfast MVP:
- They’re ready in 30 minutes – mix, bake, done! Perfect for Sunday meal prep when you’re already juggling a million things.
- Packed with whole grain oats to keep you full till lunch – no mid-morning snack attacks!
- Totally customizable – toss in whatever you’ve got! My kids love chocolate chips, while I’m team almond butter swirl.
- They freeze beautifully – just microwave for 60 seconds and breakfast is served, even on my craziest mornings.
- No weird ingredients – just pantry staples you probably already have. (Bonus: your kitchen will smell amazing while they bake!)
Seriously, once you try these, you’ll wonder how you ever survived breakfast without them.
Ingredients for Baked Oatmeal Cups
Okay, let’s talk ingredients – and I promise, nothing fancy here! After years of testing, I’ve found these simple pantry staples make the perfect base for baked oatmeal cups every time. The best part? You can tweak them based on what’s in your fridge or what your taste buds are craving that week.
Here’s what you’ll need for a basic batch (makes about 12 cups):
- 2 cups rolled oats – not quick oats (trust me, they hold up better!)
- 1 teaspoon baking powder – just enough lift without making them puffy
- 1/2 teaspoon cinnamon – my non-negotiable for that warm, cozy flavor
- 1/4 teaspoon salt – don’t skip this! It balances all the flavors
- 1 cup milk – any kind works! I’ve used dairy, almond, even oat milk in a pinch
- 1/4 cup honey or maple syrup – honey for milder sweetness, maple for deeper flavor
- 1 egg – helps bind everything together beautifully
- 1 teaspoon vanilla extract – the secret flavor booster!
Now for the fun part – mix-ins! These are totally optional, but oh-so-good:
- 1/2 cup chopped nuts (almonds and walnuts are my favorites)
- 1/2 cup dried fruit (raisins, cranberries, or chopped dates)
- 1/2 cup fresh berries (blueberries or diced strawberries)
- 1/4 cup chocolate chips (because sometimes you need chocolate for breakfast!)
- 2 tablespoons peanut or almond butter for swirling in
See what I mean? Simple, flexible, and ready for whatever flavor adventure you’re craving this week. Just wait until you smell these baking!
How to Make Baked Oatmeal Cups
Okay, let’s get baking! These oatmeal cups come together so easily – I promise even if you’re not a morning person (hello, me!), you can handle this. Here’s exactly how I make mine, step by step.
Step 1: Prep the Dry Ingredients
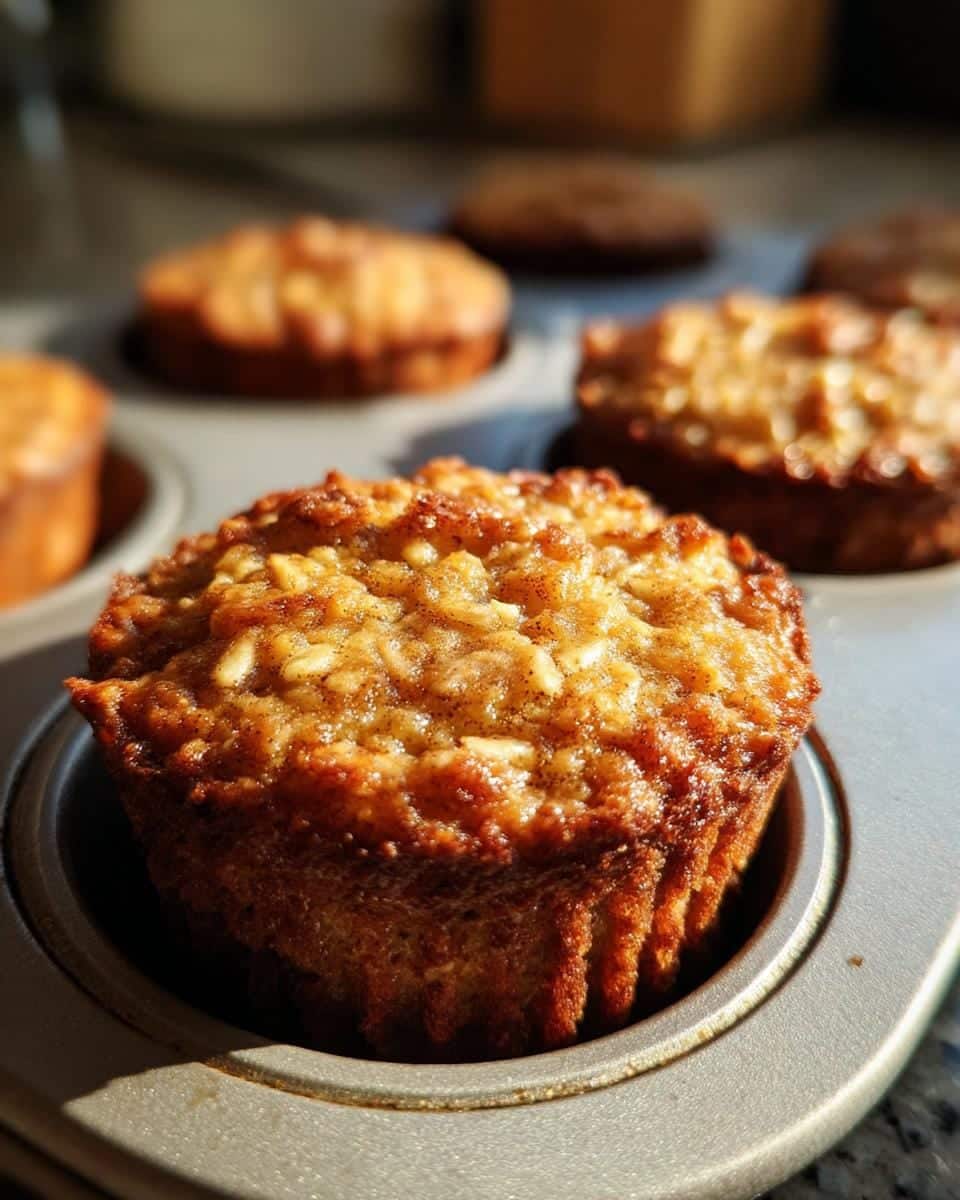
First, grab a medium-sized mixing bowl – I use my favorite 3-quart one with the little spout. Add in your rolled oats (make sure they’re the old-fashioned kind, not instant!), baking powder, cinnamon, and salt. Give it all a good whisk to combine. You’ll see the cinnamon swirling through the oats like little flavor ribbons. This is when my kitchen starts smelling amazing already!
Step 2: Mix the Wet Ingredients
Now take a separate bowl (a 2-cup liquid measuring cup works great here) and whisk together your milk, honey or maple syrup, egg, and vanilla. Here’s my pro tip: warm the honey for 5 seconds in the microwave first if it’s thick – it’ll blend way easier! Whisk until everything is completely combined and you don’t see any egg streaks. The mixture should look smooth and slightly frothy.
Step 3: Combine and Bake
Time to bring it all together! Pour the wet ingredients into your dry ingredients and stir gently until just combined – don’t overmix or your cups might get tough. Now’s the fun part: fold in any mix-ins you’re using. I usually do this with a rubber spatula to keep things gentle.
While you’re mixing, preheat your oven to 350°F and grease a standard 12-cup muffin tin really well (I use nonstick spray, but melted butter works too). Spoon the batter evenly into the cups – they’ll be about 3/4 full. Pop them in the oven and bake for 20-25 minutes until the tops are golden and the edges look set. A toothpick should come out clean when they’re done!
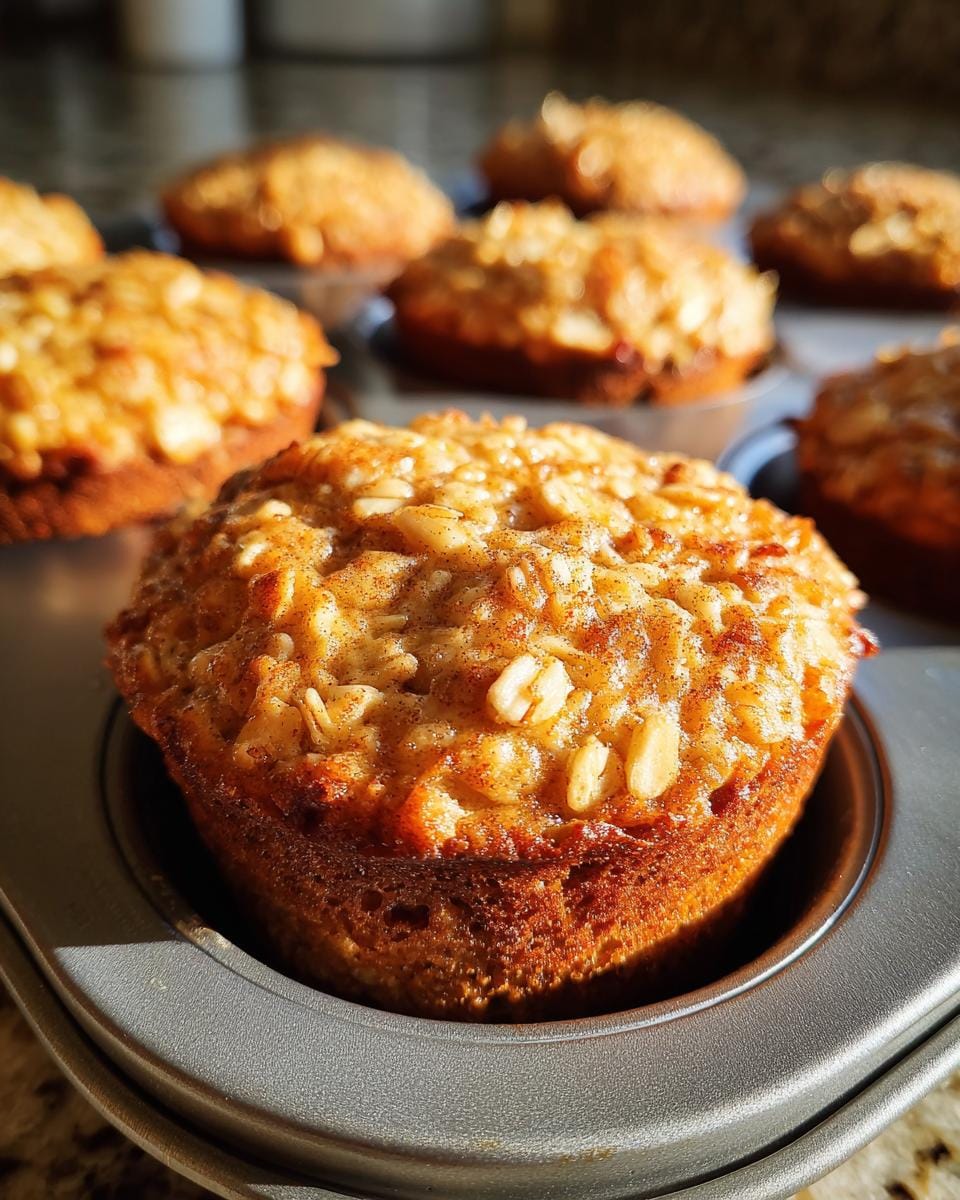
Let them cool in the pan for 5 minutes (this is crucial – otherwise they might stick!), then transfer to a wire rack. Try not to eat one immediately – though I won’t judge if you do. That first warm bite is absolute heaven!
Tips for Perfect Baked Oatmeal Cups
After making countless batches (and plenty of mistakes!), I’ve learned all the tricks for getting these oatmeal cups just right every time. Here are my hard-won secrets:
- Grease well or use liners – I swear by silicone muffin liners for zero sticking, but if using a regular tin, really coat those cups with butter or nonstick spray. The honey in these makes them sticky little buggers!
- The toothpick test is your friend – Check at 20 minutes, but don’t panic if they need 25. They’re done when a toothpick comes out clean (unless you hit a chocolate chip – then try another spot!).
- Let them rest before eating – I know it’s hard, but waiting 5 minutes lets them set properly. Otherwise you’ll end up with delicious oatmeal mush (ask me how I know).
- Mix-in magic – If using juicy berries, toss them in a bit of flour first to prevent soggy cups. And always chop larger add-ins (like apples or nuts) small so they distribute evenly.
- Storage pro tip – Let them cool completely before storing to avoid condensation making them soggy. I layer them between parchment in an airtight container – no sticky stacks!
Follow these simple tricks, and you’ll be a baked oatmeal cup pro in no time. Now go forth and conquer breakfast like the meal prep champion you are!
Customizing Your Baked Oatmeal Cups
Here’s where the real fun begins – making these baked oatmeal cups your own! I love that this recipe is like a blank canvas just begging for your personal touch. Over the years, I’ve tried every variation imaginable (some more successful than others – let’s not talk about the beet puree experiment). Here are my absolute favorite ways to mix things up:
Sweet Treat Variations
For when you want breakfast to feel like dessert (but still totally wholesome!):
- Chocolate Lover’s Dream – Stir in 1/4 cup mini chocolate chips + 1 tbsp cocoa powder to the dry ingredients. Top with banana slices before baking.
- Berry Bliss – Fold in 1/2 cup fresh blueberries or diced strawberries. The berries burst while baking – pure magic!
- Apple Pie – Add 1/2 cup finely diced apple + 1/4 tsp extra cinnamon. A drizzle of caramel sauce takes these over the top.
- Peanut Butter Cup – Swirl in 2 tbsp peanut butter before baking, then press a few chocolate chips into each cup.
Healthy Boosters
When you need extra nutrition packed into your morning:
- Protein Power – Add 1 scoop vanilla protein powder + extra 1/4 cup milk. Top with chopped almonds for crunch.
- Superfood – Mix in 1 tbsp chia or flax seeds + 1/4 cup goji berries. The seeds add great texture!
- Tropical – Use coconut milk + fold in 1/4 cup shredded coconut + 1/4 cup diced mango. Sunshine in every bite.
Dietary-Friendly Options
Because everyone should get to enjoy these tasty cups:
- Dairy-Free – Simply use your favorite plant milk (I love almond or oat) and swap honey for maple syrup if needed.
- Gluten-Free – Just ensure your oats are certified GF. Bob’s Red Mill is my go-to brand.
- Vegan – Replace the egg with 1 tbsp ground flax + 3 tbsp water (let it gel first), and use maple syrup.
- Lower Sugar – Reduce sweetener to 2 tbsp and add mashed banana or applesauce for natural sweetness.
Pair these oatmeal cups with a dollop of yogurt or a glass of protein ice cream for a balanced, energy-boosting breakfast. They also go great with a side of cottage cheese muffins for extra protein.
More Healthy Breakfast Ideas
If you’re a fan of oats, you’ll also love our healthy oat crepes and creamy cottage cheese overnight oats. For a heartier bake, check out the blueberry cottage cheese breakfast bake.
Storing and Reheating Baked Oatmeal Cups
Okay, let’s talk about the real magic of these baked oatmeal cups – how they stay delicious for days (or months!) with proper storage. I’ve learned through trial and error exactly how to keep them tasting fresh-baked, whether I’m storing them for the week or freezing a big batch for later. Here’s everything you need to know:
Short-Term Storage (Fridge)
For breakfasts throughout the week, I store my cooled oatmeal cups in an airtight container in the fridge with these tricks:
- Layer them between parchment paper – stops them from sticking together
- They’ll stay perfect for 4-5 days (though mine never last that long!)
- The texture actually improves after a day – the oats absorb more moisture
Freezing for Long-Term Storage
When I make a double batch (which is always!), here’s my freezer method:
- Cool completely first – warm cups create freezer burn
- Wrap individually in plastic wrap, then place in freezer bags
- Label with date – they’re best within 2-3 months
- For easy mornings, freeze some already portioned in lunchbox containers
Reheating Like a Pro
My two favorite ways to bring these back to life:
Microwave Method (Quick Fix):
- From fridge: 30-45 seconds on high
- From frozen: 1 minute, flip cup, then 30 seconds more
- Add a splash of milk if they seem dry
Oven Method (Best Texture):
- Preheat to 300°F
- Wrap fridge-stored cups in foil, bake 10 minutes
- Frozen? Thaw overnight in fridge first, then bake as above
- For extra crispiness, unwrap for last 2 minutes
Thawing Tips
When I remember to plan ahead (rare, but glorious when it happens!):
- Move frozen cups to fridge the night before – perfect by morning
- For quicker thawing, leave wrapped at room temp for 1 hour
- Never thaw in direct heat – creates soggy spots
Pro tip: I keep a few in my work fridge too – just pop one in the office microwave while I’m making coffee. Breakfast solved before that first meeting! Once you get your storage system down, you’ll never face a rushed, hungry morning again.
Nutrition Information for Baked Oatmeal Cups
Let’s talk numbers – but don’t worry, these baked oatmeal cups are definitely on the friendly side nutritionally! Based on my standard recipe (without extra mix-ins), here’s what you’re getting in each delicious cup:
- Calories: About 150
- Carbohydrates: 22g (includes 3g fiber – that’s 12% of your daily needs!)
- Sugar: 8g (mostly natural from the honey/maple syrup)
- Protein: 4g (perfect to keep you satisfied)
- Fat: 5g (only 1g saturated)
- Sodium: Just 100mg
Now, here’s my nutritionist-approved disclaimer: These numbers can change based on your specific ingredients and add-ins. Using almond milk instead of dairy? That’ll tweak the calcium and vitamin D. Throwing in chocolate chips? Obviously that adds some extra sugar and calories (but totally worth it in my book!).
The beauty of oats is they’re packed with:
- Complex carbs for lasting energy
- Soluble fiber to help digestion
- Iron and magnesium (great for energy production)
- Antioxidants that are good for your heart
Honestly, I don’t stress too much about exact numbers – what matters is that these cups give me a wholesome, balanced breakfast that keeps me full and energized all morning. And compared to grabbing a sugary pastry or skipping breakfast entirely? That’s a win in my book!
FAQs About Baked Oatmeal Cups
I get so many questions about these baked oatmeal cups – seems like everyone wants to tweak them just right! Here are answers to the most common things people ask me:
Q1. Can I use quick oats instead of rolled oats?
Technically yes, but the texture won’t be as good. Quick oats tend to get mushy, while rolled oats keep that perfect chewy bite. If you must use quick oats, reduce the milk by 2 tablespoons so your cups don’t turn out soggy.
Q2. How long do baked oatmeal cups last in the freezer?
They’re best within 2-3 months, though honestly mine never last that long! For maximum freshness, wrap them tightly in plastic wrap before freezing. Pro tip: write the date on the bag so you don’t play “freezer archaeology” later.
Q3. Why did my oatmeal cups stick to the pan?
Oh no! Probably either:
- Not enough greasing (I really coat those muffin cups!)
- You tried removing them too soon – let them cool 5 minutes first
- The honey makes them sticky, so silicone liners are a game-changer
Q4. Can I make these without eggs?
Absolutely! For vegan oatmeal cups, mix 1 tablespoon ground flaxseed with 3 tablespoons water and let it sit for 5 minutes to thicken. This works just as well as an egg binder – I’ve done it many times when my chickens weren’t cooperating!
Q5. What’s the best way to reheat frozen oatmeal cups?
My favorite method is microwaving frozen for 1 minute, flipping the cup, then another 30 seconds. If you’ve got more time, thaw overnight in the fridge and warm in a 300°F oven for 10 minutes – it brings back that fresh-baked crispiness!
Got more questions? Just ask! I’ve probably tested every possible variation of these cups by now (and made plenty of mistakes you can learn from). Happy baking!
Share Your Baked Oatmeal Cups
Nothing makes me happier than seeing the creative twists you all put on my baked oatmeal cups! After years of perfecting this recipe in my own kitchen, it’s such a joy to see it come to life in yours. Trust me, I still get ridiculously excited every time someone tags me in their breakfast creations – whether it’s your kid’s first attempt (messy fingers and all!) or your gourmet flavor experiment.
Here’s how we can keep the oatmeal cup love going:
- Snap a pic of your masterpiece – perfection not required! Some of my favorite shots show the “real life” kitchen chaos in the background.
- Tag me @BreakfastWithJess on Instagram – I promise to like, comment, and probably save your post for future inspiration!
- Leave a star rating below – did your family gobble them up? Were your coworkers begging for the recipe? I read every single review.
- Share your genius hacks – found an amazing new mix-in combination? Discovered the perfect baking time for your finicky oven? Spread the knowledge!
Remember that time I accidentally used salt instead of sugar? (We don’t talk about that batch…) Your experiences help make this recipe better for everyone. So whether you’re a seasoned baker or this is your first time trying oatmeal cups, I can’t wait to see – and taste – your delicious results!
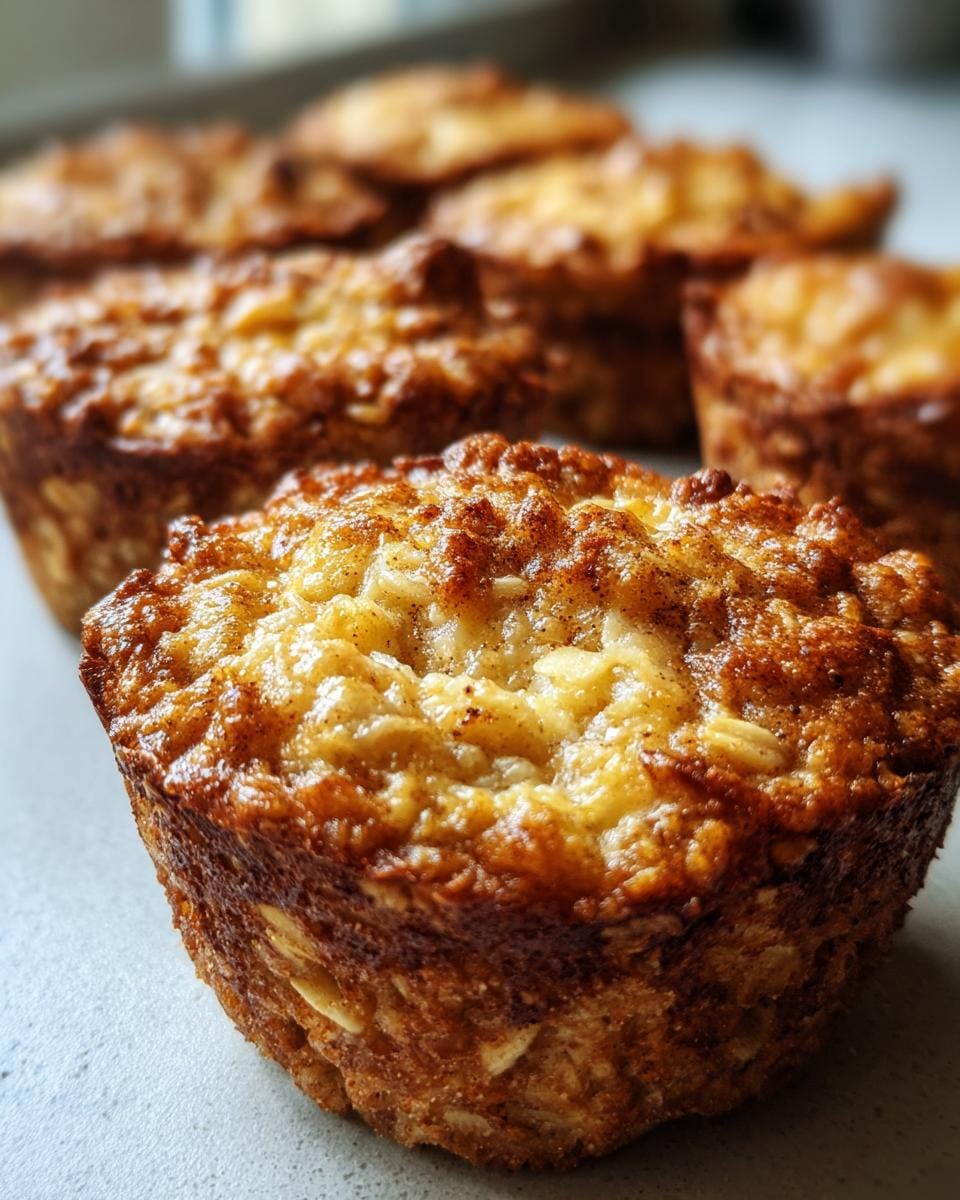

3-Ingredient Baked Oatmeal Cups for Effortless Blissful Mornings
- Total Time: 35 mins
- Yield: 12 cups
- Diet: Vegetarian
Description
Easy and healthy baked oatmeal cups perfect for breakfast or snacks. Customize with your favorite mix-ins.
Ingredients
- 2 cups rolled oats
- 1 tsp baking powder
- 1/2 tsp cinnamon
- 1/4 tsp salt
- 1 cup milk
- 1/4 cup honey or maple syrup
- 1 egg
- 1 tsp vanilla extract
- 1/2 cup chopped nuts or dried fruit (optional)
Instructions
- Preheat oven to 350°F. Grease a muffin tin.
- Mix oats, baking powder, cinnamon, and salt in a bowl.
- In another bowl, whisk milk, honey, egg, and vanilla.
- Combine wet and dry ingredients. Stir in optional mix-ins.
- Spoon batter into muffin cups.
- Bake 20-25 mins until set.
- Cool before removing from tin.
Notes
- Store in the fridge for up to 5 days.
- Freeze extras for quick meals.
- Use almond milk for a dairy-free version.
- Prep Time: 10 mins
- Cook Time: 25 mins
- Category: Breakfast
- Method: Baking
- Cuisine: American
